Introduction
Making design candles can be a great way to bring your own unique style into your home décor. Whether you’re a beginner or an expert, the process of making candles takes some practice, but the results can be incredibly rewarding. From dipping candles to making paraffin, beeswax, and soy wax candles, there are numerous techniques that you can use to create a variety of beautiful candles for yourself or as gifts.
Dipped Candles: One popular technique among beginning candle makers is dipped candles. This involves suspending the wick in melted wax and then repeatedly dipping it into the hot liquid until it is the desired thickness. The process is then repeated by gradually increasing the melting temperature each time until the final coating of wax has been achieved. This type of candle is very common because of its simplicity and ease of production compared to other types of candles.
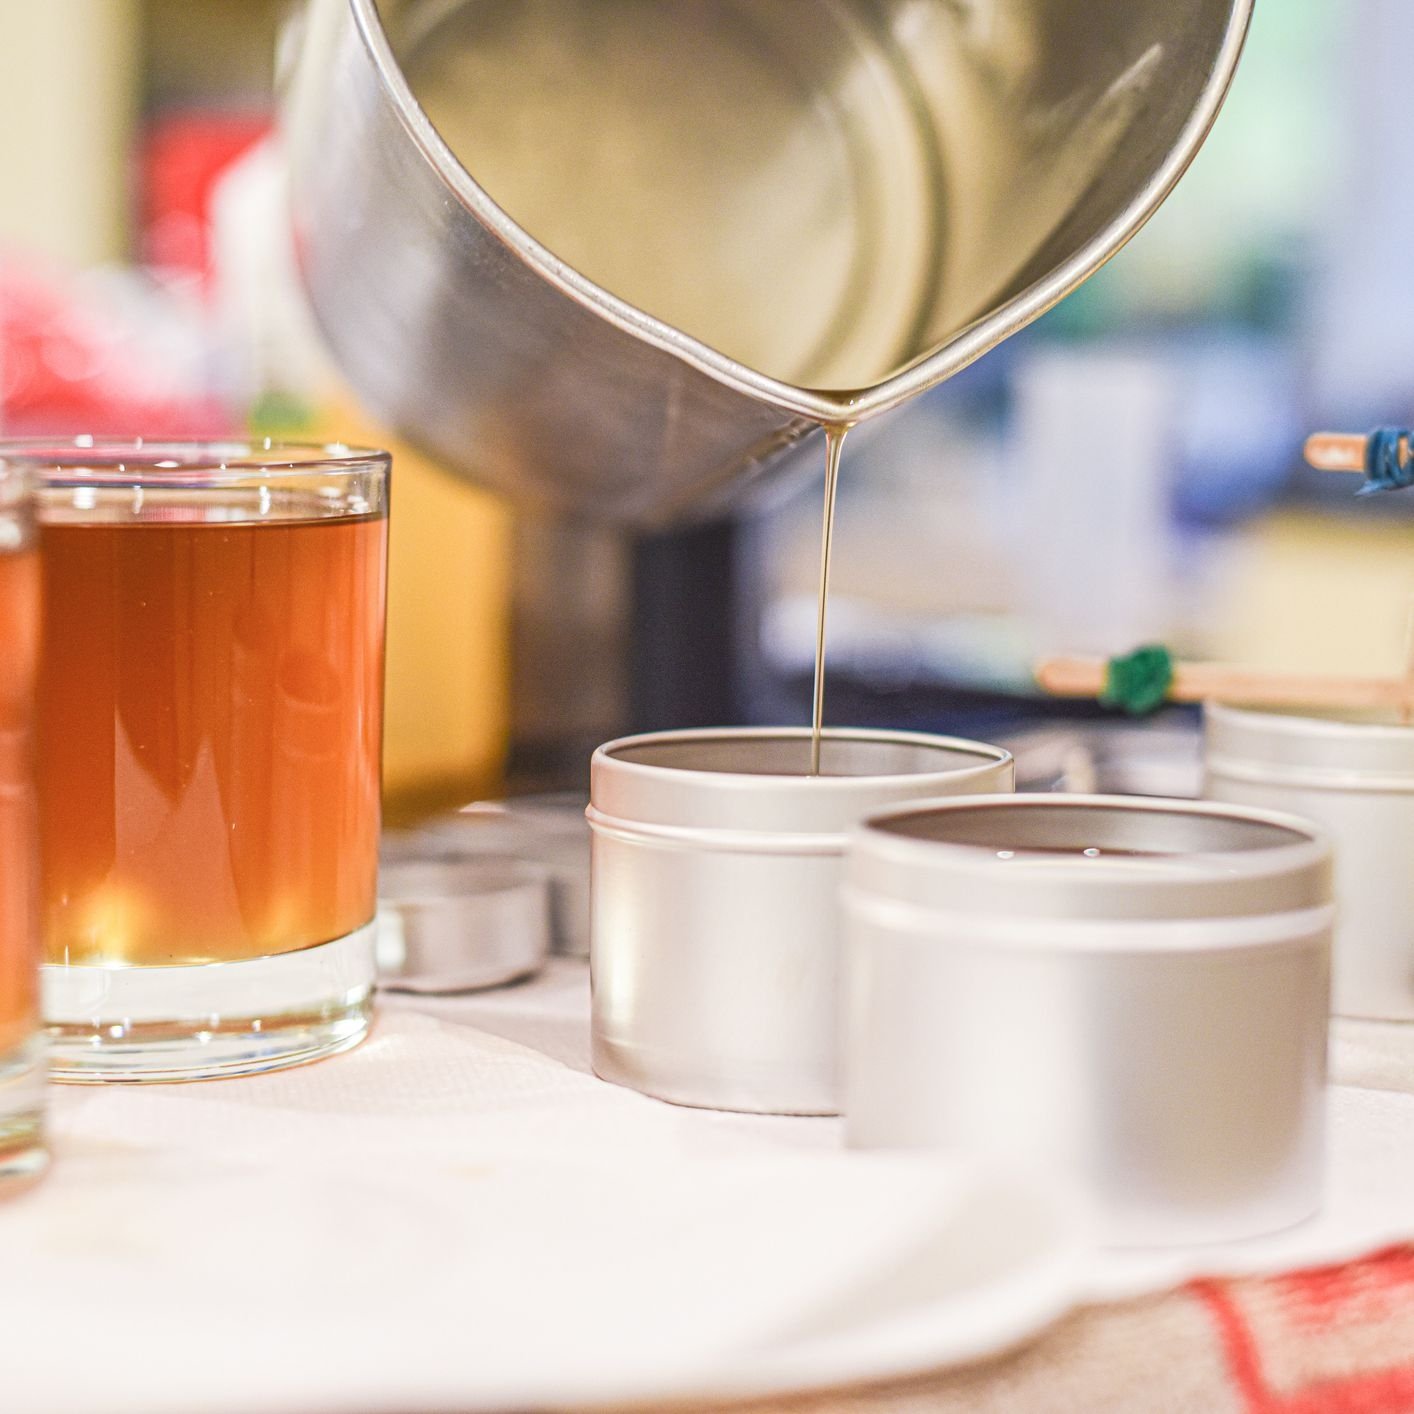
Paraffin Wax Candles: Paraffin wax is one of the most popular materials used for candle making because it produces consistent and long-lasting flames. Making them involves heating this kind of wax and combining it with dyes, fragrances, or essential oils to create a unique scent and colour combination that you love. Once this mixture has cooled, simply place your desired wick at the centre of a container filled with heated liquid paraffin before pouring over your coloured mixture and leaving it to cool completely.
Beeswax Candles: Candles made from beeswax have antiseptic benefits – which means they cleanse bacteria from the environment – in addition to emitting an earthy aroma when lit. Making them begins with melting pieces of beeswax evenly in order to ensure that all parts blend together smoothly before continuing on with adding essential oils for fragrance if desired at this stage (optional). Then just pour this mixture over pre-made molds or jars/containers where a wick was already placed inside and leave it overnight until solidified.
Soy Wax Candles: Soy wax candles offer an eco-friendly alternative compared to other types as they are made from natural materials that are sustainable and renewable resources – perfect if you’re looking for something guilt free! To make these particular candlesticks first melt flakes or cubes down in a double boiler before adding any desired fragrances or essential oils here as well (again optional). Once finished mixing together thoroughly pour over moulds, add wicks if needed yet again (optional) before leaving them overnight or up to 48hrs until fully set – enjoying every second!
History
Design candles have come a long way since they first appeared during antiquity. During ancient times, designs were applied to clay or stone candles made of tallow and beeswax. Later on, in the Middle Ages, cast candles became popular, incorporating creative designs in their molds. With the invention of paraffin wax in 1850, candle design began to expand drastically with new shape and color options.
Developments in candlemaking continued over the next 400 years”from dipped candles that featured intricate patterns to those molded with carved reliefs and images. By 1900s mass-produced candles had become available resulting in a wide array of shapes, sizes and colors becoming available for consumer use.
Designers and craftspeople reimagined traditional candlemaking into works of art with additional touches like botanical accents, lace embellishments, ribbons, and scented oils this further spurred the growth of design candle making as both an art form and a means of decoration .
In modern times technology has enabled manufacturers to move away from manual processes for creating design elements such as embossing or molding shapes into the wax resulting in mass-produced products been able to incorporate this intricate details even on a large scale. This has also revolutionized color production offering vibrant hues along with glass or porcelain vessels which allow light cast creative imagery onto walls when lit – enthralling gatherings and special occasions alike with custom designed pieces that breathe new life into flame craftsmanship!
Basics
Selecting a candle medium is an important step in the process of making candles. Candle mediums can be synthetic, natural, or a blend of the two. Natural waxes are often chosen for their aesthetics and biodegradability, but keep in mind that some naturally derived waxes may not be suitable for scent. Synthetic waxes are designed to hold scent and offer more flexibility with wear and tear, color options, and inclusion of additives like stearic acid. In addition to selecting a proper wax mix it is also important to select a wick that pairs well with the chosen medium. The type of wick selected should match up with the density and melting point of the wax as to maximise burn time and prevent uneven burning or blooming (a phenomenon whereby excess wax pools at the bottom).
Finally, it is important to choose a good aroma for your candle as this contributes towards creating an ambient atmosphere. Choose essential oils based on therapeutic effects or unique fragrances depending on what you plan on using your candles for (aromatherapy vs decorative) while making sure they pair well with your chosen candle medium. For instance floral scents match best with soy candles while spicy scents pair best with beeswax candles.
Inspiration
Design candles making is a creative and rewarding craft. From coming up with your own ideas, to selecting holders and wax or vegetable-based oils, you can design custom candles that reflect your style, express your creativity, and bring beauty into any space.
When it comes to choosing the right style of candle for you and your space, there are endless possibilities. Start by exploring the different types of candles available: scented and unscented, long-burning pillar candles, tapers and tealights, floating candles in different sizes and shapes. Consider the color schemes that appeal to you”anything from traditional neutrals to bold brights”as well as size variations that suit whatever area you have in mind for these artful pieces.
Once you’ve chosen the style of candle for your design project, look into materials needed for making them. Will you opt for soy wax or paraffin? What about a specific scent oil to add unique aromatherapy benefits? Or maybe a container wax formulated with fragrance components that won’t migrate out of their vessel?
You could even add embellishments like dried flowers or decorative herbs for extra flair without compromising the burning performance of your design candle creations. Finally, if after all this effort you still want even more customization options then adding labelling or branding designs is always an option too! With just a bit of forward planning anyone can make fantastic candles they’ll adore!
Tools
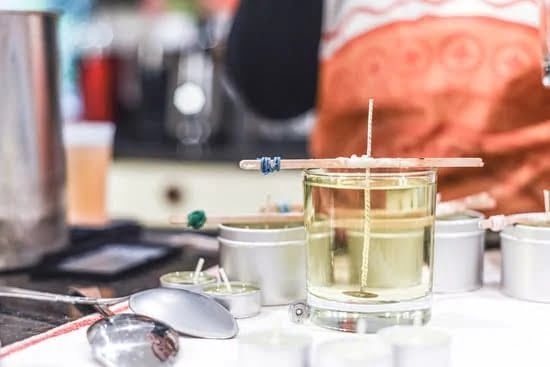
Creating design candles requires a few essential tools including wax melting pots, thermometers, molds or custom holder for the candlewicks, fragrances or essential oils to infuse with the candles, coloring dyes if desired, wicks and anchors to hold them in place, scissors for trimming the wicks after pouring the melted wax into their holders, and safety equipment such as an apron and gloves. Other helpful tools include a funnel that makes it easier to pour the scented wax into its holders; a stick or dowel to help position the wicks before pouring the wax; and perhaps most important, a plug-in timer to alert you when you need to check on your creations.
Tips & Tricks
When it comes to achieving perfectly centered, perfectly shaped and scented design candles, the key is to plan ahead and practice good technique. First and foremost, you’ll need quality candle-making supplies such as wax, wicks, molds, and fragrances. For a perfect center-wick design candle you must select the right size and length of wick for the candle being made. Before pouring the liquid wax into the mold or container it’s advisable to either use a wick sticker or glue stick (both are readily available in most craft stores) and gently press on the bottom of the container forming an indentation around the desired wick position – this will ensure a centered wick when pouring your hot wax.
As for getting perfectly shaped candles with no air pockets or craters; good temperature control is essential. Generally speaking wax should be between 120-130 degrees Fahrenheit – too hot means bubbles and craters in your finished product but if the temperature is too low the result won’t be clean releases from its mold or container which can potentially ruin your product. To keep your heated containers warm while pouring you could use electric warmers or just gather multiple separate heated containers together to keep each other warm throughout their individual pours. Last but not least consider using three part potpourri/soap scent blends as experimental scents to achieve optimal scent throw results with each individual design candle.
Finishes & Enhancements
Design candles making provides a unique way to create beautiful and special decorations for celebrations, home décor, or gifts. Every candle is one-of-a-kind, due to the endless possibilities of finishes and enhancements available to enhance their beauty and customization. With a few basic supplies and some imagination, you can turn plain candles into beautiful art pieces.
Finishes and enhancements are an integral part of candle designing. Adding color will give each candle its own look. There are various methods available for dyeing wax depending on the hue desired; liquid wax dyes, powdered pigments, oil or powder based mica mixes, micas in both liquid or powder form can be used. Layering waxes may also be employed for interesting texture effects; these should be of different colors so that the layers may show when the candle is lit up. And bling like glitter or decorative metallic chips can add sparkle to your design candles!
Final Touches
Once you’ve used pouring wax, wicks, molds, and additives to create the design candles of your dreams, it’s time to move on to the last steps: adding final touches. Depending on the type of candle you’re making, these can vary significantly.
The most important step is to make sure your candles look beautiful and are long-lasting. This could mean applying a protective varnish like Candle Glaze or Dip & Seal Wax Varnish. Both of these products give a glossy sheen which helps prevent fading from sunlight exposure or dripping from heat during burning. It’s also advised that you let the wax cure for at least 48 hours before doing this step so the product bonds better with the wax.
In addition to protecting your candles with a wax coating, consider other embellishment techniques like airbrushing or adding colorful dyes to create new shades and hues. You may want to cut neat lines in the wax using tweezers and a thin sharp knife as well as sticking decals onto the surface. Swirling melted wax over wet paint is another great way to make intricate designs in custom colors. Also consider tying ribbons around your candles or adorning them with dried flowers, shells, pinecones, sequins and more!

Welcome to my candle making blog! In this blog, I will be sharing my tips and tricks for making candles. I will also be sharing some of my favorite recipes.


