Introduction
Candle making is a craft that has been around for centuries. Its beginnings can be traced back to the ancient Egyptians, who used beeswax to make small, cylindrical candles in 4,000 B.C. Today, it is estimated that the candle making industry is worth billions of dollars worldwide.
Candles have gone on to play an important part in various cultures and religions over the years. The Ancient Greeks used sacred candles during religious observances, while the Romans lit candles on altars to idols as a symbol of devotion and worship. During medieval times, beeswax candles were used to bring light into churches and homes due to the lack of lighting technology available at that time. In some countries such as China and Japan, they are still used as an essential part of their culture and rituals today.
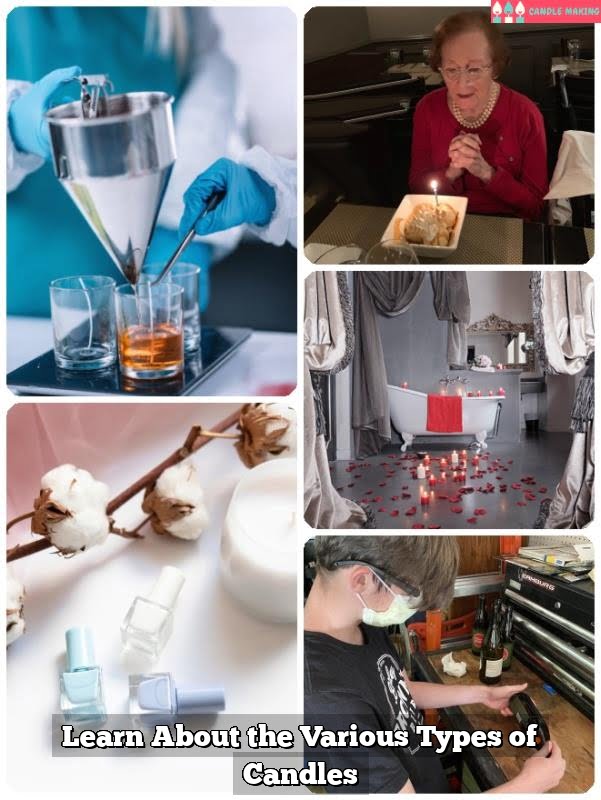
The different types of candles used today are based on several factors; their shape (tapers, columns or pillars), their size (small votives or large pillars) and their material composition (beeswax, paraffin wax or soy wax). Different techniques have also been developed over time for decorating and scenting them like dipping them in colored wax or coating them in glitter or fragrance oils.
For those interested in learning how to make their own homemade candles using materials readily available from most craft stores, there are plenty of online tutorials available offering easy step-by-step instructions for various projects ranging from beginners’ levels up to more complex designs for expert level crafters.
The Benefits of Candle Making
Candle making can be an incredibly therapeutic and creative activity. Through the art of candle making, you can express yourself through the colors that you choose, scents or fragrances that add to your design, and shapes or types of wax that make each candle unique. Not only is it a calming activity; working with your hands to create something beautiful also has positive mental benefits such as increased confidence, boost in self-esteem, creative expression and improved concentration. The satisfaction of completing a beautifully created piece will bring a great sense of accomplishment while adding a touch of beauty to any room!
Types of Candle Making
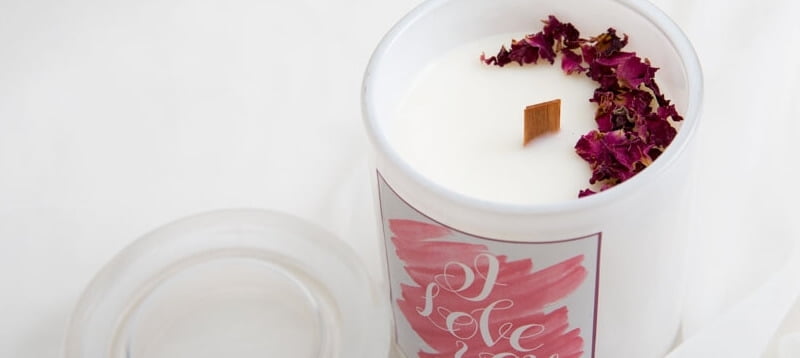
The most common type of candle making is called container or containerless wax melting. This involves using an open flame to melt wax and then pouring or injecting the molten wax into a container, like a metal or glass candle jar. The most important part of this type of candle making is selecting the right wick and wax.
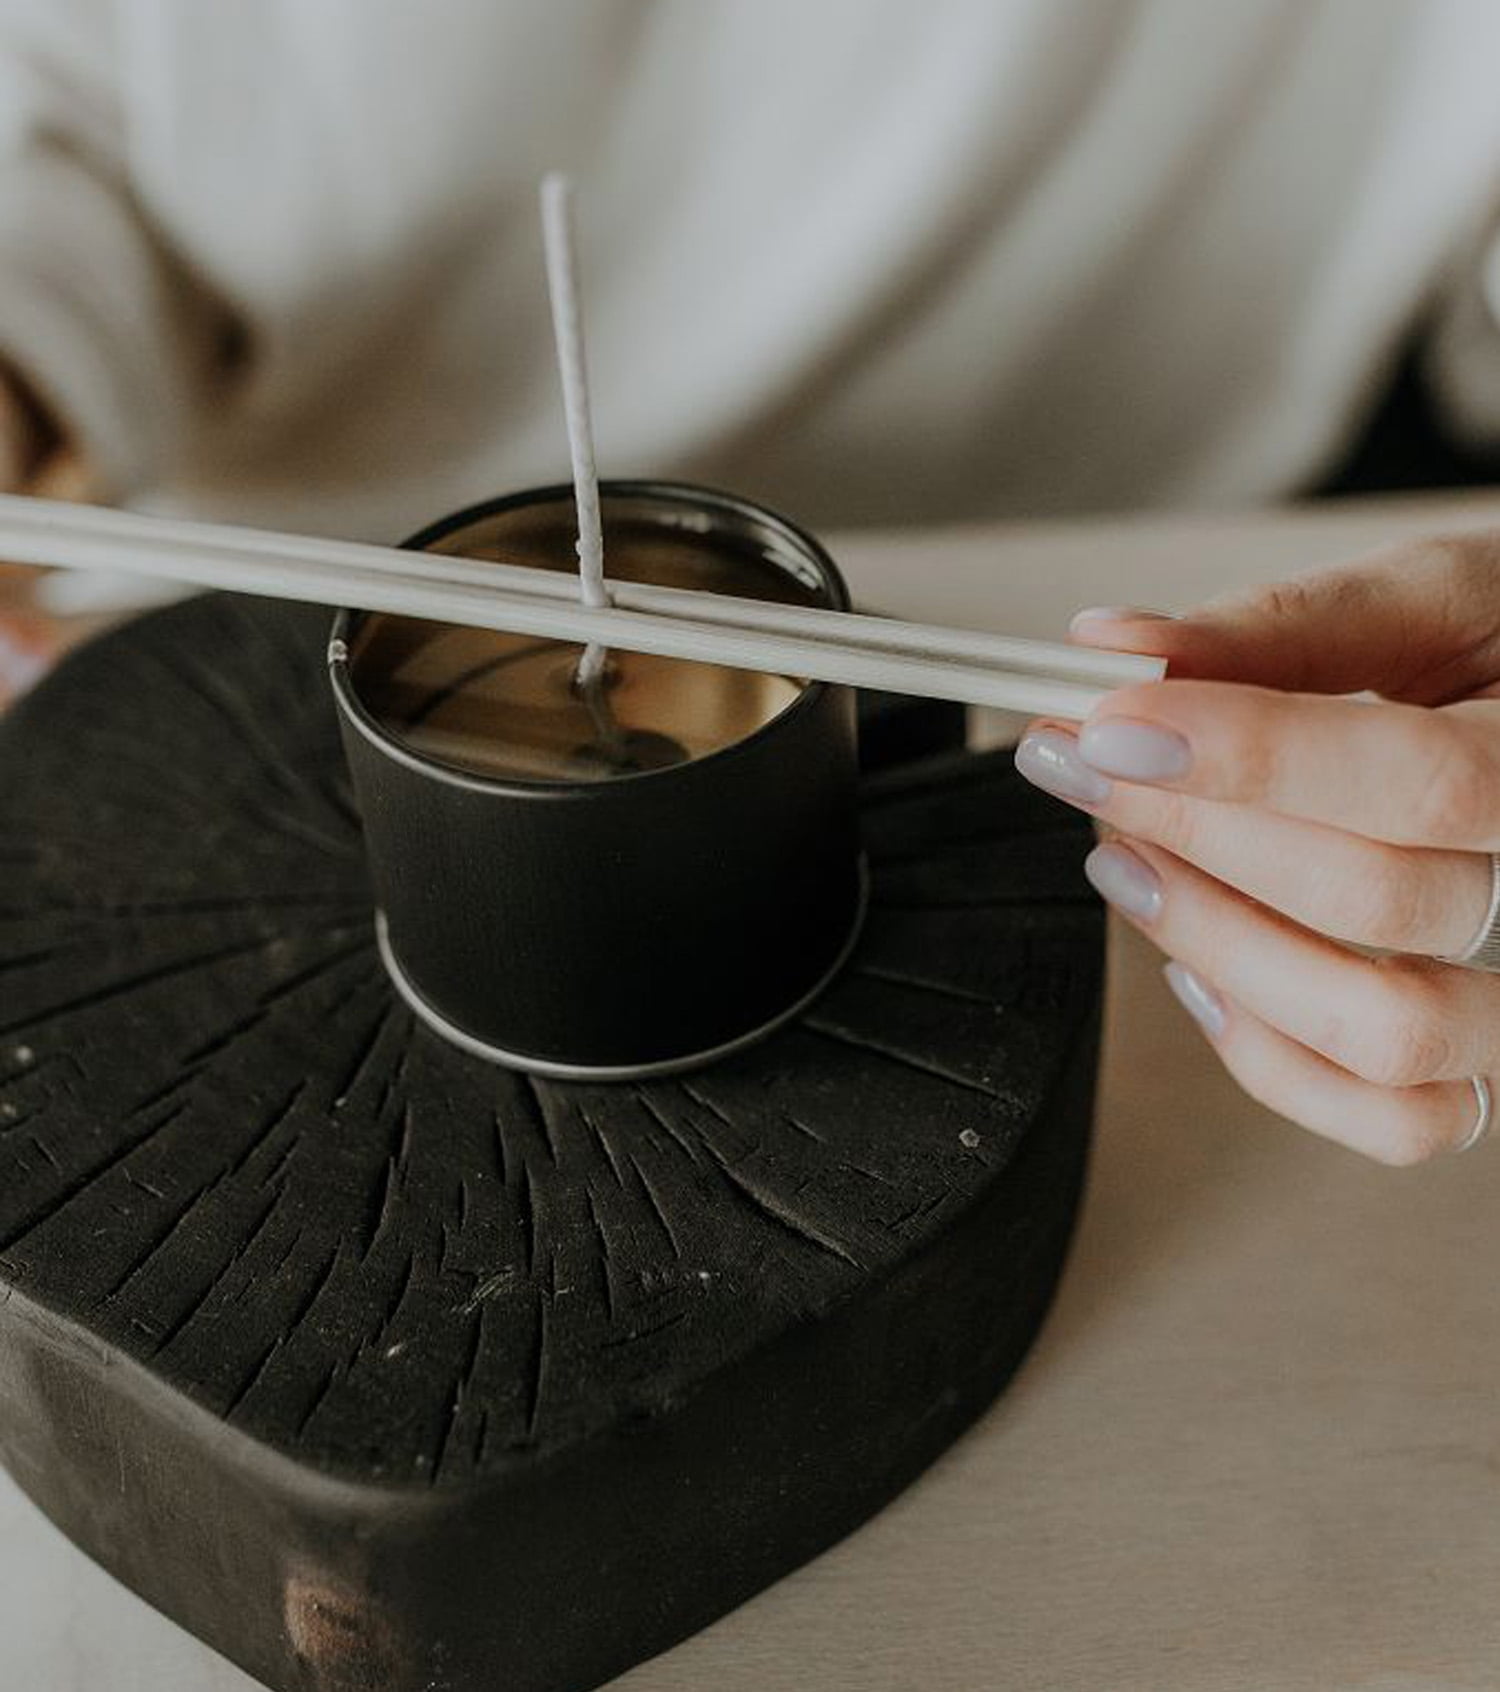
There are several types of wicks available for container candle making, including bamboo and cotton core wicks. Bamboo wicks are often preferred because they produce less smoke and soot, while cotton core wicks allow containers to be filled all the way to the top with wax, ensuring maximum burning time and minimizing waste.
When choosing a wax for your candles, you can select from a variety of types including paraffin, soy, beeswax and vegetable based waxes like votive candles. Paraffin is made from petroleum-derived hydrocarbons; it’s usually very affordable but can create smoke problems if the wick has not been properly extinguished after use. Soy is a renewable resource that burns cleanly with little soot; however it can be more difficult to work with as it has a significantly lower melting point than paraffin waxes. Beeswax also burns cleanly and generally needs fewer additives than other types of waxes; it is also pricier since it requires hives to be maintained in order to harvest the honeycomb wax material needed for candle production. Finally vegetable-based votives are made from natural vegetable oils such as coconut, palm and soybean oil; these give off a strong scent but will require some type of scenting agent in order to make them more fragrant when burning.
Before starting any type of candle making endeavor it’s important to weigh out each type’s pros and cons in order to find the most suitable option for your project goals.
Basics of Candle Making
1. Preparing your workspace: Before diving into the candle-making process, it is essential to set up a workspace that is organized and safe. Make sure that you have all the necessary supplies laid out and easily accessible. Prepare a station with protective gear which can include an apron, nitrile gloves, goggles, and a face mask to protect yourself from any hot wax or droplets that may be flying around during the process.
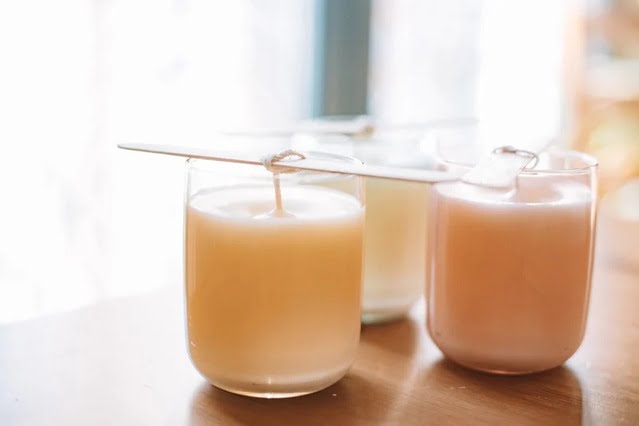
2. Measuring: To start off with creating your desired type of candle, measure out the correct amounts of wax, fragrance oil, dye chips if needed, and wicks (adjusted to size depending on the container). Use a kitchen scale for precise accuracy as well as measuring cups specifically used for this project only.
3. Melting: Melting down wax should be done with extreme caution since it has to reach specific temperatures in order for everything to work properly. Here, you will need an open-flame double boiler (which can range from two saucepans with boiling water inside one) or some type of electric melter/furnace depending on what size you’re working with; always make sure surfaces are heatproof! As soon as temperature reaches between 120F – 140F (check via thermometer), pour contents slowly into another container already fitting wick sizes.
4. Scenting & Coloration: Once wax is successfully melted & poured into holding vessel(s), add desired fragrances along with small slivers of dye chips in order to customize color preferences within each candle. Always triple-check measurements prior to pouring content; while it doesn’t have to be 100% exact measurements , you still want all ingredients working properly together so nothing gets wasted!
5. Setting & Cooling: After scenting & coloring, cool time is estimated around 3 hours depending on surrounding environment & factors outside of control; do not disturb or move candle during this time as results may not be fully satisfactory due to improper curing conditions! Once you are clear for launch ” allow candles to rest for 1 day minimum before burning or gifting them away in order to make sure everything has worked correctly both inside & out!
Essential Tools for Candle Making
Molds: Molds are used to shape candles and come in many different sizes and styles, such as jars, tins, silicone molds, and pillar molds. If a specific shape or design is desired for the candle, silicone molds tend to be the most versatile. Another great benefit of using molds is that they can be reused several times if desired.
Thermometers: Thermometers are one of the most important tools for candle making as they help to ensure that the temperature of wax or other materials does not rise too high or fall too low – both have serious negative effects on the resulting candle’s texture and strength. They should be calibrated regularly to guarantee accuracy.
Wick Cutters: As their name implies, wick cutters are meant to cut wicks precisely without creating any jagged edges – this helps ensure proper burning performance of the candle by producing an even flame.
Scissors/Clips/Tapes: Depending on the type of wick being used, extra supplies such as scissors, clips or tapes may be necessary. For example; paperclips may need to be attached to core cotton wicks so that they stay in place while burning. Adhesive tapes can also help with wick placement if needed.
Safety Considerations for Candle Making
Safety is of the utmost importance when making candles. To help ensure a safe environment, here are some safety tips to consider:
– Always use open flame with caution. Keep all combustible materials away from any and all open flames, including wicks of lit candles.
– Wear protective clothing such as goggles, an apron, and gloves while melting wax. This will help protect your skin from hot wax splatters or accidental spills.
– Melting wax produces potentially harmful fumes that can be dangerous if inhaled in large quantities. Use good ventilation and always burn in a well-ventilated area. If necessary, use a fan to blow fumes away from your work environment.
– When working with different candle materials such as paraffin or beeswax, be aware of their different burning temperatures and adjust accordingly. Fire burns differently depending on the material used so keep this in mind when making or burning candles.
– Lastly, when it comes to storing supplies or finished products, take care to store them safely in cool and dry locations to prevent the risk of fire or wax discoloration due to too much heat exposure.
Scents and Colors to Use in Candle Making
Using a combination of different scents and colors can create unique and interesting effects in candle making. Different scents have a variety of associated benefits and meanings, like calming lavender or uplifting citrus. Different colors also play a role in creating moods, from the energizing yellow to the soothing blue.
By combining essential oils with beeswax or soy wax, different aromas and fragrances can be created to fill your home with uplifting and inviting vibes. Furthermore, this combination can result in a variety of hues that enhance the aesthetic quality of a space. For example, blending peppermint essential oil with yellow soy wax will create an effervescent lime color. On the other hand, incorporating sandalwood essential oil into red beeswax gives off a pleasant orange hue that has calming tones to it.
Additionally, using differently colored wicks is another way to achieve creative effects on your candles. Using types of natural cotton wicks or lead-free coreless wicks are the preferred materials for candle makers as they will give your candles longer burning times and healthier results for you as well as your environment. For instance, inserting navy blue coreless wick into swirled white-and-red yeast-based wax can produce awarm orange color along with notes of woody spice when lit up!
Ultimately, depending on your own unique vision or preference you can explore all types of different scents and colors to see what combinations work the best for you! Have fun experimenting with different fragrances and hues until you come up with one that suits you perfectly!
Creative Uses of Candle Making
Candle making has become a popular hobby for those who love to create beautiful and unique items. It can also be used to create some amazing home decor, gifts, and even art pieces that can be displayed. There are many different types of candles that can be created using wax, including tea lights, jar candles, taper candles, votive candles, and more. Additionally, wax can be infused with essential oils or colored with unique dyes to produce one-of-a-kind pieces of artwork. For example, marbled or swirled designs in the surface of a candle creates a stunning visual effect due to the contrast between the various colors. Floral designs can be crafted by combining different layers of petal shapes onto a candle’s surface with strategically arranged wax shavings. Even layered rings of colorful paraffin around a single wick form an interesting spiral formation for decorative purposes. No matter which type of candle is preferred for home crafting projects ” from simple designs such as rustic beeswax tapers to more advanced creations like twisted pillars or geometric cubes ” this crafty activity is guaranteed to yield eye-catching and beautifully scented results!
Expert Advice for Candle Making
Candle making is something that has been around for centuries, but recent popularity in the craft has seen a surge of different types and styles of candles becoming popular. The exciting thing about candle making is that there are so many different approaches you can take, from simple beeswax tea lights to complex sculpted figurines. With so many choices, it can be hard to jump-start a creative process or know where to even begin when exploring this hobby.
Having an understanding of what materials are available and their benefits can make your foray into candle making easier and equally enjoyable. wax options include paraffin wax, soy wax, beeswax, and palm wax, each with their own unique pros and cons . Additionally, the type of wick you use will vary depending on the material you choose ” some require coreless or flat braided wicks while others might need cotton wicks with metal cores. The type of mold used will also influence the outcome of your final product; traditional glass containers may suit simple shapes such as tapers but other forms of intricate designs might require silicone molds.
The key to success when starting out in candle making is to find a reliable source for information on techniques and materials so you can become familiar with processing the different types of elements involved in the process. Publication reviews, instructional video tutorials online, or talking to experienced professional candle makers locally could be great ways to gain more knowledge before proceeding with your first attempt at creating a masterpiece .
Concluding Thoughts
Candle making can be a fun and creative hobby. There are many different types of candles that you can make, such as soy, beeswax, paraffin, gel, wax melts, and wax crayons. Each type of wax has its own unique properties and can be used in a number of ways. Before you begin candle making, it is important to understand the different types of waxes available and the best methods for working with them. Additionally, it is also important to understand maintenance tips, like proper wick sizing, candle trimming and how to store your finished creations in order to maximize burn time and prevent sooting. Experimenting with different types of candle making will allow you to gain experience and eventually create beautiful pieces that reflect your personal style.

Welcome to my candle making blog! In this blog, I will be sharing my tips and tricks for making candles. I will also be sharing some of my favorite recipes.


