Introduction to Making Candles
Making your own candles can be a fun and rewarding experience. There is something very satisfying about creating and enjoying an object you have crafted with your own hands. Knowing that you made something useful or beautiful for yourself or for a loved one is an enriching feeling.
With the right ingredients, some basic supplies and following safety instructions, anyone can make beautiful and fragrant candles in the comfort of their home. There are different types of candles out there, but all of them fall into three main categories: paraffin wax, soy wax, and beeswax candles. Paraffin wax is probably the most common type of candle wax, made primarily from petroleum by-products like mineral spirits and kerosene. Soy wax is made from hydrogenated soybean oil and burns longer than paraffin, while being more environmentally friendly. Beeswax includes another layer of options because there are two types; pure beeswax or blended with other oils to create a harder candle that lasts longer.
Safety should be top priority when making candles since they use flammable materials like wax and wicks with their associated perils if the proper precautions aren’t taken – like no open flames (except for melting purposes), proper ventilation such as an exhaust fan in the stove area when boiling water for DIY projects, positioning burners away from high traffic areas to make sure curious hands aren’t near hot surfaces, etc..
Whether you make them as gifts for friends or family members or just appreciate having homemade decorations around your house- once you get used to it, candle-making will be both a fun hobby and relaxing therapeutic activity!
Gather Materials
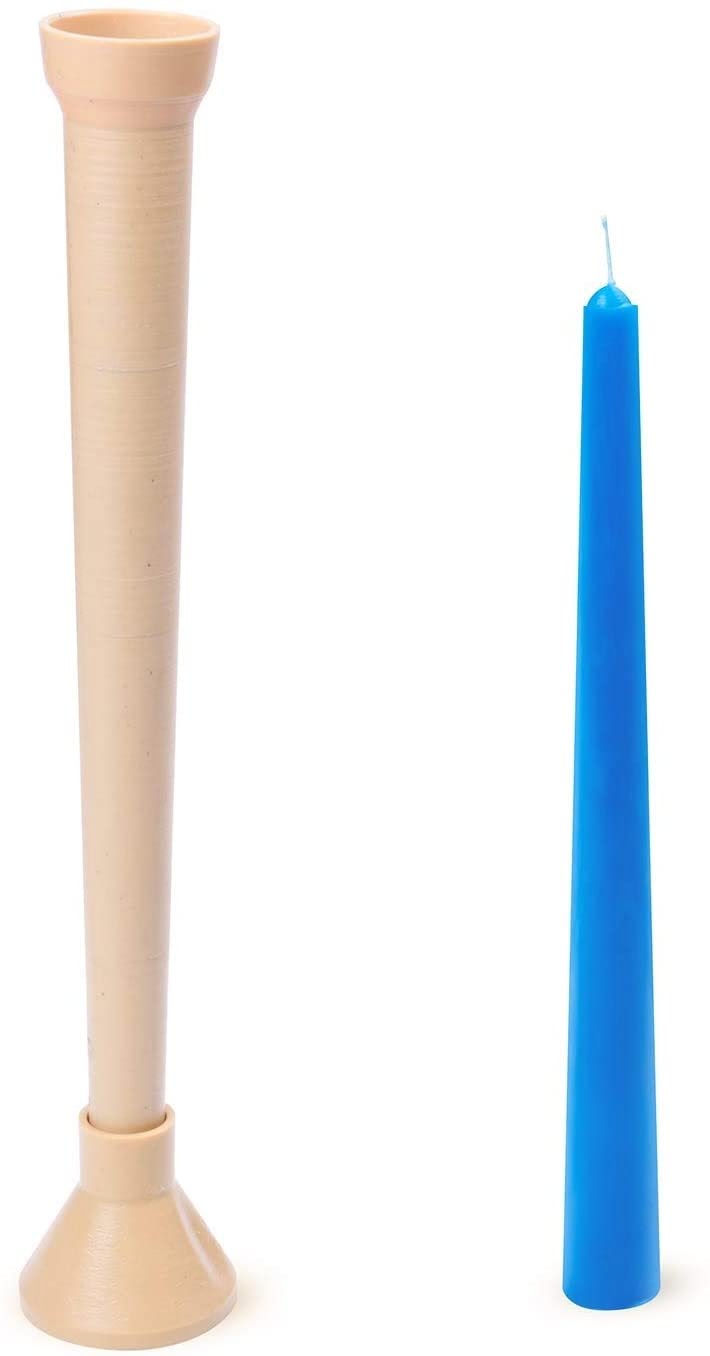
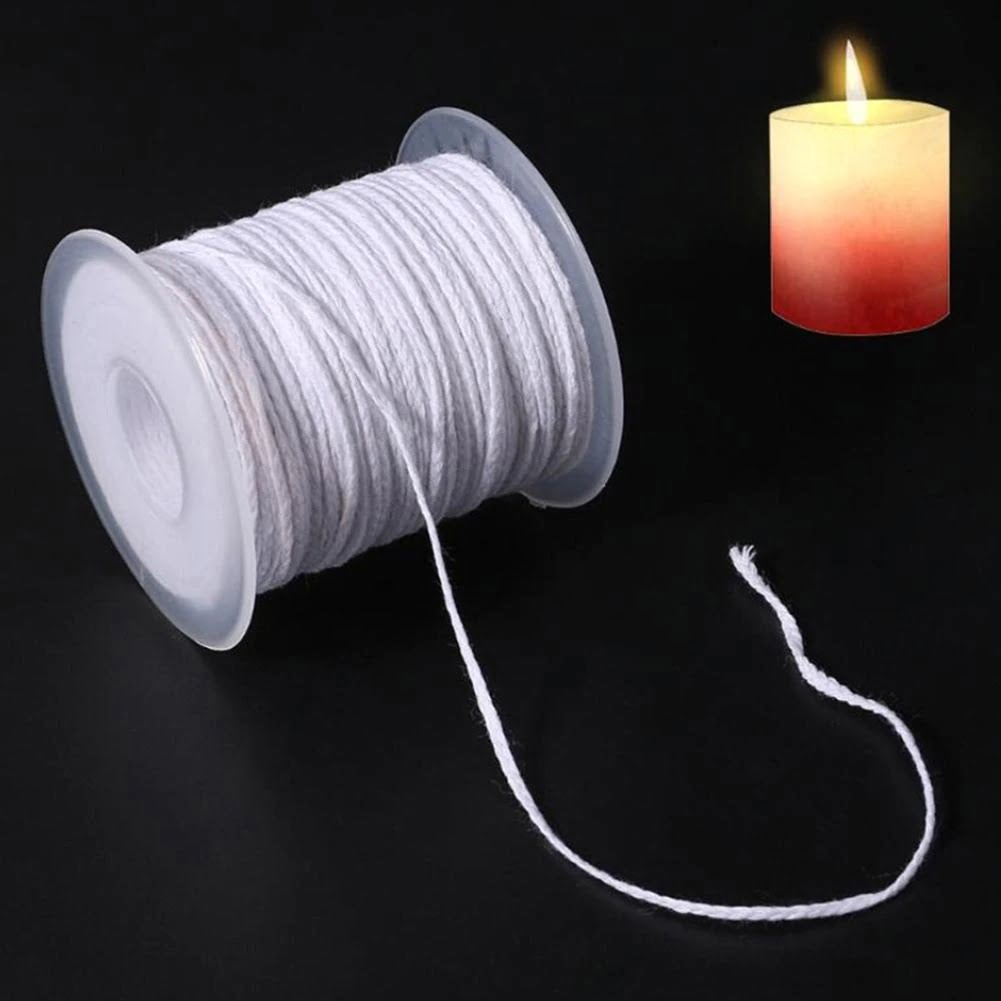
Before you can begin making your own candles, you’ll need to gather the necessary materials. Depending on what type and style of candle you wish to make, the supplies may vary. You’ll need wax, wick material (such as cotton or hemp), a melting pot with a pouring spout, fragrance or essential oils, colorants, molds, wick anchors and safety equipment (such as goggles). Many stores sell pre-packaged kits with almost everything you need included. You can also search online for candle making supplies; Etsy is a great site for finding handmade supplies created by craftspeople. If you are looking for eco-friendly choices, look for waxes made from soy beans or beeswax harvested safely from beekeepers; natural fiber wicks such as cotton and hemp; water-based dyes rather than petroleum based dyes; recycled glass containers and containers that are biodegradable such as paperboard tins. And when it comes to fragrances, choose essential oils which won’t contain any phthalates or synthetic colors or scents.
Prepare the Wax
The first step in making candles is to prepare the wax. There are many different types of wax available on the market that are suitable for candle making, such as paraffin, beeswax, vegetable waxes and soy wax. Each type of wax has its own unique characteristics which can affect the performance and texture of your finished candle. It is important to check the instructions that come with each particular wax blend and make sure you use the right melting temperature. You can also add a dye to the melted wax to create a unique color for your candle. Depending on your preferences and needs, you can choose from a variety of pre-made blends or mix together two or more types of wax yourself. Consider factors such as burning time, scent throw and strength when deciding which kinds of wax are best for your creation.
Adding Fragrance
Adding fragrance to a candle is one of the best ways to spice it up and create an interesting smell for your home. Perfumes and essential oils are the two most popular options for creating unique scents in candles. They come in a variety of different types and smells that range anywhere from floral, fruity, woody, musky, or amber-like aromas. When deciding how much fragrance to add to your wax, you should consider the size of your candle vessel as well as its burning time. A small 2 ounce container will require a lesser amount of fragrance than one six times its size burning twice as long. It’s recommended that approximately 0.8 to 1 ounces of oil should be added per pound or 16 ounces total for larger containers like jars and votives. You may need less or more depending on the type of scent desired and also taking into consideration the strength or concentration you are going for when making candles.
Pouring the Wax
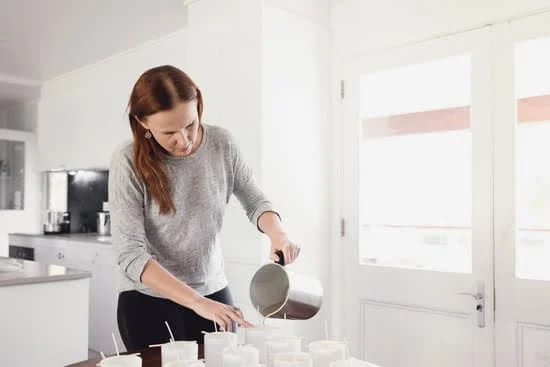
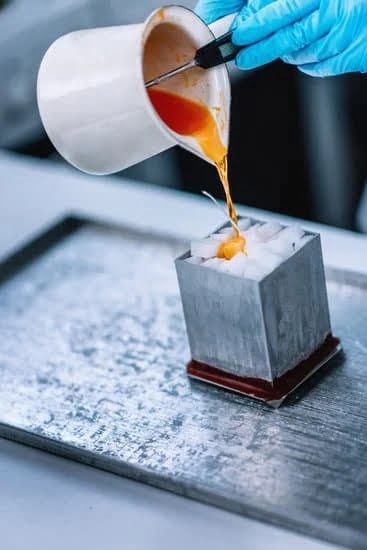
Pouring the wax to make candles is both exciting and rewarding! Before you begin, gather all of the items you’ll need including wax, molds, wicks, colorants, fragrances oils, double boiler (or soup can and a heat-resistant container), thermometer and safety equipment. Now that everything is in place, it’s time to get started!
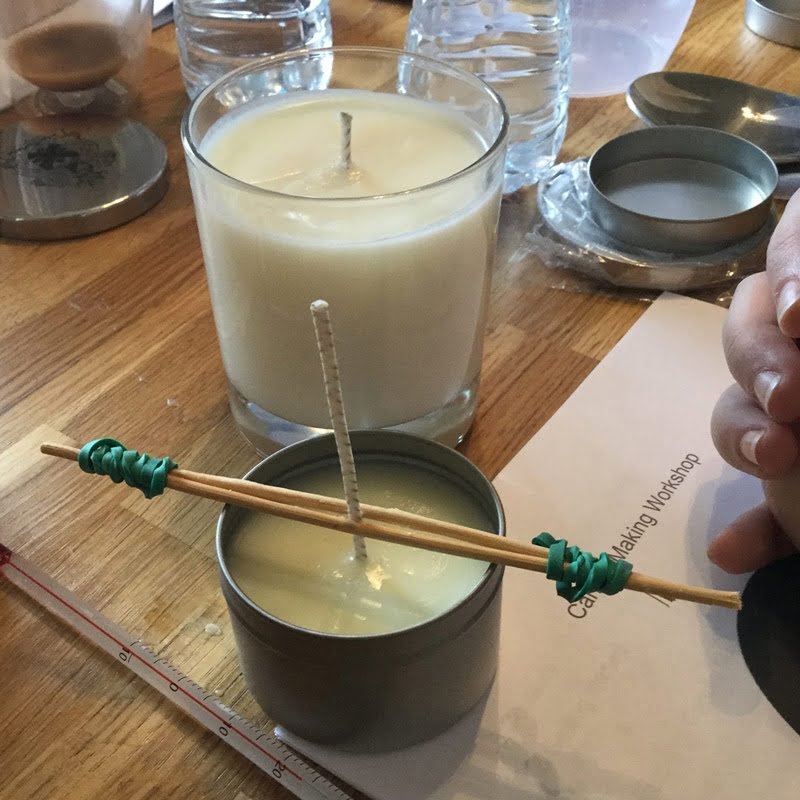
Begin by melting your wax. The most popular method for this is using a double boiler (or two pots of boiling water will suffice) over low heat. Do not leave the pot unattended -keep an eye on the temperature with a candy or cooking thermometer. Pour the melted wax into your molds at about 180 degrees Fahrenheit for best results. If you would like to create multi-colored layers of wax in your candle – after each layer has solidified slightly and yet remains molten underneath – pour another layer in a contrasting color to achieve this effect. Once you have it poured into the mold, leave it alone to cool off undisturbed in order to avoid clouding. You may also add fragrance oil at this stage. Start by adding 1/2 teaspoon per pound of wax or follow manufacturer’s suggestions if indicated and adjust as necessary according to your preference once you have made a test batch! Finally, after all layers are poured inside the mold – insert your pre-tabbed wick securely down into the center of each candle cavity when near solid temperature. Let each candle cool completely before handling or packaging it up for sale.
Cooling and Trimming
Once the candles have cooled, they need to be removed from the molds. Depending on which type of mold you used, this might be difficult. If using silicone molds, simply flip the mold over and push to release them. If using a traditional mold, carefully turn it upside down and tap gently on a flat surface until the candles fall out.
The next step is to trim the wicks before lighting. For best results, cut them to about ¼ inch of length with scissors or another cutting tool. If you want to prevent your candles from flickering and smoking, you should use a wick trimmer (which usually looks like two pliers). It helps keep the wick at the optimal length while burning. Once trimmed, stand your candles upright, light them and enjoy!
Finishing Touches
Decorating Candles: Decorating your candle is an opportunity to express your creativity and make them look professional. Many candle makers decorate their candles with fabric, ribbon, stones, paint, and wax shavings. You can also add a personalized label with the date of manufacture or other identifying features such as scent.
Packing and Shipping: Carefully package each candle individually to ensure that they arrive at their destination in perfect condition. Fragile items may require cushioning and/or bubble wrapping when using boxes for shipping. Keeping any scented candles sealed and away from strong fragrances is essential for maintaining the best possible product quality.
Safety Certifications: There are several agencies that certify candle safety. The National Candle Association follows strict standards related to the manufacture, distribution, testing and use of candles across North America. Their standards include compliance in developing safe products through certified performance testing laboratories such as Underwriters Laboratories (UL).
Conclusion
Making your own candles can be a fun and creative experience. To make your perfect candle, you first need to select the wax type you prefer. Next, pick out an ideal scent, either by experimenting with essential oil combinations or buying pre-made scented oils. Then, measure, melt and pour the wax into the specific mold you want to use. Once it’s cooled down and hardened, add a wick holder or clip of some sort and secure it in place at the bottom of your candle. Finally, hang your wick and trim it so that it’s level across the top of your candle before applying heat to straighten it. After you light it for the first time, let it burn until its entire surface reaches a melted liquid state before blowing it out—this will increase the burn time of your candle later on! Taking this step is actually beneficial for those who often host gatherings as well! Many businesses have specialized in candle-making with their own unique styles, aromas and components so feel free to check them out as well. Once you’re finished creating your custom offerings make sure to store them away from direct sunlight in airtight containers since they are sensitive and can breakdown easily during prolonged exposure to UV rays. Overall making candles is an enjoyable experience that everyone should try at least once whether for yourself or someone else!

Welcome to my candle making blog! In this blog, I will be sharing my tips and tricks for making candles. I will also be sharing some of my favorite recipes.

