Introduction
Welcome to your guide on DIY candle making. Candles fill a space with warmth and relaxation while adding your own personalised touches to your home. With the right supplies, anyone can make beautiful, unique candles right at home! A wide range of candle types, colors and scents are available to create a one-of-a-kind look that will instantly elevate any room. So let’s begin by gathering the tools and materials you’ll need for your DIY candle making adventure.
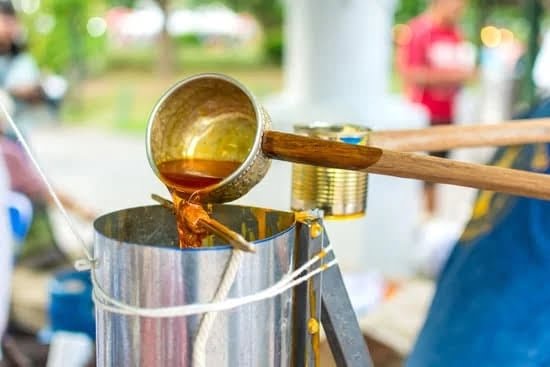
Once you have all your supplies, let’s get started making some beautiful handcrafted candles! To begin, pour wax flakes into a double boiler until the desired temperature is reached. This can take some time, so be sure to keep stirring regularly before moving on to add fragrance oil or dye depending on the type of candle you plan to craft. After this is all combined with medium heat, it is time to carefully pour your mixture into molds or containers using a ladle or pouring pot depending on the shape candle you want. It is important not Wick Centering Tools or thermometers during this process as this will ensure that your candles burn evenly and last longer without dripping.
When finally complete, you can customise them as much or as little as you want with paint and glitter etc & then enjoy the fruits of your labour! There’s nothing quite like having handmade creations around in the home! We hope these instructions inspire you & help create beautiful bespoke pieces that reflect your individuality & enhance any living space in no time at all!
Gather Your Supplies
Gathering your supplies for diy candle making can be a great way to start on your project. There are many things you will need to gather this includes: wax, wick, containers, dye, scents and an appropriate heat source. It is important to do proper research regarding cost when gathering supplies because it can have a large effect on the overall cost of the project. One way to save money is by purchasing in bulk as this tends to decrease costs in comparison to buying individual items. Another way to save money when gathering supplies is by using recycled containers such as glasses or tin cans instead of custom-made vessels and jars so that you don’t need to buy those. It is also good to research online stores and websites which offer discounted deals and discounts from time to time.
Preparing the Wax
When making candles, you will need to choose a wax. There are many different types of wax that can be used to make candles such as paraffin wax, soy wax, beeswax and vegetable (palm) wax. Each type of wax has its own characteristics and melting point. Paraffin may be the easiest to find, but it is not an eco-friendly choice; soy or beeswax is usually a better option for those wanting an environmentally friendly candle.
The best way to melt your chosen wax is in a bain-marie (a bowl placed over boiling water) or in a double boiler. The temperature should be kept at between 74°C (165°F) for beeswax and 110°C (230°F) for paraffin. If the temperature rises too high it can affect the colouring and fragrance of the candle, so it’s important to keep an eye on it while you’re melting. An easy way of doing this is by using a cooking thermometer. Once the melted mixture reaches the desired temperature, it’s ready to be poured into your moulds or containers.
Pouring the Wax
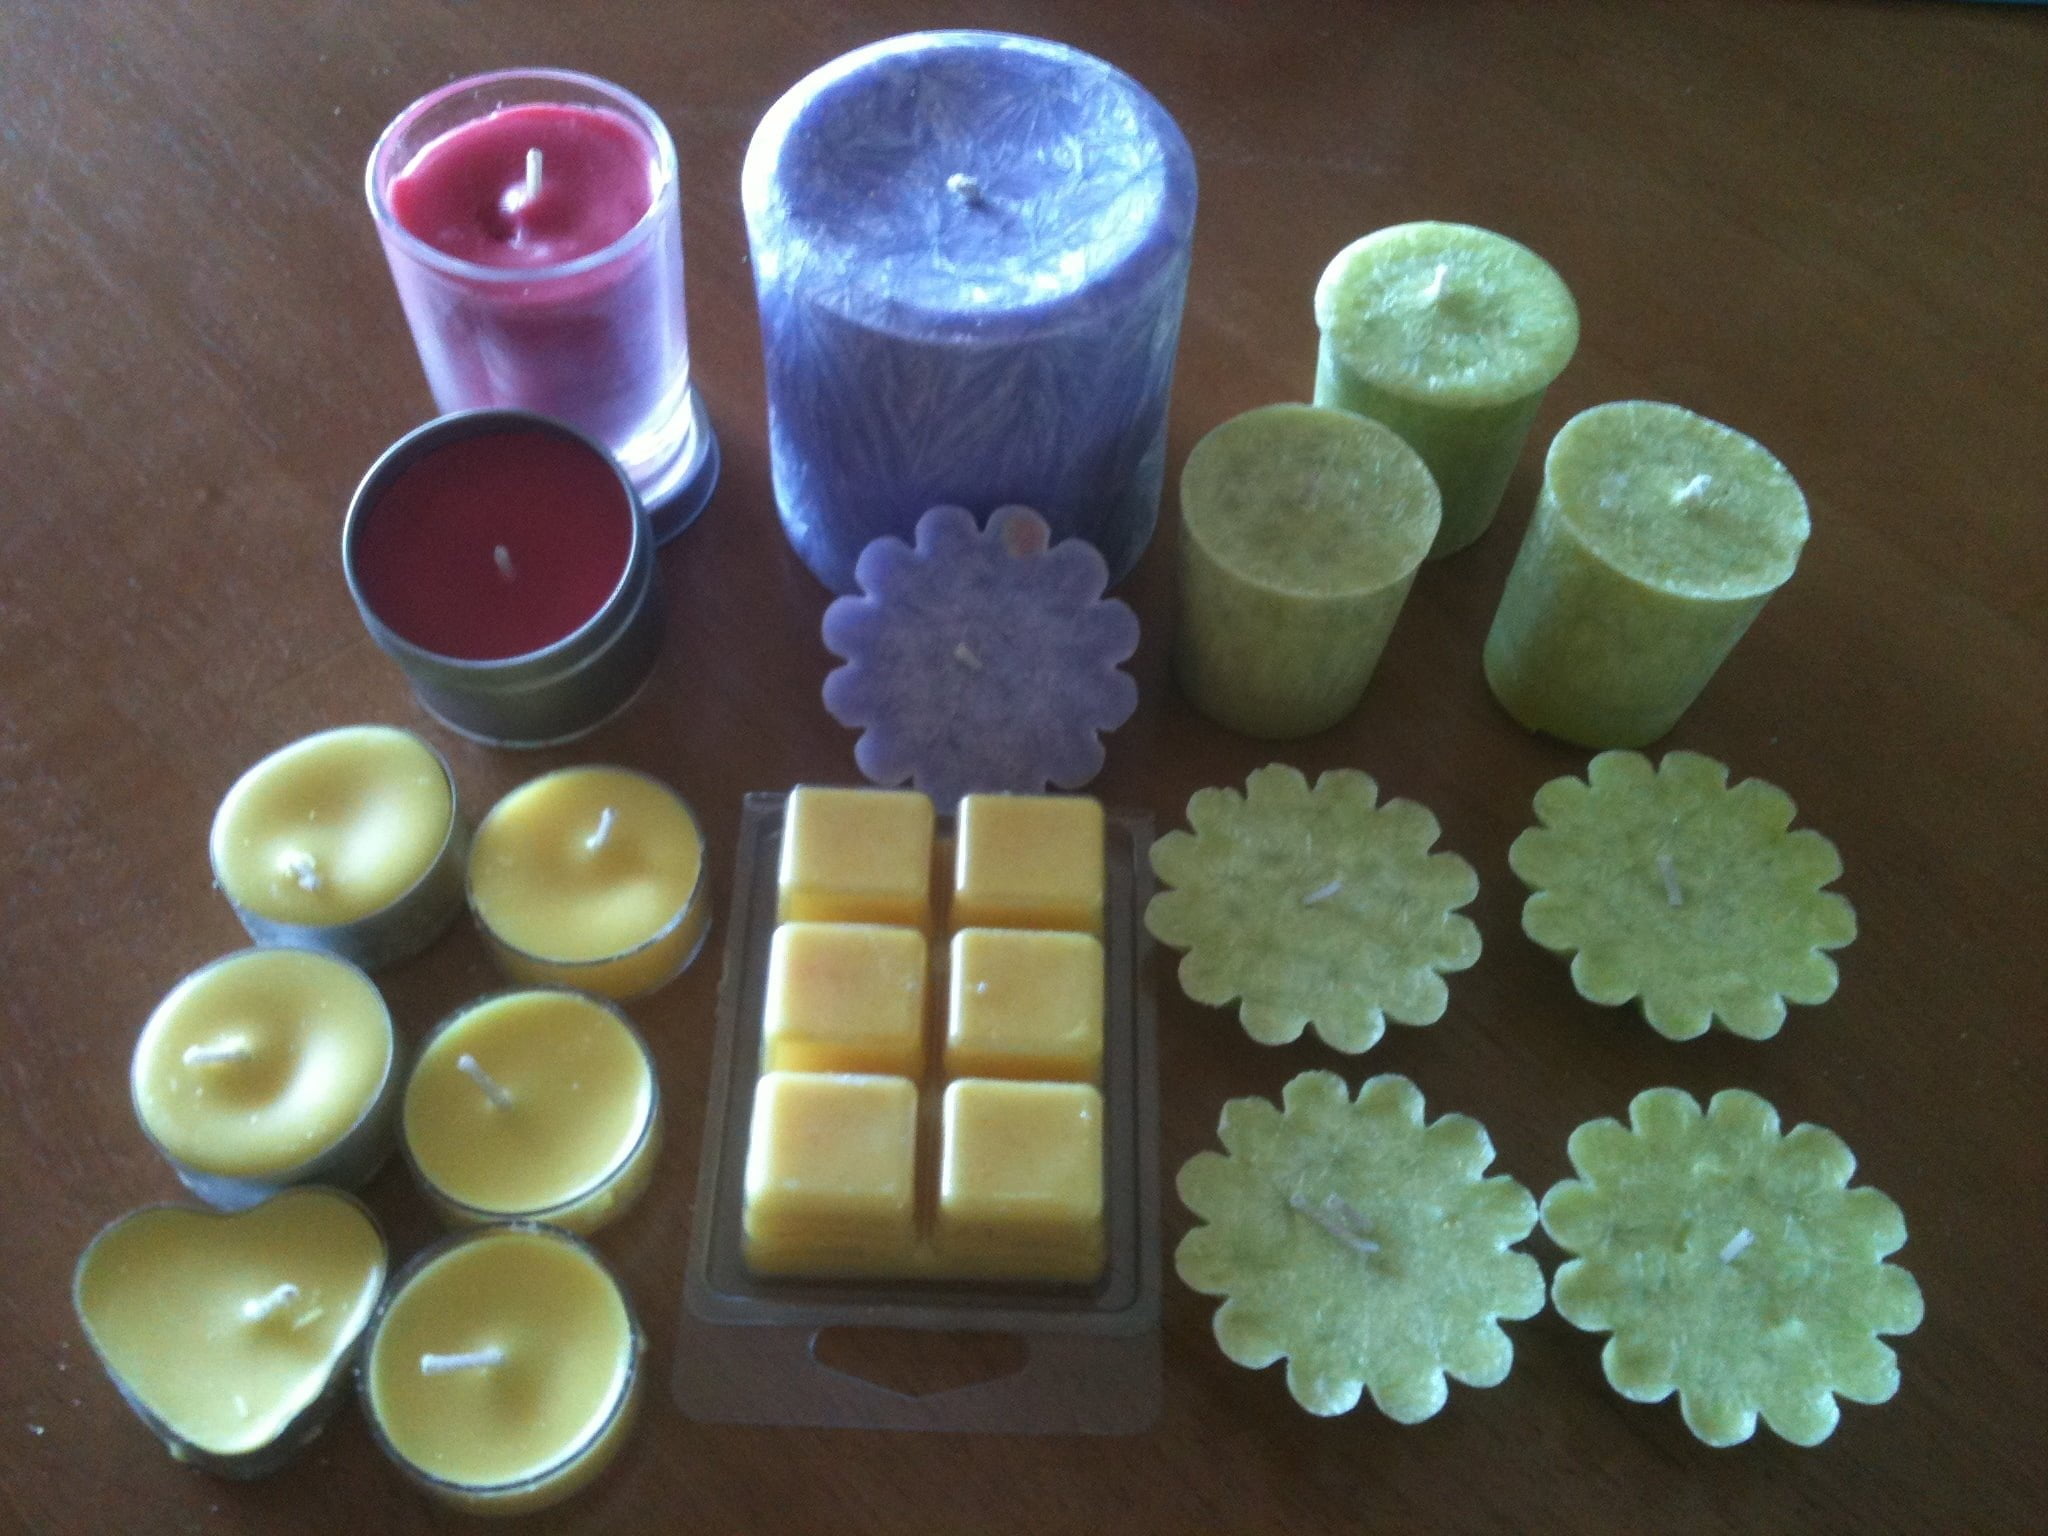
When making candles, it is important to pour the wax at the correct levels and shapes. The shape of your candles will depend on the type of container you are using and how much wax you are working with. Here are some basic guidelines for specific types of containers.
For votive or tealight candles when using glass or tin containers, pour the wax in a thin layer that just covers the bottom of the container. This should leave enough space at the top so that they can easily be lit without tipping over.
For jars or tins, make sure to leave enough space at the top for your wick, then pour slightly thicker layers up to ¼ inch thick from bottom to top. Make sure not to let each layer set before pouring another until reaching the desired thickness. Then allow your candle to finish setting and trim wick as needed when fully hardened.
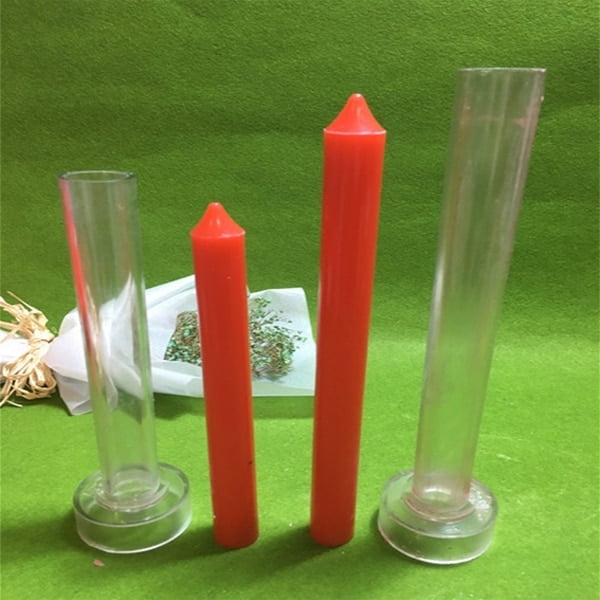
For pillar candles, it’s best practice to pour three indented rows in a clockwise direction with about a ¼ inch between each row. As with any type of candle pouring, make sure not to let one layer harden before pouring more”this could cause cracking or drifting on your finished product!
By following these instructions, you can create beautiful candles quickly and easily! For further visuals, you can show photos of various levels and shapes of poured wax before being lit that can help illustrate how beautiful results can be achieved when done correctly.
Adding the Scent
One popular way to customize your homemade candles is with scent. Adding scents can alter the atmosphere of a room and create an inviting atmosphere that is unique to your home. To start, you will want to purchase essential oils or fragrance oils in your favorite scent combinations. Consider combining floral scents like lavender, geranium, and ylang-ylang for an earthy smell. Vanilla, sandalwood and cedarwood can be paired together for a cozy ambiance. Citrusy smells like lemon and orange combine nicely with fresh herbs such as rosemary and mint for a bright, energizing aroma. When adding the essential or fragrance oils to the wax mixture, it’s important to carefully follow the instructions on the label as different types of scents have different recommended amounts needed for optimal results.
Finishing Touches
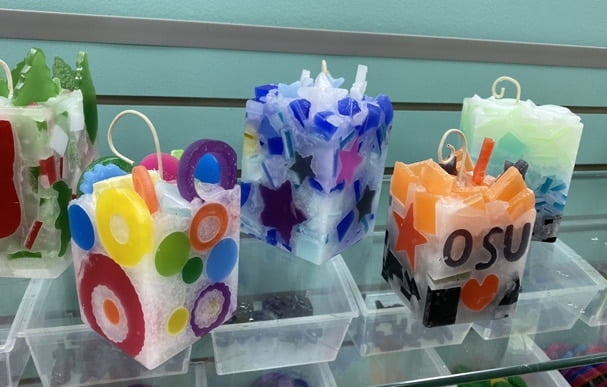
Once all of the candle making steps have been completed, there are some very simple yet effective ways to make the final product unique and attractive. These decorations can help make the candle much more eye-catching and this section will cover a few of these decorative touch ideas.
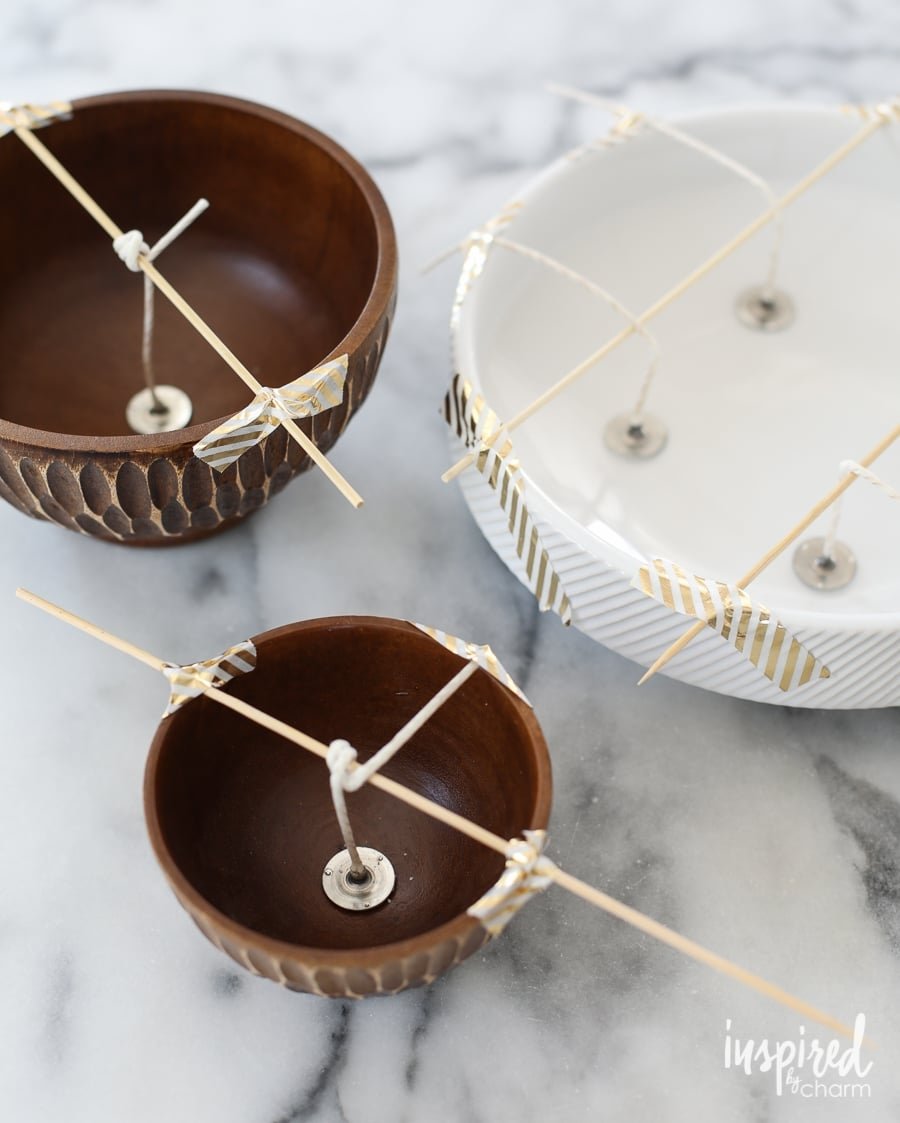
Wicks: Wicks are vital for any candle as they allow for the flame to be sustained with little to no risk of the wick being extinguished. To add a wick, use a doubled up or single piece of cotton twine that is at least 8 inches longer than your vessels height. After soaking the wick in wax and positioning it on center, it should be held back in place by looping one end over a sturdy stick/pen and resting it inside of the jar above the wax that has been poured within, allowing for it to stay secure.
Ribbon: Embellishing with ribbon can really bring together a beautiful finish that is perfect for gifts or special occasions! Decide on which color ribbon would suit the background best (based on jar/wax colors) and if necessary, measure out how long you need based on your desired effect; cut an additional 0.5 inch from each side to prevent fraying once tied around your glass jar or votive. Once complete and selected decorations have been added, secure tightly around your vessel’s neck with decoupage glue for longevity!
Glitter: Glitter can provide extra sparkle with little effort; depending on how much coverage area you want glitter dusted onto will dictate how much you’ll need or want to put on. For example, try swirling your brush into some glitter before lightly coating certain areas of pre-poured wax inside a mould before adding enough melted wax to fill any emptiness left behind! Alternatively, use modge podge glue around vessel surface areas before sprinkling amount of desired glitter to enhance in either smaller design/shape areas or create larger coverage ” whichever appeals most!
Conclusion
Now that you have learned how to make your own candles, why not take it one step further and invite your friends or family to join in on the fun? With the knowledge learned from this guide, you can experiment with different colors, scents, and wicks to create completely unique candles. Even better, you’ll have a chance to bring people together and make unique gifts for them. After learning about candle making with this guide, we’d love for all of our readers to show off their creations. Have any added tips as well? Share them in the comments section!

Welcome to my candle making blog! In this blog, I will be sharing my tips and tricks for making candles. I will also be sharing some of my favorite recipes.

