Expand Introduction
DIY candle making projects can be one of the most fun and creative hobbies a person can enjoy. Not only do you get to use your imagination to craft a unique centerpiece or aroma-filled atmosphere in any room of your home, but you also get to express yourself using color and fragrance combinations that speak directly to you. The positive glow and calming aromas of homemade candles help bring out peace and contentment in any space. Candle making also has the potential benefit of being commercially viable should you choose to take it that far with your creativity.
Expand Benefits
Making your own candles offers a range of benefits. For starters, you can create whatever scent you desire, by adding essential oils and custom coloring agents for different moods and aesthetics. You have control over the size, shape, burning time and fragrance levels of each candle you make. DIY candles are perfect for special occasions or personalized gifts too…so when you give a homemade candle to someone, they know they are getting something made specifically with them in mind! In addition to these advantages – an exciting creative adventure awaits each individual who chooses to take up candle making as a hobby. Being able to become the master mixer of waxes and scents gives you a unique opportunity to experiment with new fragrances and finishes that will be sure to impress all your friends and family!
Expand Necessary Supplies
If you are interested in making DIY candles, there are several supplies that are needed before beginning the project. Depending on what type of candle you would like to make, some supplies may vary.
The main supply you will need is wax, either soy, paraffin or beeswax. A double boiler is necessary to melt the wax and help avoid scorching it. You can find an inexpensive double boiler at most kitchen stores or online. To ensure proper pouring temperatures and to guarantee a safe environment (as wax is flammable), a thermometer is recommended but not absolutely necessary.
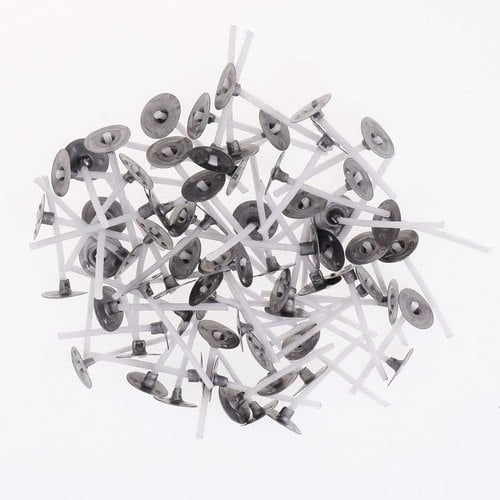
To give your candle fragrance and color, you will need either essential oils or fragrance oils as well as candle dyes and any additional decorations such as glitter or dried flowers. Wicks are also an important component in diy candles and should be purchased based on the size of your container – they must be placed securely in each container while wax is still melted to prevent shifting during cool-down. Lastly containers like mason jars, glass hurricanes, votive holders/candle tinscan can all be purchased online for great prices for any DIY projects you have in mind!
Expand Types
When making DIY candles, there are lots of different types of waxes to choose from. Some popular waxes used include soy wax, beeswax, paraffin, coconut wax and even vegetable/fruit based waxes like apple, pumpkin or apricot. Depending on the look and scent you’re going for, each kind of wax offers different benefits. Soy wax is a great vegan alternative that gives off a long burn time and good scent throw. Paraffin provides good scent throw as well but has a shorter burn time. Beeswax is great for more variation in color and various scents can be mixed in easily with this type of wax. Coconut wax offers a beautiful finish similar to soy and burns slower with a subtle smell that allows fragrances to blend better than any other type of candle based on natural ingredients without the addition of additives or dyes
When it comes to fragrances, essential oils are the most commonly used source for candle making projects because they still have their therapeutic properties in addition to providing delightful aromas for up to four hours when blended correctly within the candle’s melt pool. Coming in many floral, herbal, spicy or fruity scents depending on your preference, these natural oils release into the air creating ambient moods some say can lift spirits while others use them just for home decorations.
Colors used in DIY candles vary in complexity and help customize the design you want to achieve overall. If you’re looking for vibrant colors try using liquid dye mixtures which dissolve quickly in both hot and cold melted wax while achieving vivid-looking hues compared to powder dyes which need higher temperatures but produce richer finishes that won’t fade over time when stored properly away from sunlight .
Molds also come with several options including metal containers like tins or cups , wood logs , silicone molds with almost limitless shapes available , open-top molds such as jars , novelty designs like ice balls or shells and cupcake molds . Picking one depends on the look you are trying to achieve before enjoying your final product.
Expand Tips
Diy Candle Making Projects
Detailed Instructions – When making candles, it is important to understand the basics of candlemaking and the different types of waxes and wicks. Generally, beeswax will last longer than paraffin/soy waxes. The cotton or wood wick should be woven tightly into the wax and be able to stand upright without support in order for your candle to burn evenly.
Burn Times – How long you burn your candles for can affect their overall life span, so be sure to pay attention to instructions for optimal usage. Beeswax candles typically have a longer overall burn time so use them sparingly. Generally, burning a candle for no more than four hours at a time is recommended – this ensures avoiding any soot build-up that can reduce its lifespan.
Storage Tips – To protect your artisanal candles from smudging or scratching you’ll want to store them away from direct sunlight, humidity or heat. Having an airtight container readily available is recommended as well as it will help keep any bacteria out, protecting the integrity of your candle and ensuring its full shelf life.
Extend Life – To extend the life of your DIY candles, trim off the end of the wick before each use in order to avoid any build up that can lead to smoke production or hardening on the surface of your candle. Air fresheners can also help reduce odors from kitchen sinks and bathrooms, restoring the room’s appeal without burning one’s all-natural DIY creations!
Sample Projects
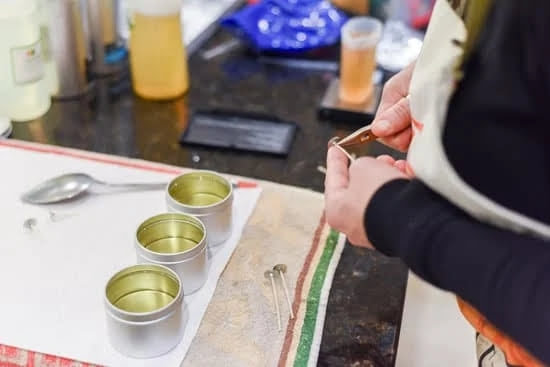
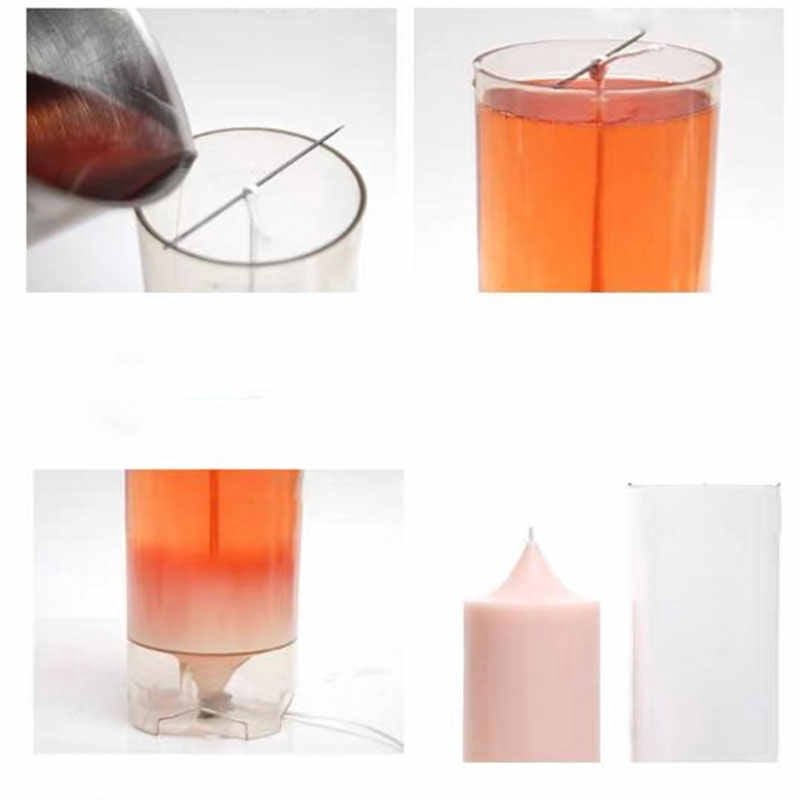
DIY Teacup Candle: You will need a teacup, ceramic mug or other heatproof container, soy wax flakes, wicks with glue dots, essential oil & dye chips. Begin by melting your wax flakes in a double boiler on medium heat. While the wax is melting add essential oil for scent and dye chips for color. Once your wax has melted, place a wrapper around the wick and attach it to the teacup using the glue dot. Then pour in heated wax and use a spoon handle to center the wick. Allow your candle to cool overnight. Once cooled you can trim the wick to desired length and enjoy your new DIY teacup candle!
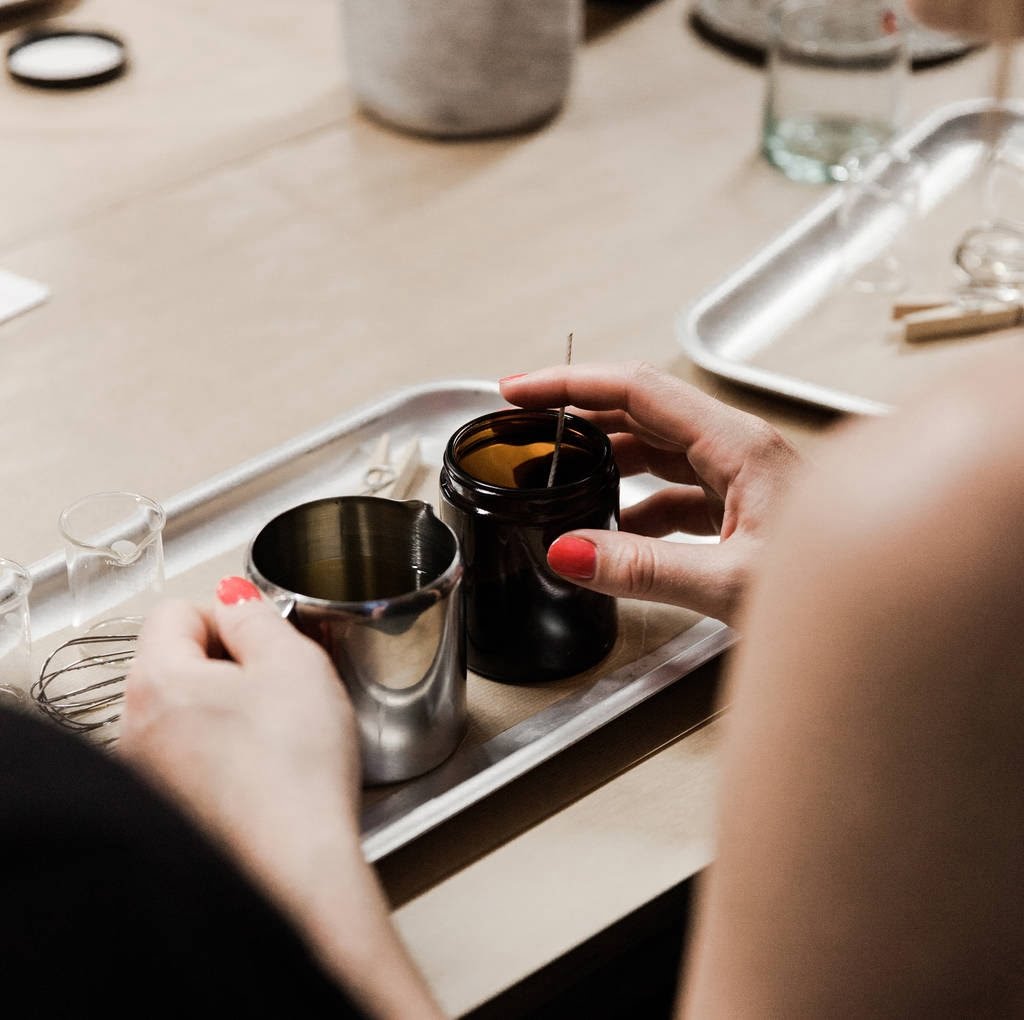
DIY Mason Jar Candle: For this project you’ll need mason jars or any other container of choice, soy wax flakes, wicks with glue dots, essential oils & dye chips. Begin by melting the wax in double boiler until completely liquid. Add dye chips for color if desired and stir until mixed evenly throughout. Next add 1-2 drops of essential oil per cup of melted wax if desired for scent. Place pre-threaded wick into jar making sure it’s centered all around, secure with glue dot if necessary. Slowly pour hot melted wax into jar leaving ¼ – ½ inch head space from top of jar Fill one jar at a time since it is easier/safer as pouring from double boiler gets hot quickly Once poured all jars let them cool till hardened hours before handling/placing lid on All that’s left is to trim your Wick Scissors or Wick Trimmer & enjoy your homemade candles!
Safety
Candlemaking can be a fun, rewarding and creative DIY project but it’s important to note that special safety precautions should be taken to ensure that no harm is done during the process. Safety is always an important consideration when working with heat, wax, and wicks. Depending on the type of wax used for your candle projects, temperatures can reach 250°F. This means you may need a few pieces of essential safety gear like safety glasses, long-sleeved shirts and pants or an apron, closed-toe shoes, nitrile gloves, and a respirator. You may also want to consider making sure your work area has plenty of ventilation by opening windows and/or turning on fans.
In addition to having the right safety gear for your projects, it’s also important to get proper instruction as reading about some processes can be misleading or unfamiliar. Tutorials can provide helpful visual aid but research prepackaged kits or professional classes in order to gain hands-on experience with candlemaking tools and techniques. There are many additional resources available online if you would like more information regarding the basics of candlemaking safety such as videos made by experienced crafters who cover everything from melting wax appropriately to additional tools needed for various projects. Having knowledge on the basics will help you make informed decisions while making your own candles more safely.
Expand Conclusion
Diy Candle Making Projects is a great way to create your own custom and unique pieces of art. With some basic materials, you can easily make beautiful candles with decorative finishes and styles. This post outlined some great tips and tricks on how to make your own candles safely and easily. From learning the basics of melting wax to creating different designs and patterns, you’ll be able to create beautiful homemade candle creations for display or for use around the home in no time. By exploring additional DIY projects, such as Soap Making or Jewelry Making, an individual could discover more ways to improve their crafting skills while creating great art pieces from the comfort of their own home.

Welcome to my candle making blog! In this blog, I will be sharing my tips and tricks for making candles. I will also be sharing some of my favorite recipes.

