Introduction to Donut Soap & Candle Making
The practice of soap and candle making dates back to ancient civilizations such as the Egyptians, who used fats and oils to create their own soaps. In the medieval era, beeswax was used to construct elaborate candles for religious gatherings. Fast-forward to the 19th century and a new wave of soap and candle makers began experimenting with different combinations of materials, creating soaps that were scented with essential oils like lavender, rosemary, lemon, or peppermint. Candle making has also seen a resurgence in recent times in the form of donut shaped wax vessels ” giving them an unmistakably modern look.
Donut soap & candle making is a particular type of craft that involves creating aesthetically pleasing donut-shaped candles and soaps out of various waxes (beeswax, paraffin wax) and/or scented oils (lavender, eucalyptus). By manipulating these materials in unique ways, artists are able to create beautiful creations with unique shapes, colors, and scents that bring a captivating aesthetic to any room. The craft requires skill but luckily it is relatively simple to pick up since all you need is creative ideas and some basic tools.
Essential Tools & Materials Needed
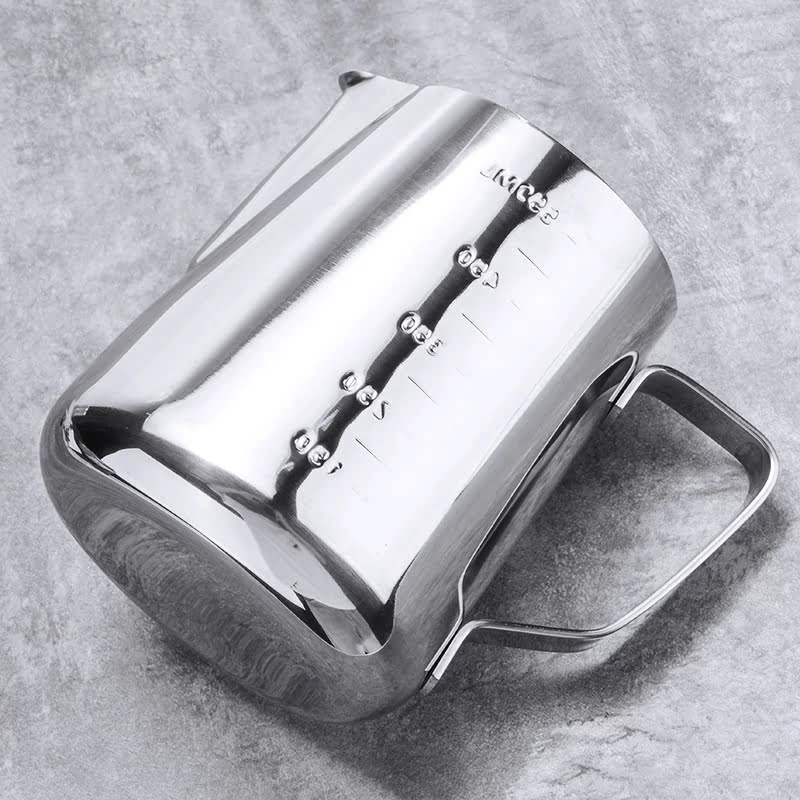
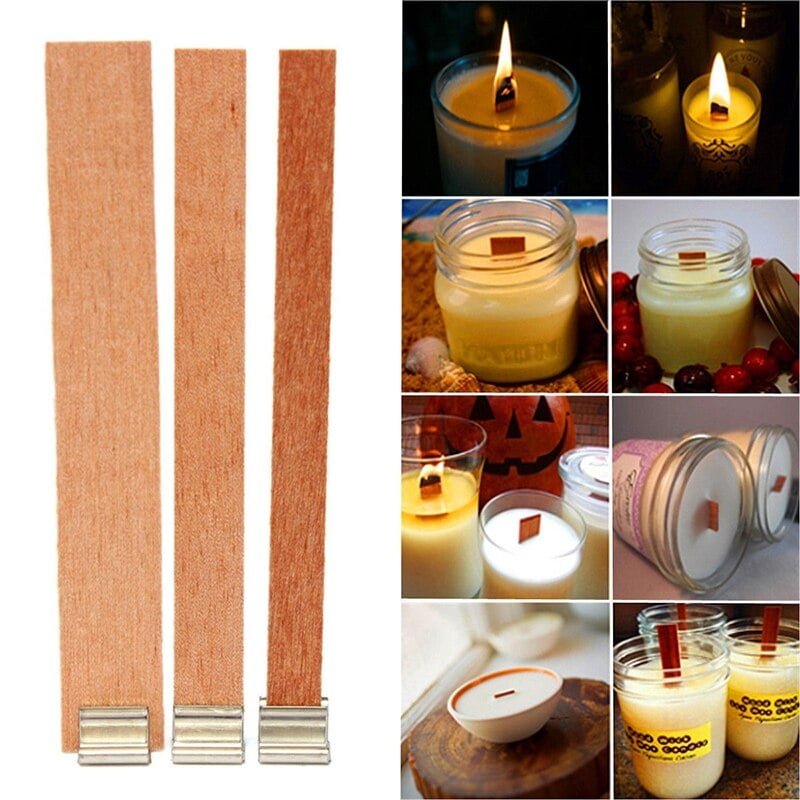
When making donut candles, you’ll want to familiarize yourself with the different types of materials and tools available for soap and candle making. Essential materials for making donut candles include wicks, wax (either natural or artificial), molds, and fragrance oils. Natural waxes include beeswax, soy wax, vegetable wax and more. These waxes burn cleaner than their artificial counterparts, which include paraffin wax. Artificial waxes also tend to smell stronger when burned than natural ones. While they can be used to make donut candles, natural waxes are generally recommended due to the fact that they provide a more authentic experience and have fewer chemicals. In addition to these materials, the right tools play an important role in successful donut candle making. Tools such as thermometers, ladles and spoons will help you measure and mix ingredients properly while molds are necessary for casting your finished product. With all of these essential materials and tools in hand, you’re ready to start creating unique donut-scented candles!
Step-by-Step Guide to Making Donut Soap & Candles
Donut Soap & Candle Making is a fun way to make unique and decorative items for your home. To help you get started, here is a step-by-step guide on how to make your very own ‘Donut’ shaped soap and candle.
Step 1: Gather the necessary materials and equipment that you will need. This includes donut molds, soap base, candle wax, essential oils (for scent), dye (if desired), thermometer, pouring pitcher, stirring utensils and any decorative items such as sprinkles or glitters you may want to use.
Step 2: For the soap base; Melt the soap base in a microwave-safe bowl for 30 second intervals until it has completely melted. Then stir in a few drops of essential oil for scent and dye if desired. Now pour the mixture into the donut mold of your choice. Place in the refrigerator for two hours so that it is properly cooled and then pop them out of the molds.
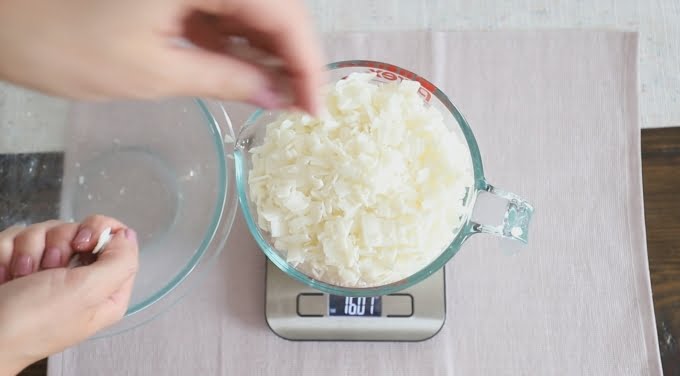
Step 3: For the candles; Heat up your wax over medium to low heat, stirring constantly with a wooden spoon or silicone spatula until it reaches a temperature at around 175 degrees Fahrenheit (or 80 Celsius). Add fragrance oil to incorporate scent into your candle wax; add approximately 10-15 drops per 8 ounces of wax. Then once it reaches 170-175 degree Fahrenheit (or 76-80 Celsius) carefully pour into donut molds filling each one halfway full before they begin to cool down and solidify quickly.
Your completed Donut Soaps & Candles should now be ready! Assembled together, they look lovely when placed on mantles or shelves around your home adding an inviting atmosphere with sweet scents!
Step-by-Step Guide to Decorating Donut Soap & Candles
1. Make a Donut-Shaped Candle: You can make a basic donut-shaped candle by melting beeswax and adding coloring, scent, and other ingredients as desired. Pour the melted wax into a donut-shaped mold and let it cool.
2. Decorate with Sprinkles: Sprinkle brightly colored sequins, glitter, or sugar sprinkles all around the cooled wax and let it sit until they stick to the wax.
3. Embellish with Confetti: Use various colors of decorative confetti to cover the top and sides of your completed donut candle for an added festive touch.
4. Turn Your Candle Into Soap: After turning your candle into soap, you can now decorate it with layers of neon colorful icing, swirls of frosting, candy pieces and even edible sprinkles!
5. Create Centerpieces With Donuts: Create stunning centerpieces for special occasions with long-lasting donuts soap & candles displayed in ornate glass jars or candle holders.
6. DIY Pen Holders: Spray paint glass jars or mason jars with a layer of metallic paint then place one or two donut soaps inside and use them to store pens, pencils or any other small items that require easy access.
7. Mason Jar Lighting: Elevate your space’s ambiance instantly by stringing up twinkle lights securing them into mason jars adorned with crushed glass and glittery donut cake soaps for a unique finish!
Gift Ideas for Donut Soap & Candle Making
A great gift idea for donut soap and candle making is to have the recipient create their own custom set. You can provide them with the materials needed for the project, such as one or several molds of different shapes, a variety of fragrances or essential oils, dye chips, soap or wax bases and wicks. Also include a few helpful books that discuss techniques for working with soap and wax, for example guides on how to create marbling effects or artistic designs. To round out the gift, add an instructional video that provides detailed tutorials on creating creative effects when crafting donut soaps and candles. Finally, present the finished product in an attractive packaging or wrapping that is customized according to your creativity (e.g., you might pick up a basket lined with vintage linen and creatively display items like beads, ribbons and donuts embellishing it).
Common Mistakes to Avoid
1. Using too much wick – Always make sure to use the recommended amount of wick for the container you are using. Too little can cause the candle to burn improperly, and too much can be a fire hazard.
2. Poor melting technique – Be sure to evenly heat and stir your wax when melting and never over-heat as this can lead to flashing or ‘volcanoing’ in a candle which means your candle flame could be too large.
3. Not allowing soap or mixture to cool properly – Whenever you are making a cold process soap, it is important to allow it time and space to cool completely before adding any colorants or scents. If the mixture is still hot when adding in ingredients, they will likely cook out leaving a poor scent throw in the finished bar of soap.
4. Adding ingredients at wrong temperatures – Many soaping recipes call for oil and lye temperatures when mixed need to be within specific ranges in order for it all to come together properly without seizing up or overheating; also, all fragrance oils have flashpoint information that should be adhered to not just for safety reasons but also ensure that you do not lose any potency of the scent when added into soy wax or melt & pour bases at too hot of a temperature.
5. Poor curing technique – Properly curing handmade soaps plays an important role in creating a good quality bar with proper hardening and lathering qualities; this takes some patience as most soaps require several weeks of post-process curing after they are removed from their mold before they are ready to use!
Conclusion & Resources
Donut soap and candle making can be a fun and interesting hobby. It is important to take the necessary steps to ensure that you are creating a safe experience with these products. The key to any successful soap or candle making project is gathering the correct materials, reviewing safety guidelines, and following instruction closely.
After gathering all of the proper materials, review safety guidelines such as; wearing protective gear such as gloves and aprons, avoid touching hot ingredients or heated containers directly with your bare skin, work in a well ventilated area, and keep away from children when melting waxes or working with lye.
To get started on your donut soaping and candle making journey there are several websites full of free instruction ” some provide beautiful tutorials perfect for beginners. YouTube also has video tutorials that can help you get acquainted with the basics of soap and/or candle making.
For those looking for recipes to start their projects off right ” look no further! There are tons of resources online including blogs, websites, ebooks, forums and instructional videos dedicated to helping crafters gain insight about the different aspects of soap & candle making; Including silicone donut molds which lend themselves really well to this type of craft!
If you’ve been inspired by donut soaping & candle making, here are some helpful links and resources:
– Soap Queen TV – https://www.soapqueen.com/tv/beginner-advanced/
– Crafting Bee – https://www.craftingbee.com/soap-melt-and-pour/
– Wick & Fable – https://www.wickandfable.com/how-to-make-candles/
– DIY Natural – https://www.diynatural.com/cold-processed-soap/

Welcome to my candle making blog! In this blog, I will be sharing my tips and tricks for making candles. I will also be sharing some of my favorite recipes.


