Introduction
Making your own candles can be an enjoyable and rewarding project. It gives you the opportunity to craft something entirely unique and create a one-of-a-kind item that expresses your own creativity. Making candles also offers numerous health benefits due to the natural materials and aromatherapy properties of many candle making supplies. For example, soy wax is a much healthier alternative than the paraffin found in store bought candles. Scented candles are great for freshening up a room, but some scents can also help create a calming ambience. Plus, handmade candles make wonderful gifts for friends and family, as they can be customized to perfectly match someone’s personality and style.
Gather Supplies
To make your own candles, you need to first gather the supplies. Candles rely on four main components: a container (or mold) to hold the wax, a wick to provide fuel and directional control, wax that will burn up and become a creamy liquid in the process, and additives such as scents or colors for special effects.
Containers can be purchased from craft stores or online, along with wicks and other accessories like thermometers; however wax is usually found as bulk pellets or blocks of various types at hardware stores. Wax usually needs to be melted down in order to fill your candle holder, so be sure to have something safe such as a double boiler nearby before you start melting any materials. Also keep protective gloves and eyewear on hand in case of an accident. Depending on what scent or color you would like your candles to have, you may need certain essential oils or pigments appropriate for candle making projects; these can generally be found in health food stores or through natural fragrance retailers.
Select a Fragrance
When it comes to creating your own custom candle, the options really are endless. To begin, you will want to select a fragrance for your candle. With so many combinations available to choose from, you can mix multiple fragrances together to create something unique and special. Popular combinations might include floral scents like rose, lavender, and jasmine; herbs like cedarwood or sage; and fruits such as citrus or apple. If you are looking for something even more complex, try combining chamomile with cinnamon or clove with vanilla. Don’t hesitate to experiment until you find the perfect balance of aromas for your candle expressly made just for you.
Prepare Wick and Jars
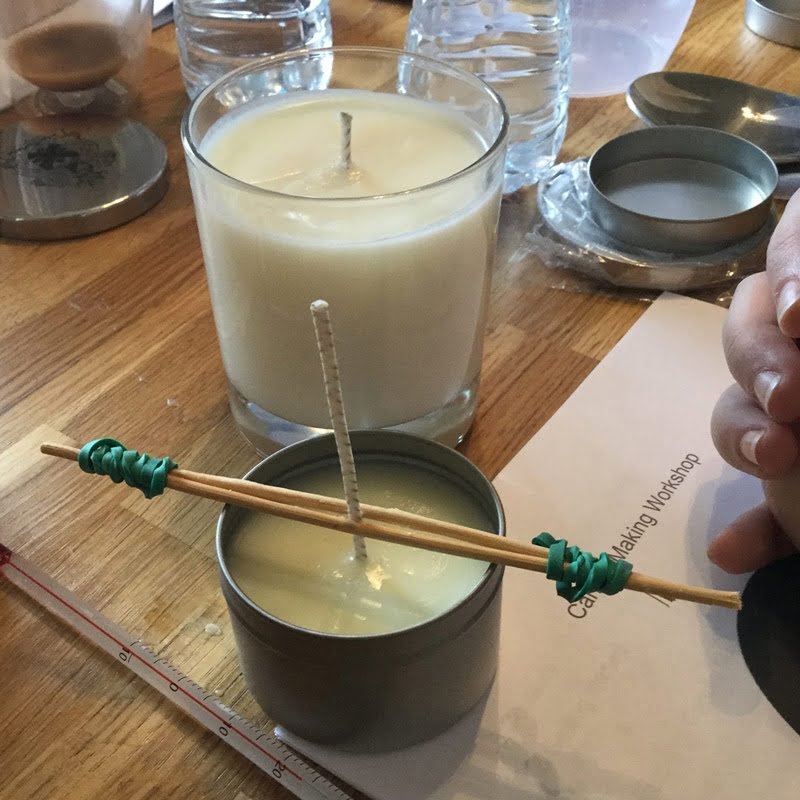
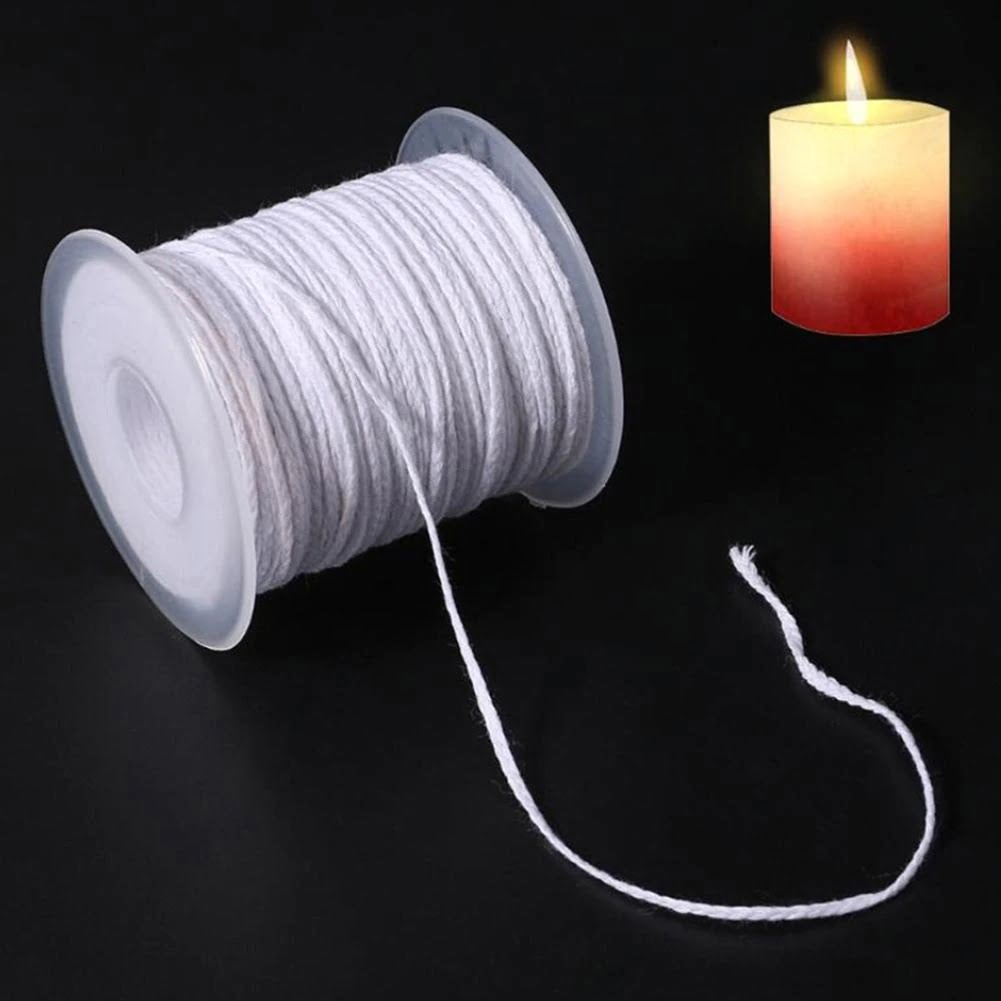
In order to make a candle, preparing the wick and jars is an essential step in the process. To get started, you will need a spool of wick, which you can purchase at any craft store. Begin by unraveling the wick and cutting it to the desired length. This length should be slightly longer than the height of your jar so that the wick can dip into melted wax while also sticking out of the top of the jar. Once you’ve cut your wick to size, tie one end around a pencil or Dowel rod, allowing about 2 inches of extra room for tying off at the other end. Then slide this pencil up each side of the jar so that it rests at the bottom, putting some tension on both ends of your wick as it flexes against each side. Lastly, secure the knot with tape or glue to form a loop above your jar so that it remains centered when adding wax.
Melt the Wax
Wax melting tips vary depending on the type of wax being used. Generally paraffin or soy wax is melted at a temperature of 185-195 degrees Fahrenheit, whereas beeswax will melt best between 146-180 degrees Fahrenheit. It’s important that you have an accurate thermometer to know when the wax has reached the proper temperature; too little heat can lead to inconsistent candles while too much can cause burning and smoke. Additionally, it is beneficial to use a double boiler setup when melting the wax; this helps spread out the heat more evenly throughout the wax, resulting in a more consistent outcome. When adding any scent, herb or color to your candle make sure you are familiar with and follow manufacturer instructions; this will ensure better results compared to choosing temperature blindly and risking inconsistencies in your final product.
Create the Candles
1. Prepare the area: Gather your supplies, clear a work surface, and make sure you have plenty of ventilation in the room.
2. Gather the supplies: Wax, wicks, molds (if needed), thermometer, specially-formulated dyes or colors, essential oils or fragrances (optional).
3. Calculate the amount of wax needed by determining how many candles you want to make.
4. Melt the wax: Heat wax on low heat until it is completely liquid. Use a double boiler for safety if working with large batches of wax; this also helps evenly distribute the heat across the entire wax mixture. Monitor temperature with a thermometer and stop just before it reaches its melting point for your desired type of wax; different types of candle wax may require different temperatures for melting and cooling processes.
5. Add dye and scent (optional): Once all lumps are melted, add small quantities of dye or colorant to your desired intensity level then stir in well to combine before adding fragrance oil of choice (if necessary).
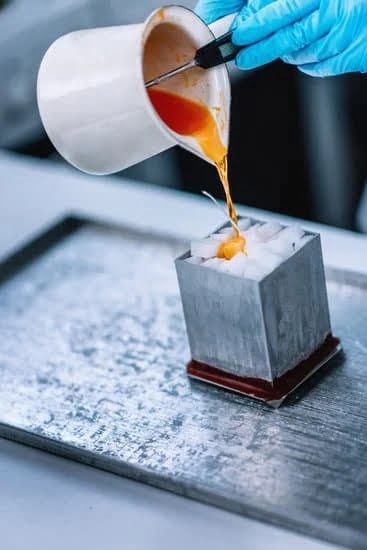
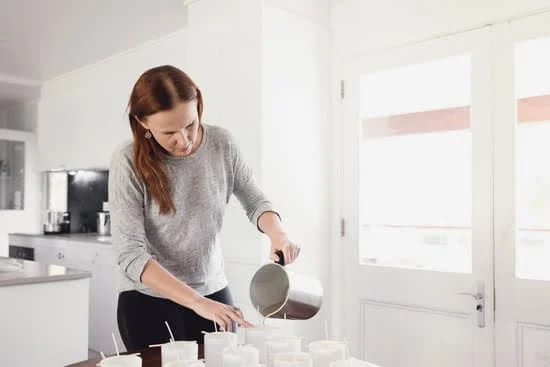
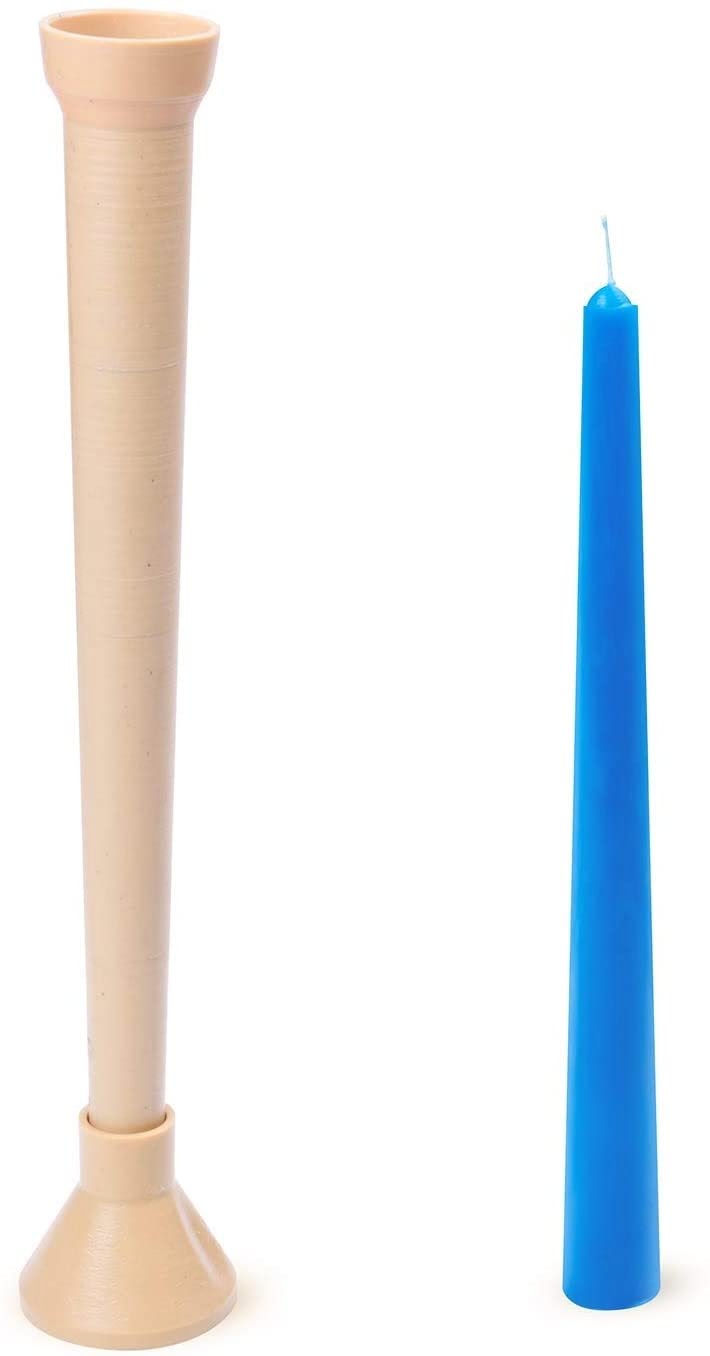
6. Pour into molds or containers: Carefully pour molten wax into pre-heated molds or holders that have been lined with wicks already placed at their centers according to manufacturer’s instructions; alternatively pour directly into glass vessels or other holders where wicks have already been placed in advance. You may also choose to free form dip wicks directly into the hot poured liquid once they are removed from the mold or other prepared container; this may be done repeatedly until desired shape and thickness is achieved as each layer bonds to previous layers through heat fusion upon contact with liquid hot product being poured from heat source vessel along any length chosen including zig zag patterns for more unique designs depending on preference – although caution must be used not to burn fingers during this process! Adjust/center remaining unset elements as needed before allowing product(s) cool naturally at room temperature away from drafts ” using fans can speed up cooling times if desired but more extreme solutions such as fans blowing on high settings could potentially compromise final finished form due to premature setting resulting from increased air flow turbulence around product(s).
7. Allow candles to cool slowly overnight: Once cooled overnight, carefully remove candles from containers by popping out/prying gently with knife blade/tool as applicable according which ever molding material has been employed either silicone rubber molds specifically designed for hot pouring applications or other otherwise applicable materials allowed via health and safety regulations governing food grade processing environments while ensuring at least 30 minutes time has passed since pouring operation was initially completed enabling hotter inner core portions previously maintained under initial welding temperatures needed during forming process sufficient time help consolidating bonding sufficiently prior to attempting any extractions attempts ultimately preventing breakage related risk events during demolding processes regardless whichever physical manipulations techniques may be used throughout removal these configurations when finally ready-to-be accessed end users…
Enhance
Easy candle making directions can be fun and rewarding. One way to make your candles uniquely yours is to customize them with creative ideas. To do this, all you need are some supplies such as dyes or fragrances, wax chips, wicks and molds.
The first step in customizing a candle is to choose the perfect wax for it. Paraffin wax is most commonly used because it has a great scent throw, gives off a beautiful glow and melts at low temperatures. Consider adding beeswax to the mix if you have allergies or are looking for an all-natural product.
Now that you have chosen the perfect wax, it’s time to add color and fragrance! If your goal is an intensely colored candle, liquid dye should be used instead of powder dye. For a wide selection of aromas, try using scented oils. To achieve strong fragrance throw and consistent burning quality, use half an ounce of oil for one pound of wax.
Finally, select the appropriate wick size for your project from popular brands like CDN and use molds according to the steps provided in the easy candle making directions set out by experienced artisans. Have fun customizing and enjoy your homemade candles!
Conclusion
Candle making is an enjoyable activity that can result in creative and unique items. With some basic supplies, you can craft a variety of different scents and styles. The steps outlined above will help you begin your journey as a candle maker, from melting the wax to pouring it into molds. As you become more experienced, you can experiment with more advanced techniques such as layering colors, adding extra ingredients for scent or texture, or creating intricate patterns with flakes and glitter.
Making your own candles can have several advantages: it allows for self-expression through creativity, it allows for customization of scents and colors that may be difficult to find already made, and it saves money over buying complex candles ready-made. To complete the candle making process at home, be sure to follow safe handling methods and allow the wax to cool fully before attempting to remove finished products from molds. Regular maintenance on wicks and burn times also helps ensure pleasant olfactory experiences every time you light up your handmade candles.

Welcome to my candle making blog! In this blog, I will be sharing my tips and tricks for making candles. I will also be sharing some of my favorite recipes.

