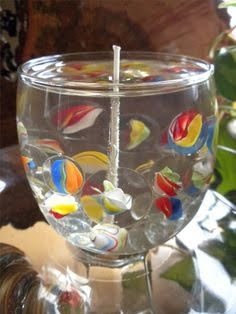
Introduction
Making your own candles with sticks is an easy and rewarding activity that can easily be done from the comfort of your home. By making your own candles, you have the ability to choose what type of wax and scent you use, allowing for complete customization of the end product.
There are many advantages to making your own candle with sticks, as opposed to buying them from a store. Firstly, it’s much more cost-effective since all the materials used in candle making are relatively affordable. Additionally, you have complete control over the finished product since you can customize the size and shape of the candle to suit your personal preference. Lastly, if anything goes wrong during the candle making process it’s much easier to fix at home than it is to get it fixed in a store or order a replacement candle. All in all, stick candle making provides an easy and rewarding way to create beautiful and custom candles without having to pay too much money.
Supplies Needed
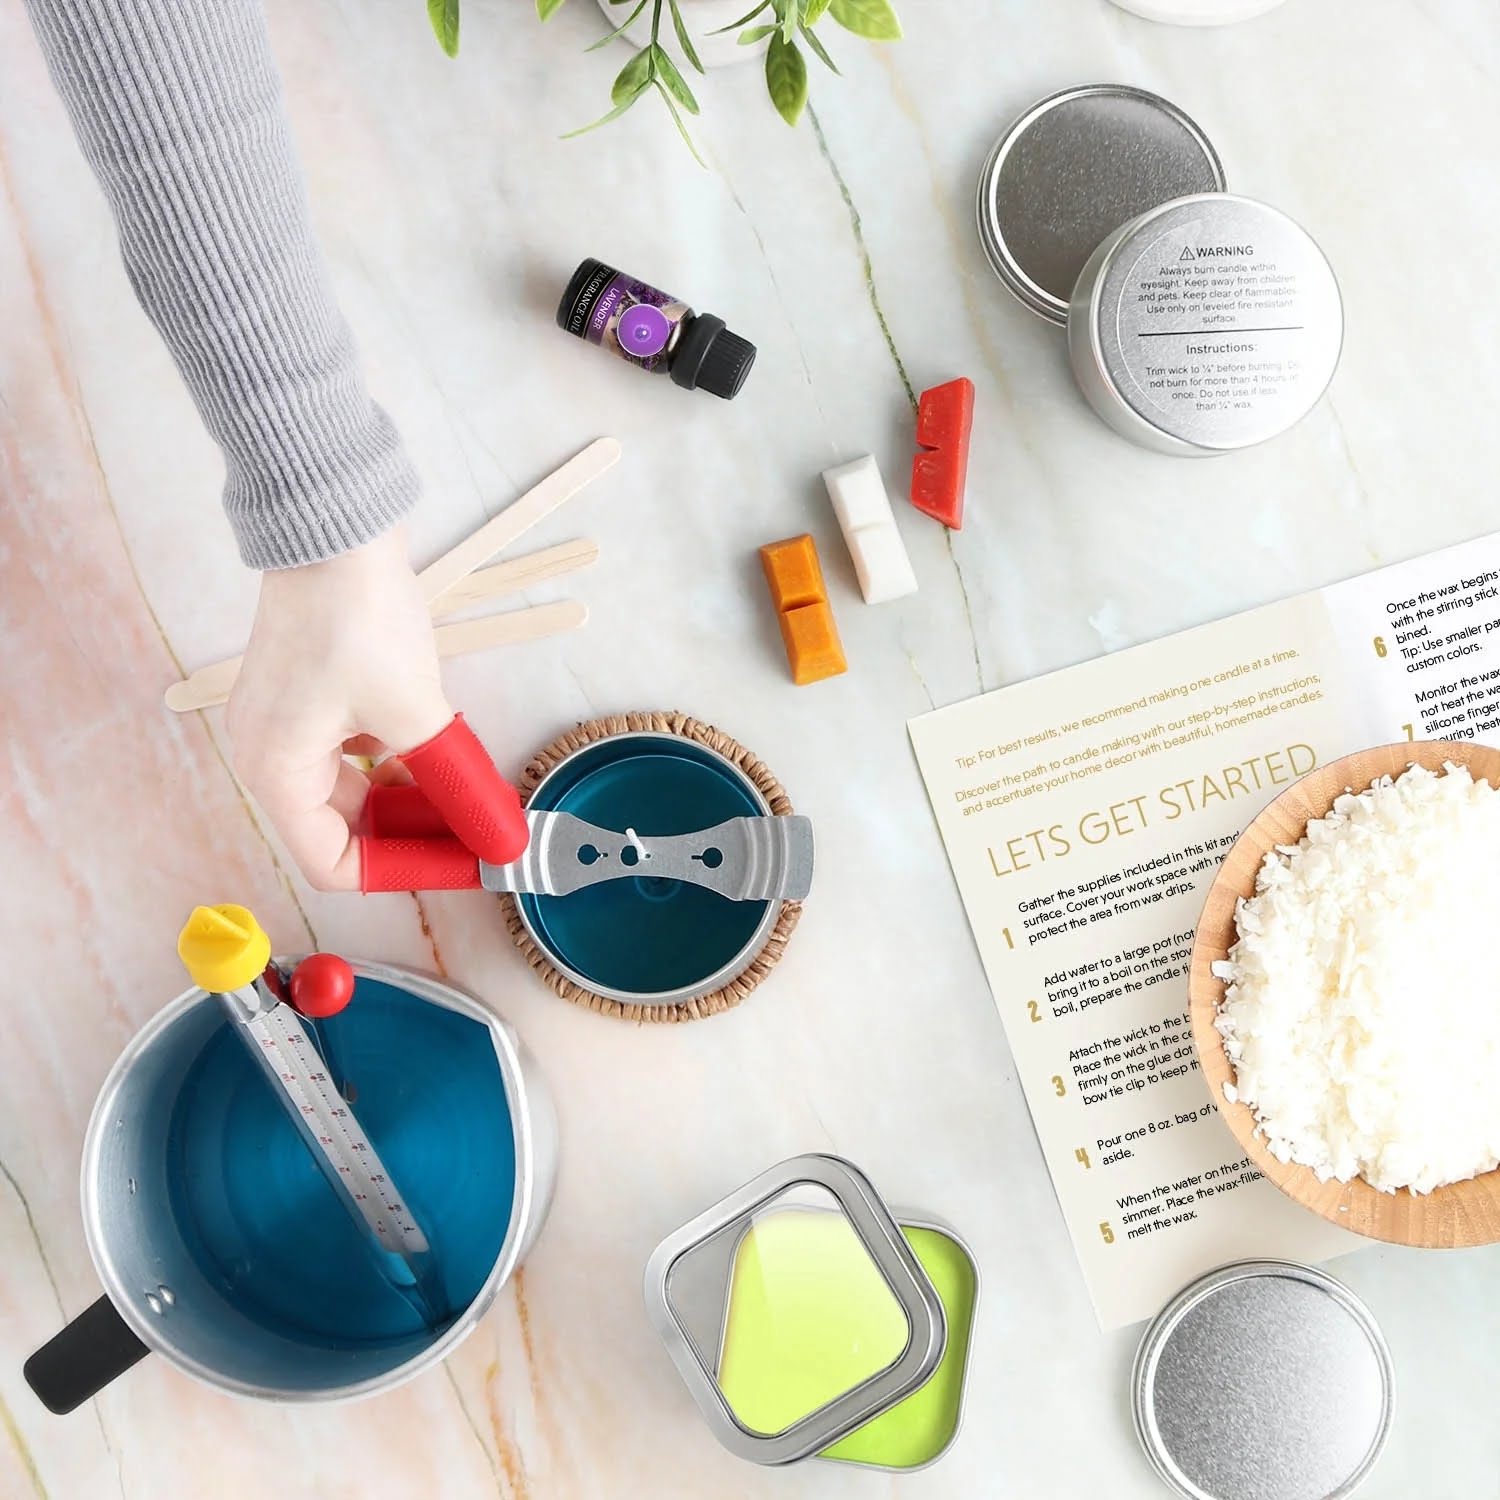
Making candles is a fun and creative activity that anyone can do! With the right supplies, you can easily make beautiful candles at home. Here is a list of the supplies you’ll need to get started:
• Wax: Different types of wax are available depending on your purpose. For stick candle making, beeswax or paraffin wax is best.
• Wicks: You will need wicks that can stand up straight in your wax container. Cotton string or paper core wicks are great for most projects, but different sizes may be needed for larger or deeper containers.
• Dyes & Fragrance: Candles made from natural beeswax usually require no additional dye to create the color you want, though adding one can give it more depth. Fragrance can also add an enjoyable aroma to your candles, but make sure that whatever type you use is compatible with the type of wax you plan on using.
• Melting Pot: A double boiler setup or a melting pot (an electric pot specifically used for melting wax) will be needed to melt down your wax before adding it to the candle container.
• Float Cup/Thermometer: Keeping a close eye on your melted wax temperature helps make sure it does not become too hot and extensive burning does not occur when lit. A float cup lets you measure how much liquid has been added without disrupting any current experiments. A candy thermometer works great as well.
• Candle Container(s): Various containers such as mason jars, teacups and bowls make excellent candle holders”go with whichever style complements what kind of design you’re looking for! If using glass containers, remember to check if they are heat resistant before adding hot melted wax (which should always be left cooling for 30 minutes anyway).
• Other Supplies: An Essential Oil Dispenser or pipette helps transfer fragrance oil safely into molten wax; Safety gloves protect hands from possible burns; and Melt-and-pour Soap Base should also be used as fire retardant which prevents extremely high temperatures when lit.
Step by Step Guide
1. Gather the Supplies – To make a simple stick candle, you will need a wick and wax. Pre-made wicks can be found at craft stores and come with a metal holder already attached at one end, which makes life easier! Choose your wax – either beeswax or paraffin work great – as well as any dye or scent that you would like to add. These items can usually also be found at craft stores.
2. Prepare the Wick – To prepare the wick, place it in the desired container or mold. Make sure that you center the wick so that it is straight in the container right where you want it; this will help create a more uniform burning candle shape.
3. Measure and Melt Wax – Use a digital scale to carefully measure out your wax then melt it in a double boiler on low heat until melted (again, be careful not to burn yourself). Alternatively, a microwave can be used to melt smaller amounts of wax more quickly.
4. Add Color and Fragrance – If desired, add food coloring or powdered soap dye to create color for your candle as well as any essential oil for fragrance. Begin by adding half of what is suggested by most recipes as you can always add more but cannot take away that amount once mixed in. Stir gently to avoid bubbles forming in your mixture and remember not to overdo it with color and oil or fewer hot throws will be produced when your candle is lit up later on!
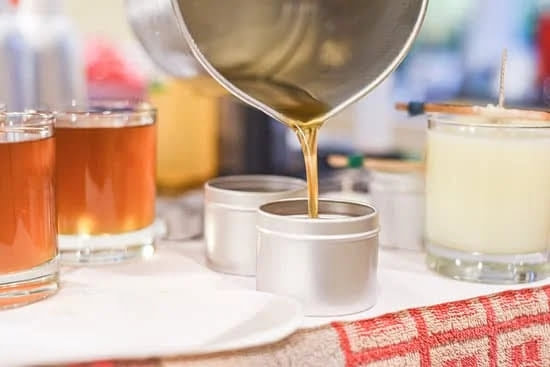
5. Pour Liquid Wax into Container With Wick – Carefully pour melted wax into the container with the pre-positioned wick until it reaches an inch from top of container walls (it should fill just below where your thumb rests inside the wall when finger testing). Be mindful of any dyes spilled in liquid form if you chose to use them earlier on during step four ” try catching these spills before they flow too far down below! Allow some time for cooling afterwards before moving onto next step six ” about 30 minutes should do depending upon room temperature inside house/room area currently set up for project work being conducted here today…
Candle Molding Tips
Using a candle mold to create your homemade candles can be a fun and easy way to get that perfect shape, size, and design you have been searching for. However, producing uniformly sized candles takes some practice and a few tips up your sleeve. Here are some tips on how to ensure uniform-sized candles:
1. Take the time to choose the right type of wax for your project. Selecting wax that has the right melt point will ensure it stays in place while you pour and cools at an even rate, ensuring uniformity across all of your them.
2. Make sure to uniformly pack the wick into each mold before filling with wax. Having an even wicking system will help keep the burning process evenly lit and consistent size across all of your candles.
3. Use a thermometer when pouring melted wax into your molds so that each one is filled at the same temperature for consistent solidification across all of them. You may want to adjust or calibrate this temperature depending on whether or not you plan on using colorants or fragrances in your candles as these can effect how hot the wax needs to be in order for it to solidify without any imperfections.
4. Tap each mold prior to allowing them to cool completely; this will help fill any air bubbles which may cause unevenness or misshapen defects in the candles once finished cooling down.
5. Lastly, try not too overfill the molds with wax; leaving a little bit of space at the top will ensure they stay even and have consistent sizes across all of them when finished cooling down!
Pouring Tips
Easy stick candle making involves carefully crafting a custom-designed craft with supplies such as wax and wicking. When using wax to make candles, it’s important to ensure that the individual pouring the hot wax is doing so in a safe, hygienic manner. This can be done by wearing protective gear such as heat resistant gloves, an apron and safety glasses while handling the boiling hot wax. The amount of wax should also be accurately measured out to ensure that the desired result is achieved. To ensure that each of the candles produces an intoxicating smell when lit, essential oils can be added before the mixture begins to solidify and harden, which will help diffuse a pleasant scent whenever someone lights up one of your homemade creations.
Finishing Touches
The finishing touches of a candle plays an important role in making it look professional. To add a unique and personalized touch, consider adding some decorations like ribbons, fabric scraps, stones; buttons; beads or decorative chips. Ribbon can be glued around the rim of the candle with special glue or hot glue gun to add an elegant look to the candle. A few strips of colourful fabric combined with hot glue can also create good effects. For natural appeal stones can be used as a decoration and they will form completely unexpected shapes on the surface of the wax. Beads and buttons come in endless varieties and also can be used to decorate your candles. The gems or decorative ceramic chips available in craft stores can give a dreamy finish for your candle if carefully applied using hot glue. With these creative ideas, you could bring out the best beauty in your candle!
Packaging Solutions
When crafting your own candles, having proper packaging for easy storage and stylish presentation is a must. Whether you are selling them or giving them away as gifts, the perfect packaging can truly enhance the overall look. Here are some of the best options for organizing and presenting your homemade candles:
1. Decorative Tins: Decorative tins add an extra bit of charm to your candles. They come in various shapes and sizes that can suit any type of candle ” from travel-sized votives to 3-wick jars. They also provide an added layer of protection which is great if you’re looking to ship your product.
2. Gift Boxes: For a more professional touch, gift boxes are an elegant choice. There’s a wide selection available in different colors and sizes so you can find one that’s perfect for your business needs or personal preference. Plus, these can be customized with labels, stamps, stickers, and ribbons to enhance the aesthetic appeal of your product even further.
3. Kraft Paper Bags: If you want something simple yet reusable, consider kraft paper bags for your presentation needs. The versatility of this solution allows you to pick a transparent look so customers can enjoy seeing the visual effects within their package or go with solid color choices to match the messages behind their brand identity.
In conclusion, when it comes down to choosing the perfect packaging solutions for candle making there are lots of options available in the market today ranging from decorative tins, gift boxes, and kraft paper bags that make stylish presentations for both consumers and business owners alike!
Benefits of Making Candles
Making your own candles is a great way to save money. Home-made candles usually cost much less than store-bought versions, yet they often look more polished and are more customizable. Furthermore, making your own candles is easy and fun! This can be a great activity for kids or adults–either working solo or in groups–or a great way to entertain guests at parties or get-togethers. Not only will you end up with an amazing candle at the end of the process, but you will also have enjoyed a lasting memory with friends and family.
When it comes to making your own candles, there is not one set method that everyone follows–you can allow your creativity to run wild! Even so, many people favor something called ‘easy stick’ candle-making. This involves dripping wax onto a central wick which is secured by hot glue to a stick–hence the name ‘easy stick.’ All you need are some sticks (which could even be recycled branches lying around), some wax chips, wicking thread, hot glue gun and colored dye if desired. You just melt the wax chips slowly in a double boiler until completely melted and add colorant if desired before pouring the molten liquid into molds or simply dripping it over your wicks attached to sticks like mentioned previously. Once cool, voila!–you have unique home-made candles to give as gifts or keep for yourself!
Conclusion
Creating beautiful homemade candles is a rewarding experience. With easy stick candle making, you can quickly and easily bring light into your home for any occasion or mood. You won’t need in-depth knowledge of the craft, as there are simple instructions that even the novice hobbyist can follow. From setting up the work area to melting the wax to pouring it into a mold, the process is straightforward. You’ll be able to choose from various scents and colors of wax, allowing you to customize your own creations. So why not give this interesting craft a try? With easy stick candle making, you’ll be able to introduce vibrant hues and pleasing aromas into your home while mastering an enjoyable hobby at the same time.

Welcome to my candle making blog! In this blog, I will be sharing my tips and tricks for making candles. I will also be sharing some of my favorite recipes.

