# Bringing Scents and Candle Adjustment to your Home – Eroma Candle Making Kit Instructions
For those looking to explore the beauty of candle-making and aromatherapy, Eroma provides the perfect opportunity to get started. Crafting candles at home is both soothing and fulfilling, and provides a unique experience. Through our Eroma Candle Making Kit, following the instructions below, you’ll find the process of candle-making enjoyable and thrilling. Creating your own homemade scented candles is easy, fun and great for adding an invigorating whiff of peacefulness to any environment.
## Gather Materials
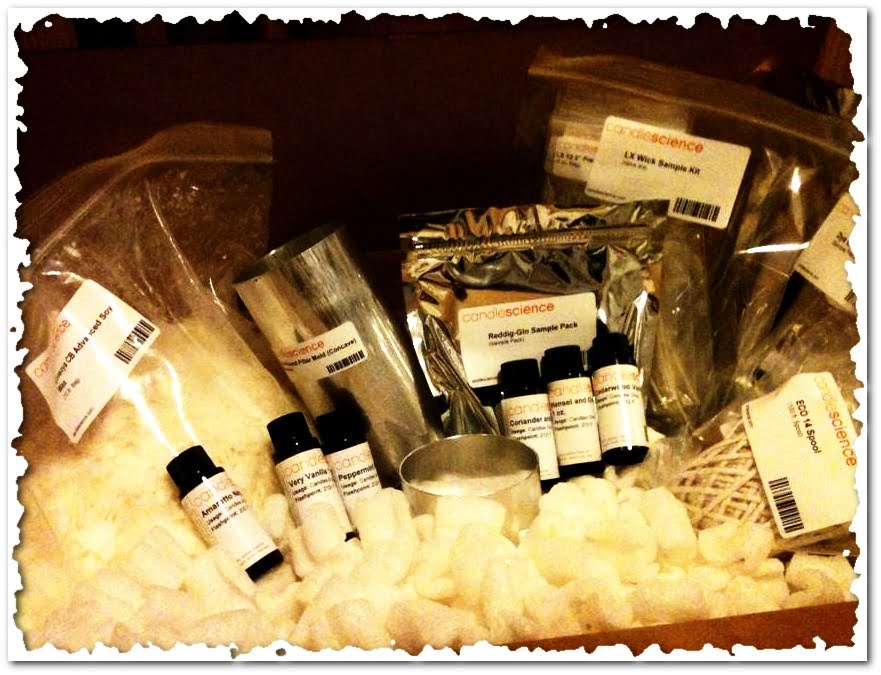
Before you can begin making your own candles with the Eroma Candle Making Kit, you must first gather the materials included. These materials are:
– Wax – the core material your candle will be made of.
– Wicks – a strip of braided cotton that helps create the flame.
– Essential oil – an aromatic extract used for aroma therapy.
– Glass container – the vessel that will hold the candle
– Dye – a pigment which can be used to change the color of the candle
Once you have all these components ready, you’re ready to start your candle-making journey.
## How to Make a Scented Candle
Now that you’ve collected all the materials, follow these simple steps to make your very own scented candle with the Eroma Candle Making Kit:
### Step 1 – Prepping the Container
First, prepare your glass container by adding two drops of essential oil directly onto the sides of the glass. Keep in mind that essential oils will not affect the strength of the scent of the candle, but merely provides a subtle hint of that scent. As with all scented candles, the strength of your candle’s scent will depend on the ratio of essential oil in the wax.
### Step 2 – Insert the Wick
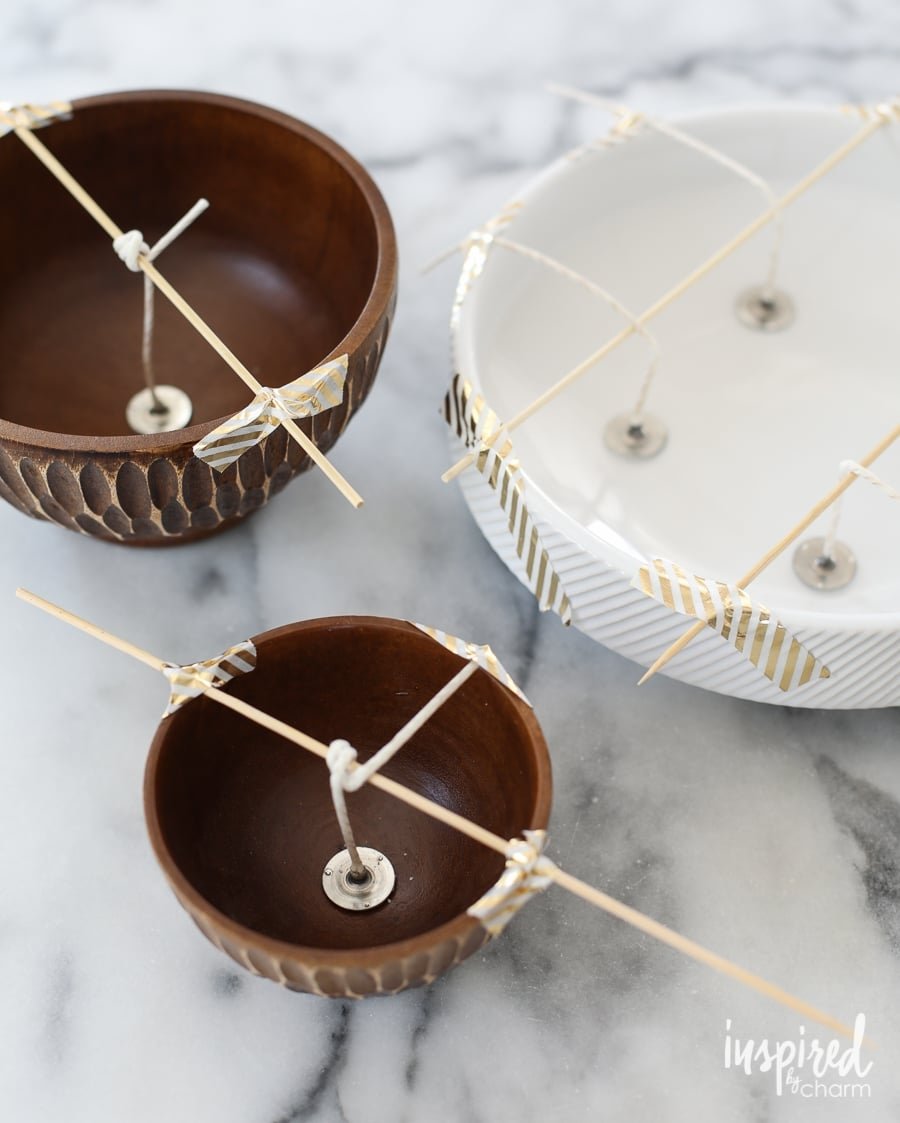
Next, place your wick into the container. Make sure it is centered and stretches to the bottom of the glass. This will ensure even flame distribution when your candle is lit.
### Step 3 – Prepare the Wax
Now onto the fun part – preparing the wax. Begin by pouring the wax flakes into a heat-resistant bowl. If you wish to adjust the color of your candle, mix dye into the wax flakes and mix thoroughly. Then, heat the wax in the bowl on low temperature until it melts completely.
### Step 4 – Adding Essential Oil to Your Wax
Once your wax is melted and ready, add 1-2 drops of essential oil, depending on the desired strength of your candle’s scent. Keep in mind that this will not have a very strong effect, as the wick will take on the scent when the candle is lit.
### Step 5 – Adding Wick to wax
Once you have added the essential oil, lower the wick in to the wax, ensuring that the wick stands straight. This is important for a good flame distribution later when you light your candle.
### Step 6 – Pouring the Wax
Once your wick is in place, carefully pour the melted wax in to the glass container, covering the wick completely. Wait until the wax hardens completely before proceeding.
### Step 7 – Final Touches
Once the wax has cooled and hardened, carefully trim your wick to desired length, leaving half an inch. Now you have a perfect scented candle to bring some relaxation and comfort to your home.
These are the basic instructions of candle-making with the Eroma Candle Making Kit! We hope that through this great opportunity you have gained insight and knowledge in the candle-making craft.

Welcome to my candle making blog! In this blog, I will be sharing my tips and tricks for making candles. I will also be sharing some of my favorite recipes.


