Introduction
Making your own candles can be incredibly rewarding and beneficial in many ways. From creating a beautiful addition to your home décor to enjoying therapeutic activities, the reasons to make your own candles are seemingly endless. Not only is candle making fun, but it’s also educational and creative; an activity for all skill levels of any age. With a little bit of time and effort, you can produce homemade candles that rival store-bought ones, with fragrances and colors tailored to fit any occasion and design preferences. Even better—you get extra points for gifting them as presents!
Other Benefits:
Aside from being an enjoyable hobby, candle making offers various educational benefits such as learning about waxes and wicks, understanding scent combinations, exploring color choices, science components like melting points – the list goes on! Making candles is also an excellent way for young people to learn about business techniques such as marketing and product development.
Being able to craft something with one’s own two hands helps foster confidence in both adults and children alike while they create unique itemsto enjoy or give away as gifts. The aromatic blends of different oils bring peace of mind while working with heat sources helps develop safe practice habits. Above all else, making candles is therapeutic; crafting homemade creations can provide comfort during trying times while the repetitive motions help relax the mind in stressful situations.
Types of Candles
Types of Natural Waxes: There are several types of wax available for use in candles, including beeswax, soy wax, paraffin wax, and palm wax. Each type of wax has its own unique properties that can affect the outcome of your candle. For example, beeswax is known for making a firm, sturdy candle that has a great scent throw. Soy wax burns more slowly than other types, which makes it great for container candles and larger jar candles. Paraffin wax is a popular choice due to its inexpensive cost and flexibility when it comes to coloring and scenting. Palm wax yields beautiful, crystallized designs on the surface of the finished candles.
Colors: Color is an important component of most candles as it helps add visual interest to your home decor or gift-giving needs. You can use either dyes or pigments to achieve various colors in your candles; each type offers different benefits. Candle dyes are primarily used to tint natural or white-colored paraffin or soy based candles and ensure pigment consistency throughout the entire batch of melted wax. Pigments can be used on both natural/white-colored paraffin and soy-based candles to achieve intense opaque colors throughout the batch.
Shapes: While many people think about making traditional taper or votive shaped candles, you can actually make any shape imaginable with a bit creativity and patience! Think outside the box by sculpting layered multi-wick pillars, rolling up wickless tea light tubes full of scented wax beads (also known as “pillow” shaped), suspending glass charms in geometric molds for bright 3D spheres (just like terrariums!), pouring seashell shaped muffins with evenly embedded wicks – the possibilities are endless! All this experimentation will help you discover new ways to make exciting shapes that suit your own personal style!
Candle Moulds
Types of Moulds: There are several different types of moulds that are available for making candles. These include plastic or metal pieces, silicone molds, and even wood moulds. It’s important to find the right type for the size and shape of candle you’re looking to make.
How to Use Them: Before using your candle mould, the first step is to prepare it by heating the inside with a hair dryer or heat gun. This will help ensure that your candles come out cleanly when released from the mould. After heating, use a release agent such as wax paper, Pan release spray, vegetable oil, shortening or cooking spray around the edges so that your candle won’t stick. Now fill up your mould with melted wax – using a pourer makes this task much easier! Wait until it cools down and hardens before releasing your candle from its mold.
Where to Buy Them: Candle moulds can be found in craft shops like Hobby Lobby and Michaels as well as online stores such as Amazon and eBay. Many specialist candle retailers offer an array of shapes and sizes, too! Prices vary depending on size and quality of materials used in production but generally start at around eight dollars and can go up over one hundred dollars for professional-grade models.
Candle Wicks
Selecting the right wick for your candle is one of the most important factors in ensuring a successful end product. There are a wide range of different sizes and materials available, so choosing the optimum combination is essential. Generally speaking, the size of your candle container will determine which type and size of wick to use. For instance, larger containers usually require a bigger wick as it allows for enough oxygen flow to help maintain an even and consistent flame. The material also needs consideration; cotton or paper-cored wicks provide you with a clean and stable burn, whereas zinc or lead cored wicks can generate more heat but could potentially be dangerous to use if not burned properly. Additionally, eco-friendly woodsticks are becoming increasingly popular due to their natural appearance and slow burning rate.
When it comes to preparing the wick for your candles, you’ll want to make sure it is cut correctly before you insert it into the wax. The length should match up with the height of your container, plus an additional two centimetres allowance that will come out once the wax sets properly. Another important factor is how well your wick is primed and seated within the wax; this ensures that it will draw up just enough liquid wax fuel efficiently throughout its entire lifespan. To do this, many people opt for dipping their chosen wick multiple times into some melted paraffin before setting them aside ready for fixing at set up time. You’ll also need to take into consideration any additives such as fragrance or dye that may have been added when selecting your ideal wick size – certain types perform better with stronger scents than others. Finally, always keep safety in mind when selecting candles – open flames from untended candles can often cause fires in homes, so make sure you learn about proper usage and extinguishment techniques before lighting yours!
Candle Fragrances and Adding Colours
When it comes to making candles, two of the most enjoyable aspects are adding unique and creative fragrances and customized tints. Adding fragrance is not only a great way to make your candles smell wonderful but can also create an inviting atmosphere that promotes calmness and hospitality. Fragrance oils allow you to customize the scent according to personal preferences. Most fragrance oils are heavily concentrated; therefore, it is important to use them in moderation. Too much of this oil can cause headaches, nausea or even burning sensations in the nose.
To add colour to your candles, use suitable dyes that match the type of wax being used in order to avoid staining or discolouration along with potential adverse reactions coming from too much contact with dye on skin or clothing. Like fragrances, dyes come in many forms; some are made specifically for candle-making purposes while others can be purchased at craft stores for a variety of other uses such as soap-making and dyeing fabrics. Dye amounts should generally be kept low as using too much can affect the burning time, stability, opacity and smoke production of your candle – causing it to burn haphazardly and unevenly. With both scents and colours combined, you will easily be able to craft up exquisite candles with dazzling hues representative of your creative flair and unique personality.
Candle Making Techniques
Dipping: Dipping is an age-old candle making process that involves submerging a wick into liquid wax in order to coat it, then reheating and redipping until the desired size and shape of the candle is achieved. The wick may be submerged multiple times over the course of several days in order to create a thicker layer of wax. This method is primarily used for creating tapers or thin columns of candles, but with practice, more intricate designs can also be made.
Pouring: Pouring involves heating up wax until it reaches a liquid state, then pouring it into a pre-made mold or casting agent. Once cooled, the candle can be removed from the mold and left as is or further decorated. This method is commonly used for making household candles such as tealights and votives. It’s best suited for those just starting out in candle making since molds are easy to come by and require little skill to use.
Rolling: Rolling requires wrapping papier-mâché around a core (usually wooden dowels) soaked in honey scented oil, which serves as fuel for the candle’s flame when lit. The paper is then painted with melted beeswax and rolled around itself until the desired size and shape of the candle has been achieved – think spirals going from top to bottom. A light source may be needed during this process in order for the wax to properly melt onto the paper. This technique creates very unique shapes not obtainable through typical dipping or pouring methods.
Finishing Touches
Candles are a great way to add warmth and style to any room, and they come in a variety of shapes, sizes, colors, and scents. If you decide to make your own candles, there are several ways to embellish them for a more personalized look. Here are some ideas for adding the finishing touches:
1. Decorate with Ribbons or Strings: Wrap ribbons or strings around candles of varying heights in contrasting colors for an elegant look that will brighten up any space. Thin strips of fabric can also be used for this purpose.
2. Use Embellishments: Add decorative items like beads, shells, pearls, sequins or stones to your candle creations for added texture and interest. You can also glue cut-outs from magazine pages around the sides of a pillar or tapered candle as a collage design.
3. Utilize Colorful Paint: Applying paint with an artistic brush to any part of your finished product will provide another exciting layer of design potential. You can match the color scheme with the rest of your décor or pick vibrant hues for contrast. Metallic paints work well too!
4. Create Melted Patterns: For a unique effect, use a heat gun near the top edge of molded candle containers and molding material before pouring melted wax into it – waves, dots and other patterns will be left behind as wax cools over time!
Extras
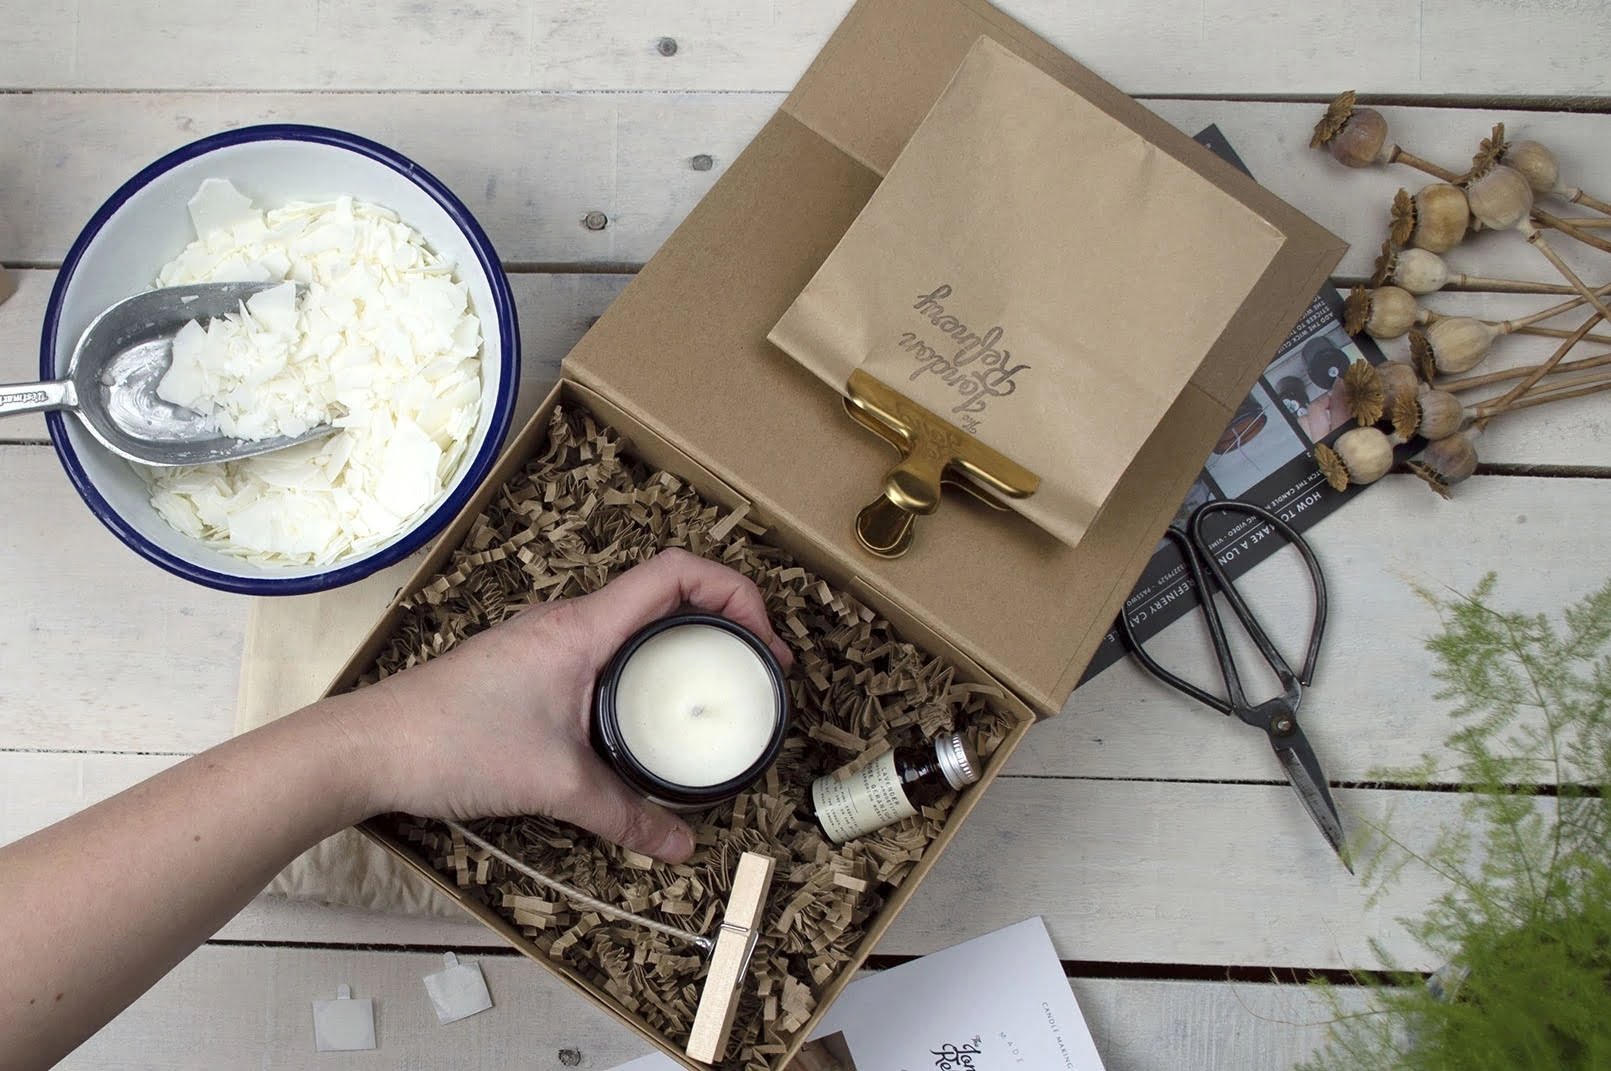
Tools: For candle making, there are many useful tools you can use. Some of these include a double boiler or crock pot for melting wax; mixing bowls and spoons for mixing; molds for shaping the candles; wicks and holders (if you’re not using pre-made wickless candles); thermometers for monitoring temperature; glues and adhesives to stick decorations to the sides of the candles; and candle dye and fragrance to achieve certain desired hues and smells.
Resources: There are loads of resources available online that offer helpful tips and techniques on candle making. YouTube has many tutorials, as well as blogs geared toward various types of candle makers. Additionally, there are many books written by experts that can help guide beginners and experienced candlesmiths alike.
Ingredients: Wax can be sourced from many places online, such as Etsy or specialty websites that specialize in candle-making ingredients. Wicks can also be purchased online or at craft stores. Candle dyes and fragrances can be found online or at local retailers. Additionally, it is possible to purchase containers for candles, such as jars and tins, either online or at local stores.
Conclusion
It takes a lot of practice, patience and care to craft great candles. To make your own candles at home, you need the right supplies and tools like wax, wick, dyes, and molds. You should figure out the best ratio of these ingredients for each candle you create. Different types of wax have different viscosity levels, so you should determine which one is best suited for your preferred outcomes.
When it comes to proper preparation for making candles, safety is essential. Before melting the wax, be sure to ensure all wicks are properly fixed in place and secure them with clips if you’re using a mold as this will help avoid burning accidents. Wear protective gear such as gloves when handling the hot wax or pouring it into your mold.
Be aware of the temperatures when melting your ingredients; too high of an intensity could cause residues or air bubbles which can damage the outcome of your project. Also keep away from direct sources that may contaminate your candle; always use a double boiler regardless of what kind of wax you’re working with. When ready to pour, brace yourself before transferring the mixture into your mold; use a circular motion to achieve even coverage when filling in any tin cans or glasses used as molds.
To complete your project, wait until all wax has fully hardened before tipping it out onto parchment paper to avoid further residue build-up on your surfaces and leave no room for mistakes like spilled wax. Once the candle has cooled down properly adding tarnish resistant caps can seal their shape and prevent them from deforming over time while allowing air vents to reduce excess heat while burning thus protecting both candle holder material but also preventing any potential accidents related to sustained contact with a heated object like glass or metal.
With all these tips in mind, now you are ready for crafting great candles! Just remember that success relies heavily on trial-and-error along with lots patience and dedication so start experimenting today! Good luck!

Welcome to my candle making blog! In this blog, I will be sharing my tips and tricks for making candles. I will also be sharing some of my favorite recipes.


