#Gel Candle Making Step By Step
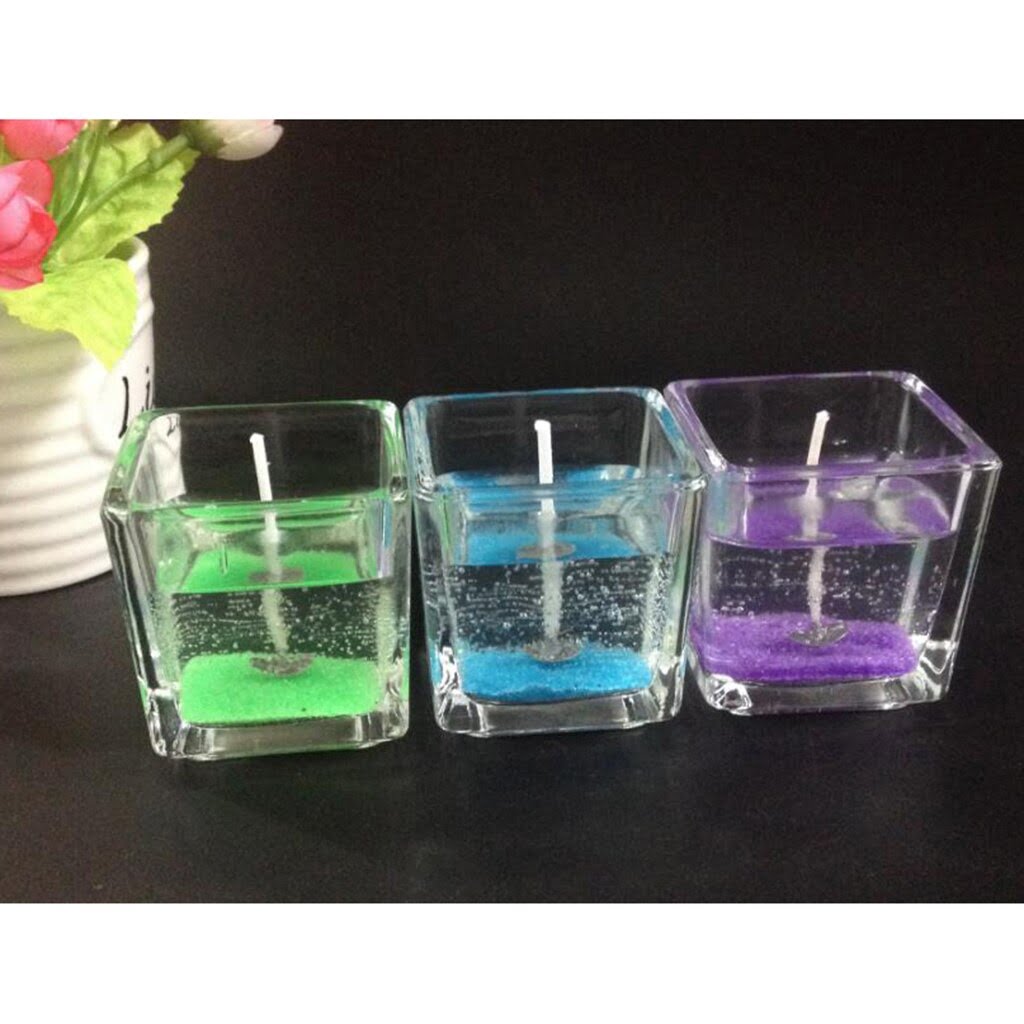
Gel candles are a great way to add a touch of fun to any room. Whether you’re looking for a more traditional approach or something to funk up your place, the versatility of gel candles is sure to have something for everyone. In this article, we’ll guide you through the steps of gel candle making step by step.
**What You’ll Need:**
* Gel Candle Mould
* Gel Wax
* Dye blocks/Liquid Dye
* Heat resistant container
* Wick
* Wick glue
**Step 1: Choose Your Mould**
The first step of gel candle making is deciding on your mould. You can find pre-made gel candle moulds in the store, but it’s much more fun to make one yourself. All you’ll need is a heat-resistant container, such as a jar or glass cup, and a piece of wood to support your wick.
**Step 2: Melting the Wax**
Once you’ve chosen your mould, it’s time to melt the wax. Pour the wax into a heat-resistant container and, using a heat source such as a pot of boiling water, melt it slowly. Keep an eye on it and stir intermittently to ensure the wax melts evenly.
**Step 3: Add Different Elements**
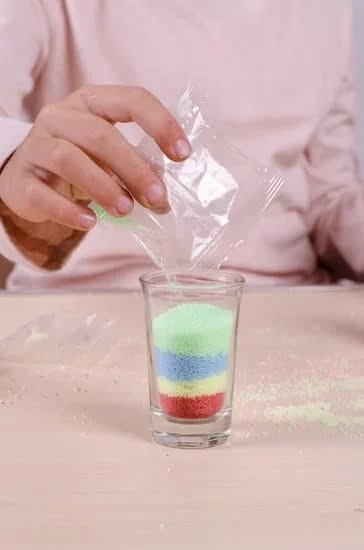
Now you can customize your candle with a range of different elements. Add dye blocks or liquid dye to give your candle a range of coloring options, from subtle pastels to vibrantly colored. You can also add different scent ingredients such as essential oils and herbs to give your candle a more fragrant scent.
**Step 4: Pour the Wax**
Once you’ve mixed up your candles to your liking, it’s time to pour the wax. Using a measuring cup and a funnel, slowly pour the melted wax into your mould. Take care to evenly distribute and ensure that the wax is not too hot when you pour it.
**Step 5: Add Your Wick**
After pouring the wax into the mould, secure your wick and let it set. To do this, you’ll need to secure the wick in place using wick glue and make sure it’s centered to ensure your gel candle sits flush when lit.
**Step 6: Finishing Touches**
Now that your candle is set, it’s time to finish off with a few small touches. You can decorate the outside of the candle with a variety of things, such as glitter or decorative beads. You can also top it off with a ribbon, paper label, or any other type of wrapping to make your candle look even more eye-catching.
**Conclusion**
Gel candle making is a fun, simple craft that can yield great results. Once you’ve chosen your mould and melted the wax, you’ll need to add the wax to the mould and secure the wick at and center. Lastly, you can customize your candle with whatever decorations you like. With these 6 easy steps, you’ll be able to start making your own gel candles in no time!

Welcome to my candle making blog! In this blog, I will be sharing my tips and tricks for making candles. I will also be sharing some of my favorite recipes.


