Gel wax candle making ideas are becoming increasingly popular among crafters and DIY enthusiasts. Gel wax is a combination of mineral oil, resin, and fragrances which gives the candles an interesting and attractive appearance.
This type of wax has become particularly popular due to its unique layering capabilities as well as its ability to hold intricate designs within the candle itself.
The benefits of using gel wax for candle making go beyond just aesthetic appearance; it also produces a longer burn time, they generate less smoke than conventional paraffin-based candles, and have a lower melting point of approximately 115 degrees Fahrenheit which reduces the chances of scalding or melting when in contact with skin.
When it comes to incorporating gel wax into your next project there are several important aspects to consider: wicking size, mold design, fragrance selection and curing time. When selecting a wick for your project, make sure that it is properly sized according to the diameter of the candle vessel you are using.
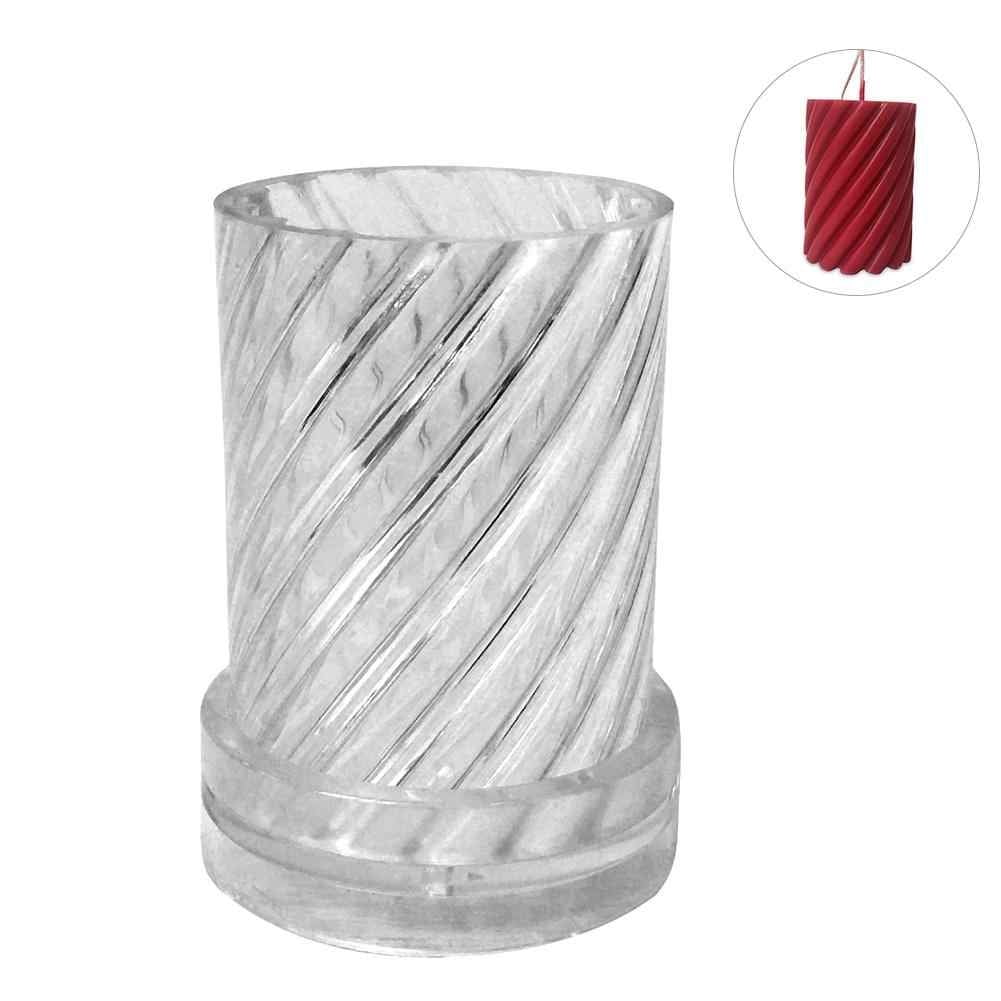
It’s best to use larger sizes for larger vessels as these tend to produce higher temperatures when burning. As far as moulds are concerned, choosing one that has intricate details that can be enhanced with layers of glass-like composition is desirable as this gives off an interesting 3D appearance when lit up.
Fragrance selections should be based upon adjustable amounts so you can experiment with different amount combinations until you reach the desired scent intensity level that’s perfect for you.
Finally timing is critical; make sure to leave enough time between each layer addition so the preceding layer has adequate time to cool and harden before applying any additional layers on top otherwise it will result in melted mess similar to lemon sauce or molasses sauce all over your precious work (not fun.
).
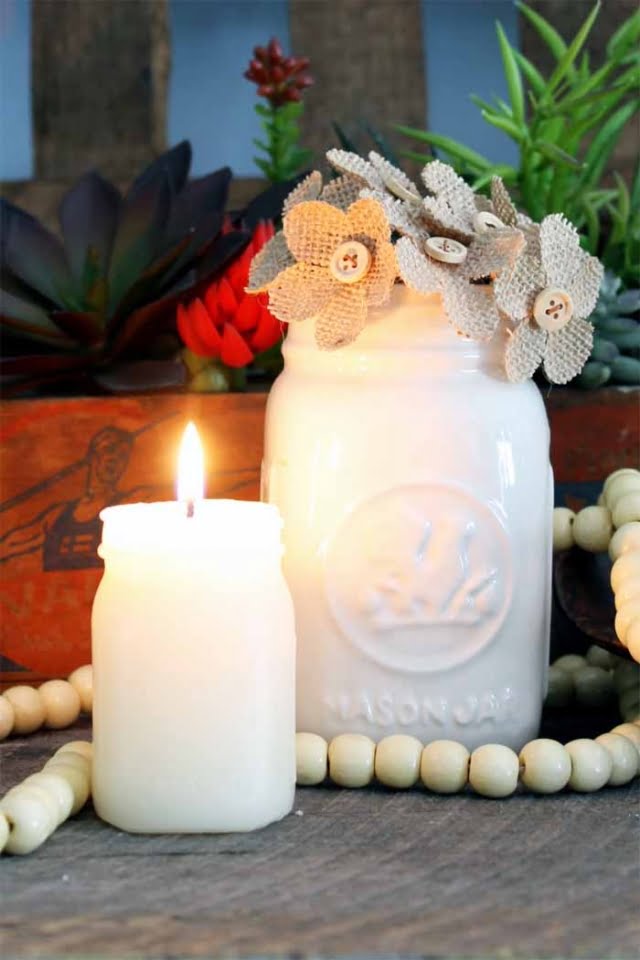
By keeping these tips in mind, you’ll be on your way to creating beautiful gel candles suitable for gifting or brightening up your own home decor. A great way to start experimenting with gel candle making is by using pre made containers like mason jars since this provides structure while helping beginners get accustomed with aromas and colors among other properties associated with them.
From there you can advance slowly creating more intricate details like flowers or shells enhacing those magical glowy moments we all got used tj every night nowadays.
Supplies Needed for Gel Wax Candle Making
Gel wax candle making is an enjoyable hobby that allows you to express yourself creatively. Whether you choose to make a statement with bold colours, or simply fill your home with pleasant fragrance, gel wax candle making can be an enjoyable and rewarding experience.
To get started, the first step is to gather the supplies necessary for making candles. Gel wax is a specialty type of wax that comes in a variety of different colours, which allow you to create unique and colourful pieces of art. Additionally, fragrances are important in order to create candles that have an alluring scent.
Fragrance oils can be purchased at craft stores or online in bottles containing enough scent for many candles. Containers are another component used in gel wax candle making; typically glass jars and mason jars are used for this type of crafting project. Finally, wicks should be selected based on the container size; thinner wicks work better for smaller containers and thicker wicks are best for larger jars.
Once all of the supplies have been gathered, it’s time to begin creating one’s masterpiece. The general process involves pouring melted gel wax into a container before allowing it to cool, shaping the edges as desired once cooled. After cooling and shaping has occurred, it’s time to add any desired fragrances after which adding the preferred colour choice before finally placing any desired decorations on the outside of the container.
After doing some research online or by reading books about this topic, crafting one’s own candle could be made much easier due to obtaining valuable knowledge on issues such as ideal temperatures for melting the gel waxes. It will also be important to keep safety tips in mind when performing this craft as it involes using fire commands not forgetting using protective gloves when pouring and mixing ingredients together adding essential oils.
Overall, gel wax candle making is a great way to express oneself artistically while creating delightful scents intended to bring pleasure and laughter into anyone’s daily life. With careful preparation and attention-to-detail carried out during each step of the process, one can look forward enjoying their very own customised craft piece.
Benefits of Using Gel Wax for Candle Making
Gel wax has become increasingly popular among candle makers and is a great choice for anyone looking to take their craft to the next level. Gel wax candles have a few distinct advantages over traditional paraffin and soy varieties, as they can burn longer, produce brighter colours, and create intricate designs and shapes with floating elements.
The biggest advantage of using gel wax in candle making is that it is much easier to manipulate than regular wax. The viscosity of gel wax keeps it from pouring too fast or slowly during the production process while also help maintaining its structural integrity even when heated up. This makes creating unique shapes and patterns much simpler than with traditional waxes, especially if there are any ‘floating’ elements in the design you wish to create.
Longer Burning Times
Another significant advantage of using gel wax for your candle making efforts is the fact that these candles will often burn significantly longer than those made with other kinds of waxes. Since gel wax maintains a consistent viscosity due to its thick nature, it produces a slow and steady burning effect that lasts much longer compared to other types of candles made from softer materials, such as soy or paraffin.
This means you won’t have to worry about your candles melting away too quickly once lit, giving you more time to enjoy them without having to constantly lighten them up again.
Vibrant Colors
Finally, one of the main attractions surrounding gel wick candles are the bright colors they offer when added with dyes. These vibrant hues go beyond standard whites or creams found in most candles not made out of this special type of jelly-like material.
Due to its semi-translucent quality, using dyes on this type of material provides extra vibrancy compared to standard paraffin or soy visuals, which often require multiple layers before attaining this level of hue consistency with one additive. * In short – if you’re looking for beautiful colors in your finished product then consider opting for gel wick formulation as part ideal way for glow after lighting*.
Basic Gel Wax Candle Making Technique
Gel Wax Candle Making is a fun and relatively easy hobby, perfect for an afternoon of crafting. With the right ingredients, anyone can create eye-catching, unique candles in different shapes, colors and scents. Here is how to get started:
- Choose your materials: You can purchase gel wax beads or slabs from a craft store. This wax works best with specifically designed wicks made of multiple strands of cotton.
- Pick out some styling accessories: To give your candles added personality, you may choose to include some decorative items to style your candle like sequins or flowers.
- Prepare your moulds: Using a double boiler or microwave oven, melt the gel wax. As soon as it has fully melted you should pour the hot wax into the candle moulds.
Once you have done this you can start adding decoration to your creation. There are two main approaches when decorating a gel wax candle – embedding decoration pieces directly into the molten wax before it cools completely or gluing them onto the outside once they’ve cooled down – whichever approach you take will depend on the look you’re attempting to achieve.
When it comes to scenting the candles, aromatic oils can be added either before cooling or afterwards for a subtler fragrance; just make sure that whatever oil you use is compatible with gel wax and not too strong in concentration so as not to influence the burning qualities of the finished product.
When all decorations and scents have been applied it’s time to add wicks – these will be propped into place using small pieces of foam at the base while ensuring that they are centrally placed in each mould before securing them with additional gel wax if required. Once this is complete, set aside until completely hardened before continuing onto release and packing away (or presenting) your creative candle making artwork.
Creative Gel Wax Candle Making Ideas
Gel wax candles are a beautiful addition to any home decor. They create a calming and soothing ambience, have an expensive and luxe looking appearance without requiring you to break your bank, and can be created in a variety of forms and colors to fit any space.
There are many creative ideas for designing gel wax candles that can help you add unique touches of your own to the ordinary piece of décor. Here are some gel wax candle making ideas:
- Mixing Different Wax textures – Gel wax comes in various different textures and consistencies that allow you to mix and match between them for more interesting designs. Choose from soft, hard, watery or solid gels; varnish gels, paste gels or lumpy gels.
- Adopting Unique Shapes – Move away from the traditional round shape when making your gel wax candle creations. Choose from odd shapes such as triangles, stars or hearts that can be more easily personalized with custom messages.
- Adding Color – For a truly unique creation, mix and match different colors of gel wax within the same candle. There are multiple options available from creamy whites to bright jewel tones that will help give your design just the right amount of dynamism.
- Decorative Embellishments – You can really take things up a notch by adding decorative embellishments such as glitter flakes, beads or ribbons; which will make your final creation extra jazzy.
A particularly popular trend is to combine several elements such as mixing colors, shapes or textures together; this allows you to create something truly one-of-a-kind without putting too much stress on yourself. It is also important not to forget about scents when creating gel wax candles as smell is usually the most important sense our mind associates with memories.
Whether it be lavender-scented woodsy aroma or sweet floral notes there is something for everyone – find one that fits perfectly into bedroom decors with its relaxing nature or goes well with tea desserts.
Lastly but most importantly – safety measures should always be kept top of mind when working with flammable material like gel wax. Read up on safety precautions specified by the manufacturer before starting your project and pay special attention warning signs throughout the process of making your special creations.
Tips & Techniques for Making Beautiful Gel Wax Candles
Gel wax candles are an excellent alternative to traditional candles offering a more even finish and a beautiful translucent glow. Gel wax candle making is an art form that takes patience, skill, and creativity. However, with the right techniques anyone can create stunning gel wax candles for their home or business.
Creating The Perfect Candle
The first step in creating beautiful gel wax candles is selecting the perfect mold or container. These should be clean and dry before any gel wax is added. If you’re feeling creative, consider choosing molds with intricate designs, such as snowflakes or flowers. This will help give your finished product a unique look.
Next you need to take extra care in heating the gel wax correctly and ensuring that it is cooled evenly before pouring into the mold or container of choice. To prevent overheating when melting down the gel wax it’s recommended to use a double boiler. This will allow for an even heat distribution so your candle is not too hot when cooled off.
Adding A Personal Touch
Once the melted gel wax has been poured into the mold or container it’s time to get creative. Consider adding special features such as ribbon around the perimeter of your jar or container for additional flare, and/or floating pieces like sea shells for even more uniqueness and character.
You may also choose to add fragrances such as essential oil drops during this stage in order to enhance your scent profile – just make sure they are all natural. Use this time to express yourself artistically by using colors other materials that complement one another nicely creating stunning effects you are sure enjoy looking at year after year.
Finishing Touches & Storage
Once all these steps have been completed, make sure your new creation doesn’t come into contact with moisture immediately after cooling; this might alter it’s shape from high temperatures or humidity levels. Lastly, store it in a cool dry place away from direct sunlight which could damage both its material base and design elements over time.
Troubleshooting Common Issues When Making Gel Wax Candles
One of the most common issues people face when making gel wax candles is that the wicks or fragrance are not properly incorporated. The process of including a wick or scent into melted gel wax can be tricky as it requires both accuracy and precise timing. To ensure that a wick is properly inserted, it’s important to pour molten wax into the container prior to inserting the wick which allows for an even distribution and easier handling.
For scented candles, adding essential oils or perfume should be done once the wax has cooled slightly but before it hardens. This will allow the scents to blend in seamlessly and evenly with the wax as it cools down.
Determining Scent Strength
Another problem some find when crafting their own gel wax candles is finding out how much scent to use. Too much smell can make your candle unbearable while too little might have no impact at all on your finished product. A good rule of thumb when considering how much aroma you’d like for each candle is one teaspoon per pound of melted wax, with some DIYers recommending less as desired fragrance strength will depend on personal preference.
Maintaining Vibrant Colours
The final issue many contend with whilst creating homemade gel-wax candles, is ensuring vibrant colours don’t fade over time. In order to make sure that your chosen hues remain bright and glossy throughout the duration of your candle, you need to mix specially designed dye chips into molten gel wax rather than using liquid dyes prepared in a separate bowl later on in the process as this could lead to fading.
Ideas for Unique Ways to Display Gel Wax Candles
Gel wax candles can be used to create one-of-a-kind decorative touches for any room. By leveraging creative ideas, any space can feel uniquely yours. One of the more popular ways to display gel wax candles is with wall hangings and boxes. Wall hangings can be a great way to proudly showcase your handmade candles in an eye-catching manner that stands out from the rest of the items on the wall.
Boxes can also be used to contain the gel wax candles and place them on a counter or tabletop with greater visibility than a traditional candleholder or bouquet. Fancy boxes can range from acrylic cubes filled with sand and scented hand poured wax, to recycled materials such as plastic bottles, jars, or wooden boxes.
The inner walls of these containers should be lined up with felt preventsing contact between the glass walls and the hot gel wax so that glass does not melt and warp. This makes it easy to lift a tray of several small votives without worrying about damaging its contents, along with making it easier to swap out different colors or fragrances according to your tastes or needs at any given moment.
Finally, optically appealing containers have become quite popular recently, such as reed diffusers and terrariums specifically designed for use with gel wax candles. Diffuser kits will usually provide vases in unique shapes and sizes that differ from conventional candle holders (e.g., ornate egg-shaped vessels).
Reed diffusers consist of scented oils placed within colorful glass bottles held together by thin reeds, giving an aura of luxury and sophistication while dispersing fragrance throughout the air around it elegantly. Similarly with terrariums, they make beautiful conversation pieces standing alone or grouped together while softly illuminating with their warm light through tall shoots of greenery inside it – thus creating both visual atmosphere and aroma all in one piece.

Welcome to my candle making blog! In this blog, I will be sharing my tips and tricks for making candles. I will also be sharing some of my favorite recipes.

