Introduction
Making candles at home can offer many benefits and advantages. You can create unique, beautiful pieces of art or simply enjoy the calming benefits that come with participating in a hands-on hobby. Working with wax provides many opportunities to be creative and can help develop new skills like design, dyeing and scented candle making. The supplies you will need for creating candles are relatively inexpensive compared to buying a finished product. Making your own candles is a great way to bring out your inner artist, while also exploring the exciting process of creating something that has practical value. Not only does it save money, but it also allows you to explore different techniques and use them to make homemade gifts for friends or family ” adding a truly personal touch. From hand dipping pillars to sculpted works of art, there’s something for everyone!
Materials and Supplies You Need to Make Candles
Making your own candles can be a fun and rewarding experience. To get started, there are a few materials and supplies you will need. First and foremost, you will need wax for your candles. Depending on the type of candle you want to make, there are several types of waxes available, including paraffin, soy, beeswax, and even vegetable-based waxes. Once you have chosen the wax for your homemade candles, you will also need wicks and dye or colorant that is compatible with the type of wax that you chose. Wicks should match the size of the container or mold for your candle in order to ensure the hottest flame possible without dripping.You will also need a melt pot (or double boiler), thermometer and molds or containers to shape your candle. A melt pot is used to melting wax on low heat while maintaining a safe temperature, while thermometers measure heat accurately so that wax does not overheat or burn. Molds and containers come in many different shapes, sizes and styles; glass jars are popular choices as they can be reused long after making their original candle! Lastly, safety equipment is paramount when making any kind of homemade craft project; oven mitts provide protection from burning wax splatters while wire cutters help trim down wicks if necessary.
Exploring Different Wax and Container Options
When it comes to making candles, the options available in both wax and containers are seemingly endless. Choosing the right wax is important as this determines the overall strength, melting temperature and burn time of your finished candle. Paraffin waxes remain the most popular choice, however beeswax and soy waxes are gaining traction. These alternative waxes provide a cleaner, more natural burn with better scent holding capacity too.
When it comes to choosing a container to house your candle, you may wish to consider aesthetic factors such as glassware or tins, but safety should be the primary driver when making your choice. Glass containers can become too hot during use and shatter if left unattended so should always be mounted on a heat-safe surface away from any potential hazards or draughts. Alternatives such as ceramic dishes will help to absorb some of the heat which are often safer for use in homes. Other materials can also be used including metal containers or cups – however extreme caution must be taken due to the potential risk of starting fires with open flames present.
For added safety consideration you may want to opt for wickless candles such as those formed from semi-solid products like soapstone discs, chunks or chips which enable relatively mess-free melting without an open flame. There are also many creative ways you can combine different scents and colours together depending on the type of wax being used. For example, some blends enable you to mix melted layers while others will allow particles like petals or glitter flakes suspended within molten candles once cooled creating one-of-a-kind pieces that could even double up as gifts or home décor items!
Introduction to Essential Oils and Fragrance Oils
Fragrance and essential oils are commonly used in candle-making to add a variety of aromas to candles. Essential oils are distilled from natural sources such as plants, trees, herbs, and spices. They possess many uses due to their concentration of beneficial compounds. Fragrance oils are artificially composed scent molecules with ingredients sourced from plant extracts, botanical essences and synthetic components. These scents often mimic the aroma of expensive essential oils but at less cost and with more stability in products like candles.
When using essential or fragrance oil for making candles, it is important to understand how much oil should be added. This can vary based on the size of the container being used to hold the wax and wick combination. For example, for every pound of wax you use in your container, the general rule is to add 1oz (2 Tablespoons) of oil for smaller containers up to 8 oz size or 2 oz (1/4 cup) of oil for larger containers 12oz or larger. It should also be noted that some essential oils may require more or less since they vary in strength”it is always best to perform a test burn before making multiple batches with any given scent blend as results can vary greatly depending on several variables including evaporation rate and flash point avoidance when adding fragrance Oils.
Step-by-Step Guide to Making a Candle
1. Gather the supplies: To make a candle, you’ll need a wax melting pot, a wax melting thermometer, a container or mold, wick assembly with an adhesive disk (available in craft stores), and candle-making fragrance or dye. You’ll also want to wear protective equipment such as goggles and an apron.
2. Melt the wax: Fill the bottom of your melting pot with water then place it on low heat. Place your wax in the top of the double boiler and wait for it to melt completely”this should take about 30 minutes. Monitor the temperature of your wax with the thermometer; when it reaches between 240-250 °F you’re ready to begin!
3. Add fragrance and dye: Scent is one of the most important elements of making candles, so be sure to add your desired fragrance oil or dye at this stage in small drops or increments until you get your desired balance! You can experiment by adding more as needed until you find something that works for you!
4. Prepare wick assembly: Now its time to set up your wick. Place it in position into the bottom of your mold or container and glue it down using an adhesive disk from a wicking kit which helps make sure that your wick doesn’t move around too much during pouring and curing time!
5. Pour melted wax: When your wax has reached its proper temperature, slowly pour it into the top of your mold or container making sure not to overfill as this will cause overflow and wasting wax! Allow for cooling time before putting on lids or covers as needed.
6. Secure wick: After sufficient cooling time should have been taken, center the wick again by lightly pushing it towards vertical if needed! Then tie off with string at both ends if you are needing extra support while cure drying takes place which can take decent amount of time depending on type/amount used!
7. Cut off & enjoy!: After waiting 20-24 hours once cooled off fully “check with finger touch surface test or poke stick dropping test”it is now safe to trim off any excess loose parts like paper hooks used in tying strings together before lighting your finished product(s) up!! Congratulations on making a homemade candle 🙂
Tips and Tricks for Adding Color, Scent and Design to Your Candle
Candles are a great way to bring warmth and ambiance to any room in the home. Making your own candles is an enjoyable, creative experience and gives you the opportunity to customize your candle with different colors, scents and designs. Here are some tips and tricks for adding color, scent and design to your candle:
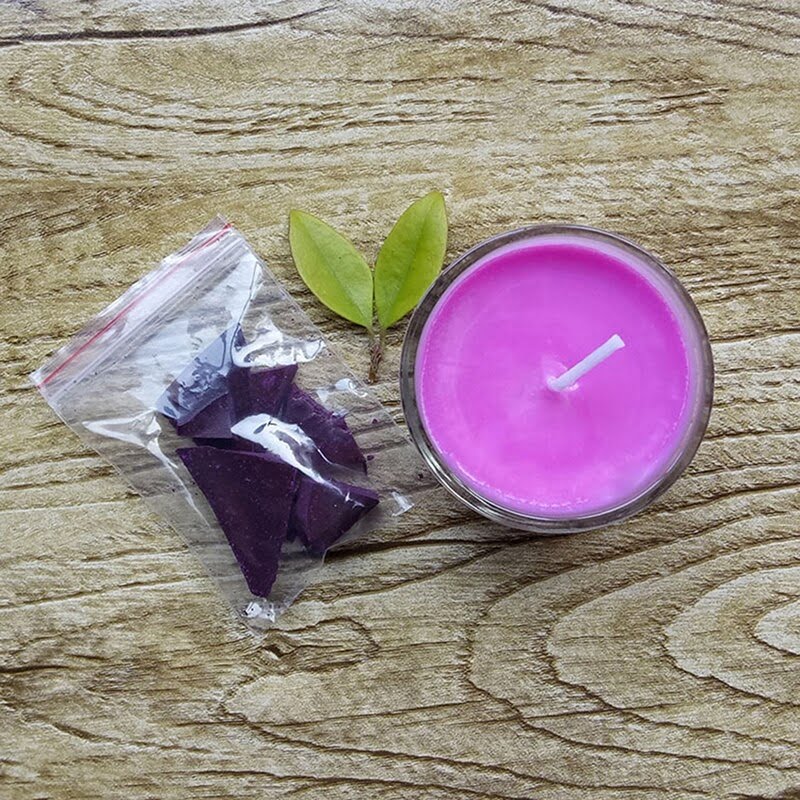
Colors: Add liquid dye drops in increments by dipping the end of a toothpick into the dye before stirring into melted wax. This allows you to mix colors more easily while helping you avoid putting too much dye into the wax. If you choose to add crayon pigments, simply grate until it’s powdery before adding it slowly.
Scents: When adding fragrance oil, aim for 1 ounce per pound of wax used. To ensure that aroma stays in the candle, make sure that the oil added is around 3-5% or less than total weight of wax used. Additionally, essential oils can be added but their potency isn’t as strong as synthetic fragrances so consider using higher proportions (around 10-20%) when using them instead.
Designs: To create unique shapes and designs with candles use silicone molds or materials like foil or parchment paper. For a more modern look try dripping large amounts of colored wax over solid colored candles or alternatively cutting small slices off other pre-made candles for easy design options like ombré styles!
Advanced Projects and Designs You Can Try with Candle Making
Making candles not only provides the opportunity to create a special atmosphere in your home, it can be a great hobby for any age group. Once basics have been mastered, there are lots of more advanced projects and designs you can try with candle making. Here is a quick guide to some of the things you can do:
1. Adding Color – Coloring candles is an easy way to create unique decorative designs, or bring something special to gift giving. Whether you opt to buy pre-mixed dyes or make your own using natural pigments like spices and herbs, adding color is always an exciting way to level up your candle making game!
2. Layering – To create interesting effects in your candles you can use absorbent materials like cotton and paper, so that one dye will blend through another as it melts down the candle mould. This makes for keepable wax art that looks gorgeous when lit.
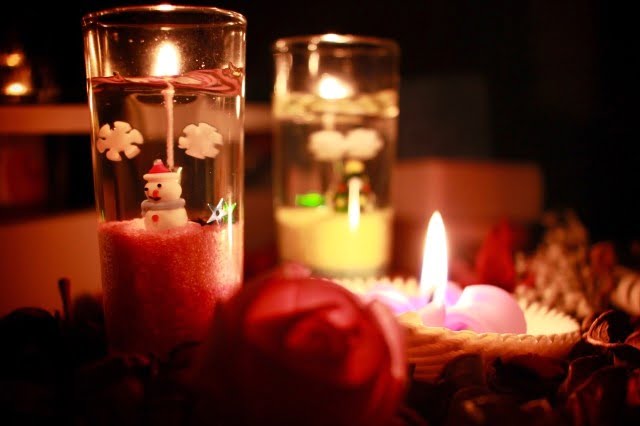
3. Making Gel Candles – A fairly new technique, making gel candles involves working with clear liquid crafted from a resin-base that resembles jello jelly when solidified into a container. It’s especially good for displaying items inside like shells or trinkets, creating never-ending possibilities for design.
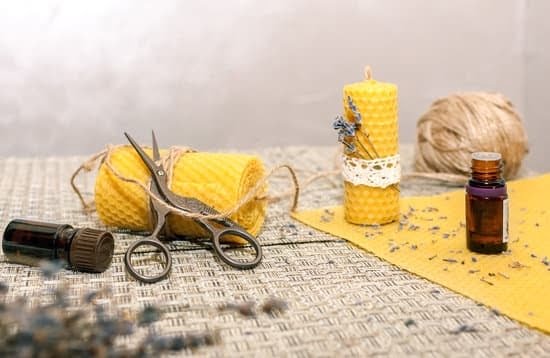
4. Using Scents ” To add pleasant aromas to your candles scented oils can be easily integrated into the mix before pouring into moulds. If this isn’t enough then look out for hidden surprises: adding whole sprigs of fresh herb like lavender at the bottom makes the scent even stronger!
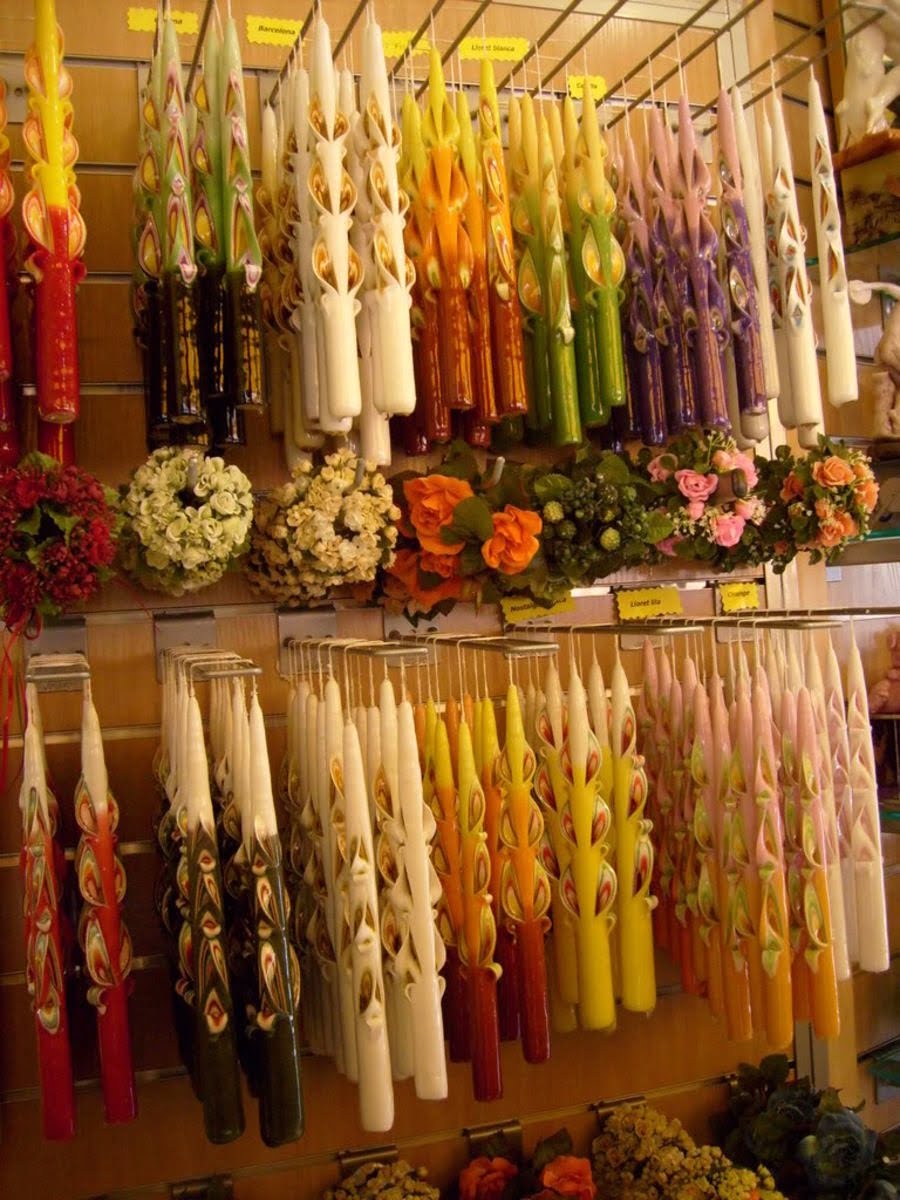
5. Creating Specialty Candles ” If you want to express yourself with even more creative flair then why not mix up different styles? Create votives by dropping melted wax on top of existing jar moulds; get experimental with metal tins by slicing them up and folding them over; or design pillar shapes using extra large blocks or smaller taper sets made from multiple wicks! Any of these specialty candles will take your home decorating project up another notch!
Troubleshooting Common Problems in Candle Making
Creating hand made candles can be a very rewarding process but it is not without its challenges. In this guide we will outline some of the most common problems encountered by candle makers and provide solutions.
The first issue is often with wax melting. It is important to know the melting point of your wax before attempting to melt it. Depending on the temperature needed, you have several options in heating the wax; using a double boiler, an electric wax melter, or even a slow cooker. If your wax does not reach the desired temperature after being heated for a length of time then there are several things that may be contributing to this. One possible problem could be that the pot you are using is too small for the amount of wax needed and as a result unable to produce enough heat throughout. To rectify this either decrease your wax quantity or find another larger pot size to use. Another cause may be that your thermometer isn’t accurate or reaching its full potential due to impurities in your container or not being calibrated correctly. If you believe this could be an issue then try recalibrating your thermometer and taking steps to ensure it is clean and free from obstructions like residues placed by containers etc.
Another common issue when making candles is difficulty with creating uniform shapes. This can usually be remedied by ensuring your wick size is appropriate for the shape moulds/containers used (ie: checking wick charts to get an accurate sizing) and allowing candles adequate cooling times before removing moulds or containers. It’s also helpful to practice pouring specific shapes from different heights as some may pour better from higher distances than others (ex: thick candlesticks benefit from being poured slowly). Additionally, uniform shaping can also be increased though giving extra cooling periods between pours of new layers in multi-leveled candles; these additional chill times help densify each layer which makes them easier to sculpt once unmolded/removed from containers/moulds etc…
Finally, if you experience discolouration when wrapping candles with labels then unfortunately there’s usually nothing that can prevent this without more standardised procedures like melting pre-made wicks into molten candle wax versus loosely hanging wicks over molds/containers etc…Adequate cooling times/periods (12-24 hrs) should also always been given before sticking any labels onto finished products both greater helping avoid any staining issues as well as adding robustness during transit & handling’s etc..
In conclusion, solving any issues when making candles requires patience and practice along with essential equipment like thermometers and appropriate wicking charts needed for accurate pouring & dyeing results when creating unique designs what ever mood or setting might call for!
Safety Tips and Precautions for Candle Making
When making candles, it is important to take safety precautions. Before you start your project, make sure that the area you are working in is well ventilated. Make sure all of your supplies, such as wax and wicks, are secure and away from pets, kids and flammable materials. When melting wax, use low heat and keep a fire extinguisher nearby. Never leave hot wax or burning candles unattended.
Always wear protective clothing when handling hot wax and other materials associated with candle making. Long pants, long sleeves and eye protection when stirring or pouring into molds is recommended. Additionally, always read label instructions on supplies such as fragrance oils to avoid any potential skin or respiratory sensitivities or ailments.
It’s also important to take extra caution around open flame sources like matches or lighters and never leave burning candles unattended. Place burning candles on a heat-safe surface protected against drafts if possible, away from children and pets ” this includes both soy and paraffin wax varieties since all wax can spill if knocked over. If a fire breaks out during the candle-making process, be prepared with an adequate means of putting the flame out (such as baking soda or a suitable fire extinguisher). Finally, be sure to store any unburned candles safely away ” those made of darker colors such as red may cause severe burns if exposed to sunlight for extended periods of time due to their sensitivity to heat radiation
Conclusion
Making candles is an incredibly rewarding and fun activity to engage in. As you become more experienced in the art of candle making, you can customize your recipes and techniques to create unique experiences with your candles. To maximize your creativity in this craft, consider the following tips:
1. Experimentation: Try out different wick sizes, waxes, scents, colors, and shapes. Most supplies are widely available at local stores as well as online sources. Play around with materials and processes to explore new possibilities and create something totally unique.
2. Research: Look up tutorials online or read books on candle making for helpful advice that’ll help expand your repertoire of techniques. You can also browse images on Pinterest or elsewhere for inspiration from other hobbyists who have shared their work online.
3. Collaborate: Reach out to other candle makers near you or introduce yourself into local crafting communities so that you can learn from each-other’s accomplishments and mistakes in a safe space. Working together will help enhance the success of everyone’s projects as well as help generate ideas for future endeavors that you never thought possible before!
4. Establish a Routine: This helps keep things consistent while allowing room for improvisation when inspiration strikes! Devote a specific space within your home where you can go through all the steps of your creative process uninterrupted”it’s important to create a comfortable environment if you want to maintain focus while setting goals within this craft!
5. Have Fun: There’s no right way or wrong way when it comes to experimenting with craftsmanship”allow yourself to let loose every once in awhile, take risks with strategies you wouldn’t normally take such as trying out different colors or essential oils, seeing what happens when these ingredients interact with others in unexpected ways! With enough time spent learning the basics of candle-making and by taking advantage of all the resources available on hand, there’s no limit to unlock potential and see what beautiful creations await ahead!

Welcome to my candle making blog! In this blog, I will be sharing my tips and tricks for making candles. I will also be sharing some of my favorite recipes.

