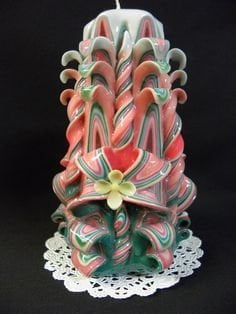
Hand carved candle making is a traditional craft that dates back centuries, with roots in various ancient civilizations. This intricate art form involves the creation of unique candles by carving designs and patterns into the wax. In this article, we will explore the fascinating world of hand carved candle making, from its historical significance to the modern techniques and tips for creating stunning, one-of-a-kind candles.
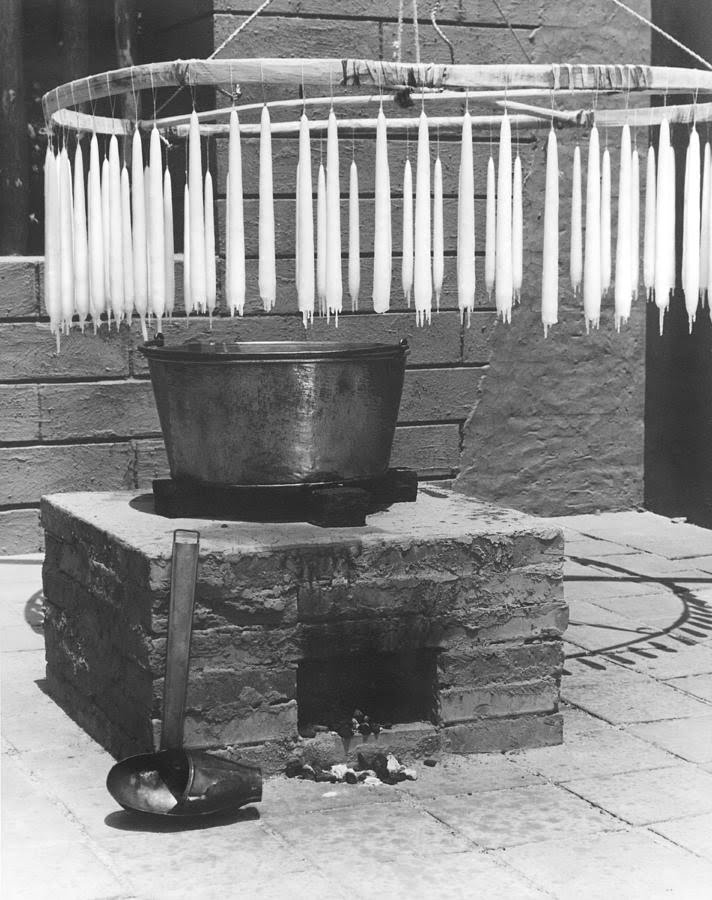
The history of hand carved candle making spans across different cultures and time periods, with each bringing its own unique contributions to this art form. From early civilizations using animal fat and beeswax to modern techniques using paraffin and soy wax, this timeless practice has evolved over time. By delving into the origins of hand carved candle making, we can gain a deeper appreciation for this ancient craft and understand its cultural significance.
In addition to exploring the historical aspects of hand carved candle making, we will also discuss the various tools, materials, and types of wax needed for this craft. Whether you are a beginner or experienced candle maker, understanding the fundamentals of choosing the right wax is essential for creating high-quality hand carved candles. By learning about the different options available and their respective benefits, you can elevate your candle making skills and produce exceptional works of art.
The History of Hand Carved Candle Making
Hand carved candle making is an ancient art form that has been practiced for centuries, with its origins dating back to the early civilizations. Historians believe that hand carved candles were first created by the Egyptians, who used them not only for light but also as a form of art and decoration. The ancient Greeks and Romans also utilized hand carved candles for religious ceremonies and as a symbol of wealth and status.
As the years passed, hand carved candle making techniques evolved, with different cultures developing their own unique styles and designs. In the Middle Ages, hand carved candles became popular across Europe, particularly in regions known for their beeswax production. These intricately crafted candles were often used in churches and monasteries, serving as both functional lighting sources and intricate works of art.
In more recent history, the art of hand carved candle making has experienced a resurgence in popularity. Modern techniques and tools have made it easier than ever for artisans to create stunning hand carved candles in a wide variety of styles and designs. From traditional taper candles adorned with intricate floral patterns to contemporary pillar candles featuring abstract geometric shapes, hand carved candle making continues to captivate artists and enthusiasts around the world.
Choosing the Right Wax for Hand Carved Candle Making
When it comes to hand carved candle making, choosing the right wax is crucial to achieving the desired results. There are several different options available, each with its own unique benefits and characteristics. Here are some of the most popular waxes used in hand carved candle making:
- Paraffin Wax: This is one of the most commonly used waxes for candle making. It is affordable, readily available, and holds color well, making it a popular choice for hand carving.
- Soy Wax: This natural wax is derived from soybean oil and is becoming increasingly popular among crafters. It has a clean burn and can hold fragrance well, making it a great option for hand carved candles.
- Beeswax: Known for its natural aroma and beautiful golden color, beeswax is a favorite for hand carved candles. It burns slowly and cleanly, making it an excellent choice for intricate designs.
Each type of wax has its own unique melting point and handling requirements, so it’s important to choose the right wax based on your specific needs and preferences when creating hand carved candles.
In addition to these traditional waxes, there are also modern alternatives such as gel wax and palm wax that offer their own set of benefits for hand carved candle making. Gel wax allows for transparency and embedding of decorative elements, while palm wax creates unique crystal patterns as it cools. Ultimately, the choice of wax depends on the desired outcome and personal preference for the hand carved candle maker.
Tools and Materials Needed for Hand Carved Candle Making
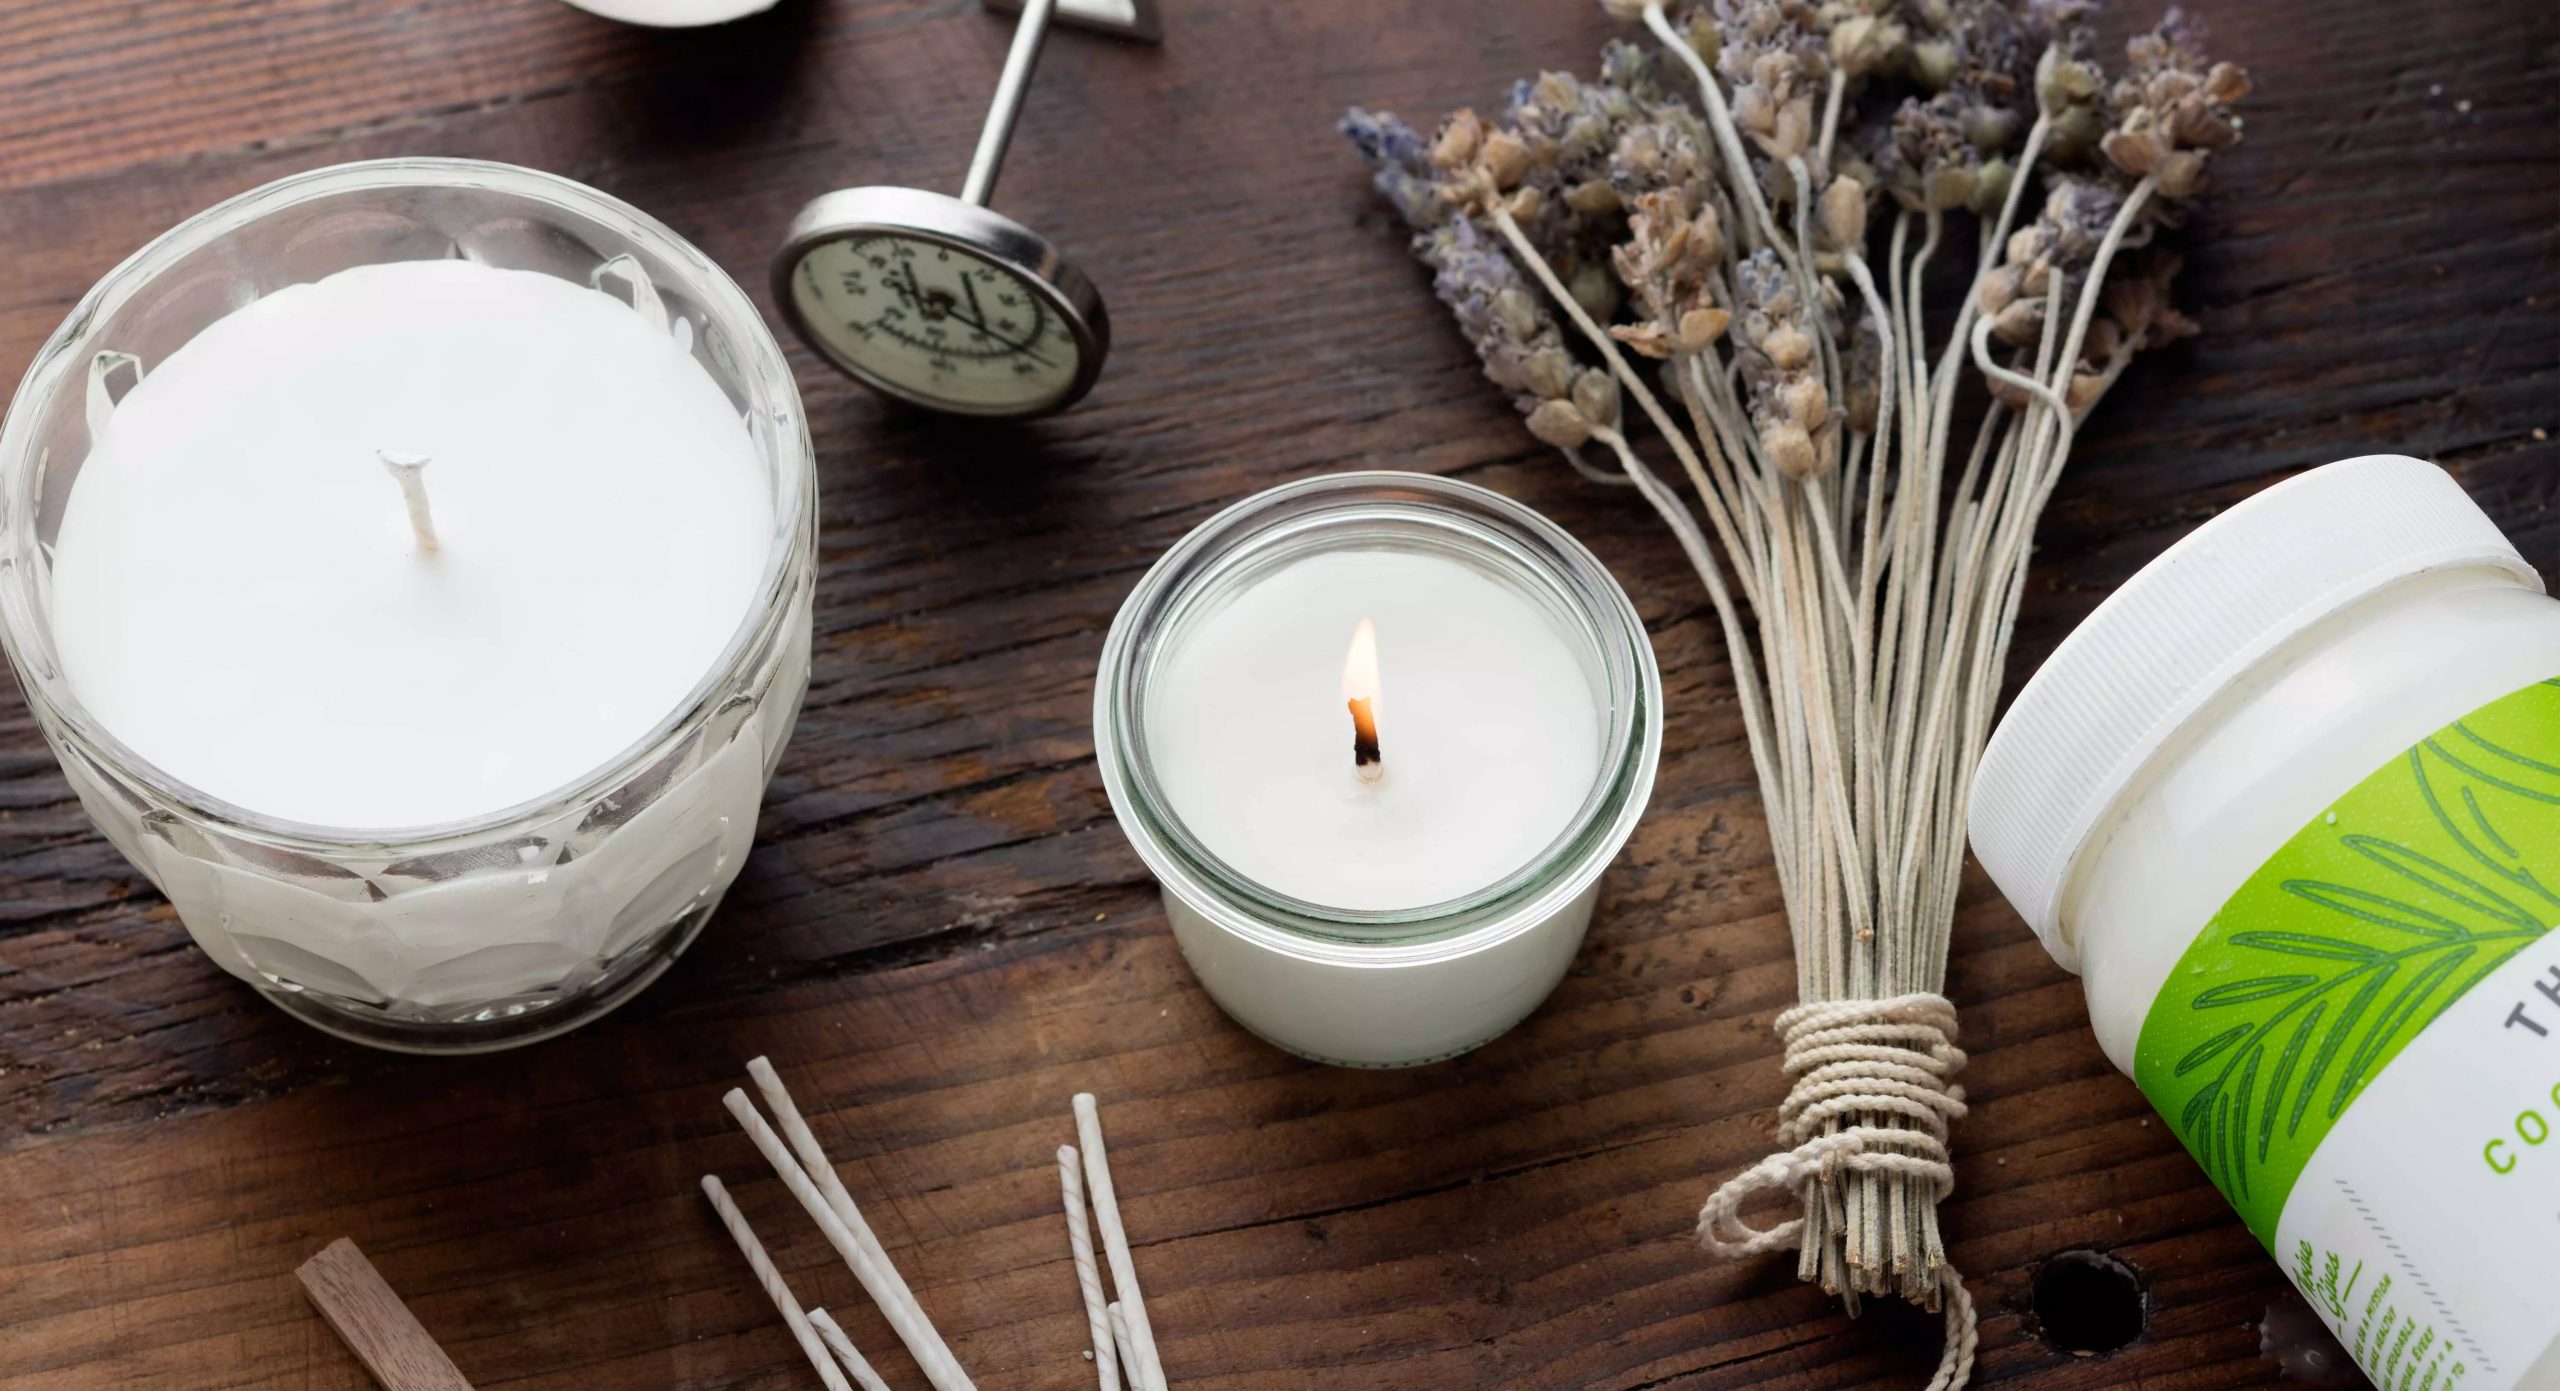
When it comes to hand carved candle making, having the right tools and materials is essential for creating beautiful and unique candles. Whether you are a beginner or an experienced candle maker, it’s important to have a comprehensive understanding of what you will need before you begin your project.
One of the most important aspects of hand carved candle making is choosing the right wax. There are several options available, including paraffin wax, soy wax, and beeswax, each with its own benefits and drawbacks. Paraffin wax is a popular choice for hand carved candles because it is readily available, easy to work with, and holds intricate designs well.
Soy wax is a natural alternative that produces a clean burn and can hold fragrance well. Beeswax is another natural option known for its slow burn and lovely honey scent.
| Wax Type | Benefits |
|---|---|
| Paraffin Wax | Readily available; easy to work with; holds intricate designs well |
| Soy Wax | Natural alternative; clean burn; holds fragrance well |
| Beeswax | Natural option; slow burn; lovely honey scent |
Step-by-Step Guide to Hand Carved Candle Making
The process of hand carved candle making involves several intricate steps that require patience and attention to detail. From selecting the right wax to carving intricate designs, each step is essential in creating a stunning, one-of-a-kind candle. In this section, we will provide a comprehensive step-by-step guide to hand carved candle making, ensuring that even beginners can create beautiful candles.
The first step in hand carved candle making is melting the wax. It’s important to choose the right type of wax for your project, whether it’s paraffin wax, soy wax, or beeswax.
Each type of wax has its own melting point and characteristics, so be sure to follow the manufacturer’s instructions for melting. Once the wax is melted to the proper temperature, it’s time to add any desired color or fragrance using special dyes and scents made specifically for candle making.
Next comes the intricate part of hand carved candle making – actually carving the design into the wax. This requires steady hands and a keen eye for detail. Beginners may want to start with simpler designs or use carving tools specifically designed for candle making until they feel more confident. Whether it’s geometric patterns, floral motifs, or elaborate scenes, the possibilities are endless when it comes to carving unique designs into your candles.
After carving your design into the wax, it’s important to let the candle cool and set before moving on to further embellishments or finishing touches. This allows the design to set properly without losing its shape or intricacy. Once cooled, you can add any additional details such as glitter, metallic accents, or other decorative elements to truly make your hand carved candle stand out.
| Hand Carved Candle Making Step | Description |
|---|---|
| Melting the Wax | Selecting and melting the appropriate wax type for your hand carved candle |
| Carving Intricate Designs | Ensuring steady hands and attention to detail when carving unique designs into the wax |
| Adding Embellishments and Finishing Touches | Including additional details like glitter or metallic accents after allowing the design to cool and set |
Tips and Tricks for Hand Carved Candle Making
Choosing the Right Design
When it comes to hand carved candle making, the design is everything. Whether you prefer traditional patterns or modern abstract designs, it’s important to choose a pattern that will showcase your skills and creativity. Intricate designs may require more time and patience, but the end result will be worth it. Experiment with different designs and find what resonates with you as an artist.
Perfecting Your Carving Technique
Achieving precision in your carving technique is essential for creating stunning hand carved candles. When carving, use a gentle touch and take your time. Some experienced candle makers recommend using small, sharp tools for detailed work, while others prefer larger tools for a more sculptural approach. Whichever method you choose, practice and patience are key to mastering this skill.
Utilizing Color and Texture
Incorporating color and texture into your hand carved candles can elevate them from ordinary to extraordinary. Experiment with different wax dyes and pigments to create depth and dimension in your designs. You can also consider adding texture by using tools to create unique patterns on the surface of the candle before carving. These techniques can add another layer of visual interest to your finished creations.
By following these tips and tricks, you can elevate your hand carved candle making skills to new heights, creating truly unique and exceptional works of art that will impress friends, family, or even potential customers looking for one-of-a-kind pieces.
Decorating and Finishing Your Hand Carved Candles
Decorating hand carved candles is the final step in the candle making process, and it’s where you can really let your creativity shine. From adding color to incorporating embellishments, there are countless ways to put your own unique stamp on your creations.
Adding Color
One of the most popular ways to decorate hand carved candles is by adding color. Whether you prefer using traditional candle dyes or experimenting with natural alternatives like beet juice or turmeric, there are plenty of options for achieving the perfect hue. Some crafters even enjoy creating multi-colored candles by layering different colored waxes during the carving process.
Embellishments
Embellishments are another way to elevate your hand carved candles. From dried flowers and herbs to glitter and metallic foils, there are endless possibilities for adding texture and visual interest to your creations. For a more rustic look, consider wrapping twine or ribbon around the base of the candle or attaching small charms or trinkets that hold personal meaning.
Final Touches
Once you’ve added color and embellishments, the final touches can really bring your hand carved candles to life. Consider adding a soft scent by incorporating essential oils into the wax, or carefully molding the top edge of the candle to create a decorative finish. Additionally, don’t forget to trim the wick and ensure that your candle is properly set within its holder before displaying or gifting it.
Showcasing Your Hand Carved Candle Creations
In conclusion, hand carved candle making is a beautiful and intricate art form that has been practiced for centuries. From ancient civilizations to modern techniques, the history of this craft is rich and diverse. By choosing the right wax and gathering the necessary tools and materials, beginners can dive into this art form with confidence.
Following a step-by-step guide, enthusiasts can learn how to melt the wax and carve intricate designs to create stunning, one-of-a-kind candles. Expert tips and tricks are also available for those looking to enhance their skills and create even more unique creations. With careful decorating and finishing touches, hand carved candles can be transformed into stunning works of art.
Finally, showcasing hand carved candle creations can be just as important as the crafting process itself. Whether for display in your own home or as gifts for friends and family, there are numerous ideas for presenting these unique creations in all their glory. Overall, hand carved candle making offers a wonderful opportunity for creativity and expression while producing beautiful and functional pieces of art.

Welcome to my candle making blog! In this blog, I will be sharing my tips and tricks for making candles. I will also be sharing some of my favorite recipes.


