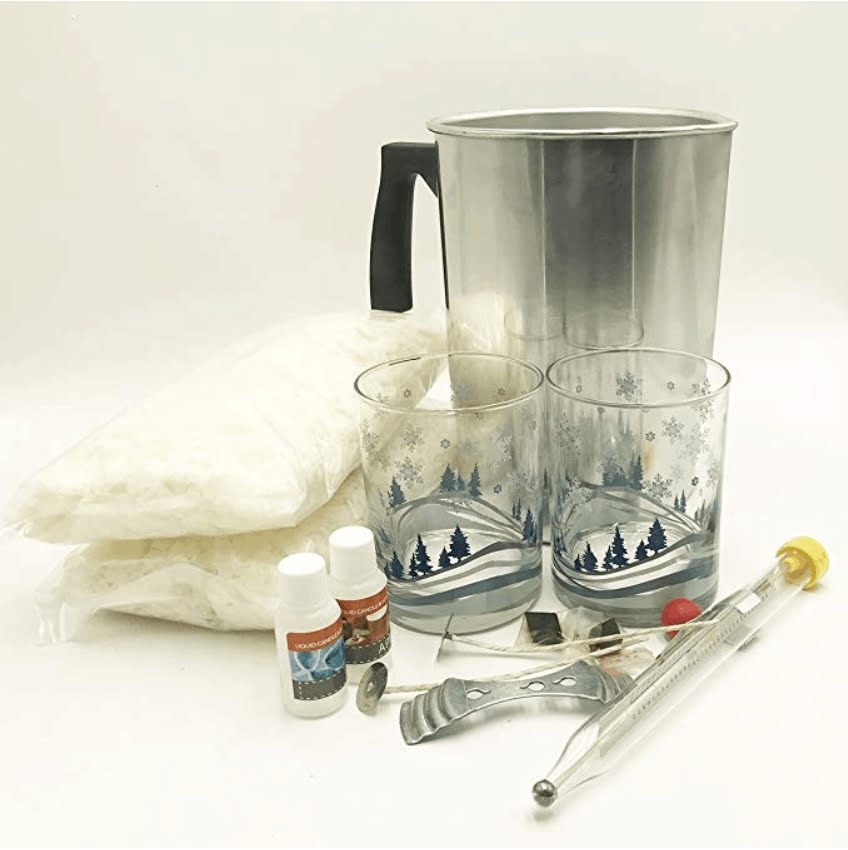
There is something inherently magical about lighting a candle, especially one that you have created with your own hands. Candlemaking is not only a beautiful and creative craft, but it also allows you to customize every aspect of your candle, from the type of wax used to the fragrance and colors incorporated.
As you go through the process of making a candle, one question that often arises is, “How long after making a candle can you light it?” This article aims to explore this very question and delve into the various factors that influence candle curing time.
For many candle enthusiasts, the joy of candlemaking lies not only in creating something visually stunning but also in experiencing the anticipation and excitement that comes with lighting their own handcrafted masterpiece. The process of making a candle involves precision, creativity, and patience as each step is carefully executed. From melting and pouring wax to adding fragrances and colors, every decision made contributes to the final product.
However, before you can fully enjoy the flickering glow and enticing aromas of your handmade creation, it’s important to understand the concept of candle curing time. Curing refers to the period during which a freshly made candle needs to set and stabilize before it can be safely lit. This timeframe varies depending on several factors such as wax type, fragrances used, dyes or pigments incorporated, and even testing methods employed.
In this article, we will delve into these factors affecting candle curing time in order to help you better understand when your newly made candles will be burn-ready. We will discuss how different types of wax affect curing time, the impact of fragrance oils on the process, and what role dyes and pigments play.
Additionally, we will share various testing methods for determining if a candle is ready to be lit and explore optimum curing times for a truly satisfying burning experience.
Join us on this enlightening journey where we uncover just how long after making a candle you can light it while ensuring the best performance and fragrance throw. Let’s dive into the intricacies of candle curing time and maximize the enjoyment and satisfaction derived from our homemade creations.
The Candlemaking Process
Candlemaking is a fascinating process that allows individuals to create their own customized candles. From choosing the wax type to adding fragrance and dye, each step in the candlemaking process contributes to the final product. Understanding the steps involved in making a candle from scratch can help you appreciate the time and effort required for curing before you can finally light it.
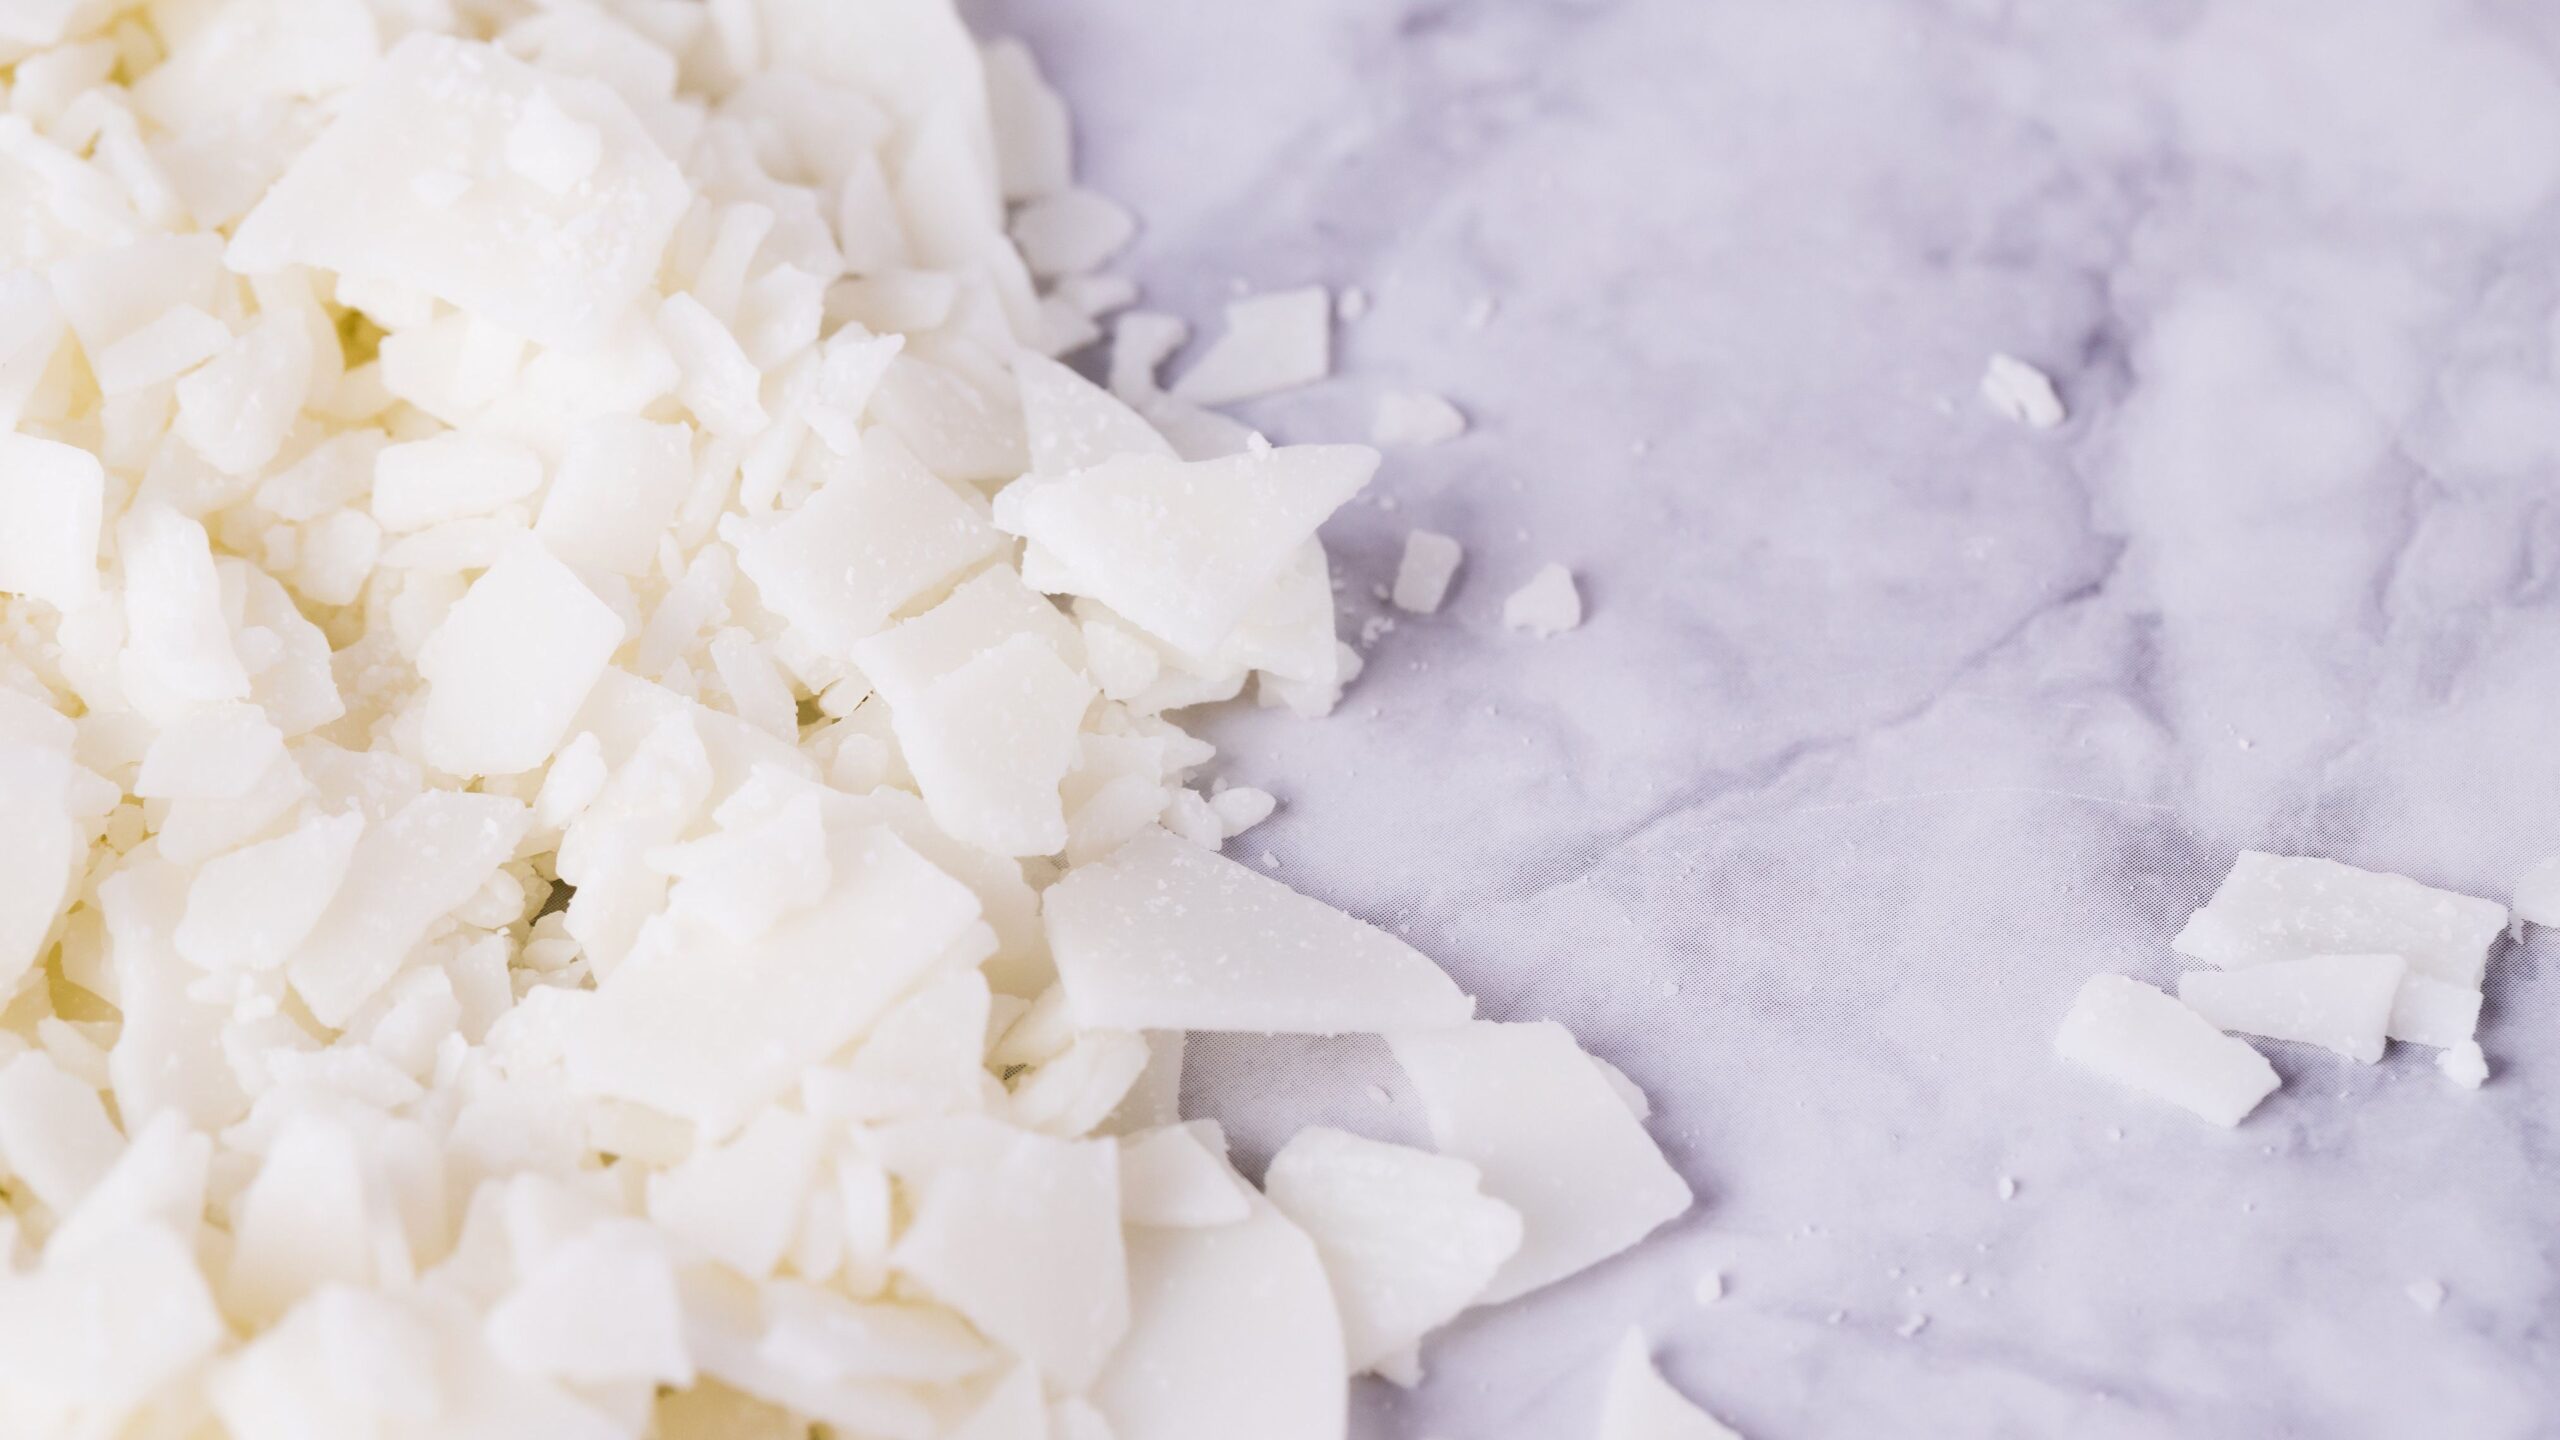
The first step in candle making is choosing the appropriate wax. There are different types of waxes available, such as paraffin wax, soy wax, beeswax, and palm wax. Each type has its own pros and cons, including varying melting points and curing times. Paraffin wax is commonly used as it has a shorter curing time compared to other waxes.
After selecting the wax, the next step involves melting it down in a double boiler or a dedicated melter. This allows for even heat distribution and prevents scorching or overheating of the wax. Once melted, fragrance oils or essential oils can be added to impart scent to the candles. It’s important to note that some fragrances may require additional cure time due to their chemical composition.
Once the fragrance is added, dyes or pigments can be incorporated into the melted wax to achieve desired coloration. It’s crucial to use candle-specific dyes or pigments as other types may not mix properly with the wax and could affect both curing time and overall performance of the candle.
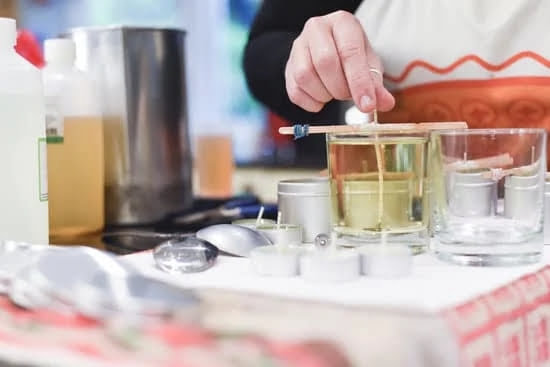
After thoroughly mixing in any additives, pre-waxed wicks are placed into containers or molds, along with any desired embellishments like dried flowers or herbs. The wick should be properly centered so that it burns evenly during use.
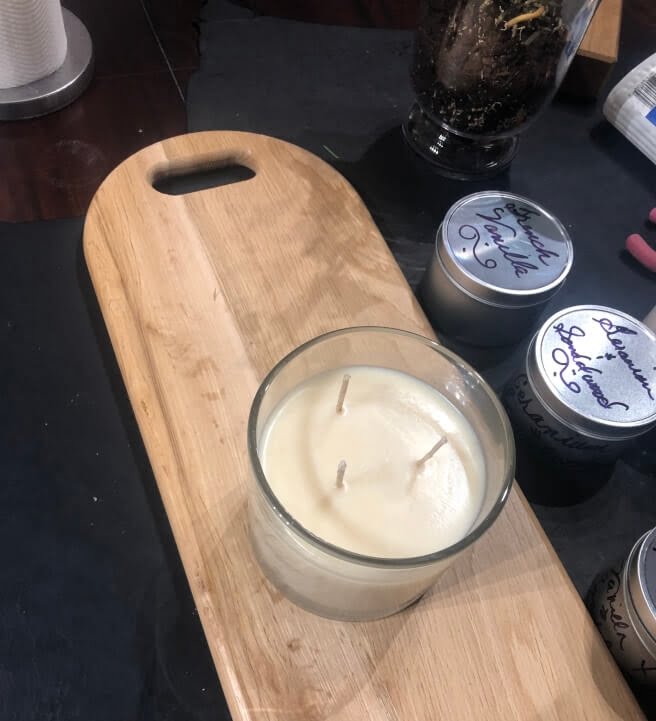
Now comes one of the most crucial steps: allowing the candle to cure. Curing refers to the process of letting the candle cool down and solidify completely before lighting it. This usually takes anywhere from 24 hours to several days depending on factors like ambient temperature, humidity levels, and the type of wax used.
Factors Affecting Candle Curing Time
Temperature and Humidity
One of the key factors that can significantly affect the curing time of a candle is the temperature and humidity of the environment in which it is being cured. Higher temperatures generally speed up the process, while lower temperatures can slow it down.
Similarly, high humidity levels can prolong the curing time, as moisture in the air has an impact on how quickly wax hardens and sets. It is important to note that extreme temperature or humidity conditions might also have negative effects on the quality of the candle, such as causing cracking or sweating.
Size and Shape of the Candle
The size and shape of a candle can also influence its curing time. Larger candles with a greater volume of wax will naturally take longer to cure compared to smaller ones. Additionally, tapered or irregularly shaped candles may require extra time for curing due to their more complex structures. These factors should be taken into consideration when determining how long to allow a candle to cure before lighting it.
Additives and Enhancements
Candles are often enhanced with additives like fragrance oils, essential oils, dyes, and pigments to create unique scents and colors. While these additives add versatility and aesthetics to candles, they can also affect the curing time. Fragrance oils containing higher percentages of synthetic compounds tend to have longer curing times compared to those with primarily natural ingredients. Similarly, dyes and pigments may alter the chemical composition of the wax, leading to variations in curing time.
Taking these factors into account will help ensure that you give your candles enough time to properly cure before they are lit. By understanding how each element influences the process, you can make informed decisions during candlemaking and avoid any potential issues that may arise from premature lighting. Ultimately, patience is key when it comes to achieving optimal results in both candle appearance and performance.
Wax Type and Curing Time
Different types of wax can significantly impact the curing time of a candle. The composition and characteristics of the wax can determine how long it takes for the candle to fully cure and become burn-ready.
One factor that affects curing time is the melting point of the wax. Generally, higher melting point waxes take longer to cure compared to lower melting point waxes. For example, soy wax typically has a lower melting point than paraffin wax, which means that soy candles may cure faster.
Another factor to consider is the composition of the wax. Soy wax, for instance, is made from natural soybean oil and often contains additives like stearic acid or palm oil, which can affect the curing process. Beeswax, on the other hand, is a natural wax known for its longer curing time due to its dense composition.
In addition to the type of wax used, other factors such as fragrance and essential oils added to the candle can also influence curing time. Some fragrances or essential oils contain components that can prolong or shorten curing time. It’s important to choose oils specifically designed for candlemaking and follow recommended usage rates to ensure proper performance and adequate curing.
| Wax Type | Approximate Curing Time |
|---|---|
| Soy Wax | 1-2 weeks |
| Paraffin Wax | 2-3 weeks |
| Beeswax | 3-4 weeks |
It’s important to note that these are general estimations, and curing time can vary based on factors such as candle size, fragrance load, and environmental conditions. It’s always recommended to conduct small test burns to ensure the candles are fully cured before using them or selling them.
By understanding how different types of wax can affect curing time, candlemakers can make informed decisions in their candlemaking process and ensure proper curing for optimal performance and burn quality.
Fragrance and Essential Oils
Adding fragrance or essential oils to a candle can greatly enhance its appeal and create a delightful scent experience when it is eventually lit. However, it is important to understand that the presence of these oils can also influence the curing time of a candle.
When incorporating fragrance or essential oils into your candle, it is crucial to consider the specific type and concentration you are using. Some fragrances and essential oils have higher evaporation rates, while others take longer to fully bind with the wax. This can affect the curing process and lengthen the overall time it takes for the candle to be burn-ready.
Additionally, the temperature at which you add the fragrance or essential oils can impact both their performance in the finished candle and how long it takes for the candle to cure properly. Fragrance oils should typically be added when the melted wax has cooled to about 180-185°F (82-85°C), while essential oils are generally added at even lower temperatures, around 140-145°F (60-63°C).
Adding them at higher temperatures may lead to excessive evaporation and potential loss of scent.
Moreover, it is important to consider factors such as room temperature and humidity during the curing process when using scented oils. Higher temperatures and humidity levels can slow down curing as they prevent proper wax crystallization. It is recommended to store candles in a cool, dark place with low humidity to ensure optimal curing conditions.
To ensure successful curing when using fragrances or essential oils, here are some factors and tips to consider:
- Concentration: Use recommended dilution rates provided by suppliers for fragrances or essential oils.
- Type of Oil: Different oils have different characteristics; some may require longer cure times than others.
- Temperature: Add fragrance/essential oil at appropriate temperatures according to guidelines provided by suppliers.
- Storage Conditions: Store cured candles in a cool place with low humidity for best long-term results.
Taking these considerations into account will help you achieve the desired scent profile and ensure that your candle is properly cured, resulting in a more enjoyable burning experience.
Dye and Pigments
One of the creative aspects of candlemaking is the ability to customize candles with vibrant colors. Dyes and pigments play a crucial role in achieving these desired hues. However, it is important to understand that the use of dyes and pigments can affect the overall curing time of a candle.
When adding colorants to your candles, it is essential to consider the type of dye or pigment being used. There are various types available, including liquid dyes, powder dyes, and color blocks. Liquid dyes tend to disperse more evenly throughout the wax, while powder dyes require thorough mixing for consistent color distribution.
The curing time of a dyed candle may be influenced by factors such as the concentration of colorant used, the type of wax being utilized, and even external conditions like temperature and humidity. The presence of additional ingredients in certain dyes or pigments may require a longer curing time for proper diffusion within the wax.
Methods to Minimize Curing Time
To speed up the drying process without compromising quality, there are a few techniques you can employ:
- Pre-mixing: If using powder dyes or pigments, consider pre-mixing them with a small amount of liquid oil or fragrance oil before adding them to melted wax. This will help achieve a more uniform dispersion throughout the wax and reduce cure time.
- Additives: Certain additives like Vybar 260 or Poly 400 can aid in faster dye dispersion when added during candlemaking. These additives help reduce cure time while improving dye uptake in wax.
- Heat-Accelerated Setting: After pouring your colored wax into molds or containers, you can place them on a heated surface (such as an electric heating pad) set at low temperature. This gentle heat can speed up the curing process by promoting the evaporation of excess moisture in the wax.
It is important to note that while these methods can help expedite the curing time, it is still crucial to allow your candles an appropriate amount of time to fully cure before lighting them. Rushing this process may result in uneven burning or poor scent diffusion, diminishing the overall quality of your candle.
By understanding the role of dyes and pigments in candlemaking and employing appropriate techniques, you can create beautiful colored candles while also ensuring they cure properly for optimal performance and enjoyment.
Testing for Readiness
Visual Cues
One of the simplest and most common methods to determine if a candle is ready to be lit is to rely on visual cues. This involves observing the appearance and texture of the candle, particularly its surface. Once candles are poured and set, they go through a curing process where any excess moisture evaporates.
During this time, the surface of the candle may change in appearance. A fully cured candle will typically have a smooth and even surface, free from any wet or glossy spots.
Another visual cue to look for is the color of the candle. As candles cure, they may undergo slight changes in color. It’s important to note that certain types of wax or dyes may darken or lighten during this process. However, if you notice any drastic changes in color or inconsistencies within the candle itself, it’s a good indication that further curing time is needed before lighting.
Physical Tests
In addition to visual cues, there are also physical tests that can be performed to assess if a freshly made candle is ready to be lit. One such test involves gently pressing your finger onto the surface of the candle. If your finger leaves an indentation or feels soft and malleable, it indicates that the candle has not fully hardened and requires more time before it can safely be burned.
Another physical test involves checking the hardness of the pour line – the line where you initially poured your melted wax into the container or mold. Gently touch the pour line with your fingertip; if it feels firm and does not dent easily, it’s a good sign that the entire candle has hardened sufficiently.
It’s important to exercise caution when performing physical tests on candles to avoid causing any damage or distortions. Use light pressure and touch only small areas when conducting these tests.
Other Methods
Apart from visual cues and physical tests, there are other methods that can be used to determine if a candle is ready for burning. Some candlemakers may rely on their sense of smell to detect any lingering scent from fragrance or essential oils. If the scent is still strong and overpowering, it suggests that the candle needs more time to cure as the fragrance has not yet properly blended with the wax.
Another technique involves gently tapping or flicking the sides of the container or mold to assess if the candle releases easily. If you hear a dull thud or feel resistance when attempting to remove the candle, it’s an indication that it has not fully released from its container or mold and should be left to cure longer.
By utilizing these various methods and techniques for testing readiness, candlemakers can ensure they achieve optimal results when lighting their candles. It’s important to remember that each candle may require different curing times depending on factors such as wax type, additives, and environmental conditions. Patience in allowing candles to cure properly will ultimately yield better burning experiences and longer-lasting scents.
Optimum Curing Time
When it comes to candlemaking, allowing for an appropriate curing time is crucial to achieve the best burning experience and maximize the fragrance throw of your creation. Curing refers to the process of allowing the candle to fully set and develop its optimal scent before it is burned. This step cannot be rushed, as lighting a candle too soon can lead to uneven burning, poor scent diffusion, and overall dissatisfaction with the final product.
The exact duration for optimum curing time can vary depending on several factors such as wax type, fragrance or essential oil usage, dye or pigment presence, and personal preferences. Generally, most candles require a minimum cure time of 24-48 hours before they are ready to be lit. However, some candles may need several days or even weeks to reach their full potential.
To determine the ideal curing time for your specific candle, it is important to consider these factors individually:
- Wax Type: Different types of wax have varying properties that affect their curing time. For example, soy wax usually requires a longer cure time compared to paraffin wax.
- Fragrance and Essential Oils: Adding fragrance or essential oils to your candles can extend the curing time. It is recommended to follow manufacturer guidelines regarding usage rates and curing times specific to each oil.
- Dye and Pigments: The use of dyes or pigments in candlemaking can also impact the curing time. Some coloring additives may require additional cure time for optimal color development.
It is essential not to rush the curing process by attempting to light a candle prematurely because doing so can result in disappointing performance and weak scent throw. By allowing your candles an adequate amount of time for proper curing, you can ensure a better quality burn, stronger fragrance diffusion, and ultimately enhance your overall satisfaction with the finished product.
| Factor | Effect on Curing Time |
|---|---|
| Wax Type | Different types of wax have varying curing times. Soy wax typically requires a longer cure time compared to paraffin wax. |
| Fragrance and Essential Oils | The addition of fragrance or essential oils can extend the overall curing time. It is important to follow manufacturer guidelines for usage rates and specific curing times for each oil. |
| Dye and Pigments | The use of dyes or pigments in candlemaking can also affect the curing time. Some coloring additives may require additional cure time for optimal color development. |
Mistakes to Avoid
Ignoring the Recommended Curing Time
One of the most common mistakes that can lead to lighting a candle too soon is ignoring the recommended curing time. Each type of wax and candle recipe may have different curing times, which are typically indicated by the manufacturer or based on tested recipes. It is essential to follow these guidelines and resist the temptation to light the candle before it has fully cured.
When a candle is not allowed sufficient time to cure, it can result in uneven burning and poor scent diffusion. Curing time allows the wax and other ingredients to settle, bond, and reach their optimal performance levels. Ignoring this crucial step may result in disappointment with the overall burning experience of your candle.
Insufficient Cooling Time
Another mistake to avoid is not allowing enough cooling time after pouring the hot wax into the container or mold. While this is part of the candlemaking process rather than specifically related to curing time, it can still impact the final outcome.
If you attempt to light a candle that has not cooled and solidified completely, it can result in an unstable flame as well as potential damage to the container or mold. The heat from an inadequately cooled candle may cause melting or warping of its surroundings, potentially leading to safety hazards.
Therefore, ensure you follow the instructions for cooling time provided with your specific wax type and recipe before attempting to light your newly made candle.
Not Storing Candles Properly During Curing
Proper storage during the curing process is another factor to consider when avoiding mistakes that could harm your candles’ performance. When candles are left exposed during curing, they can accumulate dust or be easily damaged by accidental contact.
To prevent unnecessary problems, it is crucial to store freshly made candles in a clean and controlled environment while they cure. Consider covering them with protective lids or placing them in a designated curing box or cabinet. This not only helps to keep the candles clean but also protects them from potential disturbances that could affect their overall quality.
By avoiding these common mistakes and allowing your candles to cure properly, you can ensure an even burn, optimal scent diffusion, and a more enjoyable experience when it comes time to light your creation.
Personal Experiences
Personal Experiences
Many candlemakers and enthusiasts have their own unique experiences when it comes to curing times and how it affects the overall satisfaction with the candles they create. The length of time a candle needs to cure can vary based on different factors, such as the types of wax used, the amount of fragrance or essential oils added, and even the environmental conditions during the curing process.
These personal anecdotes shed light on the importance of allowing candles to properly cure for optimal performance and enjoyment.
One common theme among candlemakers is that patience is key when it comes to curing candles. Rushing the process can lead to unsatisfactory results, including uneven burning, poor scent diffusion, or lackluster performance. Many individuals shared stories of lighting their candles too soon out of excitement, only to be disappointed by a weak scent throw or a tunneling effect where only a small portion of wax melts.
On the other hand, those who allowed their candles to cure for an adequate amount of time were more likely to achieve desirable results. Some enthusiasts mentioned waiting at least a week before lighting their candles, while others recommended waiting two weeks or longer for optimum performance. These individuals reported improved scent throw, even melting patterns, and longer burn times once they patiently waited for their creations to fully cure.
Personal Anecdotes from Candlemakers
| Anecdote | Curing Time | Results |
|---|---|---|
| Anne from California | 1 week | Weak scent throw and tunneling effect |
| Michael from New York | 2 weeks | Strong scent throw, even melting pattern, longer burn time |
| Sarah from Texas | 3 weeks | Intense fragrance, smooth melt pool, minimal soot |
These personal anecdotes serve as a valuable reminder that allowing candles to cure for an adequate amount of time is crucial for achieving the desired results. It is important to keep in mind that every candle and every batch may have different curing times, so it’s essential to test and observe the candles’ readiness before lighting them.
Taking the time to properly cure candles will undoubtedly enhance the overall satisfaction and enjoyment of both candlemakers and those who light their creations.
Conclusion
In conclusion, the curing time of a candle is an essential factor to consider for both its performance and your overall enjoyment. Properly allowing a candle to cure before lighting it ensures that it will burn evenly and provide the best fragrance throw. Rushing this process can lead to various problems, such as uneven burning and poor scent diffusion, ultimately affecting your satisfaction with the candle you created.
Throughout the article, we explored the different factors that influence the curing time of a candle. We discussed how different types of wax, fragrance or essential oils, and dyes or pigments can impact this process. Understanding these factors allows you to make informed decisions when creating your own candles.
Testing for readiness is another crucial step in determining if a freshly made candle is ready to be lit. Visual cues and physical tests provide valuable insights into the state of your candle and help avoid potential issues that may arise from lighting it too soon.
Personal experiences shared by candlemakers and enthusiasts further illustrate the significance of allowing candles to cure properly. These anecdotes offer insight into how different curing times have influenced their satisfaction with their creations.
Frequently Asked Questions
What happens if you burn a candle before it cures?
Burning a candle before it cures can have negative consequences on its performance and longevity. When a candle is freshly made, it needs time to fully harden and the wax to fully set. If you burn the candle too soon, it can result in a weak and uneven burn, with excessive dripping or tunneling.
Additionally, the fragrance may not disperse evenly throughout the candle, leading to an unsatisfactory scent throw. To ensure optimal burning experience and prevent any issues, it is best to allow the candle to cure for the recommended period before lighting it.
How long does it take for a candle to set after making it?
The time required for a candle to set after making it largely depends on various factors such as the type of wax used, the size of the candle, and environmental conditions. Generally speaking, most candles will require at least 24 hours to fully set before they are ready to be burned.
However, some waxes may need longer curing times ranging from 48 hours up to a week or more. It is important to consult the specific instructions or guidelines provided by the manufacturer or your chosen candle-making recipe for accurate curing times.
How long after making a soy candle can you burn it?
Soy candles typically require a minimum curing time of 24-48 hours after making them before they can be safely burned. This curing period allows the soy wax to cool and solidify properly, ensuring that when you light the candle, it burns evenly and without any potential issues like excessive smoking or cratering.
Curing also enhances the scent throw of soy candles as it allows the fragrance oils to fully combine with the wax during this resting period. While you may be eager to enjoy your newly made soy candle sooner, allowing sufficient curing time ensures better performance and optimal burning experience in the long run.

Welcome to my candle making blog! In this blog, I will be sharing my tips and tricks for making candles. I will also be sharing some of my favorite recipes.

