Are you interested in learning how to make your own candles but wondering, “how long does candle making take?” Candle making is a fun and creative hobby that allows you to customize your own scented and decorative candles. Whether you’re a beginner or an experienced crafter, understanding the time commitment of this process is essential for planning and project success.
Candle making involves using various materials and techniques to produce beautiful and aromatic candles. Depending on factors such as the type of wax, fragrance, and size of the candle, the time it takes to make a candle can vary. In this article, we will explore the process of candle making, the materials needed, different techniques, workspace preparation, and factors that affect the time it takes to make candles.
Before diving into the step by step guide and tips for efficient candle making, it’s important to understand that this hobby can be as time-consuming or as quick as you want it to be. With proper planning and organization, you can streamline the candle making process and create beautiful candles in a shorter amount of time. So grab your supplies and let’s explore how long does candle making take.
Materials Needed for Candle Making
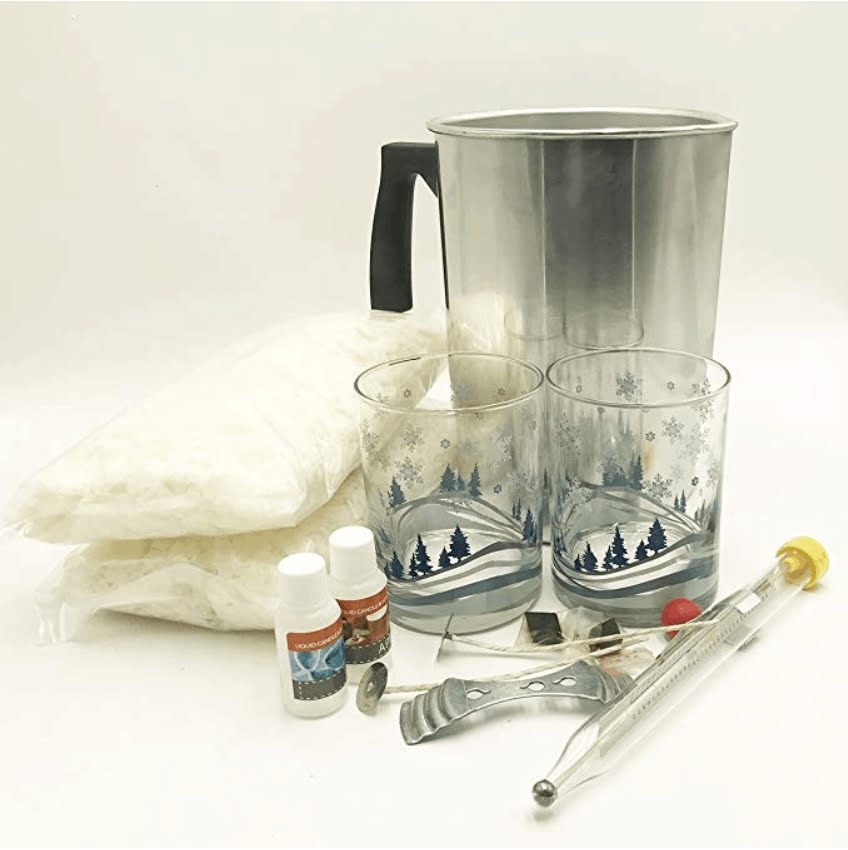
Candle making is a popular and enjoyable hobby for many people, offering the chance to create unique and personalized candles for use in the home or as gifts. Before getting started on this creative endeavor, there are some essential materials that you will need to have on hand. Here is a list of the basic materials needed for candle making:
1. Wax: The most crucial component of any candle is the wax. There are various types of wax available, including paraffin, soy, beeswax, and gel wax. Each type has its own unique qualities and melting points.
2. Wicks: Wicks are what allow the candle to burn steadily and evenly. It is important to select wicks that are appropriate for the type of wax being used and the size of the candle.
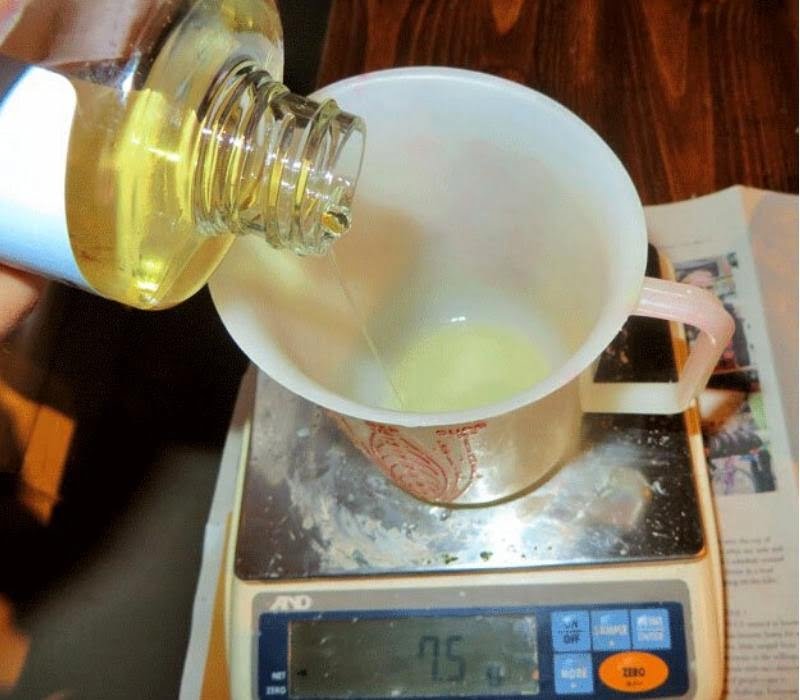
3. Fragrance oils or essential oils: If desired, fragrance oils or essential oils can be added to the wax to give the candles a pleasant scent when burned.
4. Dyes or colorants: To add color to your candles, dyes or colorants can be used. These come in various forms such as liquid dye, color blocks, or powdered pigments.
5. Containers or molds: Depending on what type of candles you want to make – whether it’s container candles or molded candles – you will need suitable containers or molds.
6. Thermometer: A thermometer is essential for monitoring the temperature of the wax while melting and cooling.
7. Double boiler or melting pot: To melt the wax safely and evenly, a double boiler setup or a specialized melting pot is necessary.
8. Stirring utensils: Utensils such as a stainless steel stirring spoon or stick are necessary for mixing in colors, fragrances, and additives into the melted wax.
Different Candle Making Techniques
When it comes to candle making, there are several techniques that can be used to create unique and beautiful candles. Each technique has its own process and the time it takes to make candles can vary depending on the method used. Here are some different candle making techniques:
1. Container Candles: This technique involves pouring melted wax into a container, such as a glass jar or tin, with a wick placed in the center. The wax is left to cool and harden, resulting in a simple and classic candle design.
2. Pillar Candles: Pillar candles are made by pouring wax into a mold and allowing it to harden before removing it from the mold. This technique allows for more intricate designs and shapes, but may take longer due to the cooling and hardening process.
3. Rolled Candles: Rolled candles are created by rolling sheets of beeswax or paraffin around a wick to form a candle. This technique is relatively quick and easy, making it a popular choice for beginners.
4. Soy Candles: Making soy candles involves using soy wax as the main ingredient instead of traditional paraffin wax. The process of melting and pouring the soy wax is similar to other candle making techniques, but may require different temperatures and cooling times.
The time it takes to make candles depends on factors such as the size of the candle, the type of wax used, and the complexity of the design. For example, container candles may be quicker to make compared to pillar candles due to their simpler construction. Additionally,the cooling time for each type of candle may also impact how long does candle making take how long it takes to complete a batch of candles.
Overall, choosing the right technique for your desired candle design can help speed up the candle making process while still producing high-quality results. With practice and experience, you can learn how to make candles more efficiently and effectively regardless of your chosen technique.
Preparing the Workspace for Candle Making
Choosing the Right Space
First and foremost, it’s important to choose a well-ventilated and spacious area for candle making. This can be a spare room, garage, or even an outdoor space if weather permits. Ensuring that the area is free from clutter and distractions will help you focus on the task at hand.
Gathering Materials and Tools
Before diving into the candle making process, it’s crucial to gather all the necessary materials and tools. This includes wax, wicks, fragrance oils, a double boiler or melting pot, thermometer, containers, and stirring utensils. Having everything within reach will save time and prevent interruptions during the candle making process.
Setting Up the Workspace
Once you have chosen the right space and gathered all the materials needed for candle making, it’s time to set up your workspace. This involves arranging your materials in an organized manner, ensuring that there is enough counter space for pouring and setting candles, as well as having easy access to water sources for cleaning up any spills or messes that may occur during the process.
By taking these steps to prepare your workspace before diving into candle making, you can streamline the process and make it more efficient overall. This preparation also sets the stage for a safe and enjoyable candle making experience.
Step by Step Guide to Candle Making Process
Candle making is a creative and rewarding hobby that allows individuals to customize their own candles for personal use or as unique gifts for others. The process of making candles involves several steps, each of which contributes to the overall time it takes to complete the project. From preparing the materials to allowing the candles to cool and set, there are factors that can affect how long the candle making process will take.
Materials and Equipment
Before beginning the candle making process, it is essential to gather all the necessary materials and equipment. This includes wax, wicks, fragrance oils (if desired), a double boiler or melting pot, a thermometer, a heat source (such as a stove or hot plate), and containers for the candles. Without these items on hand, the candle making process can be significantly delayed.
Melting and Scenting
The first step in making candles involves melting the wax to the appropriate temperature in order to add fragrance oils if desired. This part of the process typically takes 30-60 minutes, depending on the type of wax being used and the amount needed for the project. Some waxes may require longer melting times than others.
Pouring and Cooling
Once the wax has been melted and scented, it is then time to pour it into containers with prepped wicks. The cooling process is perhaps one of the most time-consuming aspects of candle making, as it can take anywhere from 4-24 hours for the candles to fully set and cool depending on size and ambient temperature.
It’s crucial not to rush this step as prematurely removing candles from their containers can result in safety hazards or unsightly blemishes on finished products.
Factors Affecting the Time It Takes to Make Candles
The time it takes to make candles can vary depending on a variety of factors. One of the main determinants is the type of candle making technique being used. For example, basic container candles may take less time to make compared to more complex pillar candles or specialty shaped candles. The melting and setting times for different types of wax can also impact the overall time commitment involved in making candles.
Another factor that affects the time it takes to make candles is the size and quantity of the candles being produced. Making a single small candle will obviously take less time than creating multiple large candles in one batch. Additionally, intricately designed or layered candles will require more time and attention to detail, therefore increasing the overall production time.
The level of experience and proficiency of the candle maker is also a significant factor in determining how long the process will take. Beginners may take longer as they familiarize themselves with the techniques and methods involved, while experienced individuals may be able to produce candles more quickly and efficiently due to their established skills and knowledge.
| Factor | Impact on Candle Making Time |
|---|---|
| Candle making technique | Different techniques have varying time requirements |
| Size and quantity of candles | Larger or multiple quantities take longer to make |
| Experience level | Beginners may take longer compared to experienced individuals |
Tips for Making the Candle Making Process Faster and More Efficient
Candle making can be a relaxing and rewarding hobby, but for those who are looking to speed up the process, there are several tips and tricks to make it faster and more efficient. One of the most common questions from beginners is “how long does candle making take?” The answer to this question can vary depending on several factors, including the type of candles being made, the techniques used, and the experience level of the candle maker.
One way to speed up the candle making process is by using pre-made waxes or wicks. This can save a significant amount of time compared to making these components from scratch. Another time-saving tip is to invest in quality equipment and tools, such as a double boiler or a dedicated melting pot for wax. Having the right tools can make the melting and pouring process much faster and more efficient.
Additionally, becoming familiar with different candle making techniques, such as container candles, pillar candles, or taper candles, can help streamline the process. For example, container candles are generally quicker to make than other types of candles because they require less preparation and set-up time.
It’s also important to keep the workspace organized and clean in order to work more efficiently. By preparing all materials ahead of time and having a designated space for candle making, it’s possible to reduce set-up time and cut down on distractions during the process.
Overall, by implementing these tips and techniques into your candle making routine, you can significantly reduce the time it takes to make candles without sacrificing quality.
| Tips for Making Candle Making Faster | Efficiency Techniques |
|---|---|
| Use pre-made waxes or wicks | Invest in quality equipment and tools |
| Become familiar with different candle making techniques | Keep workspace organized and clean |
Conclusion and Final Thoughts on the Time Commitment of Candle Making
In conclusion, candle making can be a fulfilling and enjoyable hobby that allows you to create beautiful and personalized candles for yourself or as gifts for others. The time commitment for this craft can vary depending on several factors, including the type of candle you are making, the techniques used, and your level of experience.
While some candles can be made in just a few hours, others may require more time due to complex designs, multiple layers, or special considerations such as cooling and setting times.
It is important to consider the amount of time you are willing to invest in candle making when choosing a project. If you are short on time, simple candles with straightforward techniques may be the best option for you.
However, if you have more time to spare and want to experiment with different designs and styles, then more intricate projects could be worth the extra effort. Additionally, being organized and prepared before starting the candle making process can help save time and make the overall experience more efficient.
Ultimately, the length of time it takes to make candles is up to individual preferences and circumstances. Whether you are looking for a quick creative outlet or a deeper dive into a new skill, candle making offers something for everyone. With careful planning and practice, you can find ways to streamline your process and maximize your time while enjoying this relaxing and rewarding craft.
Frequently Asked Questions
How Many Hours Does It Take to Finish a Candle?
The time it takes to finish a candle depends on the size and type of candle being made. Generally, small candles may take about 1-2 hours to finish, while larger ones can burn for several hours or even days. Factors such as the type of wax, wick, and additives used also contribute to the burn time of a candle.
How Long Should You Wait to Burn a Candle After Making It?
It is recommended to wait at least 24-48 hours before burning a newly made candle. This waiting period allows the wax to fully set and harden, which helps ensure a clean and even burn when the candle is lit for the first time. Patience in this step can result in a better overall burning experience for your handmade candle.
Is Candle Making Profitable?
Candle making can be profitable, especially if done on a small scale or as a hobby. With creativity, quality ingredients, and appealing packaging, handmade candles can be sold at craft fairs, markets, or online.
Building a customer base and delivering high-quality products are key to ensuring profitability in the candle making business. However, like any business venture, it requires careful planning and investment to turn a profit.

Welcome to my candle making blog! In this blog, I will be sharing my tips and tricks for making candles. I will also be sharing some of my favorite recipes.


