Are you interested in learning how to do a second pour in candle making to achieve a smooth and even surface for your candles? This article will guide you through the process from start to finish, explaining the importance of the second pour and providing detailed steps on how to carry it out successfully.
When it comes to candle making, achieving a flawless finish is crucial for creating professional-looking candles. The second pour plays a vital role in this process, as it helps to ensure that the surface of your candles is smooth and free from any imperfections. By understanding the concept of a second pour and its significance, you can take your candle making skills to the next level.
In this article, we will delve into the details of what a second pour entails, including the necessary supplies, preparation steps, pouring technique, troubleshooting common issues, and adding finishing touches to your candles. Whether you are new to candle making or looking to perfect your technique, mastering the art of the second pour will elevate the quality of your homemade candles.
Understanding the First Pour
When it comes to candle making, the first pour plays a crucial role in setting the stage for the second pour. The initial layer of wax is responsible for creating the base upon which the subsequent layers will adhere, ensuring a smooth and even surface for your candles. In this section, we will delve into the importance of the first pour and how it affects the overall quality of your homemade candles.
Creating a Solid Foundation
The first pour is all about laying down a solid foundation for your candles. This initial layer of wax not only provides stability to the wick but also sets the stage for any additional layers that will be poured on top. It’s important to ensure that this base layer is poured carefully and evenly, as any imperfections at this stage can lead to problems later on during the second pour.
Ensuring Adherence
Another key aspect of the first pour is its role in ensuring proper adherence between the different layers of wax. A well-executed first pour will create a strong bond with subsequent pours, preventing separation or air pockets between layers. This adherence is essential for achieving professional-looking candles with a smooth and even finish.
Allowing for Proper Cooling
Additionally, allowing adequate time for the first pour to cool and harden is crucial before proceeding with any additional pours. Rushing this step can lead to warping or cracking in the final product. Therefore, patience and attention to detail during the first pour are vital in guaranteeing successful subsequent pours.
By understanding and carefully executing the first pour in candle making, you can set yourself up for success when it comes time to do a second pour. Taking the time to ensure a solid foundation will ultimately result in beautifully finished candles that you can be proud of.
Necessary Supplies
When it comes to successfully executing a second pour in candle making, having the necessary supplies is crucial. Without the right materials, achieving a smooth and even surface for your candles can be challenging. Here is a breakdown of all the supplies needed for a successful second pour:
- Type of Wax: For the second pour, it is essential to use the same type of wax that was used in the first pour. This ensures that both layers bond properly and creates a seamless finish. Whether you’re using soy wax, paraffin wax, or beeswax, make sure to have enough on hand for the second pour.
- Fragrance Oils: If you want scented candles, fragrance oils are a must-have for the second pour. When adding fragrance oils to your wax for the second layer, be sure to follow the recommended usage rates provided by your supplier for optimal scent throw.
- Wicks: Having the right wicks is crucial for a successful second pour. Make sure to choose wicks that are suitable for your container size and the type of wax you are using. It’s important to ensure that your wicks are properly centered before pouring the second layer of wax.
- Containers: Selecting appropriate containers for your candles is also important for a successful second pour. Make sure that your containers are clean and free from any debris before pouring the second layer of wax.
By ensuring that you have all these supplies ready and available, you can set yourself up for success when it comes to executing a smooth and professional-looking second pour in candle making. With these essentials in hand, you’ll be well-equipped to create beautiful layered candles with ease.
Preparing for the Second Pour
After successfully completing the first pour in candle making, preparing for the second pour is crucial to achieve a professional-looking finish for your candles. This step involves melting the wax and adding fragrance oils while ensuring that your containers are ready to receive the second pour.
First and foremost, it is essential to use high-quality wax for the second pour. Whether you’re using soy wax, paraffin wax, or beeswax, make sure that it is suitable for a second pour and can adhere to the initial layer of wax. Additionally, ensure that you have chosen fragrance oils that are safe for candle making and will complement your chosen type of wax.
Once you have your supplies ready, it’s time to start preparing for the second pour. Begin by melting your wax using a double boiler or a designated wax melter. It’s important to heat the wax to the recommended temperature in order to achieve a smooth consistency and prevent any issues with adhesion between layers.
Next, add your desired amount of fragrance oil according to industry standards and mix thoroughly. While this step requires precision, do not forget about getting your containers ready by ensuring they are clean and setting up your wicks so they are straight before pouring. Following these detailed steps will ensure a successful second pour and beautifully finished candles.
| Supplies | Details |
|---|---|
| High-Quality Wax | Soy wax, paraffin wax or beeswax |
| Fragrance Oils | Safe for candle-making |
| Containers | Clean; various sizes depending on desired finished product. |
Pouring Technique
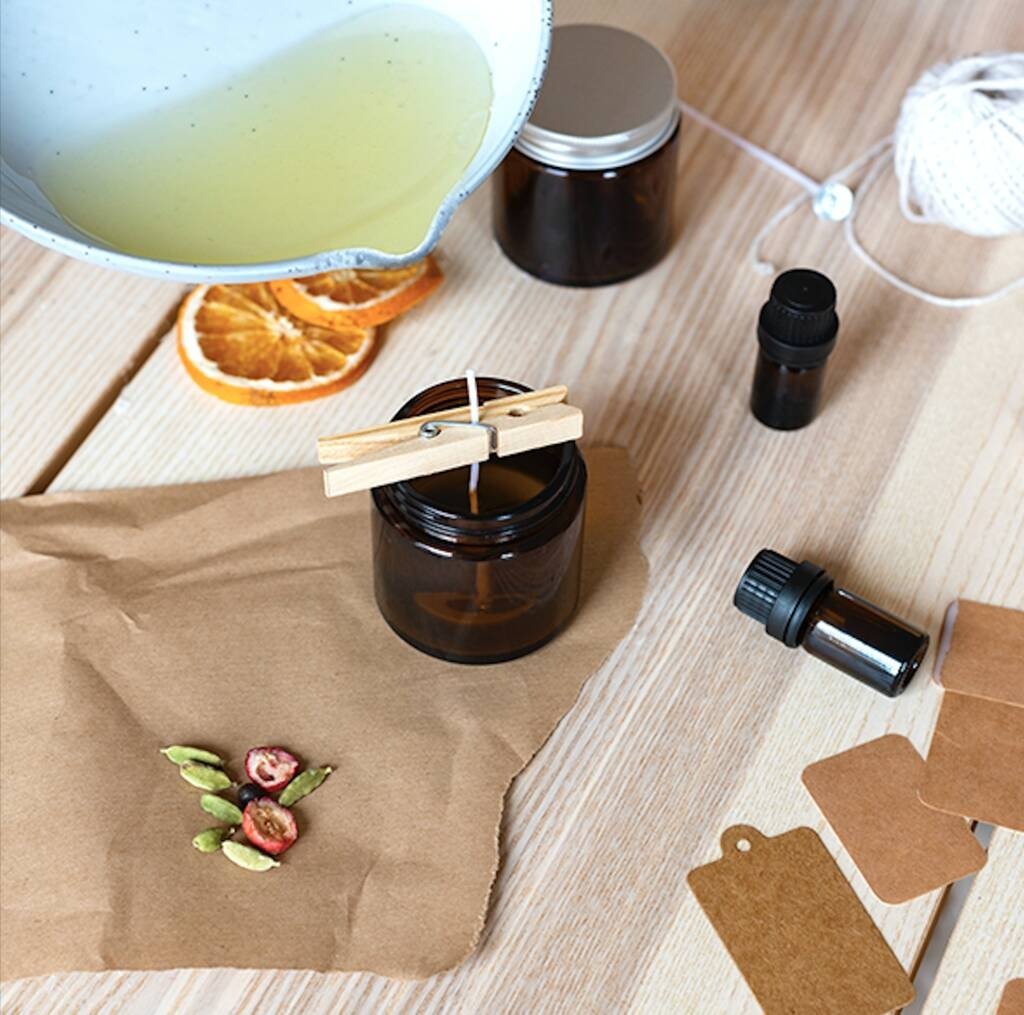
Once you have prepared your wax and containers for the second pour in candle making, it’s crucial to pour the wax correctly to achieve a smooth and professional-looking finish. Here are the steps to follow for the correct pouring technique:
1. Slow and Steady Pour: When doing a second pour in candle making, it’s important to pour the melted wax into the containers slowly and steadily. This helps to minimize air bubbles and ensures an even distribution of wax.
2. Fill Level: Pay close attention to the fill level of the containers when doing the second pour. Make sure not to overfill or underfill them, as this can result in uneven surfaces once the candles have cooled.
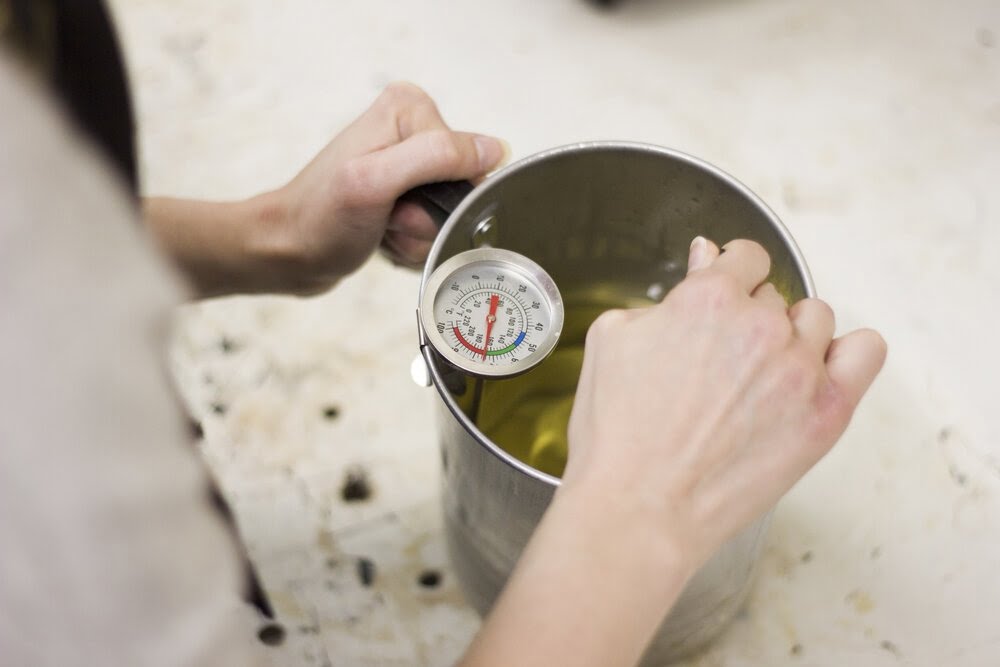
3. Use a Thermometer: To ensure that the wax is at the right temperature for pouring, use a thermometer to check its consistency. The ideal pouring temperature may vary depending on the type of wax being used, so it’s important to follow the manufacturer’s instructions.
4. Avoid Disturbing the Settled Wax: If you notice any solidified or partially solidified wax on top of your container from the first pour, make sure not to disturb it when pouring for a second time. This will help maintain a smooth surface for your candles.
5. Clean Edges: After pouring the wax for the second time, wipe away any spills or drips from the edges of your containers with a clean paper towel for a polished final look.
By following these pouring techniques, you can ensure that your candles have an even and professional-looking finish after completing the second pour in candle making.
Remember that practicing this technique may require some trial and error at first, but with patience and attention to detail, you’ll be able to master it in no time.
Troubleshooting
During the second pour in candle making, it is not uncommon to encounter a few issues that may affect the overall appearance and quality of your candles. Knowing how to troubleshoot these common problems can help you achieve a professional-looking finish for your homemade candles.
One of the most common issues during the second pour is the formation of air bubbles in the wax. To prevent this from happening, make sure to stir the melted wax gently to release any trapped air before pouring it into the containers. Additionally, tapping the containers lightly on a flat surface after pouring can help dislodge any remaining air bubbles.
Uneven surfaces on your candles can also be a problem during the second pour. To avoid this issue, ensure that the wax is poured at the correct temperature and avoid moving or touching the containers while the wax is setting. If you do notice uneven surfaces once the wax has cooled, you can use a heat gun to gently warm and smooth out any rough areas.
Lastly, cooling problems such as frosting or cracking may occur during the second pour. To prevent frosting, try pouring your wax at a slightly higher temperature and avoid exposing your candles to sudden changes in temperature while they are setting. Cracking can be avoided by using a high-quality wax with good adhesion properties and allowing your candles to cool gradually at room temperature.
Understanding how to troubleshoot these common issues during the second pour in candle making will help you achieve professional-looking results for all your homemade candles. By following these tips, you can address any problems that arise and create beautiful, high-quality candles every time.
Finishing Touches
After successfully completing the second pour in candle making, it’s important to add those finishing touches that will give your candles a professional and polished look. This final step is crucial in ensuring that your candles are not only visually appealing but also safe to burn. Here are some tips on how to add a professional touch to your candles after the second pour.
Trimming the Wick
Once your candles have fully cooled and solidified after the second pour, it’s important to trim the wick to a proper length. Trim the wick to about 1/4 inch before lighting the candle for the first time. This will help prevent excessive smoking and ensure a clean, even burn. A wick that is too long can cause uneven burning and may lead to soot buildup.
Labeling the Candles
Adding labels to your candles is not only practical for identifying scents or types of wax, but it also adds a professional touch to your finished products. You can create custom labels with information such as the name of the scent, the type of wax used, and any safety instructions or warnings. There are many options for labeling your candles, from simple stickers to hang tags with string – choose what best fits the aesthetic of your brand.
Storage and Packaging
Finally, consider how you plan to store and package your finished candles. Storing them properly in a cool, dry place will help maintain their quality. Additionally, investing in attractive containers or packaging for your candles can enhance their visual appeal and make them more enticing for potential customers if you’re planning on selling them. Consider using eco-friendly and sustainable packaging materials for an extra touch of care for both your product and our environment.
By taking these additional steps after completing the second pour in candle making, you’ll be able to present beautiful, professional-quality candles that are ready to use or sell with confidence.
Final Thoughts
In conclusion, the second pour in candle making is a crucial step that can make a significant difference in the overall appearance and quality of your candles. By allowing for a smooth and even surface, the second pour helps to create professional-looking candles that are not only visually appealing but also burn evenly and efficiently. Understanding the importance of this step and following the necessary techniques can elevate your candle-making skills and produce outstanding results.
It is essential to remember that the first pour sets the foundation for the second pour, so taking the time to ensure that it is done carefully and accurately will ultimately contribute to the success of your candles. Additionally, having the necessary supplies and preparing for the second pour with proper technique will help you achieve the desired outcome. Troubleshooting any issues that may arise during the process and adding finishing touches will further enhance the quality of your candles.
We encourage readers to give the second pour a try for their next candle-making project and experience firsthand how this technique can elevate their creations. With attention to detail, patience, and practice, mastering the art of a second pour will undoubtedly lead to beautifully crafted candles that can be enjoyed or shared with others. So go ahead, gather your supplies, follow these steps, and enjoy creating professional-quality candles with a smooth finish.
Frequently Asked Questions
When Should I Do My Second Pour for Candles?
The timing for your second pour when making candles depends on the type of wax you are using. For soy wax, it’s usually recommended to do the second pour once the first layer has formed a solid enough skin to support the weight of the second layer without breaking.
This typically happens after about 1-2 hours. For paraffin wax, the second pour can be done once the first layer is firm but still warm, which is generally around the 1-hour mark.
What Does Double Pour Mean in Candle Making?
In candle making, double pour refers to the technique of pouring wax into a container twice to create a layered effect or to fill any sinkholes that may occur as the wax cools and shrinks. This method allows for more creativity in candle design and can result in visually appealing layered or multicolored candles.
How Do You Double Pour Wax?
To double pour wax, start by pouring a shallow layer of melted wax into your container and allowing it to partially set. Then, reheat your remaining wax and carefully pour it over the first layer to create a seamless blend between the two layers.
It’s important to make sure that the first layer is not fully set before pouring the second layer so that they can bind together effectively. Additionally, be mindful of any temperature recommendations for your specific type of wax to avoid any issues with cracking or adhesion between layers.

Welcome to my candle making blog! In this blog, I will be sharing my tips and tricks for making candles. I will also be sharing some of my favorite recipes.

