Introduction
A pillar candle is a type of candle that stands on its own without needing to be placed into a container or tool. It is a versatile type of candle that comes in many sizes and colors and is often used as decoration, for ambiance or as an air freshener. Making your own pillar candles can provide you with several benefits. Firstly, you can customize your candle color, fragrance and design to create something truly unique for yourself or someone special. By doing this you will help save money as store bought candles can be more expensive than making them yourself. Making your own candles can also be fun, therapeutic and fulfilling knowing you have created something special!
Building a Strong Foundation
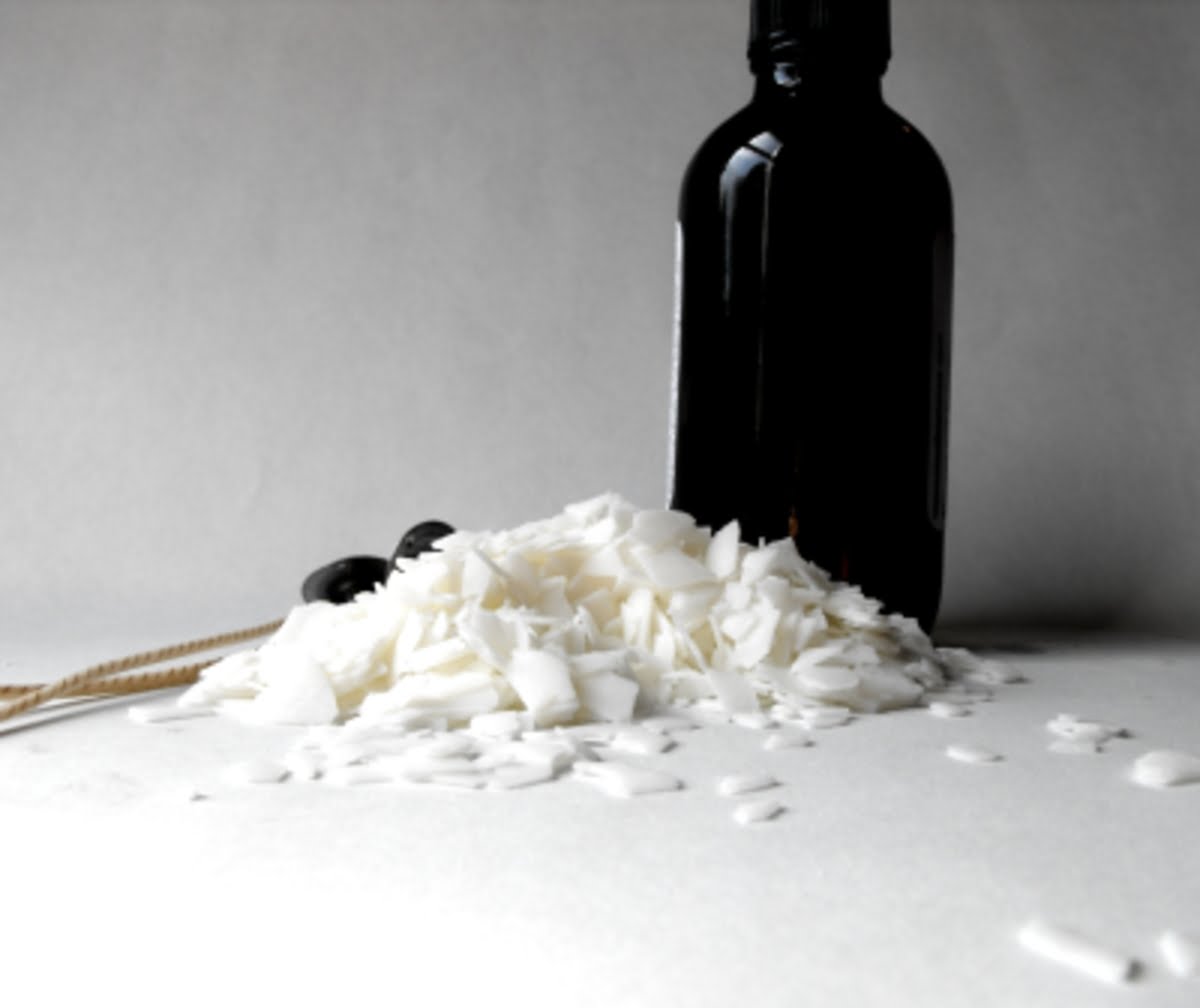
Making a pillar candle is a fun and relatively simple task that anyone can do with the right supplies. To begin this project, you’ll need to gather a variety of waxes (paraffin or beeswax}, wick, double boiler, molds, thermometer (optional), fragrances (optional), colorants (optional), stirring utensils and protection equipment such as eye protection and heat resistant gloves.
The first step in making a pillar candle is to melt the various waxes in the double boiler. Adjust the temperature until each wax type reaches its optimal melting point. It’s important to wait for all of the wax types to reach their melting points before you mix them together as it will result in an even blend throughout your final product. Once melted, add your desired fragrances, colorants and any other additives at this stage using stirrers or sticks to mix them evenly throughout the liquid.
Next, insert the pre-measured wick into its mold then carefully pour your mixture of melted wax around the wick until it is filled up to the top of your mold. Allow it to harden for several hours or overnight before removing from its mold so that it retains its shape correctly.
Once cooled and de-molded you should now have a beautiful homemade pillar candle – perfectly formed and ready for use either by yourself or as a wonderfully crafted gift for someone special!
Melting and Prepping the Wax
There are several ways to melt the wax for a pillar candle. One of the most popular methods is double boiling. This involves boiling water in one pot, and then placing a second, smaller pot containing the wax inside the first pot with the boiling water below it. The indirect heat from this method ensures a more even melting process that is less likely to produce air bubbles or other imperfections in the resulting wax. Another option is to use an electric melting pot, which also melts wax at an even rate and with minimal air bubbles. There are variations within both of these methods ” if different types of wax are being considered or if a stick blender will be used ” but they remain the primary ways of melting and prepping wax for candle making.
Pouring and Adding Color to the Wax
Pouring and adding color to the wax for a pillar candle is a relatively simple procedure. Start by melting your Wax in a double boiler. A double boiler ensures that the wax does not become too hot. The next step is to pick out shades of dye or pigments to achieve your desired colors. These can be different combinations of red, blue, green and yellow. Add a few drops of your chosen dye into the melted wax while stirring steadily but slowly using a wood spoon or stir stick. To get more intense colors in your candle, add more pigment as desired until you reach the shade you want. Make sure to mix it evenly; otherwise, you may end up with streaks or blotches in the candle after it’s poured into the holder or container. Continue stirring carefully until all the colouring has been evenly dispersed throughout the melted wax before pouring it into the mold for manufacture of your candle.
Adding the Scent and Setting the Wick
When it comes to adding scent to a pillar candle, it is important to bear in mind that the amount of scent used should not exceed 10% of the total wax weight; this ensures that your candle will burn safely and properly. When it comes to selecting a scent for your candle, there are many options available. Essential oils, fragrance oils and natural plant extracts are all popular options for infusing scents into candles. Just make sure you research each option before mixing them with your wax!
Once you have selected which scent you would like to use, the next step is setting the wick. This is done by centering the pre-tabbed wick at the bottom of your mold while pressing down gently with your thumb and forefinger ” try to keep the wick as straight and centered as possible. Once you have secured the base of the wick, it should be easy enough to press down into place at any angle required within your specific mold cavity; this will ensure that your flame remains central throughout burning. After ensuring that everything is tight and secure, you are ready for pouring!
Allowing the Candle to Cool and Solidify
Once you have finished pouring the wax into the pillar candle container, it is important to allow the wax to cool and solidify before attempting to remove it. This can take anywhere from 12-24 hours depending on the size of the candle being made and the type of wax used. Once most of the surface wax appears solidified, Gently press your finger into the surface of it. If there is no resistance then you know that your candle requires more cooling time, if you feel a slight give or resistance then this indicates that your candle has cooled sufficiently. In order to ensure that your candle is fully solidified before attempting to remove it from its container, gently shake the container or tapping sharply with a wooden spoon – if there are any liquidy parts then these will be quickly identified and require additional cooling time (or increased amounts of stearic acid during the initial melting process).
Troubleshooting Common Mistakes
Soot: soot build-up can happen when the wick is too thick or when it is placed too high in the mold. To avoid soot, you should use a thinner wick, and place the pre-waxed wick at just below half of the total height of your candle.
Uneven Wicking: Uneven wicking can occur if the wick is placed too high in the mold or if it isn’t straightened as it’s poured. When pouring, make sure to secure your wick to the bottom of your mold and keep it centered by using a clamping type device. You may also need to add more molten wax along one side of the crust in order to even things out.
Wet Spots: Wet spots are caused by air bubbles getting trapped inside of your pillar candle while it cools. If you notice wet spots, you’ll likely want to remelt all of your wax and then re-pour. Just be sure that all air bubbles have been removed before pouring again. For best results, allow each layer to cool and harden before adding additional layers on top.
Final Touches
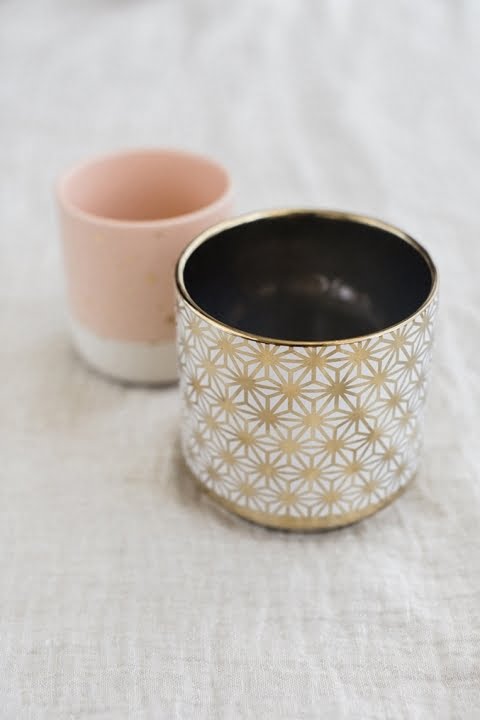
When it comes to the final touches of making your own pillar candle, you have a few options for the packaging and decorating of it. You can use various molds, glass jars , or tins to contain your candles and give them a unique shape. Also, you can decorate the containers with additional layers such as ribbons, stones, dried flowers, paint, etc. Depending on how creative you’d like to make your pillar candles, there are literally endless possibilities when it comes to adding artistic accent variations! Using wax crayons specifically designed for candle-making is also an option. They allow you to customize the candles with intricate details and beautiful designs. As far as packaging goes there are several ideas that could help increase the overall appeal of your candle – from vinyl wraps to custom boxes and labels – adding a bit of whimsy goes a long way! Not only will your presentation wow those around you but creating something special for yourself makes all the hard work worth the effort!
Conclusion
Making a pillar candle is an achievable and rewarding project. After gathering the necessary supplies and following the simple steps, you are now ready to create a personalized candle that is perfect for your home or to give away as a gift. The fun of making your own pillar candles lies in experimenting with different colors and scents whilst tailoring your design to suit the occasion and aspect of design.
In summing up, by learning how to make your own pillar candles, you have gained knowledge on the essential safety precautions before performing an activity like this, what materials are required, as well as acquired skills such as measuring ingredients precisely and understanding proper wick sizing. You also acquired new experiences such as suggesting unique ideas for decoration or decoration patterns or exploring different combinations of waxes, dyes and essences in order to add decorative elements. With these valuable lessons under your belt, you are now well-equipped to continue creating beautiful custom-made candles!

Welcome to my candle making blog! In this blog, I will be sharing my tips and tricks for making candles. I will also be sharing some of my favorite recipes.

