Introduction
Candle wicks are an integral part of any candle. They allow for a steady flow of combustion from the wax to the flame, helping to create consistent lighting that you can depend on. Candles can come in all shapes and sizes, so making sure you have a quality wick is essential for candlemaking.The purpose of this blog post is to outline the basics of making candle wick. We’ll examine what components are needed, different techniques involved in the production process, and potential safety risks associated with making your own candle wick. It’s important to note that any time you are working with combustible materials, there is always a risk of injury or damage to property. Make sure you research any necessary safety protocols before attempting any steps outlined below — your well-being comes first!
Supplies Needed
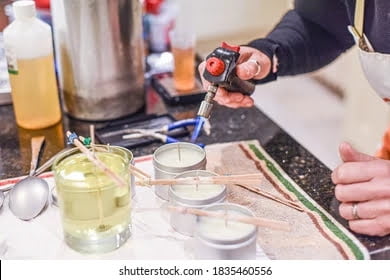
Making a candle wick is an easy and inexpensive DIY project. To make your own candle wick, you will need the following supplies:
1) Natural Jute or Hemp Twine – Usually found in most craft stores or online.
2) Candle Wax – A type of wax that holds its shape when melted, such as beeswax, paraffin wax, or soy wax. All of these can be found in some arts and crafts stores, along with many online shops.
3) Candle Wicking Needle – This type of needle has a rounded tip used for threading the twine into the beeswax. It can also be found at various craft stores and online sellers.
4) Scissors
5) Small pot to melt the wax – Any small pot with a spout on the side for easy pouring can work for melting wax. The pot should only be used for melting wax and should not come into contact with food.
6) Hot Glue Gun – For securing the ends of your candle wicks after they have been dipped in melted wax. Hot glue guns are usually found in most craft and hardware stores, as well as online retailers.
Preparing the Wick
1. Start by getting your materials together. You will need wick, scissors, beeswax, a lighter (or matches) and a safe place to work.
2. Cut your wick into the desired length for your candle – it should be slightly longer than the height or width of the container you are using.
3. Melt some beeswax in a pot on low heat so that is liquid but not too hot to handle. You can also use candles wax flakes or blocks for this purpose if available. This will help stiffen the wick and keep it from curling when lit.
4. Dip each end of the wick into the melted beeswax until it is fully coated in wax, then carefully remove and allow to cool completely before handling again.
5. Once cooled, wind one end around an object such as a skewer, pencil or chopstick located at the bottom center of your container to hold it in place while you fill with wax, and thread the free end up through center hole of mold(s). Use lighter (or matches) to light upper end of wick then let burn until flame goes out – this helps prevent curling while pouring wax although additional support may be needed as wax sets depending on size/shape/ weight of completed candle/s . Finally you’re ready to start pouring!
Dipping the Wick
To make a candle wick, start by warming the wax to between 130-160 degrees Fahrenheit. Make sure that you are wearing protective heat resistant gloves when working with melted wax. You will also want to wear eye protection, as the wax may splatter and burn your eyes. To ensure that the wax is melted properly, insert a candy thermometer into the melting pot and stir it around with a wooden spoon until you have achieved the desired temperature.
Once the proper temperature has been reached, grab the spool of wicking material and begin dipping it into the melted wax. Hold the wick in for about 10 seconds, or until it is saturated with wax. Then slowly pull out each strand of wick and allow any excess to drip off before putting it on a cooling rack. Once completely cooled, you can repeat this step until you have made several candle wicks.
Testing the Wick
The strength of a candle wick is an important factor in determining a candle’s burn quality. When making a custom candle, it is important to size the wick correctly and to test it prior to final assembly. Here are some guidelines on testing your wick to determine its strength and troubleshooting any issues that may arise:
1. Set up an environment for testing – Make sure all testing is done in an open area with consistent temperature, humidity and airflow; avoid areas where there is direct sunlight or drafts as these can interfere with your results. Measure the size of the wick you’re using and note the type of wax being used as this will be important in getting accurate readings.
2. Set up a test sample – To leave room for error and adjust your results, create several samples with varying size wicks before settling on the one to use for your product. Place each sample over an open flame or exhaust fan to allow for proper combustion and burn away any impurities built up in the fibers.
3. Watch for sooting – As each sample burns, keep an eye out for signs of sooting that may indicate the wick is too large or too small (smoke will travel up from the flame instead of licking at it). Additionally, watch how much wax on the sides is consumed during burning – If there is not enough wax being melted around the circumference, this could lead to you needing a smaller sized wick which also produces less smoke during combustion.
4. Gauge smoking rate – Burning different sizes of wick at once and observing how quickly they smoke can help you determine which size works best in terms of preventing smoke production without compromising burn time. An ideal scenario would have little-to-no smoke emerging from both ends simultaneously while still burning evenly along its edges like a ribbon throughout its duration – If it smokes excessively then you should try adjusting either up or down depending on what you observe (if more heat and flame are needed, use larger; if less smoke and more control are desired go smaller). Adjust accordingly until desired results are achieved!
Finishing & Clean-Up
When you finish making a candle with the wick that you have created, it is important to store all of your materials correctly to ensure that they remain safe and in good working order. First, all of your tools should either be wiped down with a damp cloth or cleaned properly before being stored for future use. This helps to keep the tools free from wax or other residue. Secondly, the wax you used needs to be stored in a cool, dry place and away from direct sunlight so that it does not melt away and become unusable. Thirdly, the finished candle also needs to be protected from heat and light so that it doesn’t melt away any prematurely. You should store it in an area where there is not too much humidity (such as a closet). Lastly, make sure you always clean up any spilled wax immediately, as this can create fire hazards if left unattended.
Creative Uses & Ideas
If you are looking for creative uses and ideas for your candle wick, look no further. There are many different ways to use candle wick, depending on the design and craft project you have in mind. Here are some tips and ideas to help get you started:
1. Insert candle wick into empty wine bottles or mason jars to create unique wall-mounted candle holders.
2. Cut strips of ribbon, yarn or twine and wrap them around a candle wick with hot glue. This makes great tassel garlands that can be hung as decorations or around your neck!
3. Use washi tape or decorative twine to create original patterns on your Kandilsticks – perfect for a birthday gift!
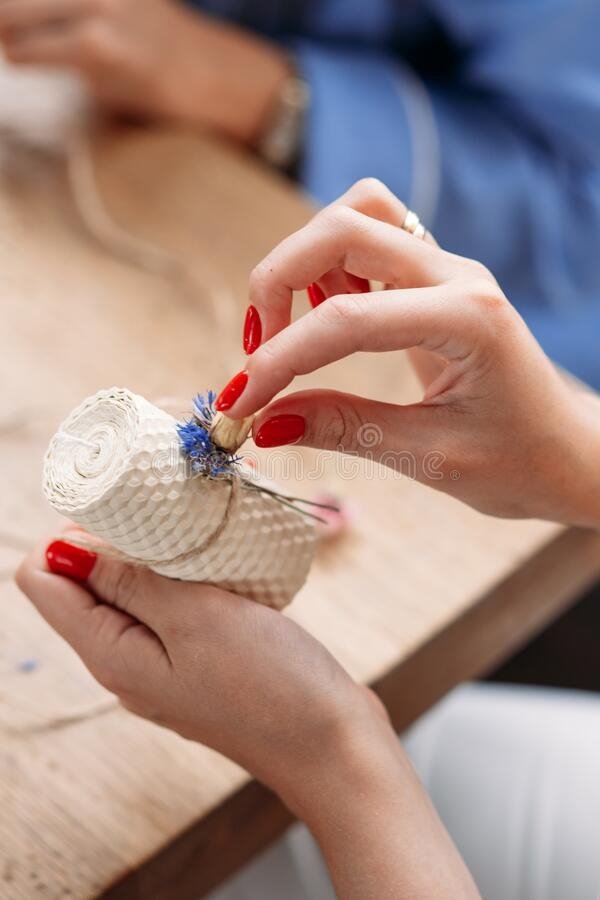
4. Beeswax sheets from the craft store can be pressed between two pieces of fabric and stitched together, then slip the tabs of the fabric through a prepared hole drilled in wood for an awesome looking beeswax-coated sconce lampshade!
5. Have an old log laying around? Drill out holes in it using a drill bit large enough for the cut end of a Candle wick, pop a piece of wax paper over the top and fill it with candle wax – Bam! You’ve got yourself rustic decorator tealight candles!
6. Broken glass vases can be made useful again by inserting one length of candle wick in each piece making a two-piece jar when melted down and cooled – these jars look great with tiny string lights inserted along the sides as luminar luminaries!.
7. Make fire starters with cotton balls soaked in petrolierum jelly and lunch bags with piles of pine needles on the bottom – insert multiple lengths of candlewick down into the bundle and they’ll light up quickly when struck against flint stone!
Conclusion
Making your own candle wick is a great skill to have, and it can be done in five easy steps. Gather together the supplies- cotton rope for the wick, beeswax and twine for securing the wick to the container. Then melt some of the beeswax onto one end of each length of cotton rope to harden it up. Secure the other end into a base that is weighted down; this will help keep your candle straight when melting it. Finally, when you are ready to use your candle wick, make sure its securely placed in your candle container while keeping at least an inch of exposed wicking material above the wax surface so that it is able to absorb the melted wax and light easily. After completing these five easy steps, you should now have homemade, reusable candle wicks that you can use for any crafty project or any future DIY candles!
In conclusion, this blog post discusses how to make your own candle wicks in five simple steps. Gathering up some basic supplies such as cotton rope, beeswax and twine makes constructing even more efficient and straightforward. Secure one end of the cotton rope into a base in order for it to stay upright and use at least one inch of exposed clothing above the melted wax so it may absorb quickly! Moreover, if you’re looking for further information on making homemade candles and other DIY projects using homemade candle wicks there are countless websites out there full of tips and tricks. With patience and practice you’re sure to be satisfied with your final product!

Welcome to my candle making blog! In this blog, I will be sharing my tips and tricks for making candles. I will also be sharing some of my favorite recipes.


