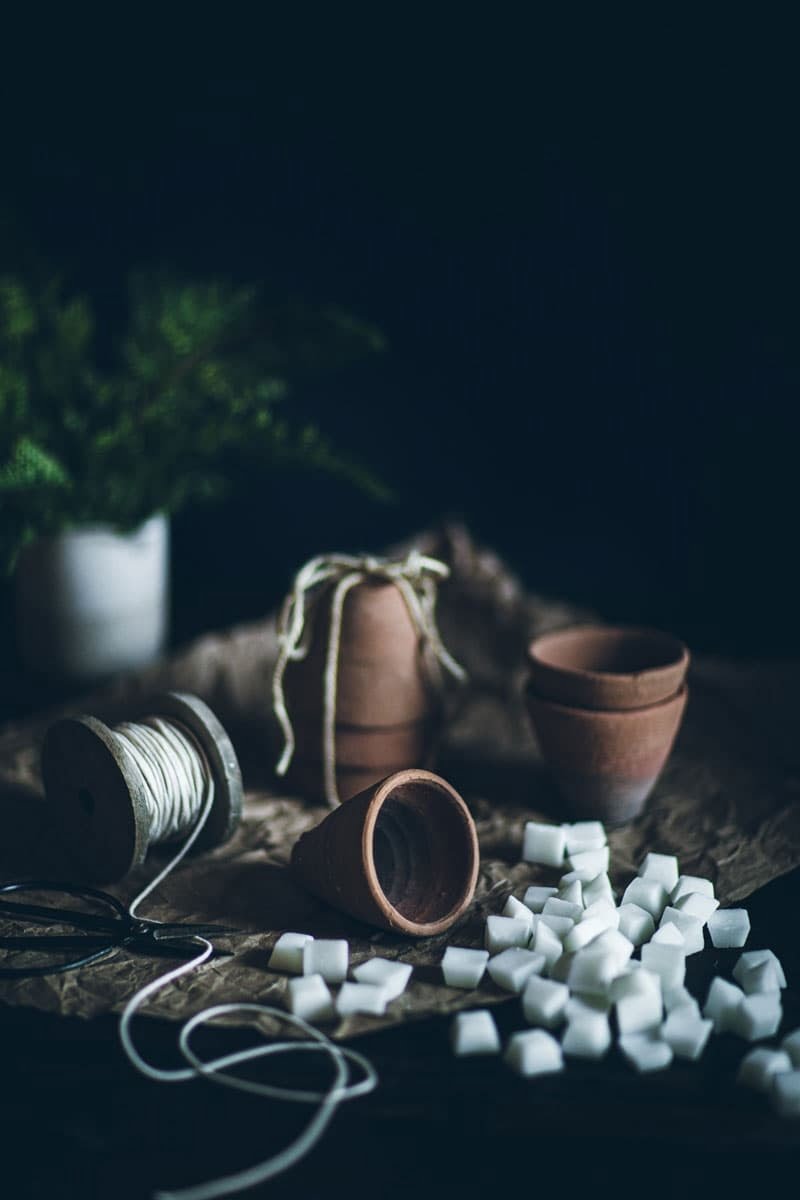
How To Make Candle Wicks
Do you love the look and feel of candles but aren’t sure how to make your own wicks? We feel you! Candles can bring some extra vibes and ambience to any space and choosing to make your own brings a special feeling to the creation. Here are the steps to making your own candle wicks.
Step 1: Materials Needed
Before you dive into this project, you’ll need a few key supplies. Here’s what you’ll need to make a basic candle wick:
- Cotton rope
- Pine rosin
- Beeswax
- Clamps or something to hold the wick in place while it cools
Step 2: Making the Wick
Cut your cotton rope into the desired length of the wick. For a basic wick, we recommend 12-18 inches, but you can make it longer or shorter depending on your size of the candle.
Next, bind the wick in a clamp so that it can be easily manipulated and mixed. You can use whatever supplies you have on hand like paperclips, clothespins, tape or metal fasteners.
Step 3: Adding Rosin and Beeswax
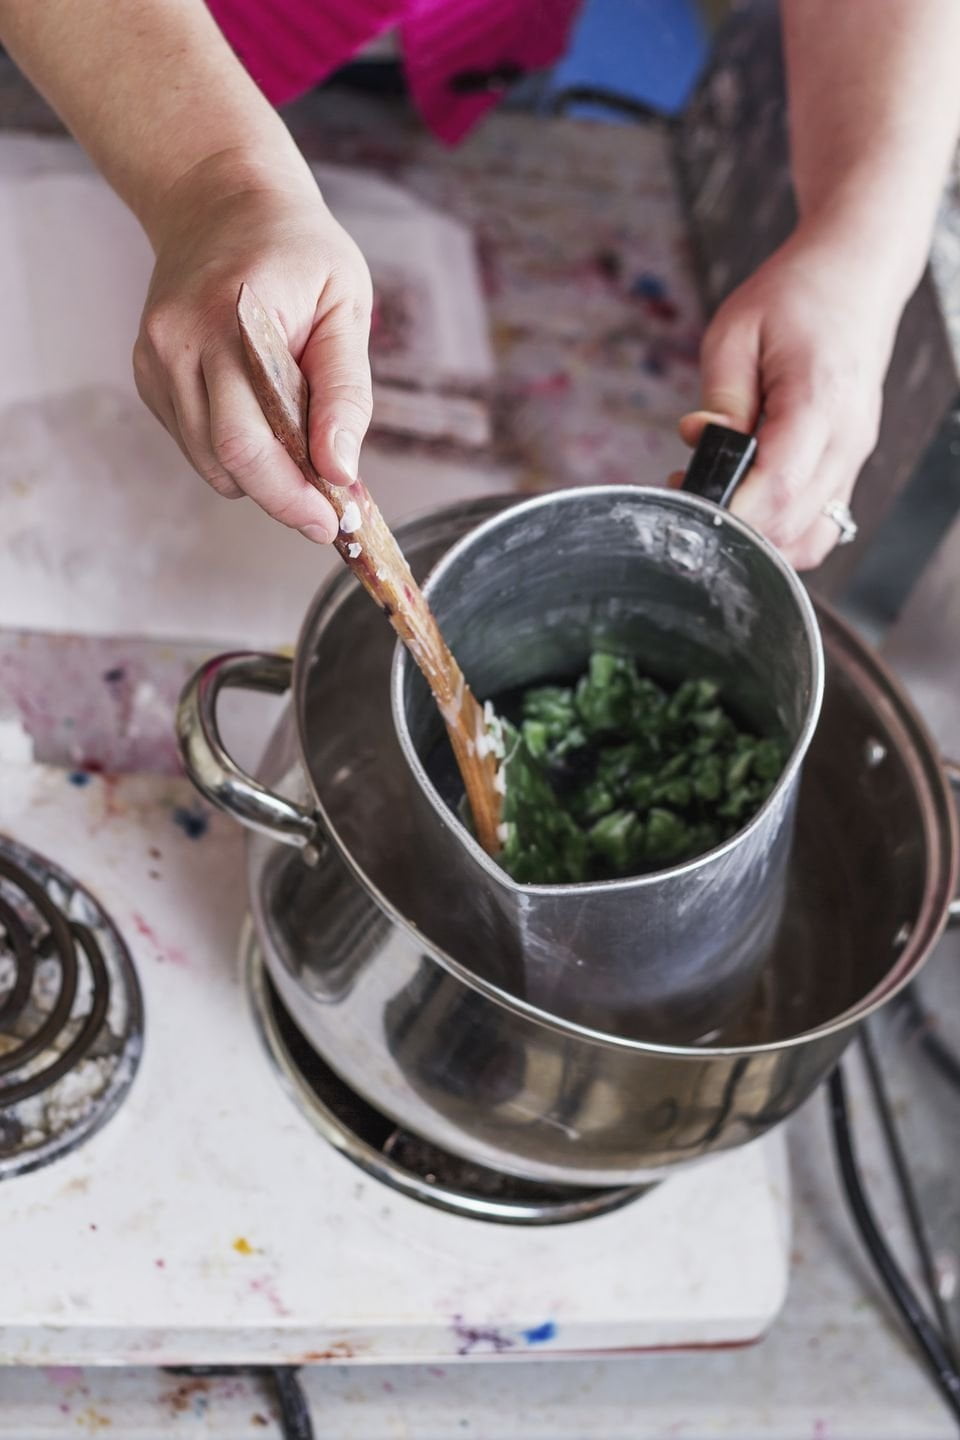
Mix together 4 parts beeswax and 1 part pine rosin in a double boiler for about 30 minutes. Make sure to keep stirring the ingredients until it becomes a liquid form before turning off the heat.
Once the wax and rosin have melted and combined, remove them from the heat and add the wick.
Using a spoon, slowly drizzle the liquid wax and rosin over the wick. Begin at the top, and work your way down. The more wax and rosin you add to the wick, the thicker and sturdier it becomes.
Step 4: Cooling and Finishing
Allow the wick to cool by putting it in the refrigerator for an hour. Doing this will help the wick take its shape and it will be able to stand on its own afterwards.
Tips & Tricks for Making the Perfect Candle Wick
- Choose the Right Materials: Make sure that the rope you choose is 100% cotton or hemp material. Cotton and hemp rope will burn more evenly and will provide the best results for your wick. Avoid the use of synthetic materials, as these may contain plastic which can release chemicals when burned.
- Measure Your Melting Pot: Before you start making your wicks, be sure to measure the width of your melting pot and the depth of the liquid wax and rosin mixture. Use the same size measurement when creating your wick. This makes it easier to assemble the finished product in your container.
- Make Extra: It’s always good to have extra wicks on hand. If you’re making more than one candle, consider making a few extra just in case you need them!
And You’re Set!
Now you have the knowledge to make your own candle wicks- enjoy! Making your own wicks is a great way to customize the look, feel and scent of your candles. Have fun and get creative!

Welcome to my candle making blog! In this blog, I will be sharing my tips and tricks for making candles. I will also be sharing some of my favorite recipes.

