## How To Make Candles For Beginners
Making candles is an enjoyable and rewarding hobby that anyone can do. Whether your goal is to make a single-use candle to surprise your spouse with a special gift or to start a business around it, making your own candles is an art form anyone can explore.
At the core, candle making is a two-step process. First, you purchase wax and any other materials you’ll need, like wicks and essential oils. Secondly, you melt the wax, combine it with the scents and dyes of your choice and pour it into the shape of your dreams.
**Here’s how to make candles for beginners:**
### Step 1: Gather Your Supplies
The supplies you will need to make candles are determined by what type of design you intend to make. Here’s a list of some basics you’ll need to get started:
* **Wax**: The most common types of wax for candle making are paraffin and soy.
* **Wicks**: The type of wax you choose (soy or paraffin) will determine the type of wick you use so be sure to do your research before making a purchase.
* **Essential Oils**: Fragrance oils are optional, but it’s a great way to customize your candle.
* **Containers**: You can find candle containers, such as mason jars or tins, online or at local craft stores.
* **Dyes**: This is optional, but you can use dyes to enhance the aesthetic of your candle.
### Step 2: Melt Your Wax
Once you have all of the supplies you’ll need, it’s time to melt your wax. Here are some tips for melting wax:
* **Use a double boiler**: This will help you keep your wax at a consistent temperature and prevent it from burning.
* **Stir your wax**: Once the wax is melted, stir it to ensure it’s evenly heated.
* **Keep your wax covered**: Covering your wax will help contain the heat and reduce the risk of messes.
### Step 3: Add Your Fragrances and Colors
Once your wax is melted, you can add your desired fragrances and colors. Here are some helpful tips:
* **Fragrances**: For best results, use 8 drops of essential oils per 8 ounces of wax.
* **Dyes**: Start with a small amount of dye and add more as necessary.
### Step 4: Pour Your Wax
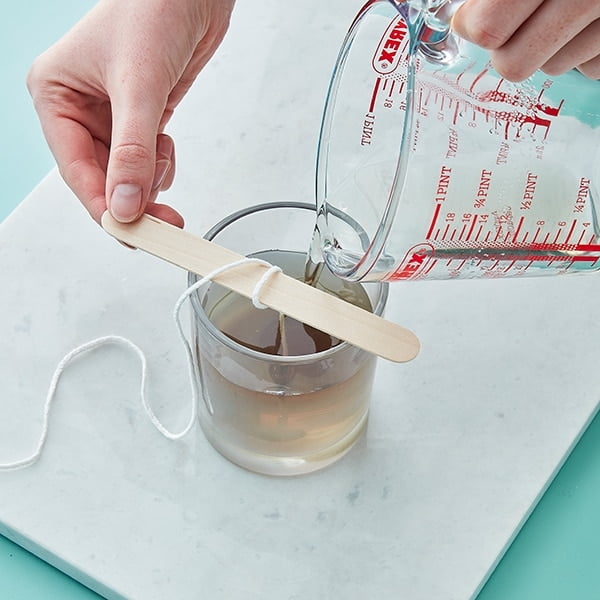
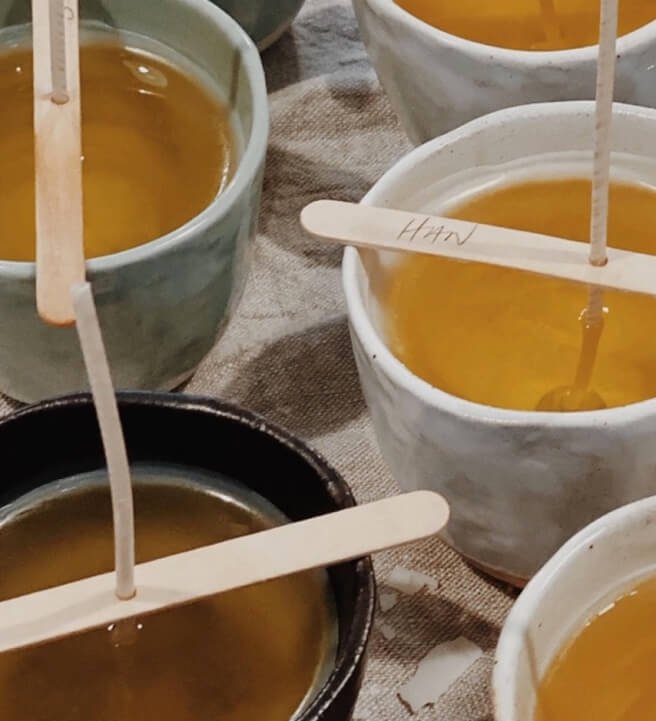
Once your wax is colored and scented, it’s time to pour it into your desired containers. Here are some tips to ensure a perfect pour:
* **Make sure your wick is centered**: This will ensure that your candle burns evenly.
* **Maintain an even temperature**: Avoid pouring your wax too hot or too cold to ensure a smooth result.
* **Keep your containers level**: This will help ensure that your candle will stay centered.
### Step 5: Let Your Candles Cure
Once your candle is poured, let it cure for 24 hours. Then, you can trim the wick, light your candle and enjoy the beautiful results of your hard work.
Making candles can be a fun and rewarding experience for anyone, no matter their skill level. Start with the basics and enjoy the process of mastering this art form from the comfort of your own home.

Welcome to my candle making blog! In this blog, I will be sharing my tips and tricks for making candles. I will also be sharing some of my favorite recipes.


