Introduction
Making handmade candles can be an enjoyable and rewarding hobby that provides a unique and beautifully decorative output. With just a few simple supplies, you can create your own candles at home to enjoy or to give away as thoughtful gifts. The process of making candles is fairly straightforward, but there are also many techniques you can use to customize the look and scent of each one. Not only are handmade candles beautiful forms of art, they are also often much cheaper than store-bought options. Additionally, many people enjoy the therapeutic aspect of candle-making ” both in the process itself and its calming outcome.
Before starting out, however, it is important to first practice safety by ensuring that the workspace is clean and well-ventilated as some waxes may emit fumes. It is also recommended that you wear protective clothing like a long-sleeved shirt, work gloves, and goggles. Follow these basic considerations and you should be able to make your own candles without any problems!
To kick off your candle-making journey, here is a step-by-step guide on how to make handmade candles:
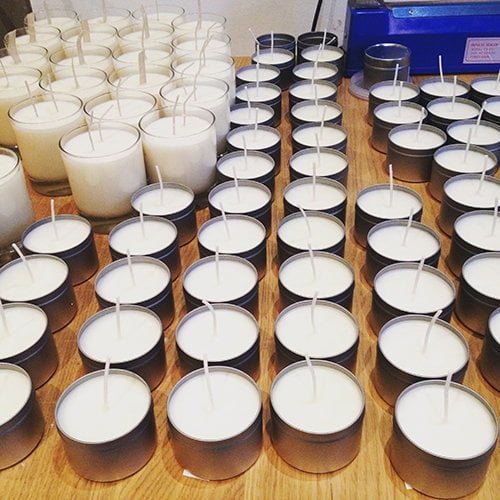
1. If you are using beeswax sheets or bars for your base material ” then melt them down in a double boiler using low heat on a stovetop until it turns into liquid wax before transferring it into separate containers for molding;
2. Identify what type of wick size works best with the container/mold of your choice;
3. Measure out the wax needed based on the desired size or shape (hint: check out our range of candle molds!)
4. Place the wick through the opening at the bottom of your chosen container; then make sure its string hangs inwards;
5. Spread melted wax around the sides of each container before pouring in enough wax just shy from reaching the top ” allow time for cooling;
6. After this has cooled down completely (typically 12 ” 24 hours) add additional wax if needed until filled up;
7. Trim any excess string from where it protrudes from either side (you don’t want a fire risk!)
8. To finish up: add any decorations you would like onto each candle’s surface!
If desired, adding essential oils can provide fragrant scents when burning which adds an extra layer unique experience when using homemade candles ” *be aware however that some essential oils may be flammable so read up carefully before using*. Once complete – light up your new DIY masterpiece! Enjoy!
Gather Your Supplies
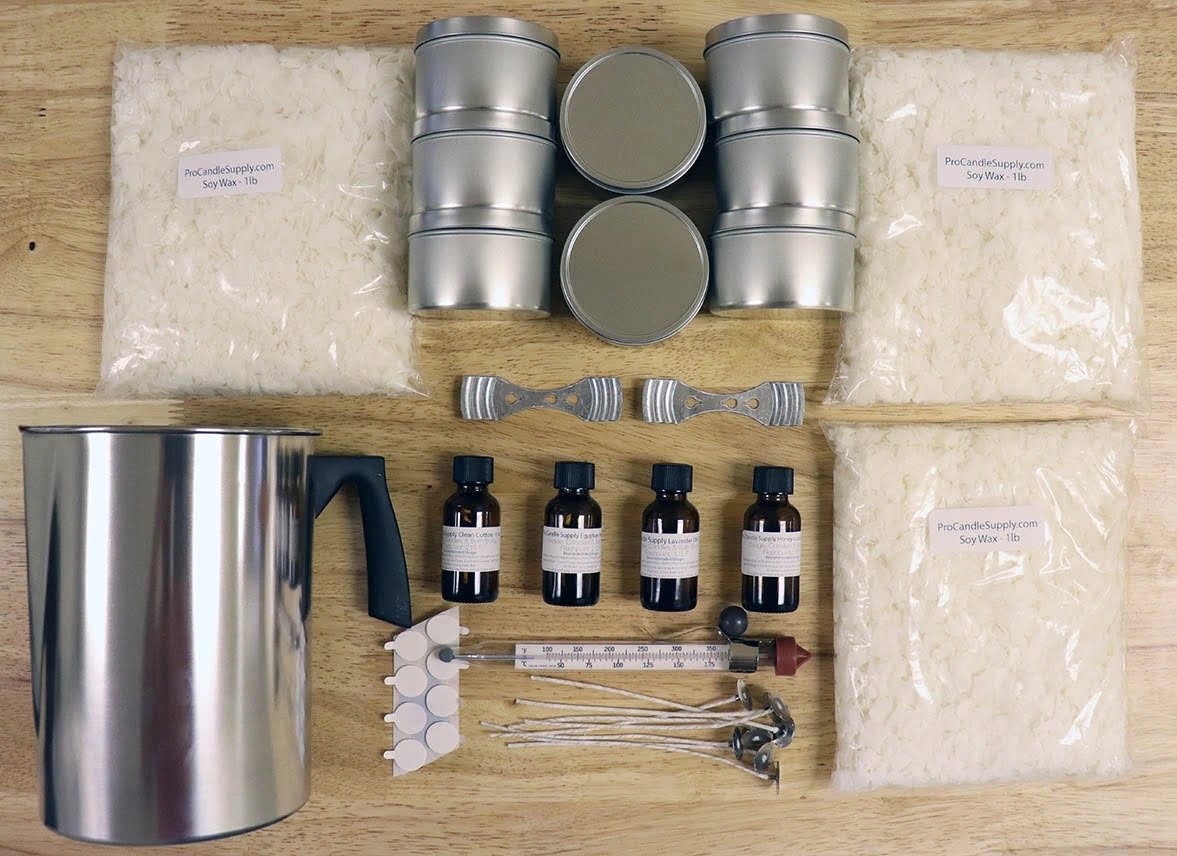
Before you can begin creating beautiful handmade candles, you need to gather a few tools and materials. To make your candles, you will need wax (such as soy wax flakes or paraffin wax), wicks, metal tabs for the wick, essential oils (optional), candle dye (optional), fragrance oils (optional), various containers such as mason jars for tealight candles, specialty molds for other shapes of candles or wax sheets for sheets of hand-dipped tapers, a double boiler or microwave-safe pouring pitcher, a thermometer to ensure that your melting temperature is correct, an old pot and spoon to help with mixing in fragrances and colors if desired. Additionally, it is also recommended to have some protective gear such as an oven mitt and safety glasses when dealing with melted wax. Having all of these supplies ready will ensure that you are able to make the most perfect handmade candles with ease!
Understanding Wax Basics
Making homemade candles can be a fun and rewarding activity. It is important to understand the basics of waxes that are used to make candles. There are many different types of wax available for making candles, such as vegetable waxes, paraffin waxes, soy waxes, beeswax and jelly wax. The melting point of each type can vary significantly and it’s best to research the correct temperature for your desired type before starting your project.
You can also add additives such as stearic acid or vybar to help solidify the candle more quickly or give it a longer burn time. Additives are often added in small amounts, depending on the desired outcome. Fragrances and essential oils can be added prior to pouring the hot liquid wax into molds if you wish to make scented candles. If the idea of scenting your own candles is too overwhelming then there are pre-scented candles that you can buy instead. Many craft stores sell unscented pre-made base mixes composed of various waxes which makes handcrafted candle making easier than ever before!
Getting the Right Color
The colors that you choose to make your handmade candles can often be the most important element when creating these beautiful products. Choosing the right colors can dramatically accentuate the candle and make it even more appealing to the eye. It is essential that you use safe, natural materials to ensure no toxic chemicals are released when burning your candle.
One of the most popular ways of incorporating colorants into handmade candles is using wax dye chips. This method is highly recommended as these crystals will not produce toxic fumes as they do not contain any metallic salts or other hazardous additives. Additionally, they are available in a variety of colors to suit your specific needs. Another popular option is using liquid dyes which have similar properties to wax dye chips and come in a wide range of colors too. Although both solutions are known for their safety, wax dye chips are preferred for complex mixtures as it’s much easier to judge their impact on the finished product.
If you prefer natural alternatives, there are several options available which include things like spices, dried flowers and fruit extracts for example. These elements generally provide a slightly subtler effect than synthetic dyes but still allow you to create unique homemademadecandles with unique blends of natural ingredients that can be used time and time again! Alternatively, if you don’t wish to use any type of chemical dyes or extracts, then there are some unscented natural oils on the market that you may wish too explore such as beeswax based oils which help add colour without introducing any additional fragrances – perfect for those who want an all-natural approach!
Designing the Candles
When making handmade candles, paying attention to detail can really make a difference in the finished product. You can create interestingly shaped and colored candles that will have an eye-catching effect when being used or gifted.
Before you begin working on the candles, decide what look you want to achieve. If possible, draw a design on paper first before attempting it with the wax or wick. Use different fabrics to create interesting patterns, such as velvet for intricate shapes or even a Braille pattern for an added touch of creativity. You can also use paint or glitter to give your candle a bit of sparkle and shine. For added drama, opt for darker bases with lighter highlights.
The next step is selecting the right type of wax and wick for your candle, which depends on its purpose and how tall it should be. Check out your local craft store or online retailer to find all kinds of waxes specifically designed for handmade candles, like soy and beeswax, paraffin wax, palm oil wax and even beeswax blends. Additionally, try experimenting with multiple wicks for different types of candles like votives or tapers; some work better than others depending on the candle’s size and shape.
Finally, invest in quality essential oils if you want your finished product to smell good! Choose fragrances that aren’t overpowering ” like lavender and eucalyptus “that pair well together and linger nicely in the air with minimal irritation. A high-quality essential oil will last longer too! Melted wax can take up small amounts of liquid scent as well ” just be sure not to add too much so your candle doesn’t become excessively hard after it cools down.
Making the Candles
Step 1: Gather Materials: Before starting the candle-making process, gather all of the materials you will need, such as wax, wick and molds. Wax typically comes in either a block or a liquid form. Depending on what type of candle you’d like to make, the wax should be melted over low heat and allowed to cool to room temperature before using. Wick is available in different sizes and can be pre-waxed or non-waxed. Molds are available for a variety of shapes, allowing you to create just about any desired shape for your candles.
Step 2: Heat and Mix: Once your materials have been gathered, begin preparing the molten wax that will become your candles. Start by heating small chunks of wax until it turns into a liquid form, stirring as needed for an even melt. If there is a particular scent or color that you would like to incorporate into your candles, add oil essence during this step and mix thoroughly until combined. When adding scents or dyes to your candles, less is often more; it is better to err towards restraint rather than overpowering the fragrances with too much scent.
Step 3: Prepare wick: To ensure that the wicks remain securely in place while pouring your molten wax inside the molds, adhere them with a small amount of melted wax at the base prior to pouring in the liquid mixture itself. It may help to use two lengths of wick per mold (one vertical length extending outside of the base and one horizontal length extending across its internal circumference) so that when it’s time to insert them into candles later on they will integrate nicely without moving out of place along their vertical axis.
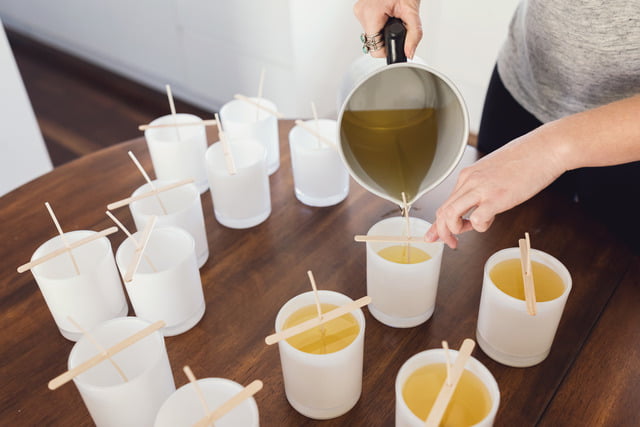
Step 4: Insert wick and pour wax: Once ready, carefully slip pre-prepared wicks inside each mold followed by slowly pouring molten wax inside each one until full ” ensuring it evenly fills all sections for an equal burn duration time throughout each candle when lit later down line. This filling process can become quite tricky if performed manually ” but with higher end kits specialized pouring basins are sometimes included (which make life significantly easier). Be aware though some people have reported difficulty removing even these basins from their own molds after solidifying – so take extra precaution when removing them!
Step 5: Allow cooling time before use: Now all that remains before lighting up your brand new handmade candle creations is waiting! Depending on how big they are they’ve taken approximately 8 hours cooling period before being able to safely use them – but always check beforehand with thermometers too confirm optimal hardening consistency thresholds were met throughout every section adequately first (as otherwise poor curing applications now could cause huge issues later)! Enjoy!
Troubleshooting
One common problem with handmade candles is that the wick is too small and does not burn efficiently. To fix this, try to use a larger wick. This will help the candle to burn more evenly and for a longer period of time. Additionally, make sure that the wick is centered at the bottom of your container or mold when you are pouring in the wax. This will make it easier for the flame to reach all parts of the candle so that it burns completely and evenly.
Another frequent issue with handmade candles is that they have an uneven surface, which can be caused by factors such as an inappropriate wax temperature or an improper pour technique. To fix this, try using a smaller container or pouring out the candle into two separate molds so that you can control its shape better. A great trick to ensure even cooling of your wax is by placing it in cold water after each pour session; this will prevent any air bubbles from forming and help create a smooth surface for your finished candle. It’s also useful to use a heat gun or other tool to level out any imperfections before you have completed pouring in your wax.
Finishing Up
Shaping: It is important to consider the shape of your candles, as this can greatly affect their appeal. For classic cylindrical candles, you can use different molds to create interesting patterns and ridges in the wax. Loosely wick your wax by placing them around the rim of your mold. If desired, you could also make tapered candles with a pointed top and bottom using two-part molds.
Packaging: An attractive packaging design can really add some visual interest to handmade candles, making them even more eye-catching on store shelves or when gifted! Many crafters choose to package their candles in cylindrical glass containers for an elegant look. Others like to wrap individual candles with colored twine, or wrap multiple in bundles with seasonal embellishments for special occasions.
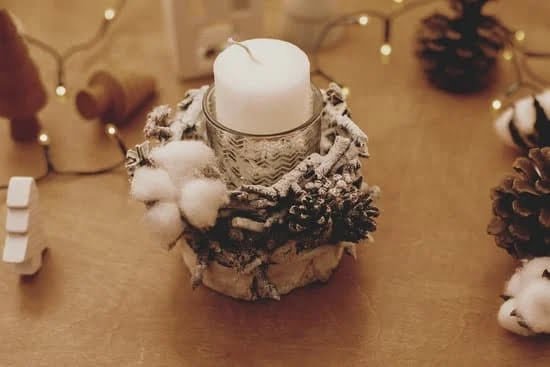
Display Ideas: When it comes to displaying handmade candles, there are plenty of creative ideas that help showcase their unique characteristics! Placing these alongside other décor pieces or giving them their own corner space helps to attract attention – try grouping several varying sizes together on a shelf or scattered throughout coffee table displays! Creating unique display stands and holders out of scrap materials can also be a great way to show off your work in the best light possible.
Conclusion
Making handmade candles is a fun and rewarding activity that can result in beautiful, unique creations. Now you know the basics of candle-making: you have an overview of the necessary materials and equipment, knowledge of which waxes are best for different types of candles, the importance (or lack thereof) of additives and scent, tips on wick sizing and use, ideas for decoration, and troubleshooting help. With this information in hand, your creative juices should be flowing already! Ready to start making some unique, homemade candles? Enjoy exploring what you can create!

Welcome to my candle making blog! In this blog, I will be sharing my tips and tricks for making candles. I will also be sharing some of my favorite recipes.

