Introduction
Making homemade candles can provide not only an enjoyable and creative activity, but it can also help contribute to a sustainable lifestyle. There are also significant cost savings to be had from making homemade candles since many of the ingredients used are inexpensive and easy to find. Additionally, if you’re concerned about using more healthful ingredients in your home, making homemade candles is a great way to source natural waxes, wicks, and fragrances that don’t contain parabens or phthalates— common additives found in store-bought candles.
In this guide, we’ll walk you through all the steps necessary to make your own beautiful and fragrant candles at home.
Tools and Materials Necessary
Safety Equipment:
Heat-resistant gloves
Long sleeve shirt or apron
Goggles or safety glasses
Matches or lighter
Candle-Making Supplies:
Wax flakes or pellets
Candle wick(s)
Wick holders (with bases)
Candle dye(s) of your choice (optional)
Fragrance oil(s) of your choice (optional)
Measuring cup and scale
Double boiler (optional, but recommended)
Molds for making candles
Selecting Wax
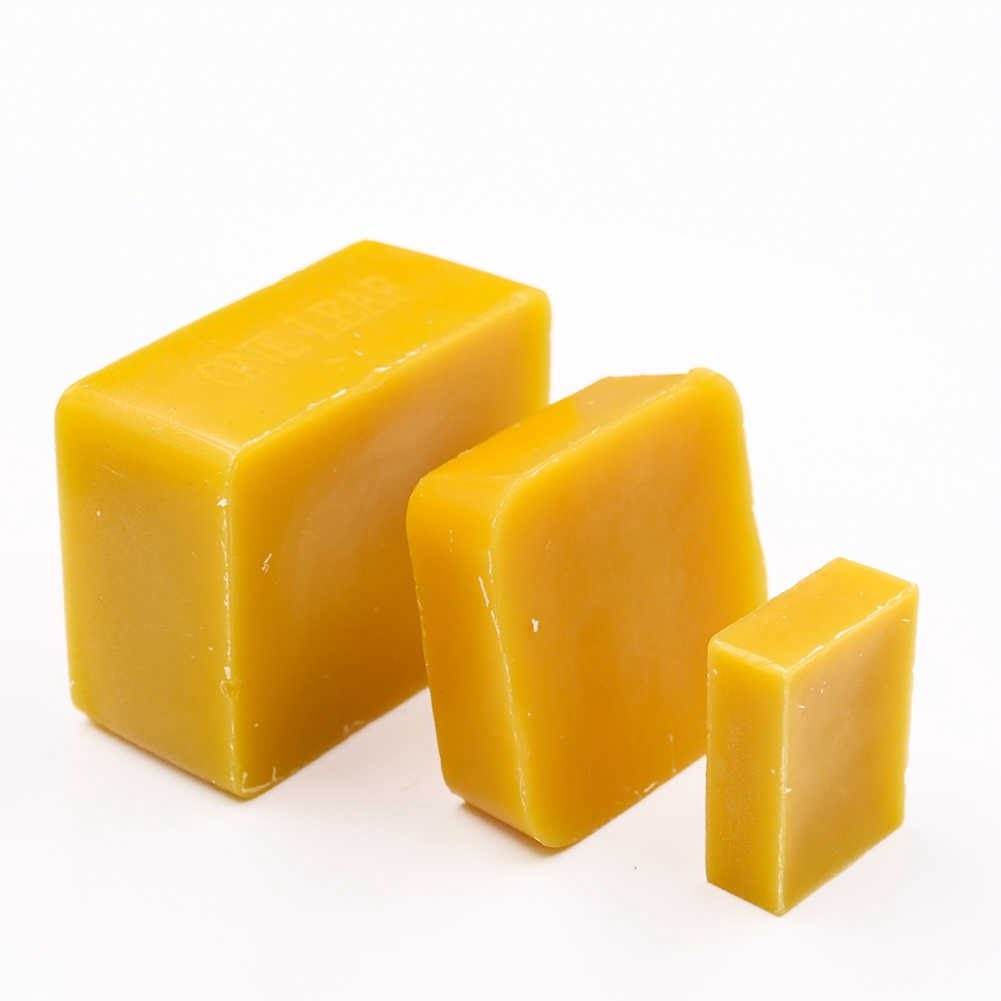
Soy and beeswax are great starting points for homeade candle makers. Soy wax is a natural, sustainable wax made from soybeans. It’s easy to work with and provides an excellent hot throw (amount of scent released when burning a candle). Beeswax tends to be more expensive but is also quite user-friendly and it produces a robust cold smell (amount of scent released when not burning a candle). Both of these waxes are simple to melt down and offer good burning traits. If you’re looking for something other than soy or beeswax however, there are many other types of wax which may be better suited to your needs such as paraffin wax, palm wax, coconut wax and more. Alongside this, additives that help the candles last longer may vary depending on what type of wax you choose. In any case, it’s important to do some research prior to making any decisions about your wax selection!
Melting the Wax
Melting the wax is an important step when making homemade candles. To ensure your wax melts in a safe, effective way, use a double boiler. This allows you to control the intensity of the heat while also preventing the wax from burning or becoming stuck to the pan. Typically, you want the temperature of the melted wax to range between 55-65°C; however, if you are using a different type of candle wax than paraffin wax, you may need to adjust accordingly. To successfully melt your wax in a double boiler, simply add water to one larger pot and place it on low to medium heat, then set a smaller pot into the base fitted with your wax. As always be sure to take proper safety precautions such as wearing gloves when handling hot materials!
Adding Fragrance and Color
Fragrance: For natural fragrances, you can use essential oils such as lavender, jasmine, ylangylang and orange blossom. You can also make your own signature scent using combinations of different essential oils!
Color: Natural ingredients can be used to add subtle colors to the candles. Examples include adding ground cinnamon or nutmeg for a light brown tone, crushed rose petals for pinkish hues or turmeric powder or paprika for an orange-yellowish tint. Different materials like herbs, spices and flowers all yield interesting shades when added to wax.
Creating Your Wicks
Calculating the correct length for your wick is extremely important in creating a successful and safe candle. The general rule of thumb when it comes to sizing your wick is that the longer the wick, the larger flame you will have. Most experts recommend selecting a wick that is 1/2 to 2/3 the diameter of your candle container. Too long of a wick can cause excessive burning and create drips and pools along the side of the candle container, while too short of a wick will make your candle burn poorly or not at all. You should also consider what type of wax you are using when selecting an appropriate wick size; for soy wax, for example, you may need a slightly bigger wick than what would be recommended for paraffin wax.
Pouring the Wax into Molds
When pouring wax into a mold, it is important to wait until the melted wax has cooled down to the appropriate temperature. A good rule of thumb is making sure that the melted wax is between 125-135 degrees Fahrenheit. It is possible to cool the molten wax in an ice bath if temperatures exceed 135 degrees. It’s also crucial to use a steady hand and some sort of guide (such as a chopstick) when slowly adding the liquid wax into your molds, as this will help prevent any spills and make for cleaner, more even edges on your candles.
For two-tone effects with your homeade candles, experimenting with layered wax can be quite rewarding! Start by preparing two different shades of poured wax and fill up your molds with alternating layers. Depending on how varied you want your candle color and texture to look, you can also play around with cooling intervals for each layer or even adding oils or dyes for fragrance and aesthetic purposes. Careful tipwork can create ripple or chevron effects embedded inside the solidified wax.
Testing and Troubleshooting
Testing and Troubleshooting
Before lighting your homemade candles, it is important to verify that they are burning properly. The simplest way to do this is by conducting a burn test. To begin the test, light one of your candles in an area that is free from drafts, away from flammable materials, and with appropriate supervision. Keep an eye on the candle while it burns and make sure that it is creating a steady flame without any flickering. The wax should be pooling into liquid form around the wick without leaving major chunks behind. In addition to a visual examination, take note of any unexpected smoke or strange smells that are emitted from the scent during burning.
If your candle does not pass its burn test, you may have to troubleshoot some issues in order to get it back up and running correctly. Check for air pockets near where you secured the wick base; if there are air bubbles present, simply run a pin through them until they pop and relight your candle. Another common issue occurring when attempting to achieve even-burning involves fixing an overly long wick. To fix this problem you can try trimming down each wick to ¼-inch before every use; this will help hinder smoking as well as encourage even burning throughout the entire container size of your candle. If neither of these suggestions solves the problem, consider exploring different wax blends or pour temperatures in order to create the ideal candle for you!
Wrapping and Packaging Candles
Branded labels allow you to make your homeade candles stand out from the competition and be recognized by those who purchase them. There are various methods for creating labels. One method is to buy plain label paper, print your logo and text on it, cut the label to fit your preferred size, then stick it to the candle using a glue gun. You can also create labels using tabbed stickers that have adhesive backs. They come in many shapes, sizes, and colors. Other options include printing labels onto special wax-resistant paper that can be used with a wax sealer or hand stamping them with a type of ink pad made specifically for this purpose. Another option is to order custom labels from an online printing service – if you have resources and time available. Depending on the end goal for packaging, choose a method that best fits your needs and produces attractive branded results!
Conclusion
Making homemade candles can be an enjoyable and creative experience. With the right materials and preparations, you can make high-quality candles easily at home. Be sure to always read the instructions for any materials or tools that you’re using and take all necessary safety precautions when making candles – never leave your candle unattended and always follow common sense fire safety tips. The possibilities are endless when it comes to decorating your own homemade candles; whether it’s adding flower petals, stones, or wax sticks, you have the creative freedom to create unique pieces that reflect your personality.

Welcome to my candle making blog! In this blog, I will be sharing my tips and tricks for making candles. I will also be sharing some of my favorite recipes.


