Introduction
Making your own candles at home can be a fun and rewarding experience. There are several reasons why creating homemade candles is worth the effort. Not only are they much cheaper than store-bought candles, but you also get to choose exactly how you want them to look and smell. With a few simple ingredients, you can easily customize the color, fragrance, and shape of your candle, perfecting it until it’s exactly how you want it. Plus, making candles with natural ingredients can provide a lot of therapeutic benefits that come with being creative and productive. Homemade candles give off a cozy vibe and make great gifts as well. There really is no comparison when it comes to the feeling of accomplishment you get when looking at the finished product that is completely tailored to reflect your personality.
Supplies You’ll Need for Your Candle Making Adventure
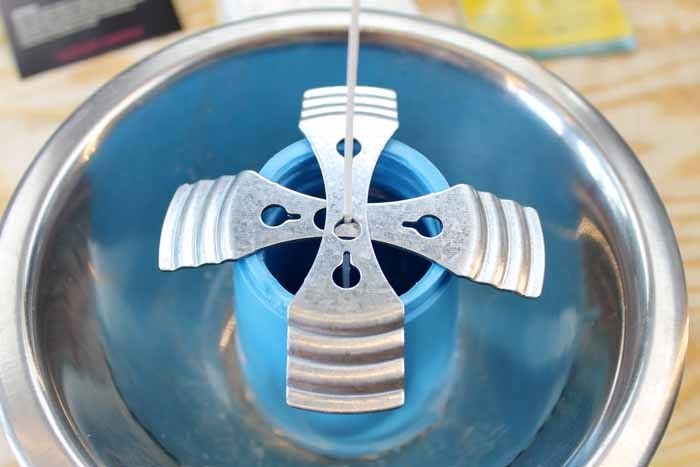
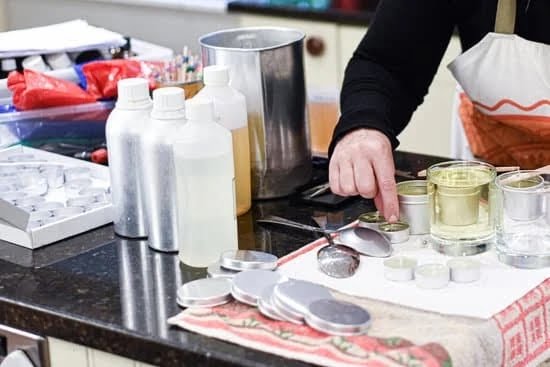
To get started on your candle making journey, you will need a few supplies. These include an electric stove or hot plate, melting containers such as metal spoons and small containers to melt your wax in, wick holders and tabs to keep the wicks upright, pre-tabbed wicks, wax of your choice such as beeswax or soy wax flakes or chips (or even a combination of both!), dye to add color if desired, fragrance oils to give your candles that certain aroma and molds of your choice.
Firstly, you will want to measure out the amount of wax you will need for each type of candle. Be sure to use a kitchen scale for accurate measurements by weight. When it comes time to melt the wax, place the container on your stove or hot plate and stir it occasionally until it is completely melted. If you’re using natural waxes like beeswax or soy wax flakes do not allow them to exceed 200 degrees Fahrenheit!
Once all of your wax has been melted into its liquid form, slowly add in any dyes that you have chosen and stir until they have been evenly distributed throughout. Next, it’s time for that special scent! Slowly incorporate fragrance oils one drop at a time while stirring continuously until you achieve the desired aroma intensity level.
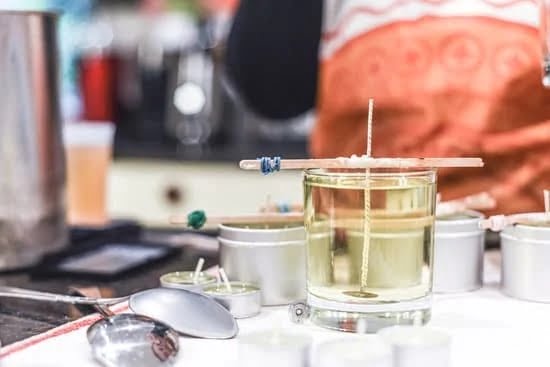
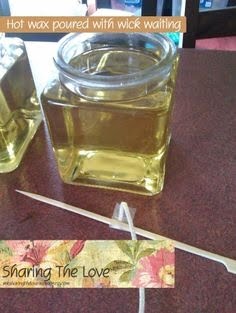
Once all steps have been completed it is finally time to pour! Make sure the wick is secure in the wick holder then fill up each mold with its own unique blend of colors and scents remembering not to overfill them. You’ll want a couple millimeters extra space at the top for shrinkage once cooled. Allow candles to cool and harden for about eight hours before attempting to remove them from each individual mold depending on how thick they are. Finally once cooled – trim off any excess burning material or revealed metal tabs from base, Spruce up with decorative ribbons handles decorations or labels and light away!
Picking the Proper Wax for Your Candles
When making homemade candles, the type of wax you choose to use is a crucial factor in determining the end-result. There are multiple types of wax used for candle crafting and each type has different properties such as melting points, fragrance carry and burn time. Some popular waxes include paraffin wax, soy wax, beeswax and palm wax. Paraffin is a petroleum product that has a low melting point and tends to be one of the cheaper options available. It can be used on its own or mixed with other waxes. Soy is highly popular because it’s clean burning and made from renewable sources. It does tend to have a lower scent throw than some other types of wax though, so many people add essential oils for additional fragrance. Beeswax is all natural but also more expensive; it produces an earthy aroma when burned and works well for container candles or pillars as it naturally holds its shape without any additives needed. Lastly, palm wax is great for layered pillars due to its crystalizing ability which produces stunning patterns when exposed to air movement from the heat of the flame. Experimenting with different types of wax can help you find the best fit according to your desired outcome in terms of therapeutic value or aesthetic appeal!
Clear, Step-By-Step Instructions for Crafting Your Candles
1. Gather your materials: beeswax, paraffin wax, wick, pouring pot, and glass holder/container for the finished candles
2. Measure out the desired amount of wax with a measuring cup and place it into the pouring pot
3. Place the pouring pot over a double boiler on low heat. Stir until melted and reached desired liquid state
4. Add scent or dye to customize your candle if desired
5. Arrange the pre-cut wick at the center of your desired candle holder and tie it securely with a piece of string
6. Slowly pour the hot wax into the mold or jar being sure to fill all corners evenly
7. Allow to cool for 1-2 hours before trying to move in order to prevent breakage
8. Trim all exposed wicks down after they have cooled so they are even with the top of your candle
9. Enjoy your homemade candle!
Pro Tips to Get the Best Results
1. Choose the right wax: The best wax for making candles varies depending on what type of candle you want and how much time you have to make them. The most popular types of wax are beeswax, paraffin, soy and vegetable wax. Each has its own benefits and drawbacks, so researching each type is recommended before choosing the right one for your needs.
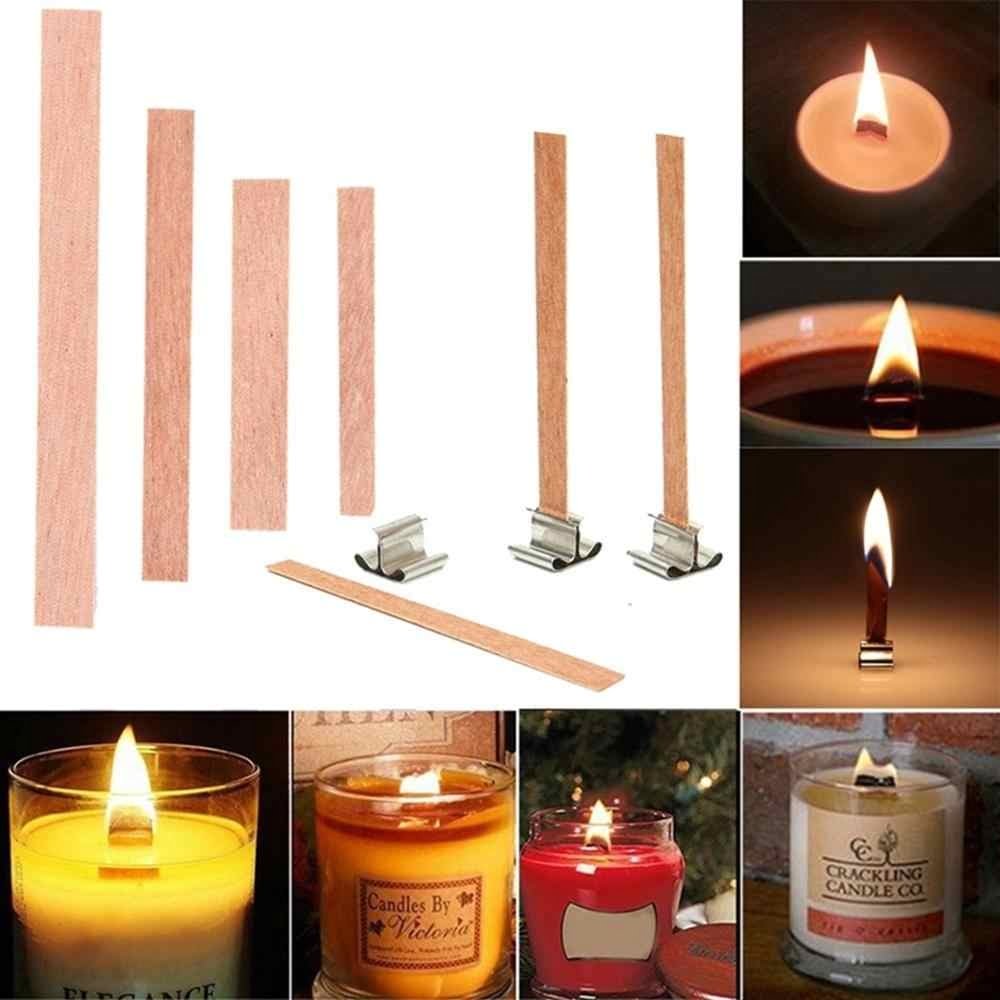
2. Prepare your wick: The wick will be the backbone of your candle, so it’s important to consider the wicking material (cotton, paper or synthetic), size of the wick, length of the tab and if any special treatments are needed for certain types of wax. If you’re new to candle making, it’s best to stick with a pre-made wick as they come with all these details taken care of.
3. Measure correctly: Always measure the amount of wax and fragrance oil required in separate containers using a kitchen scale; this will help ensure that these ingredients are combined correctly without wasting either one.
4. Combine ingredients quickly: Once everything is measured and ready, you’ll need to combine the melted wax and chosen fragrance quickly since different scents react differently when heated together.
5. Keep an eye on temperature: Temperature plays an important role in getting great results when making candles ” too hot or cold can result in poor quality or cracked candles due to uneven temperature inside or outside layers of wax melting around each other which can expand at different rates as they cool from the flame used when melting them together within 1-2 minutes at maximum heat before pouring into moulds or jars with proper pour points already set up accordingly allowing for equal settling & curing times before opening each container up for cleaning & neatening off each finished product accordingly with lids & labels added completes by now!
Creative Ideas to Enhance Your Candle Art
Adding decorations to your homemade candles can really make them stand out. For example, you could use different colors of wax for a more colorful look. Also consider adding small items like glitter, dried fruits or herbs, seashells, beads, scrubs and other decorative embellishments. These items can add texture and help create a more interesting candle design. You can also shape your candles into fun designs such as stars or spirals by using a mold before they fully set. Some great aroma options to add in would include essential oils that match the decor of your room as well as some spices like cinnamon or clove. Adding a wick is important too! There are various sizes of wicks available so make sure you use the right size according to the diameter or width of your candle. And finally don’t forget to tie a ribbon around your completed homemade candles too – this adds an elegant touch and helps dress them up.
Mistakes to Avoid When Making Candles
When making homemade candles, there can be some common pitfalls that should be avoided. Firstly, when melting wax, be sure to closely monitor how hot the wax becomes and never turn up the heat too high as this can cause burning or deformation of the candles. Also, be sure to not try and force-pour the melted wax into molds by pouring it a little bit at a time instead. Uneven pouring can result in lumps or bumps on the finished candle so take your time and use care when doing this step. When adding colorants or fragrances, take special care to measure accurately; too much of either can have negative consequences for the end product. Finally, be vigilant in ensuring that your work area is kept clean – spilling melted wax onto other surfaces may cause damage and create more work for you in the long run!
Conclusion
Making homemade candles is a great way to give your home a unique and pleasing look or aroma. Through careful planning and research, you can create beautiful, unique pieces of art that will be admired by everyone who visits your home or sees them in your store. By creating thoughtful recipes for special occasions with spices, herbs, and scents of your own choosing, you can give each candle a touch of originality and uniqueness. You do not need to go out and purchase the materials for making candles”just get creative. Collecting recyclable items from around your house or from nature such as birch bark cylinders, wicker baskets, old sauce cans, wax tablets, pine cones, seashells, etc., will help you to make stunning homemade containers for your creations without having to purchase containers.
Making homemade candles can serve as an empowering experience because it allows you to be creative and bring out the best in yourself when crafting something personal and meaningful. Whether it is lavender-scented votives presented at a summer party or star-shaped tea lights given as gifts during the holiday season, by crafting personalized candles you can provide loved ones with sentimental memories that will last well beyond those special occasions. Furthermore, the aroma of handmade candles evokes feelings of relaxation which can turn any seemingly mundane activity into an enjoyable event! Crafting custom candles may require some patience but with consistent practice ” you will create enchanting pieces soon!

Welcome to my candle making blog! In this blog, I will be sharing my tips and tricks for making candles. I will also be sharing some of my favorite recipes.

