Introduction
Making your own candles at home affords you a level of personalization not otherwise available. There are numerous benefits to making homemade candles. Firstly, when you make your own candles, you get to pick the scent, color, and type of wax that goes into it. This way, you can make sure it satisfies your needs perfectly. Aside from getting the exact product you want, DIYing also means that you save some money along the way. On average and depending on the ingredients used, making a candle will cost half of what store-bought options would for a similar quality. Furthermore, you can add additional scents or decorations such as dried flowers or glitter as desired to further customize and enhance the look of your creation. From an environmental standpoint it also makes sense to buy local ingredients as this helps reduce transport-related emissions associated with production and delivery of store-bought products. Another advantage is that when making homemade wax melts or container candles, you don’t need to use dyes or synthetic fragrances – unless desired -as these may contain chemicals released when burned (although often in trace levels). Lastly, there is an artistic satisfaction that comes with crafting something with your own two hands!
What You Need
1. A thermometer: You will need an accurate and reliable thermometer to ensure that the wax you are melting is at the right temperature. This is important to keep track of when making candles as the temperature must be just right for a good burn.
2. Wax: The most common type of candle wax is paraffin, which has many beneficial properties and can easily be found in any craft store.
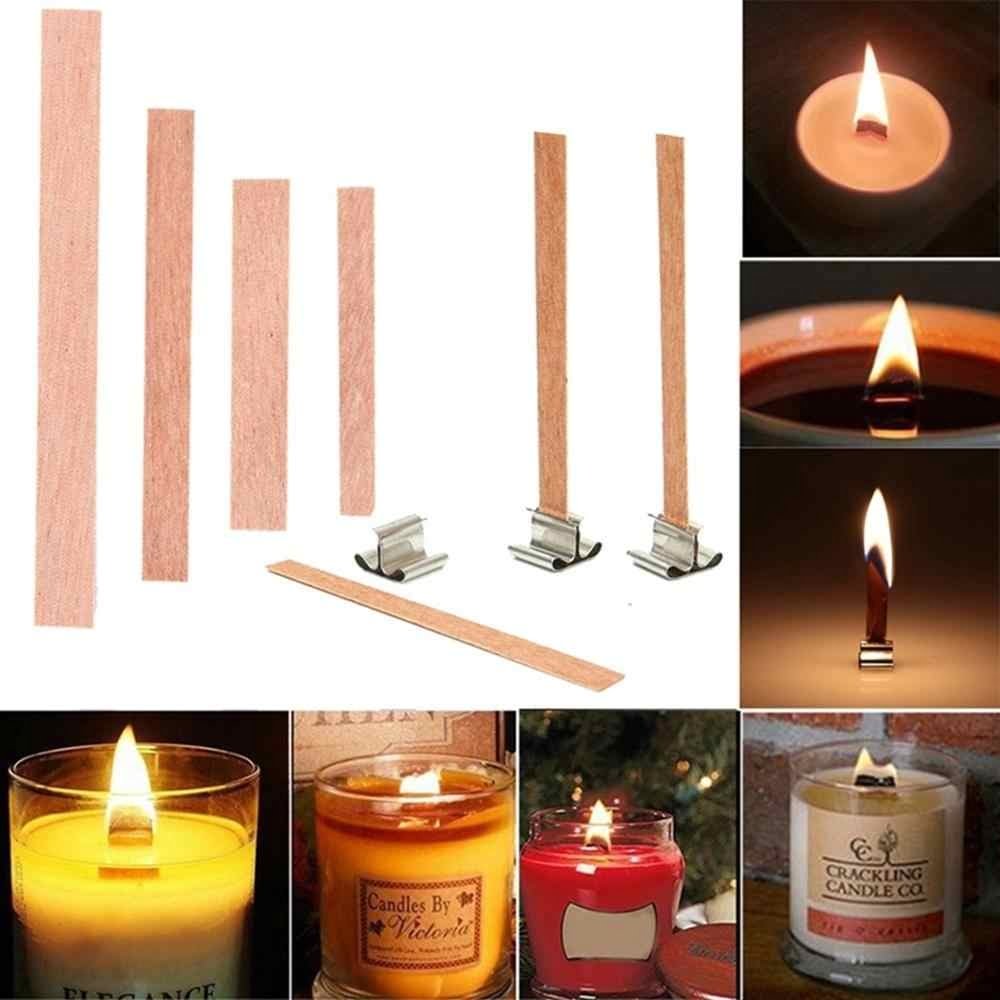
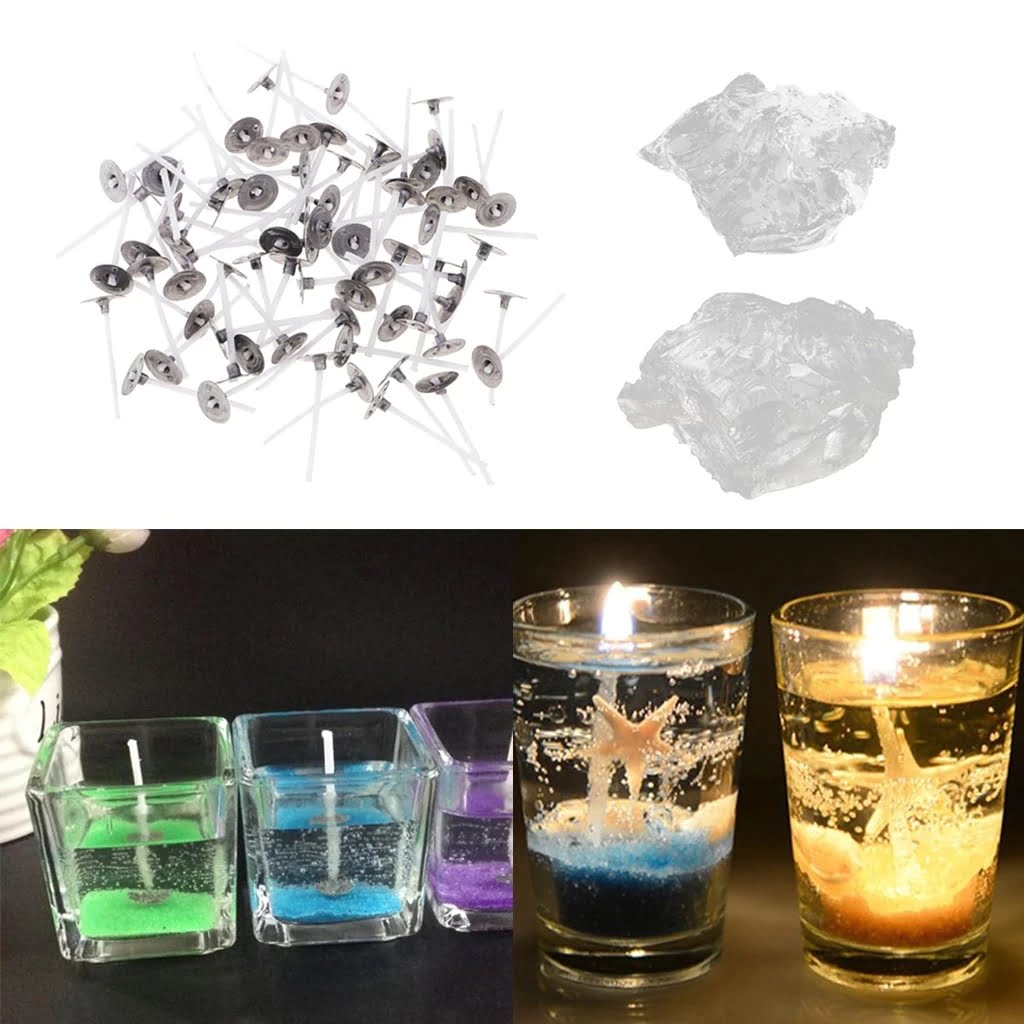
3. Wicks: You will need a large selection of wicks to choose from as different wick sizes accommodate different types of candle molds, different temperatures, and burning rates.
4. Molds: Candle molds come in various shapes, sizes and styles to create novelty or traditional looking candles – like pillars and votives.
5. Fragrance oil: If desired you can add fragrance oil to your candles to create a pleasant scent when it’s lit up or just simply use beeswax for an all natural aroma-free candle.
6. Dye chips: If you want to colour your candles then dye chips are great for this purpose as they melt with the wax without altering its quality or consistency allowing you to make colourful creations!
7. Safety equipment: When working with hot melted wax it’s essential you have safety equipment such as work gloves, safety goggles, long sleeves etc., so ensure you have these on hand before starting your project!
Preparing the Candle Molds
Before you begin making your homemade candles, you will need to properly prepare the candle molds. It is important to take into consideration that wax can stick easily to resin-based materials, and that any leftover residue in the mold could contaminate the wax you pour in and make it more difficult to remove when finished.
When cleaning the molds, it is best to start with a simple soap and water solution. Make sure all of the sides are properly rinsed out with warm water and use a soft bristled brush if necessary. If there is any stubborn debris that proves difficult to remove, try using an old toothbrush or cotton swabs with a bit of rubbing alcohol to help loosen it. It may also be helpful to use milder solutions such as vinegar and lemon juice for metal molds or vinegar and baking soda for silicone molds.
Once your mold is clean and dry, there are a few prepping steps you should do before pouring your wax. First, lightly coat it with oil or petroleum jelly on all parts that will come in contact with hot wax in order to prevent sticking. You can also spray it with electrical release if you plan on using tinned metal containers as this will help make removal easier once cooled. Lastly, check for any imperfections like dents or dust particles which may interfere with a smooth finish on your candle; this can be done by filling each cavity up halfway with cold water then tilting it back and forth until you notice any movement due to trapped air inside the mold cavities.
Melting and Coloring the Wax
Types of Candle Wax
There are many types of wax that can be used to make candles, including natural waxes like beeswax, soy wax and paraffin. Each type has its own properties and considerations when working with these waxes. For example, beeswax is known to have a slight honey fragrance while soy wax has a softer texture than paraffin. When selecting the best wax for your needs, take into consideration how long you want the candle to burn and the desired ambiance it will create once lit.
Measuring and Melting Procedures
When learning how to make homemade candles, one important factor is learning how to measure and melt the wax. Once you have selected the ideal type of wax for your candles, you will need containers such as pots or double boilers in order to safely heat and melt the wax. Keeping records of crucial measurements such as temperature and quantities can help improve your process each time you make another candle.
Adding Colorants
Colorants can help create customized candles tailored to specific tastes or occasions. To achieve different degrees of coloring, use bits of crayons along with fractionated coconut oil or beeswax bars colored with dyes featured in candle making stores. If adding scent is desired, this too can be accomplished through using essential oils as well as complementary perfumes or fragrances available at most craft stores.
Adding Scent
The next step in making homemade candles is to add the desired scent. Fragrant oils not only create a pleasant smell, but they have a great impact on the sensory experience of quality candles. The type of wax and fragrances used can influence the performance of the candle and its overall aroma. Every oil has its own characteristics, so it’s important to understand which oils are ideal for your type of candle.
When looking for fragrant oils for your homemade candles, you want to look for essential oils specifically designed for candle making. It’s also important to pay attention to how much fragrance oil you’re adding as too much or too little can affect how well the scent performs in your finished product. Generally speaking, 3 – 5% of a wax blend when using essential or fragrance oils is recommended.
When measuring and blending different scents, it’s important to do some trial testing first before making large batches. This will help ensure that you get the right concentration and balance of ingredients without wasting any material. A good strategy is to mix up small batches with different ratios to see which ones perform best. This can be done using either grams or milliliters as measurements depending on which works better with your recipe/formulation setup. Once you’ve found the right combination, then it’ll be easy for you to replicate in larger batches.
Pouring the Wax
Making homemade candles is an enjoyable, creative and rewarding process. To ensure that your homemade candle turns out in the best shape possible, it is important to practice proper techniques when pouring the wax. Proper pouring can prevent overspray and air pockets from forming on your final product.
To reduce overspray when pouring the wax, keep a steady hand and pour at an even speed. It’s best to start from higher up and slowly move your pouring vessel closer to the container or wick as you continue pouring – this will prevent splashing of melted wax around the edges. Once all of the wax has been poured, it’s also helpful to gently bang or tap down the sides of your candle mold once more to settle any leftover air pockets.
You should also be thoughtful when filling in with multiple levels or colors while creating multi-layered candles. A common mistake here is that each layer should be completely cooled before adding the next – otherwise you may not get clear separation between layers due to the heat melting them together. To avoid this issue, make sure each layer has totally cooled off before adding subsequent layers onto it.
Finishing
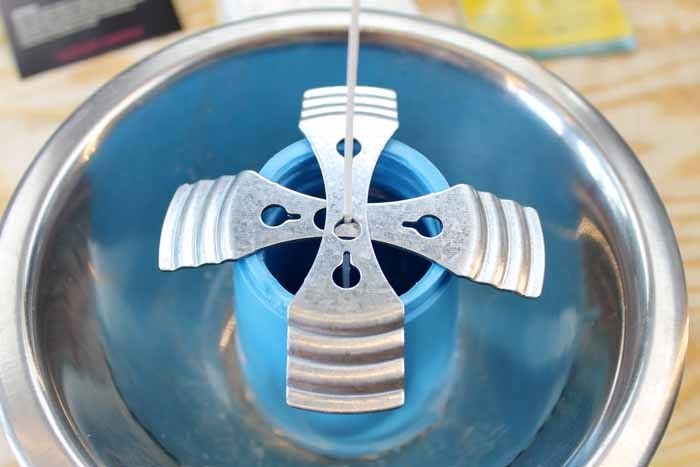
Adding the Wick: To add wicks, start by preparing a wick sticker or a glue dot tab. Using tweezers, place the tab on the bottom of your candle jar, then use needle-nosed pliers to press down firmly and create an even seal. Carefully insert the wick in the center of the sticker or tab. Make sure the top remains centered when releasing it from your grasp (otherwise it will become crooked).
Candle Labels: Candle labels make for a great added touch to any homemade creation. Place a temporary label on each candle with basic information such as scent and burning time. Creative labeling choices are clear cellophane (plastic) bags with personalized tags or a small piece of decorative paper tucked into the jar’s opening.
Toppings: Putting finishing touches on candles is optional but can add to its look and appeal. Some topping options include dried flowers, rose petals, colored bath salts, glitter and small shells. All types of toppings should be applied after burning instructions are added to prevent it from getting lost in transit or storage.
Best Practices for Safe Burning: Always practice good candle safety when lighting any type of fire in your home. This includes setting aside plenty of space between candles for air flow so that smoke does not get trapped in one area; trimming candle wicks before relighting them; never leaving lit candles unattended or near combustible items like clothing; burning only indoors away from drafty areas; being aware of flammable materials nearby; and using an appropriate size flame that is not too large nor too small.
Advanced Techniques
Creating a custom finish for your homemade candle is a great way to make the object stand out. There are several methods available to make lectures or textures that can customise the look of your candle. Firstly, you can roll and pressure roll the candle in waxes, pigments and glitter for an interesting swirled effect. Secondly, using dipping techniques to layer colour can add depth to the finished product. Thirdly, you can use a wick corer tool to put indentations onto liquid candles while they are still warm and in their liquid form. Finally, you could craft detailed designs onto the surface with sculpting tools such as stamps or carvers while they are solidifying so they harden into place without smudging. Using different waxes such as beeswax or paraffin will help you achieve different results so it is important to experiment with various materials until your desired outcome is achieved.
Troubleshooting Tips
Making homemade candles may be a fun craft to do, but it can also be quite tricky. If you’re having trouble getting your homemade candles to look and smell the way you want them to, there are a few troubleshooting tips that can help get your candle making projects on track:
1. Wicks Too Short – If your wick isn’t long enough, it won’t be able to transfer heat from the flame generated by burning fuel. As a result, this will cause an uneven burn. To fix this, use a longer wick or try using a different type of material such as jute or cotton yarns. You can also increase the number of wicks in the candle if necessary.
2. Wax not Pouring correctly – If your wax is too thick or doesn’t seem to pour correctly, it’s likely due to its temperature. When dealing with higher temperatures than what’s recommended for a specific wax, it can make it more viscous and hard to pour out of the container it was melted in. To fix this issue try cooling down the wax and giving it some time so that its viscosity decreases before attempting to pour again
3. Fragrance not Releasing from Candle – The most common reason why fragrance oils don’t release properly from candles is because they weren’t mixed properly into the wax mixture when being created. When adding fragrances you should always mix them thoroughly before pouring them into their container so that they’re more evenly dispersed throughout your candle’s wax layer for better scenting results.
4. Uneven Burn Pool – When pools of liquid wax form at random places along your candle sides instead of forming in straight burning lines from the edge of the container inward then there could be issues with your wick tab’s positioning inside the mold or tin holding your wax mixture resulting in too much liquid building up on just one section rather than an even spread around its circumference
Conclusion
You have just finished creating your homemade candles. Now you can showcase them in your home by creatively designing and displaying the candles. One idea for displaying your homemade candle is to use a special ribbon or twine to hang it on an ornamental wall hook. Alternatively, if you crafted multiple candles, then use individual glass jars, tealight holders or candlesticks that create a unique centerpiece arrangement. Additionally, add personality to the design by spray-painting the jars with white or pastel colors like blush and mint green. You could also personalize the candles even further by writing inspiring messages and quotes directly onto the sides of each candle with permanent markers of different colors. Finally, complete your custom look with intricate decor pieces such as rose gold wire stars sprinkled around for extra visual appeal.

Welcome to my candle making blog! In this blog, I will be sharing my tips and tricks for making candles. I will also be sharing some of my favorite recipes.

