Introduction
Making homemade candle wax is a great way to save money and learn the craft of candle-making. With some simple ingredients and supplies, you can create unique, fragrant candles which make the perfect gift or decorations for your home. Not only that, but you will have total control over the type of wax and fragrance used in your creations; allowing you to customize your finished product exactly how you want it.
Using different types of waxes such as beeswax, paraffin, or soy wax as a base, you can create a wide spectrum of different kinds of candles. Depending on the environment and purpose of your candle, it could be made from a variety of wicking materials (such as cotton or hemp) that yield different burning properties. You may also incorporate other additives like fragrances (essential oils or synthetic), dyes, herbs and flowers for various effects. Which for instance could be to help add retention to the scent when burned or special shapes like pillars and votives with decorative imprints. Finally, finishing touches such as adding an innovative double-wick system can help ensure even burn time while creating beautiful soft light.
By being creative with these combinations, you can make all sorts of candles at home ” from joyous scented candles utilizing essential oils to colorful pastel scented party favors ” making homemade candle wax is versatile and rewarding!
What You Need
Making homemade candle wax is an easy and fun project for those looking to get creative. To make your own candle wax, you will need: a double boiler, 1 pound of beeswax (local craft supply stores or online), 3-4 ounces of paraffin wax (most grocery stores or online), 1.5 tablespoons of synthetic vybar (found in most craft stores or online), and a mold of your choice. If you don’t have a double boiler, you can improvise by using two large pans – one smaller than the other – and fill the larger pan with water. Place the smaller pan in the larger pan and heat over medium heat. Put the bee’s wax, paraffin wax, and vybar into the top pan – stirring as it melts. Once melted completely, remove from heat and pour into the mold. Let cool until firm before removing from mold. You now have your own homemade candle wax to make all sorts of projects with!
Preparing the Wax
1. Gather the wax ingredients needed. This will depend on the desired color of your candle, but most recipes call for a combination of beeswax or paraffin and either vegetable oil, petroleum jelly, or stearic acid.
2. If you’d like to have scented candles, consider adding essential oils or fragrance oils during this step. Use about 10-15 drops for every pound of wax used.
3. Measure out the wax ingredients into a double boiler and melt them together over medium heat until everything is completely melted. Stir constantly to prevent any burning or scorching of the wax mixture.
4. Once everything is melted, add the dye chips or liquid dye colorants of your choice and mix well until it takes on a uniform hue throughout the melted wax mixture. Additionally, mix in your fragrance oils or essential oils if adding any at this time.
5. After that, you’ll need to calculate how much wax is required to fill each container you plan on using for your finished candles ” multiply the diameter of each container by itself, then multiply that number by 3 ½ & divide it by 4 (πxr2 ÷4); use this as a guide for pouring enough wax into each container for your candles without spilling over onto any surfaces around it when lit!
6. Once ready, carefully pour the warm liquid wax mixture into prepped and prepared candle molds; ensuring they’re placed away from direct sunlight or drafts while cooling off and hardening overnight before removing them from their molds or containers; store them in cool dry places away from direct sunlight when not in use!
Making the Wicks
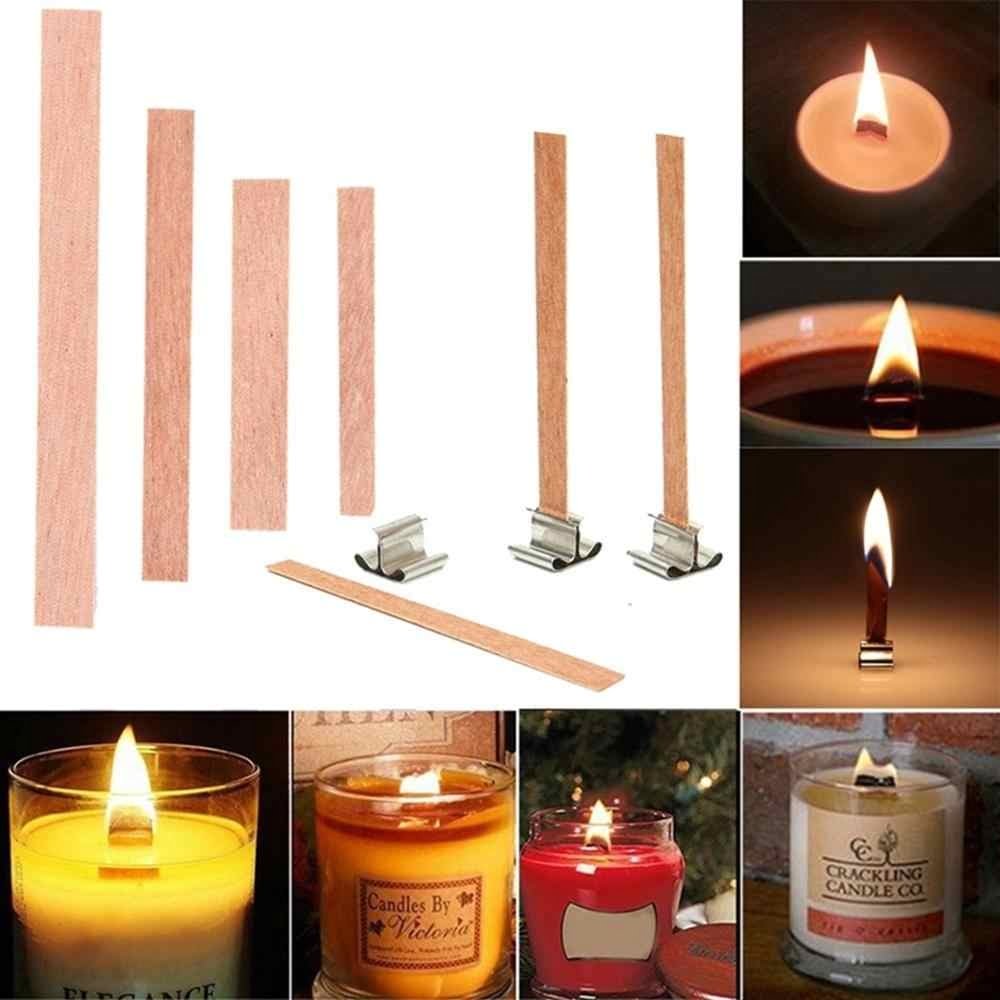
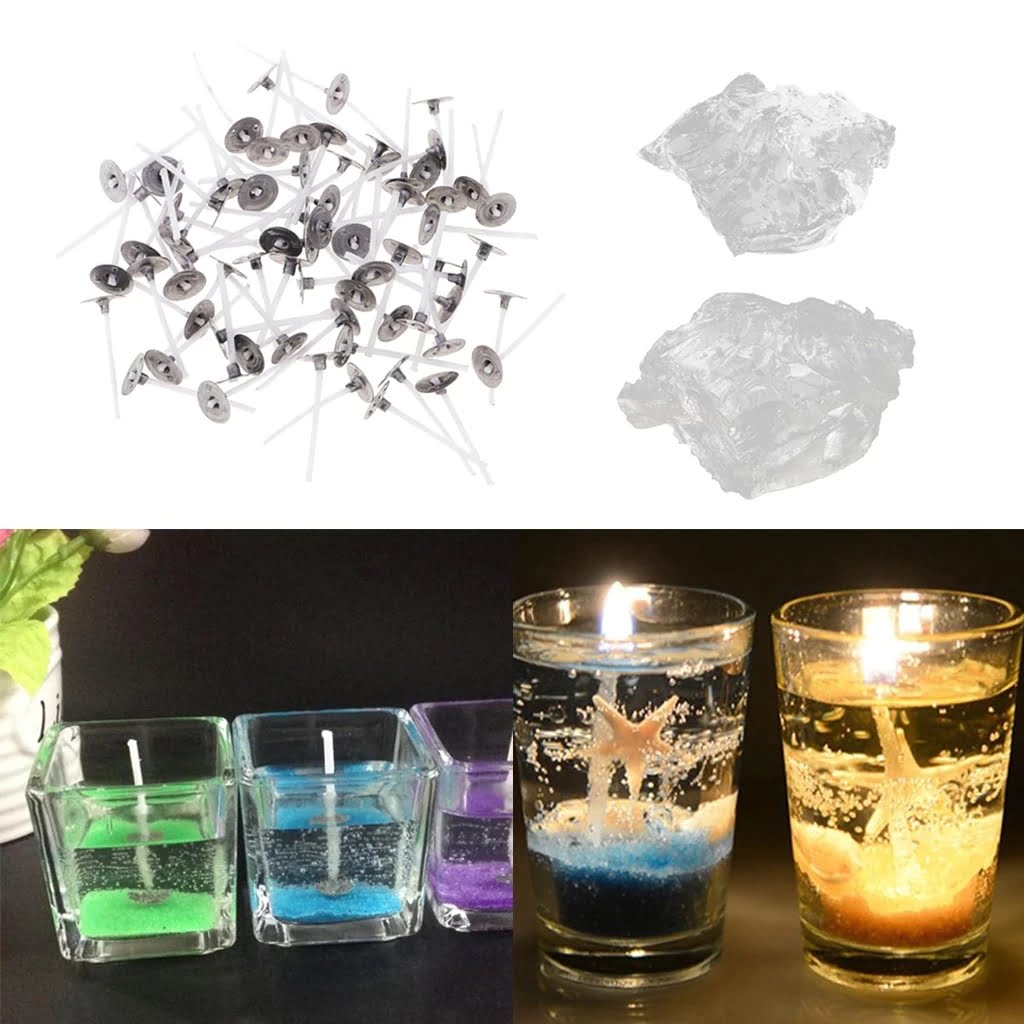
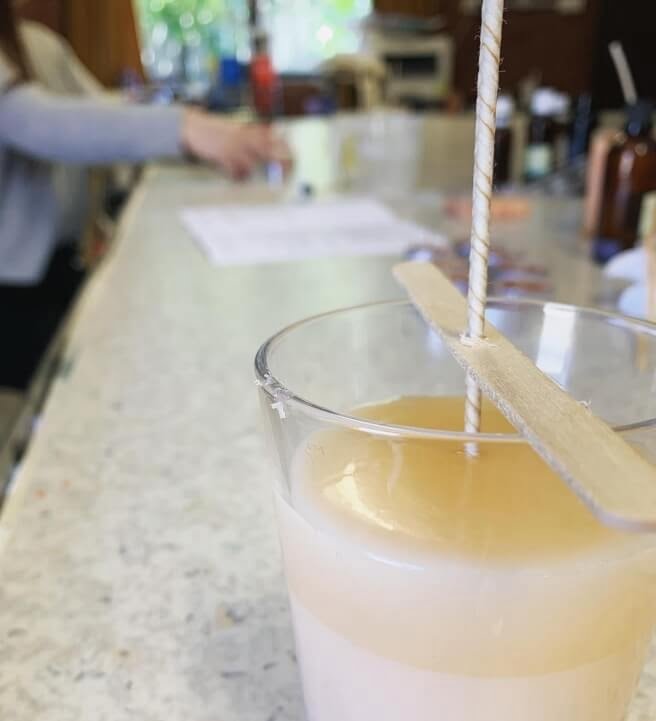
When it comes to making your own homemade candle wax, the most important part is assembling the wicks. Wicks come in many different varieties and selecting one that best fits your needs depends on the type of candle you are making. An important factor to consider when making candles is the size of wax you’ll be using. The size of the wick should correlate with this parameter. Using a too small wick can result in an underperforming candle while a too large wick could cause smoke and inefficient burning caused by an overly energetic flame.
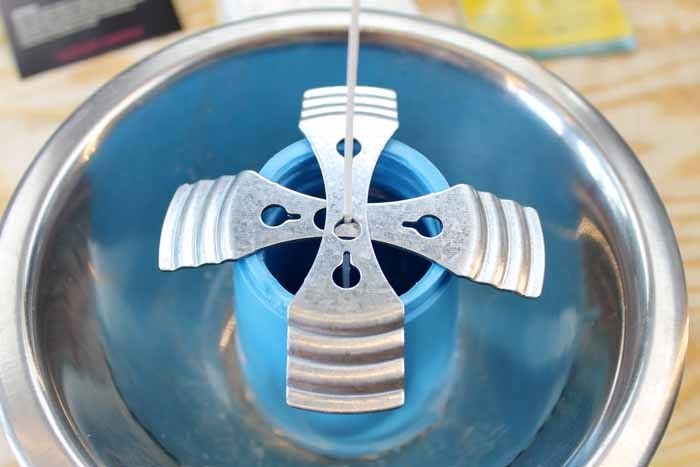
Metal core pre-tabbed wicks are a tried and true option for candle makers. They feature a base made from braided cotton encased in metal designed to provide strength and rigidity, allowing it to stand tall without being held in place. Candlewick is another popular option for DIYers ” it burns fairly quickly, but produces less smoke than other types and is ideal for medium-to-large size candles without requiring tedious maintenance or frequent relighting.
Despite which type of wick you use, once you’ve prepared and secured them into your wax molds, make sure to trim their length and shape them with a scissors so that their flames can access just enough air while burning. To help ensure they remain secure while burning, some people opt to tie extra strings around them like mini parachutes as long as there’s no risk of obscuring up your melting pool.
Pouring the Wax
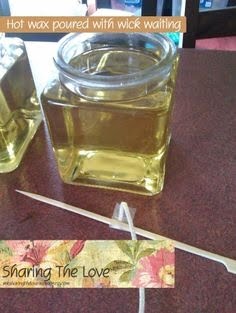
When pouring hot wax, use an exceptional amount of caution. Wax is very hot, so be sure to wear protective gloves and eyewear and use a pot holder or clamping tool to hold the candle container in place. Begin by slowly pouring the wax around the edges and work your way to the center, ensuring that no air bubbles build up as you pour. When finished, tap the bottom of the container on a non-breakable surface a few times to remove large air bubbles. Allow the wax to cool completely before removing it from its container, which should take anywhere from 1-3 hours depending on how much wax was used. Once set, carefully remove it from the mold by turning it upside down and hitting it until the wax pops out; if necessary, run a thin ruler or other such object around the edge of the mold first to release any stuck spots.
Finishing Touches
Adding creative designs to your homemade candles is a great way to make them stand out from the store-bought versions. Here are some tips on how to achieve unique looks for your handmade wax creations:
1. Use Genuine Molds ” While it is possible to create freeform designs, molds provide an easier, higher quality result and allow you to craft intricate designs most closely resembling authentic store-bought candles. You can also personalize molds by creating your own imprints or shapes from plaster, clay, or silicone rubber.
2. Add Color ” If you want your homemade candle wax to be truly unique and stand out from the masses of white columnar shapes, you should consider adding some color. Natural dyes like vegetable juices can easily be added to melted beeswax for an attractive colored candle. Alternatively, synthetic colors like food dye can be used as well. Just make sure these colors don’t come in contact with fabrics as they have been known to stain whatever they settle on and may cause fading too!
3. Incorporate Scents ” If you want scented candles in addition to colorful ones, then essential oils are a great option. They mix easily into melted bee’s wax and can bring out a beautiful smell when heated properly in the flame of a lit wick. A few drops go a long way so use caution and remember that different temperatures need different amounts of oil!
4. Create Visual Interest – Once the melt has cooled completely, it’s time to get creative with desired visual effects that set your candle apart from others around it; try swirling different colors together or adding some textures like sparkles or glitters for an eye catching shard of light during the oxidation process that occurs when burning wax. There are plenty of materials that could help bring life into the finished product such as glitter flakes, zodiac stones and other decorative features” experiment away until you have achieved the perfect look!
Enjoying Your Candles
Creating homemade candles with wax can be a simple yet rewarding project that allows you to customize perfumes, colors, and shapes. The most popular way to make wax candles is using beeswax, paraffin, or soy-based waxes. The process of making homemade candles requires melting the chosen wax materials in a double boiler and then pouring the melted wax into molds, holders, or containers. Once the candles have cooled and become solidified they can be used as home decor.
Once your candles are complete there are a countless number of creative ways to enjoy them and add ambience to any room in your home. Examples of ways to display and use them include placing low-burning treats on mantelpieces or coffee tables; scented ones next to bathtubs; plus groupings of beeswax pillars along windows and doorways for an inviting touch. You can also float votives in waterfilled glass conatiners for decorative room settings such as dinner tables. For those who love nature displays small tied bundles with bundles of twine hanging from tree branches make an ideal representation for sweet smelling air when lit outdoors on warm summer nights!
Conclusion
When it comes to working with candle wax, safety is always the most important factor. Make sure you have plenty of ventilation and wear gloves and long sleeves in order to protect yourself from any potential burns or accidents when melting wax. We also recommend making your candles in a fire-resistant container like a double boiler in case things get too hot.
Once you’ve mastered the basics of making homemade candle wax, feel free to experiment with different shapes, techniques, and fragrances! Get creative and use various shaped molds when creating your candle wax displays. If you would like to add more color or scent, try adding some essential oils or dyes that are safe for drinking, such as food coloring. Finally, be sure to let your melted wax cool before attempting to take off any forms or display pieces.
As you can see from this guide, making homemade candle wax is fairly easy and accessible for anyone looking for an interesting hobby or fun craft project! With the right safety precautions and supplies on hand, you’ll have no problem creating beautiful and unique candles for yourself or others.

Welcome to my candle making blog! In this blog, I will be sharing my tips and tricks for making candles. I will also be sharing some of my favorite recipes.

