Introduction
Making homemade candles provides a creative outlet that not only gives you the opportunity to express yourself, but is also rewarding in the sense that you can take something that started as a liquid and turn it into something tangible that you can use. The process is surprisingly easy and satisfying, plus once you know the basics, it’s possible to be creative and make a variety of different candles out of them.
Some of the most popular benefits of making your own candles include being able to customize your fragrance, color, and container so there endless possibilities for candles that are both aesthetically appealing and have an amazing aroma. Plus, homemade candles typically burn more slowly than store bought ones which means more time spent enjoying your newly created delight. In addition to these benefits, you can also choose from various types of wax such as soy wax, paraffin wax or beeswax; all of which influence the burning capacity and other attributes of the candle. With this knowledge at hand, you could even experiment with different mixtures for added customization and scenting options. Finally when it comes to containers, although you may have seen small votives or tins ” you don’t have to limit yourself – pick something a bit funky like an old cup or sugar jar or really get wild (perhaps your significant other will appreciate it) by using a coconut shell!
Identify the Materials & Equipment Needed for Candle Making
Materials:
Candle wax (Paraffin, soy, beeswax, gel or a combination thereof).
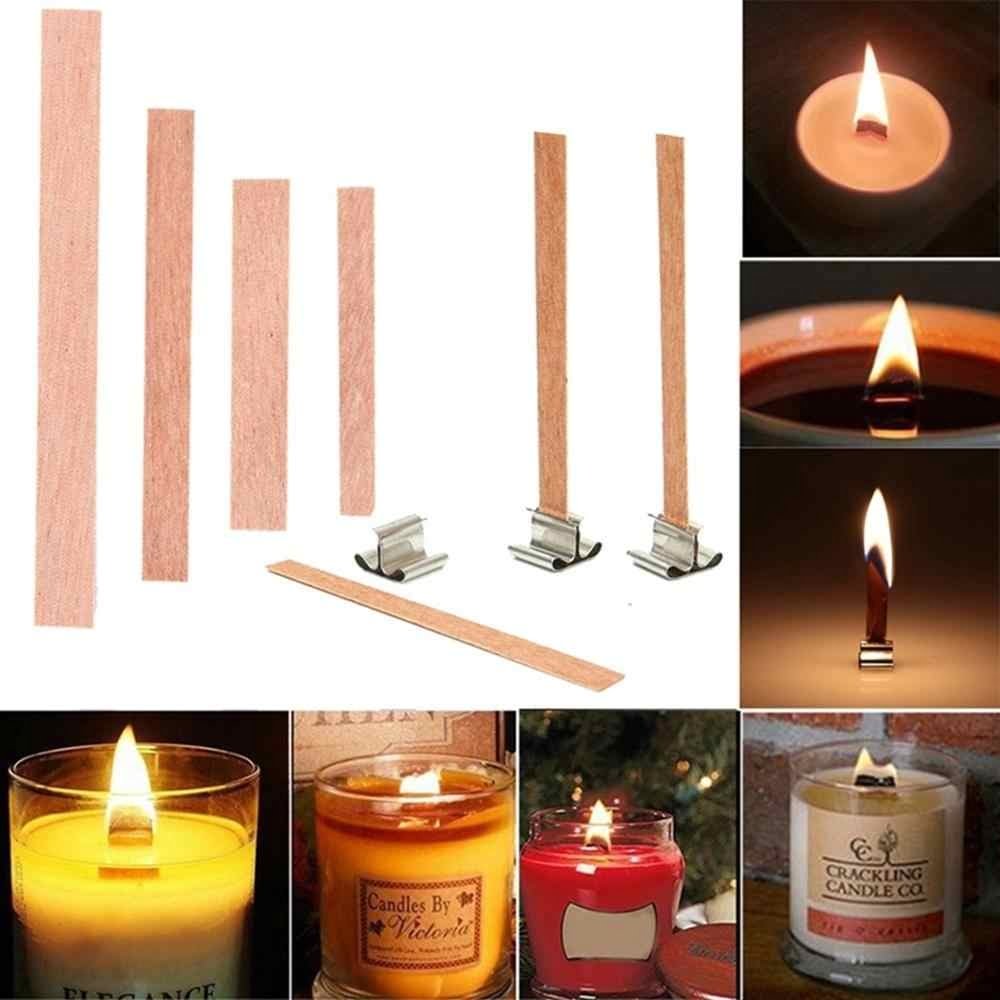
Wick
Colorant (dyes or pigments)
Essential Oils (optional)
Molds or Container for Candle
Glue Dots, Wick Stickers or Wick Bar
Glue Gun with Glue Sticks
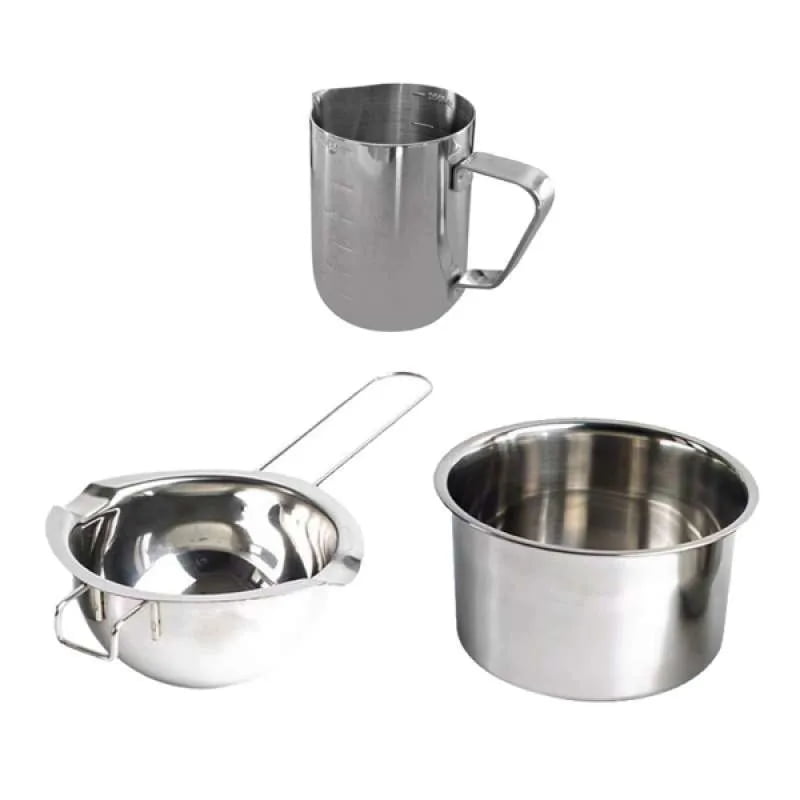
Double Boiler or Microwave-safe Container for Melting Wax
Stirrers/Spoons for Stirring Wax
Thermometer for Checking Temperature of Melted Wax
Equipment:
1. Heat Source – For melting the wax you will need a heat source such as double boiler, crock pot, stovetop pot and electric melting pot. A standard kitchen double boiler can be used to melt wax. Some people prefer to use their ovens with wax placed in disposable containers. However this is not advisable as it could be a fire hazard and there is the risk of contamination from food odors.
2. Measuring Utensil ” This will be used for measuring the amount of wax needed and pouring it into your mold / container of choice. You can use a metal measuring cup, metal pitcher/ladle or plastic bucket depending on the type of mold you have chosen and your preferences.
3. Safety Gear ” When melting wax safety should be at the top of your priority list! Wear gloves while stirring and handling hot melted wax so as not to suffer any burns during the process! Eye protection may also be recommended if you are working in an area where there are potential splashes when mixing colourants into molten wax baths.
4. moulds / Containers ” These will determine what shape candles end up being so ensure you have molds that suit your candle design & preference before starting out with candle making! You can choose from moulds for poured candles like tapers & votives or molds for molded candles such as pillars & tealights etc. Different materials like wood, glass, aluminum can be used to create these molds – just bear in mind that some materials cannot take high temperatures like PVC and Styrofoam which should only be used for embedding objects.
5. Wick Supply ” You’ll want to make sure you bundle up all sorts of wick supply from cotton core wick, pre-tabbed wicks etc that come in various sizes & lengths – depending on which type suits your finished product best! Some wick options even have directions printed onto them so they’re easier to use!
Step by Step Instructions for Crafting Candles from Home
1. Gather Your Supplies: Before you begin making candles, it’s important to have all of your supplies ready so that the candle-making process runs smoothly. Generally, you will need wax (paraffin or soy wax), wicks, molds or containers, colors and scents, a double boiler or pot for melting the wax, a thermometer for measuring temperatures, and safety gear such as gloves and eye protection.
2. Prepare the Wax: Wax should be melted slowly over low heat in a double boiler (or pot). Stir the wax consistently until melted completely – about 10-15 minutes. Using a thermometer to regularly check the temperature is recommended to avoid spilling very hot molten wax (which can burn skin). The ideal temperature range is anywhere between 125 – 145 degrees Fahrenheit; however this may vary according to the type of wax used.
3. Add Color & Scent: If desired, colors and scents can be added to make aesthetically pleasing and fragrant candles. Generally food grade color chips should be used in place of traditional coloring dyes (liquid or powder) as they often leave clumps in finished products. Scented oils are also available to add aroma during total melting of the supplies together ” but only a few drops are needed!
4. Pour Wax into Mold/Container: Next, use a pitcher with spout or ladle pour liquid wax directly into molds or individual containers like jelly jars for unique designs! Make sure not to overestimate container sizes when adding wax because liquids expand as they solidify back into their original form when cooled down completely
5. Secure Wick in Container: Securing wicks is possibly one of the most important steps when creating homemade candles! You can do this by either tying/weighting them at bottom or sticking them onto surfaces with tools such as thermal glue dots or clay prior to pouring which will attach them sturdily in place even after molten has been added and has cooled down again afterwards.
6. Let Cool Down & Remove Excess Wax: After adding the final touches on your carefully crafted creation(s), let cool down at room temperature overnight before removing excess wax from sides (if necessary) using warm cloths that have been blended with essential oils – preferably ones known for their calming effects such as lavender oil!
Techniques to Achieve Uniquely Textured & Shaped Candles
Making homemade candles can provide a sense of accomplishment and creative freedom. There is something truly special about stepping away from pre-made, factory-made candles and creating your own that are full of unique textures, shapes and sizes.
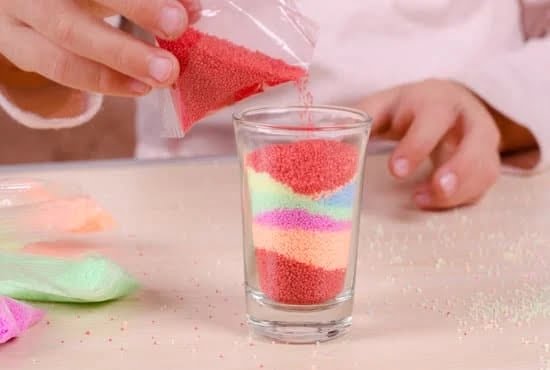
A great way to achieve uniquely textured and shaped candles is through Layered Candle Making. This technique involves pouring multiple layers of wax one on top of the other to create a variety of different patterns. To start, you’ll need multiple containers with a wick in the middle. Each layer will require its own wick, which should be wrapped around a pencil or dowel skewer before being secured into the container. The trick then lies in pouring each layer using the correct temperature to ensure that the wax doesn’t run together yet stays solid enough to hold its shape once it has cooled down. It’s also important to experiment with different types of wax for each layer as this helps add texture to your candle as some kinds of wax melt faster than others. Additionally, you can use liquid dyes or scented oils (essential oils or fragrance oils) when melting your wax for added colour/scent infusion. Layering allows you to create stunning designs and even use smaller objects or items such as buttons, gems or herbs for further decorations which remain embedded into your finished candle product!
Considerations for Tackle Issues That May Arise When Making Candles
When making candles, it is important to consider potential issues that may arise and how to handle them. A few of these considerations include:
• Proper melting of wax – it is important to melt wax on a low and consistent heat. If the temperature is too high, you will burn or discolor the wax which can lead to an inconsistency in your candle. Similarly, if your wax is too cold, you might get clumping or lumping which affects the texture of your candle.
• Controlling Strong Scents – if you are using strong scented oils for scenting your candles, you’ll want to make sure you add just enough. Too little may result in a weak smell that does not linger once the candle has been burned, while an excess amount could be overpowering when lit.
• Wax Pouring Process – controlling your pour speed is also very important when creating homemade candles as it ensures an even burn and helps prevent ash from forming. Move from one end of the container to another quickly and use a low pour angle to avoid getting air bubbles in your candle or missing spots that did not get filled with wax.
• Preventing Mottling – mottling might occur when a large mass of cool unmixed oils release during the burning process and unevenly pool around the flame, leading to blotching on the surface of your candle and poor burning quality. To avoid this, mix all additives fully into the melted wax before pouring into containers.
Ensure Safety During the Candle Making Process
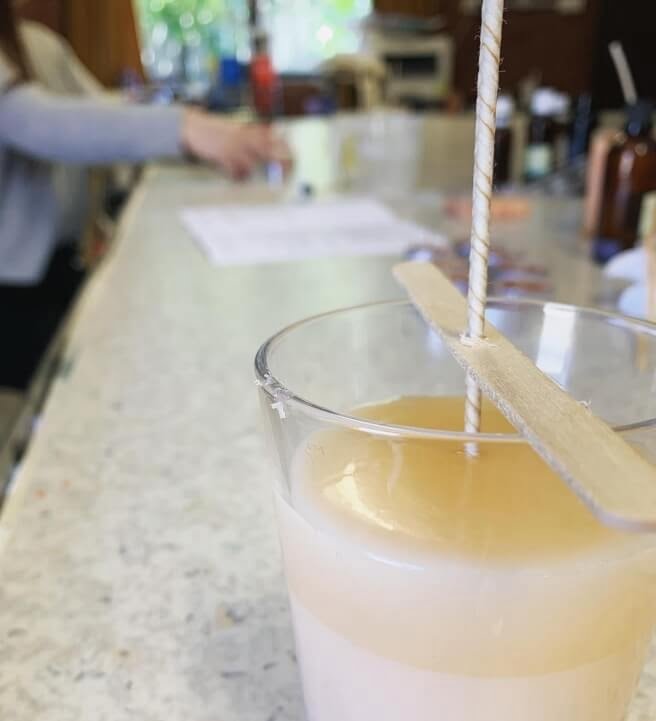
When preparing to make homemade candles, it is important to take all necessary safety precautions before beginning. Wear gloves, protective eyewear and clothes that cover your arms and legs, then ensure an appropriate workspace with no combustibles or flammables nearby. Place the wax in a double boiler and melt it on low heat until it reaches a liquid state. Before you get started, organize all the supplies and materials that are necessary for crafting the candle. This may include wicks, molds (or containers to pour melted wax into), dye, flowers and other decorative embellishments, and fragrance oil. Additionally, you should have something available to use as a stopper once the wick is centered in the mold. This can be done by cutting off straws or using a pencil or chopstick. Lastly, set up an area filled with newspaper where you can work on finishing touches like tying ribbons on the completed candles after they cool. By taking each of these steps into consideration when making homemade candles, you can guarantee a safe candle crafting session for yourself and any helpers involved!
Tap Into Creativity to Develop Unique Candle Ideas & Inspiration
If you’re looking to make homemade candles, the possibilities are endless! You can tap into different aspects of your creative side to come up with unique candle ideas and inspiration. Start by thinking about what kind of style or design you like best. Do you prefer simple, clean lines or bold vibrant color? Are there any special scents or fragrances that appeal to you? Do you prefer traditional waxes such as paraffin or soy, or are you more experimental with butters and other natural ingredients? Once you have a better idea of what type of candle design appeals to you most, it’s time to gather your supplies. Make sure to get high-quality wick and wax that is specifically designed for use in candles. Additionally, having essential oils on hand helps add a pleasant aroma to the candle once it has cooled down. Start by melting your wax in a double boiler according to the manual’s instructions and pouring it into a mould along with the wick. If adding any coloring or additional scenting agents, do so after the melted wax has been poured into the mould and begins to harden before solidifying completely. To take things further and create even more unique designs, experiment with embedding decorative elements like dried flowers or seashells; drizzling molten wax in various patterns; creating layers for an ombré effect; using different shapes of molds; or utilizing metal tins for travel candles!
Summary
If you have ever wanted to learn how to craft your own beautiful and unique candles, here is a simple guide on how to do that.
To begin, you need to gather up the supplies you will need to make your homemade candles. These supplies can include wax (such as beeswax or soy wax flakes), wicks, a container of your choice (such as jars, containers with lids, etc.), thermometer (optional), and candle-making dye or fragrance if desired. If using beeswax blocks, it is also important to get a wax melter as well.
Second, prepare your chosen container for crafting the candle. This might involve cleaning it out thoroughly with soap and water and wiping down with an alcohol-dampened cloth. Many containers work best if the wick is pre-cored into the bottom – use a metal object such as a nail or paperclip to do this.
Third, measure out and melt the desired amount of wax into the container you are using for your homemade candles. If melting in blocks of wax you will need to employ a wax melter; otherwise heat up in short intervals in microwave until melted enough for use. It is important not to overheat!
Fourth – stirring occasionally for even cooling – pour desired amount into the container with the core already placed there beforehand. At this point be sure add in any color or scent additives that you want your candle to contain: stir them into still-liquid wax before allowing them settle at their set-state temperature. Additionally now’s the time when optional thermometer may used measure & maintain cool levels when using liquid dyes/fragrances/other ingredients that require very specific temperatures order preserve their consistency within finished product! Lastly: allow candle cool completely before using it”this could take up 12+ hours depending on surrounding conditions & size of container being used!

Welcome to my candle making blog! In this blog, I will be sharing my tips and tricks for making candles. I will also be sharing some of my favorite recipes.

