Introduction
Homemade candles scented with essential oils are a great and cost-effective way to improve any space. Not only do they allow you to customize the scent of a room, but can also be used as aromatherapy and a beautiful decorative piece. Making scented candles is surprisingly easy and requires minimal ingredients. With more control of the ingredients being used, you’ll benefit from not only a unique and enjoyable scent but also the advantage of knowing exactly what’s going into your candle. Essential oils are known for having physical and emotional wellness benefits, so carefully choosing them can help create the perfect calming atmosphere within your home.
In addition to using essential oils, another great way to add scent to homemade candles is by adding dried flowers or herbs. The key here is to experiment with aromas you enjoy best – lavender, rose petals, chamomile all make wonderful floral top notes when added at the end of wax making process. Herbs like sage, peppermint or rosemary can also give off subtle fragrance when frozen in melted wax. You can also try different combinations of oils for variously intoxicating smells! With a touch of creativity, you’ll be able to come up with your very own personalized blend that fits any occasion or mood perfectly.
Gather the Necessary Supplies and Tools
Making homemade scented candles is an enjoyable and rewarding craft project. You will need the right supplies and tools to make sure the process goes smoothly. Start by gathering all of the necessary items: a wax melting pot, thermometer, candle wicks, soy wax, essential oils, and candle dye (optional). Place these items near your working area since you will be using them throughout the project. After gathering all of the supplies, gather any decorative materials for your candles. This could include scraps of ribbon or fabric to make decorative wraps for each candle or glitter to sprinkle on top. Make sure you have enough materials so each candle looks unique and special!
Step-By-Step Guide to Melting Wax
Step 1: Choose wax – Depending on the type of candle you want to make, you will need to select a type of wax. Some popular options are paraffin wax, beeswax, soy wax and soya wax. Each type has its own characteristics, so be sure to read up on them before selecting the best wax for your project.
Step 2: Melt and prepare the wax – Place the chosen wax into a double boiler or melting pot over low heat and stir until all of the chunks have melted. Be careful not to let it bubble as this can cause damage to your equipment. Make sure that no moisture gets into the pot while melting and keep track of the temperature to ensure it doesn’t exceed 185°F/85°C.
Step 3: Add scent – Once the wax reaches 180°F/82°C, add in 10- 15 drops of essential or scented oil per pound (500g) of melted wax. Mix thoroughly for 30 seconds and then pour into a container lined with parchment paper for safety.
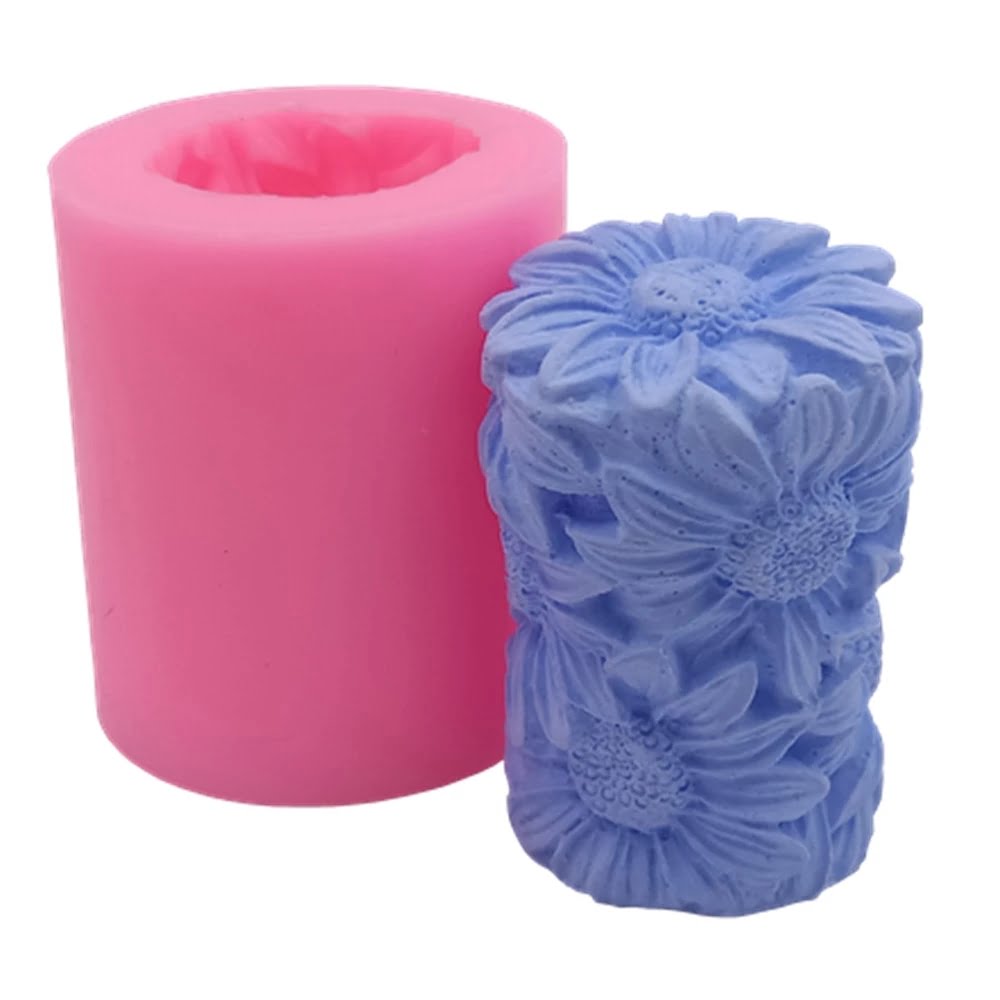
Step 4: Mold candles – Place wicks into each mold, measure out 1 cup (250ml) of melted is not hot enough, your candles won’t have a good scent throw and release their pleasant odors effectively. Allow cooling time and trim off any excess wick from finished candles before enjoying!
How to Achieve Different Strength Fragrances
Making your own scented homemade candles can be an enjoyable and rewarding activity. The key to achieving the desired strength of fragrance in a candle is by using the correct amounts of fragrant oils. Generally, it is recommended to use between 5-10% of essential or fragrance oils for each pound of wax used. This means that for every one pound of wax you will use approximately 1/4 – 1/2 ounce of fragrant oil. A good rule of thumb is to start with lower concentrations of oil and increase incrementally as needed until you achieve your preferred scent throw. You may need to experiment a few times before you find the right balance for your taste. Another option is to purchase melt and pour candle bases that have pre-measured amounts already added into them so there is no guesswork required.
Once you’ve determined the right amount of oil, the next step is to choose a type of oil. Essential oils are made from natural ingredients whereas aroma chemicals are created artificially; both provide different properties in terms of scent longevity, intensity and layers, so consider which type best serves your purpose. If you choose essential oils as your base, it’s important not just to use high quality ingredients but also check their usage guide as some strong oils require more dilution than others do. Additionally, if planning on making multiple scented candles, keep in mind that certain fragrances tend to react with each other when mixed, therefore finding a harmonious blend may take some experimenting too. Finally, be sure that you are using food grade safety approved fragrant oils or ones labeled specifically for candles whenever possible since some products which haven’t been certified can be potentially harmful when burned via heat generated from candles flames.
Techniques for Achieving Desired Candle Color
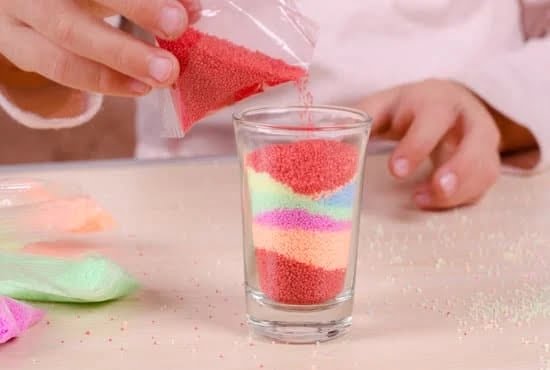
To create homemade candles with the desired color, there are a variety of techniques you can use. One effective method is to add candle dye blocks to paraffin wax while melting. This method allows you to control the shade and hue of the candle color. For example, by adding multiple dye blocks in different hues, it is possible to mix colors such as light green or orange. Depending on the intensity you desire for your finished product, more or less packages of dyes can be utilized in a recipe. Another technique would be using pre-colored wax flakes or pre-colored wax slabs which will not require any additional additives upon melting them down. You may also achieve an array of colors through layering assorted colored melted wax in separate pours as you pour each layer into the candle jar or container until your desired outcome is achieved. Moreover, a variation of natural botanical materials like green spinach powder and petals pressed from various flowers can also be used to naturally infuse muted earth tones within your produce. Be sure to research thoroughly on what materials will work best with your recipe before commencing the process, as certain ingredients may end up affecting how the candle burns and scent when lit!
Correctly Attaching the Wick to Homemade Candles
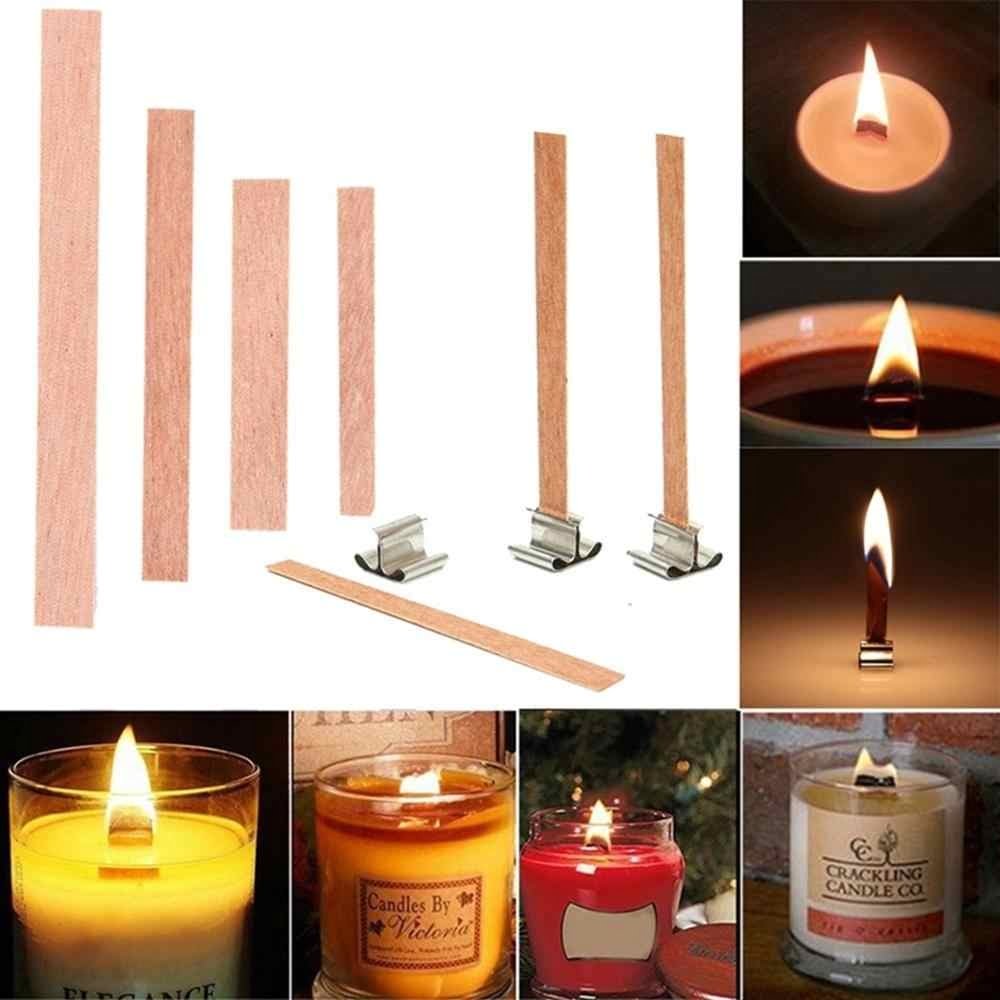
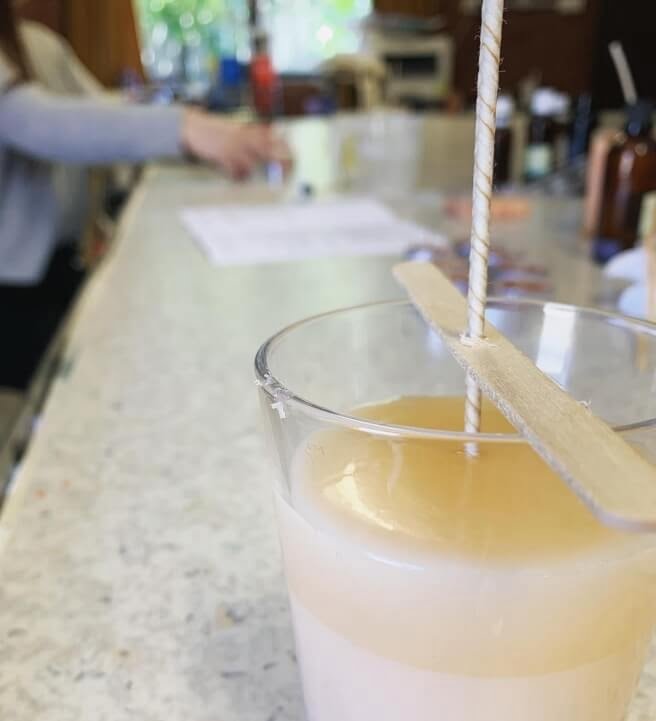
When making homemade candles scented, it is important to correctly attach the wick. The wick may come pre-tabbed or already have a metal washer-type device at its base. If this is the case, it’s as simple as pressing the tab down into the wax or putting the metal washer down into your mold. In either situation, you will want to make sure that the wick is centered and vertical in relation to your mold so that when you pour in the melted wax, it will be properly placed for burning.
If you are using an un-tabbed wick, you can use either a centering device such as a pencil or chopstick that has been created specifically for holding beeswax candle wicks, or perhaps lash it down inside your mold with a piece of tape. Once this is done and your mold and wick are ready to go, carefully melt your chosen type of wax – generally beeswax or soy wax – until it liquefies completely. Then pour it into your mold slowly allowing enough time for any air bubbles present to escape; if any are left behind once cooled this could result in weak points in your candle later. Allow the candle to cool completely before lighting; use a drop of essential oil on each side of the wick anchor if desired for added scent during burning!
Recipes for Popular Homemade Candle Scents
Creating your own homemade scented candles is a great way to make your home smell inviting and cozy. Even better, when you make it yourself, you get to choose exactly what scent goes into each candle! Here are some of the most popular recipes for homemade aromatherapy candles.
Lavender Candle: This calming aroma helps reduce stress and provide a sense of mental clarity. To make your own lavender scented candle, melt 1/4 cup of chopped beeswax in a double boiler over low heat. Once the wax is completely melted, add 2 drops of lavender essential oil for each ounce of wax used. Stir well until the scent is fully incorporated and then pour the mixture into heat-resistant containers or molds before it hardens.
Rosemary-Eucalyptus Candle: This therapeutic blend relaxes with anti-inflammatory eucalyptus and increases focus with rosemary’s brain-boosting scent. To create this concoction, combine 1/3 cup of beeswax pellets with 2 teaspoons of coconut oil in a double boiler over medium heat. Once the mixture has fully melted, add 3 drops of rosemary essential oil and 4 drops eucalyptus oil per ounce used. After stirring together all the ingredients, pour them into appropriate containers or molds while they are still liquid. For additional decoration, think about adding rosemary springs—they look great when you put them near fireplaces or mantles!
For another relaxing recipe, try making an Orange-Lemongrass Candle blend to chase away seasonal blues with its balancing scent! Melt 1/4 cup of honey beeswax with 1 teaspoon coconut oil in a double boiler over medium heat before stirring in 5 drops orange essential oil and 6 drops lemongrass essential oil per ounce used. When everything is evenly combined, transfer the mixture into specific containers or molds; use decorative ribbon or herbs to give them extra flair before leaving them to cool overnight.
Best Practices for Storing and Preserving Candles
The first and most important best practice when storing candles is to keep them away from direct sunlight. The sunlight can cause the wax to melt or fade, and this will ultimately shorten the life of the candle. Additionally, high temperatures should also be avoided because they can accelerate discoloration, softening or warping of the wax. Try to store candles in a dry area with an average temperature between 15 and 25 degrees Celsius.
Humidity is another factor that needs to be taken into account when preserving your homemade scented candles. High humidity levels can cause condensation on the surface of the wax and change its composition. To avoid this issue, try storing your candles in an air-tight container with a loose-fitting lid—to keep oxygenated air out but set aside enough space for any vapor expansion without crushing the wick or damaging the tea light holder. If you are experimenting with scented candles, make sure to choose containers that are non-porous so that scent oils do not leach into & contaminate other items stored nearby. Finally, before burning a candle after you’ve stored it away, trim its wick up to 1/4 inch so that it burns cleanly & evenly just like when it was initially crafted.
Conclusion
Once you’ve made your homemade scented candles, it’s time to show them off. Share your creations with family and friends so that they can appreciate the beauty and craftsmanship of your special candles. If you plan on giving them away as gifts, especially during the holidays or other occasions, then packaging them up in something nice is a great way to share your work with others. You can even add extra embellishments or decoration to dress up the packages such as ribbons, bows, wrapping paper or pretty stickers. No matter how you choose to package them or give them away, it is sure to be appreciated by anyone who receives your beautiful work. Doing something like making homemade scented candles can bring joy not only for yourself but for other around you too. Make sure to keep a few for yourself and enjoy the beauty of each candle burning in your home!

Welcome to my candle making blog! In this blog, I will be sharing my tips and tricks for making candles. I will also be sharing some of my favorite recipes.

