Introduction
Making your own homemade soy candles is a great way to create soothing and beautiful decorations while also helping the environment. Soy candles burn cleaner than petroleum-based candles and are more sustainable, given that soybeans are an agricultural resource that can be regenerated over time. These soy candles smell great and make for an excellent home decor piece. Read on to find out how you can make your own unique soy candle!
Materials:
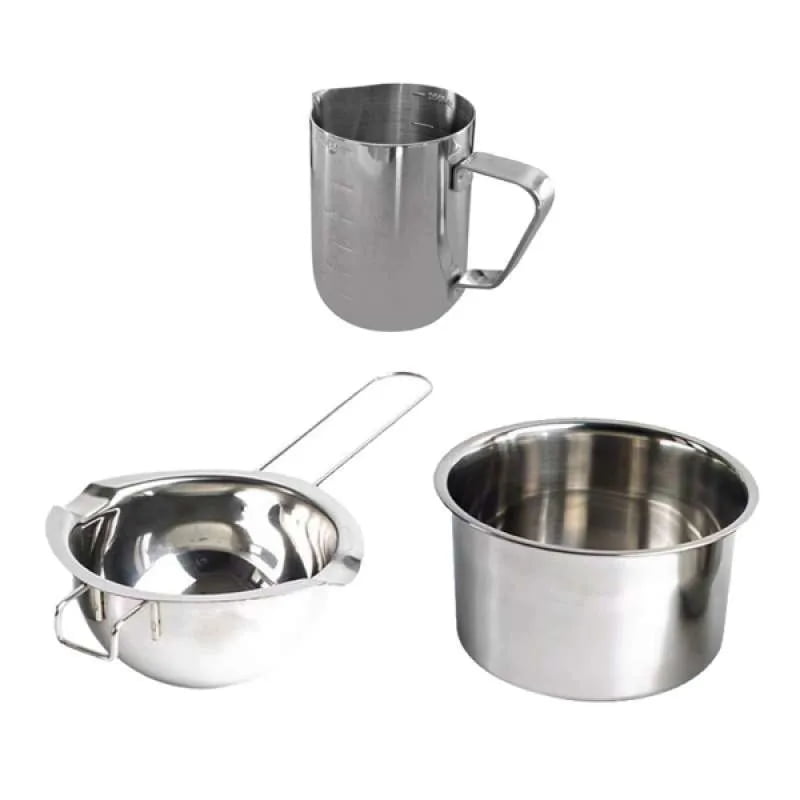
Soy wax flakes, wicks, melting pot, double boiler or microwave-safe bowl, mason jars, essential oils (optional), fragrance oil (optional), old kitchen spoon.
Instructions:
1. Begin by measuring out the wax flakes you need for your candles according to the vessel size you’re using ” your instructions should tell you how many ounces of wax will fill it properly. You’ll want to add 1/2 teaspoon of stabilizer per pound of wax, this ensures that your candle will burn evenly.
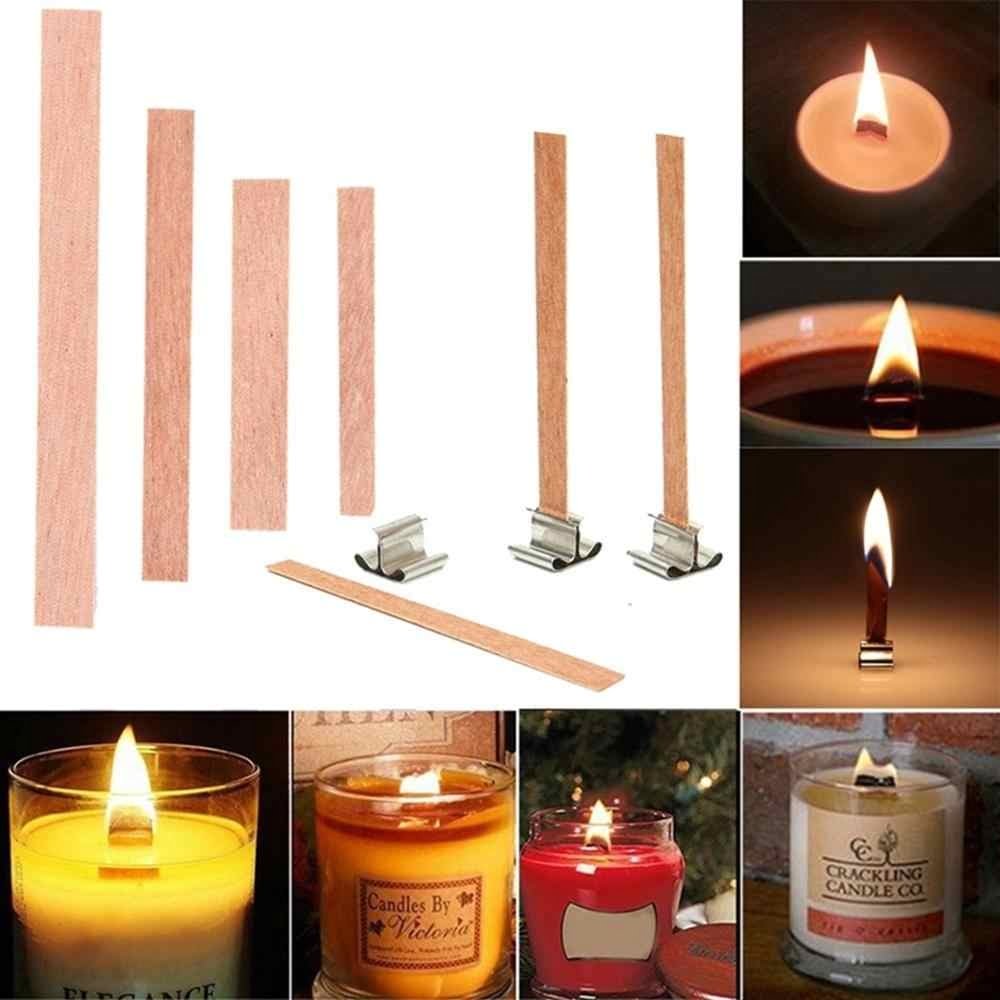
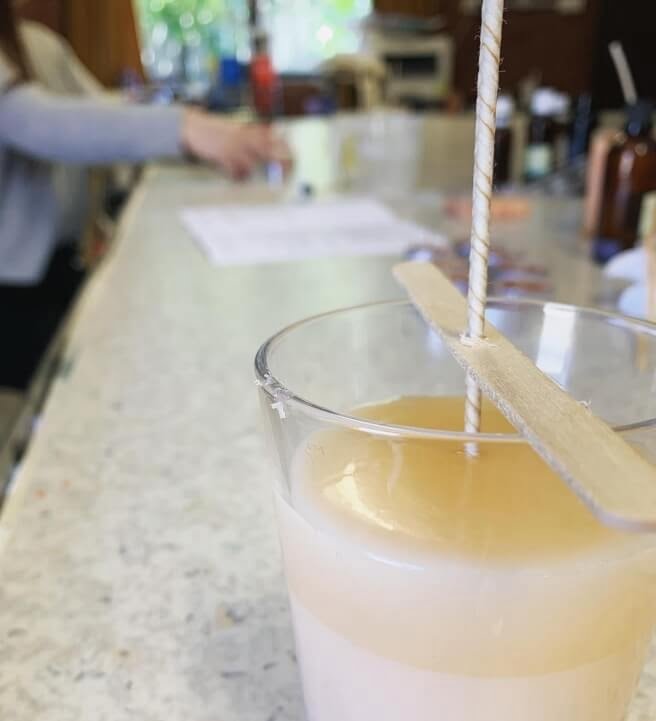
2. Take out the wicks provided in your kit and insert them into the center of the containers or vessels that you’ll use for your candles ” if they don’t stay upright while in the container, use metal binder clips to keep them steady.
3. Place the melting pot or microwavable bowl ” whichever you opted for – onto either a double boiler or in a microwave; once heated up to about 130°F pour in the labelled amount of soy wax flakes and bring it down to around 115°F before adding any dyes or scents into it.
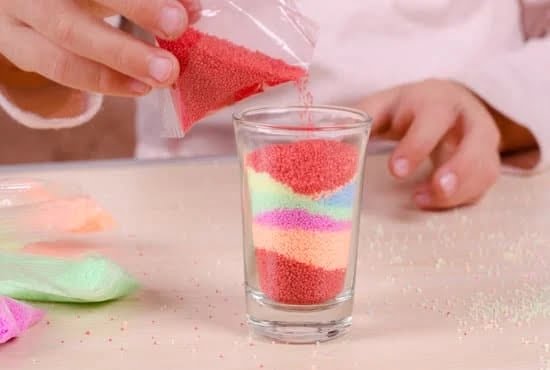
4. Once everything is fully melted together with no solid flakes left transfer its contents onto a large kitchen spoon then carefully pour the hot liquid into each of the prepared mason jars evenly – feel free to get creative with color blends! If desired add 3-5 drops of essential oil for scenting at this stage as well before cooling for 4 hours or so until completely hard again; cover with lids when ready for use!
Gathering Supplies
Making your own homemade soy candles can be a great way to relax and de-stress while creating something beautiful. In order to do that, you’ll need the right supplies. Here is a comprehensive list of everything you’ll need to make a stress-free soy candle making experience:
– Soy wax flakes: These come in different shapes, sizes, and colors so you can mix and match and find just what matches the look of your desired finished candle.
– Fragrance Oil: This essential oil will give your candle its signature smell. Purchase organic fragrance oils for the least amount of irritation on your skin or any allergies you may have.
– Candle making thermometer: This tool is necessary for ensuring that both the fragrant oil and wax reach their optimal melting level for maximum scent-throw.
– Pencil or Nasher Stirrer : A pencil or nasher stirrer will help ensure that all ingredients are evenly mixed together when pouring your wax into molds or jars. Don’t forget to wear gloves as when stirring hot liquid wax it can get scalding hot!
– Wicks & Clips: Make sure to choose wick clips appropriate for soy candles with metal tops to help keep them in place before pouring the hot liquid wax.
– Glass Jars or Silicone Molds: Choose whichever shape and size suits what kind of candle you are trying to make — either glass jars or silicone molds depending on the desired look.
– Saftey Items : For safety reasons, always make sure to never leave burning candles unattended”especially if children are around”so try upgrading tools such as thick oven mitts; long metal pile mixer; safety eyeglasses; thick clothes; an extra large saucepan ;and fire retardant tablecloths when pouring warm melted wax into containers.
Preparing the Soy Wax
The first step when making homemade soy candles is to melt the wax. This can be done using a double boiler or a wax melter. If you are using a double boiler, make sure that the water in the bottom pan does not come in contact with the wax as it will cause it to foam. Heat up the wax until it reaches its melting point, which should take roughly 10-15 minutes. Once melted, allow it to cool down before pouring into your mold or container of choice.
Once cooled, you can add fragrance oil to give your candle a specific scent of your choosing. Fragrance oils should be added before pouring; add roughly one ounce of fragrance oil per pound of wax for a strong scent. You may also opt for essential oils instead; however, they require an additional base oil like coconut oil and significantly more drops than fragrance oils used alone.
An important step when making handmade soy candles is to stir in either a stearic acid blend or vybar after melting the wax and before adding your fragrance oil(s). With stearic acid blends, you need less than 1 oz – between 0.02 – 0.3 ounces per pound of wax depending on desired hardness ” and with Vybar 260 requires anywhere from ¼” ” ½” per lb of Wax (again based on desired hardness). When using stearic acid blends, make sure to allow time for cooling and stirring often so that all lumps dissolve completely before pouring into molds or containers for your homemade soy candles!
Choosing and Measuring the Fragrance
Fragrance is an important part of creating custom soy candles. Not only does it add a pleasant, inviting aroma to your space, but also it gives the candle some personality. To choose the best fragrance for your homemade soy candles, consider what kind of mood or atmosphere you want them to evoke. Combine different fragrances and layering scents to create unique combinations that reflect your own style.
Once you’ve chosen your fragrances ” usually up to 2-3 recommended for a beautiful mix ” measure out 1 oz for each 8 oz candle. Fragrance oils vary in scent strength, so adjust amounts as necessary depending on how strong you’d like your candles to smell. If using multiple scents together, measure out each scent separately so that you know exactly how much of each goes into the candle mixture. For example, with two fragrances, use 0.5 oz of the first scent and 0.5 oz of the second scent. Measure the fragrance oil precisely with a kitchen scale and note down any adjustments you make in case you’d like to use that same combination again in the future!
Setting Up the Wick and Inserting into Container
Soy candles are a safe and stylish alternative to traditional paraffin wax candles. Unfortunately, there are many dangers and obstacles that can ruin the design of your homemade soy candle. Setting up the wick and inserting it into the container correctly is essential for a successful outcome. Here’s what you need to know!
First, you will want to find the right size wick for your container. Using a wick that is too thin or too thick can result in improper burning or even an unsafe hazard. To find the correct size wick, measure across the diameter of your soy wax container and subtract 1/8-inch from each side in order to leave room for the wax as it melts down.
Next, you will need to cut your desired length of wicking material with scissors to fit inside the larger container while being slightly overhanging off both sides. Avoid stretching or putting strain on the material by measuring twice before cutting once. Make sure there’s at least 1 inch of extra space for trimming when we’re all done!
After cutting, fold one side of the cotton twine or other material over each end of an uncoated paper clip on either sides. This will give a small hook-like area which will help secure the wick firmly without sliding around in the melted wax later. Trim any excess twining off if necessary so that you have enough length on each side for just a small bit sticking out so that it doesn’t get lost in the liquid wax when poured in later.
It might take a few attempts before getting everything right, but with practice comes perfection! It’s important to get this part right because not only can it affect how your candle looks after it cools but also how safely it burns while lit (or not). After mastering this step you’re ready to pour away – happy candles coming your way!
Melting and Pouring the Wax
Making soy candles is a fun, creative, and rewarding activity that everyone in the family can enjoy. While it may seem intimidating at first, it’s much simpler than it looks and can be done with just a few simple supplies. Before you get started, here are a few essential tips to keep in mind:
When melting wax for soy candles, temperature control is essential. Soy wax should be melted slowly at temperatures of around 135°F/56°C. This helps to preserve the scent and also reduces dripping when pouring the wax into the mold. If you do not have or do not want to use a thermometer, try dipping your finger in the wax while stirring; if you hold your finger in the melted wax for 10 seconds without feeling uncomfortable heat, then you are ready to pour.
Once your wax has been heated to the correct temperature for a few minutes and any accessories such as scents or oils have been added (if using), you will need to carefully pour it into your candle’s molds or containers. Make sure to take extra care and gentle movements when pouring in order to eliminate air bubbles from forming on the surface of your candle and ruining its look. Also keep in mind that layering multiple colors when making soy candles helps create attractive designs, provides visual interest and adds depth; however all layers must reach approximately 150-155°F/66-68°C before adding additional layers otherwise they may not stick together properly once hardened.
Finishing and Cooling the Soy Candle
Once you have poured the wax into your candle container it is important for the cooling process to be done properly, this is how you can achieve a professional finish. Firstly, leave the candle undisturbed until the wax has cooled and solidified. This usually takes 4-6 hours; it will depend on the size of your container and thickness of the wax. You should not rush this process as the movement or vibration caused by touching candles during this time could cause them to crack. Once they have solidified, make sure no excess wax has pooled in any area, if there is you need to trim with a knife and create an even surface to ensure a smooth finish. After finishing, let your candles cool for another 6 hours before touching or using them to light up the room ” this allows them to set which makes them last much longer when lit!
Troubleshooting Common Issues and Tips for Success
When making homemade soy candles, it is important to remember a few common issues that may arise during the process. Many recipes call for adding fragrance oils, which may cause smoke to occur if heated too rapidly in the container. To reduce this smokiness and ensure even distribution, add these fragrances at a lower temperature than what is required initially by the wax. Another issue that can arise is “frosting,” or pale swirls that appear in soy candles when too much fragrance has been added. To prevent this, consider adding any essential oils after pouring the melted wax into containers. This will keep scents from evaporating early on.
Additionally, since soy wax has a lower melting point than other varieties of wax, it tends to shrink as it cools. Therefore, using a high-quality wick that holds up when exposed to heat is vital for success. For best results, research different types of wicks online and select one that works best with the type of container and type of wax you are working with. Lastly, be sure not to add too much water when mixing ingredients as this can result in areas of wetness within the candle itself.
Aside from these general tips regarding common troubleshooting techniques, there are many additional ways to protect against potential problems while making homemade soy candles. Consider wrapping wicks around wooden sticks or dowels before placing them in containers; this can help hold them firmly in place while also allowing for better heat diffusion faster and more evenly throughout the surface of the candle. Additionally, be sure not to overload your candles with fragrances; only use enough to produce a subtle scent in order for your finished product to burn steadily without causing damage or smoke.. Make sure containers used do not have any residue from previous use as this could potentially cause damage when heated again; use hot soapy water prior to starting your project which can assist in removing odors left behind and potential contaminants present such as dust particles or oils from hands touching materials before starting work on soy candles. Finally, ensure proper ventilation when working with hot liquids and containers close together as excess steam created from melting wax can cause discoloration on finished products as well as contribute towards larger amounts of smoke throughout environment unless adequately ventilated!
Conclusion
Making soy candles is a fun and simple way to craft your own unique and stylish home decor. Creating homemade soy candles provides an avenue for self-expression, allowing you to explore different colors, scents, texture, and shapes. With just a few simple steps and items from the store or online retailers, you can easily create professional quality soy candles from the comfort of your home! Start small by purchasing some candle-making supplies such as soy wax flakes, wicks, scent oils, glass jars or tins, dye chips if desired. Then use a double boiler to melt the wax flakes until fully liquefied before adding scents and color if desired. Lastly pour the mix into the chosen containers to set. With some patience and creativity you will be able to enjoy your beautiful homemade soy candles as soon as they are cooled. Give it a try today!

Welcome to my candle making blog! In this blog, I will be sharing my tips and tricks for making candles. I will also be sharing some of my favorite recipes.


