Introduction
Welcome to this blog post about how to make sage candles! In this article, readers can expect to learn valuable tips and techniques for making their own customized homemade sage candles. We will be providing a step by step guide on the different materials needed, how to use those materials, what tools may be required for the project, along with a few special tricks. After reading this blog post, you will know exactly how to make your own unique and fragrant sage candle. It should only take you around 30 minutes from start to finish, making it an easy and fast process with great end results.
In addition to being fun to create, directly using essential oils such as sage in candle wax can provide tremendous mental and emotional benefits because of their healing capabilities. For example, since sage has been used historically for its medicinal qualities in aromatherapy and when burned it can help balance hormones and moods as well as reduce stress levels. It is also great for refreshment of both mind and body at the same time! After making your own sage candle, you can keep it as a final product or give it away as a special gift!
Gather the Supplies
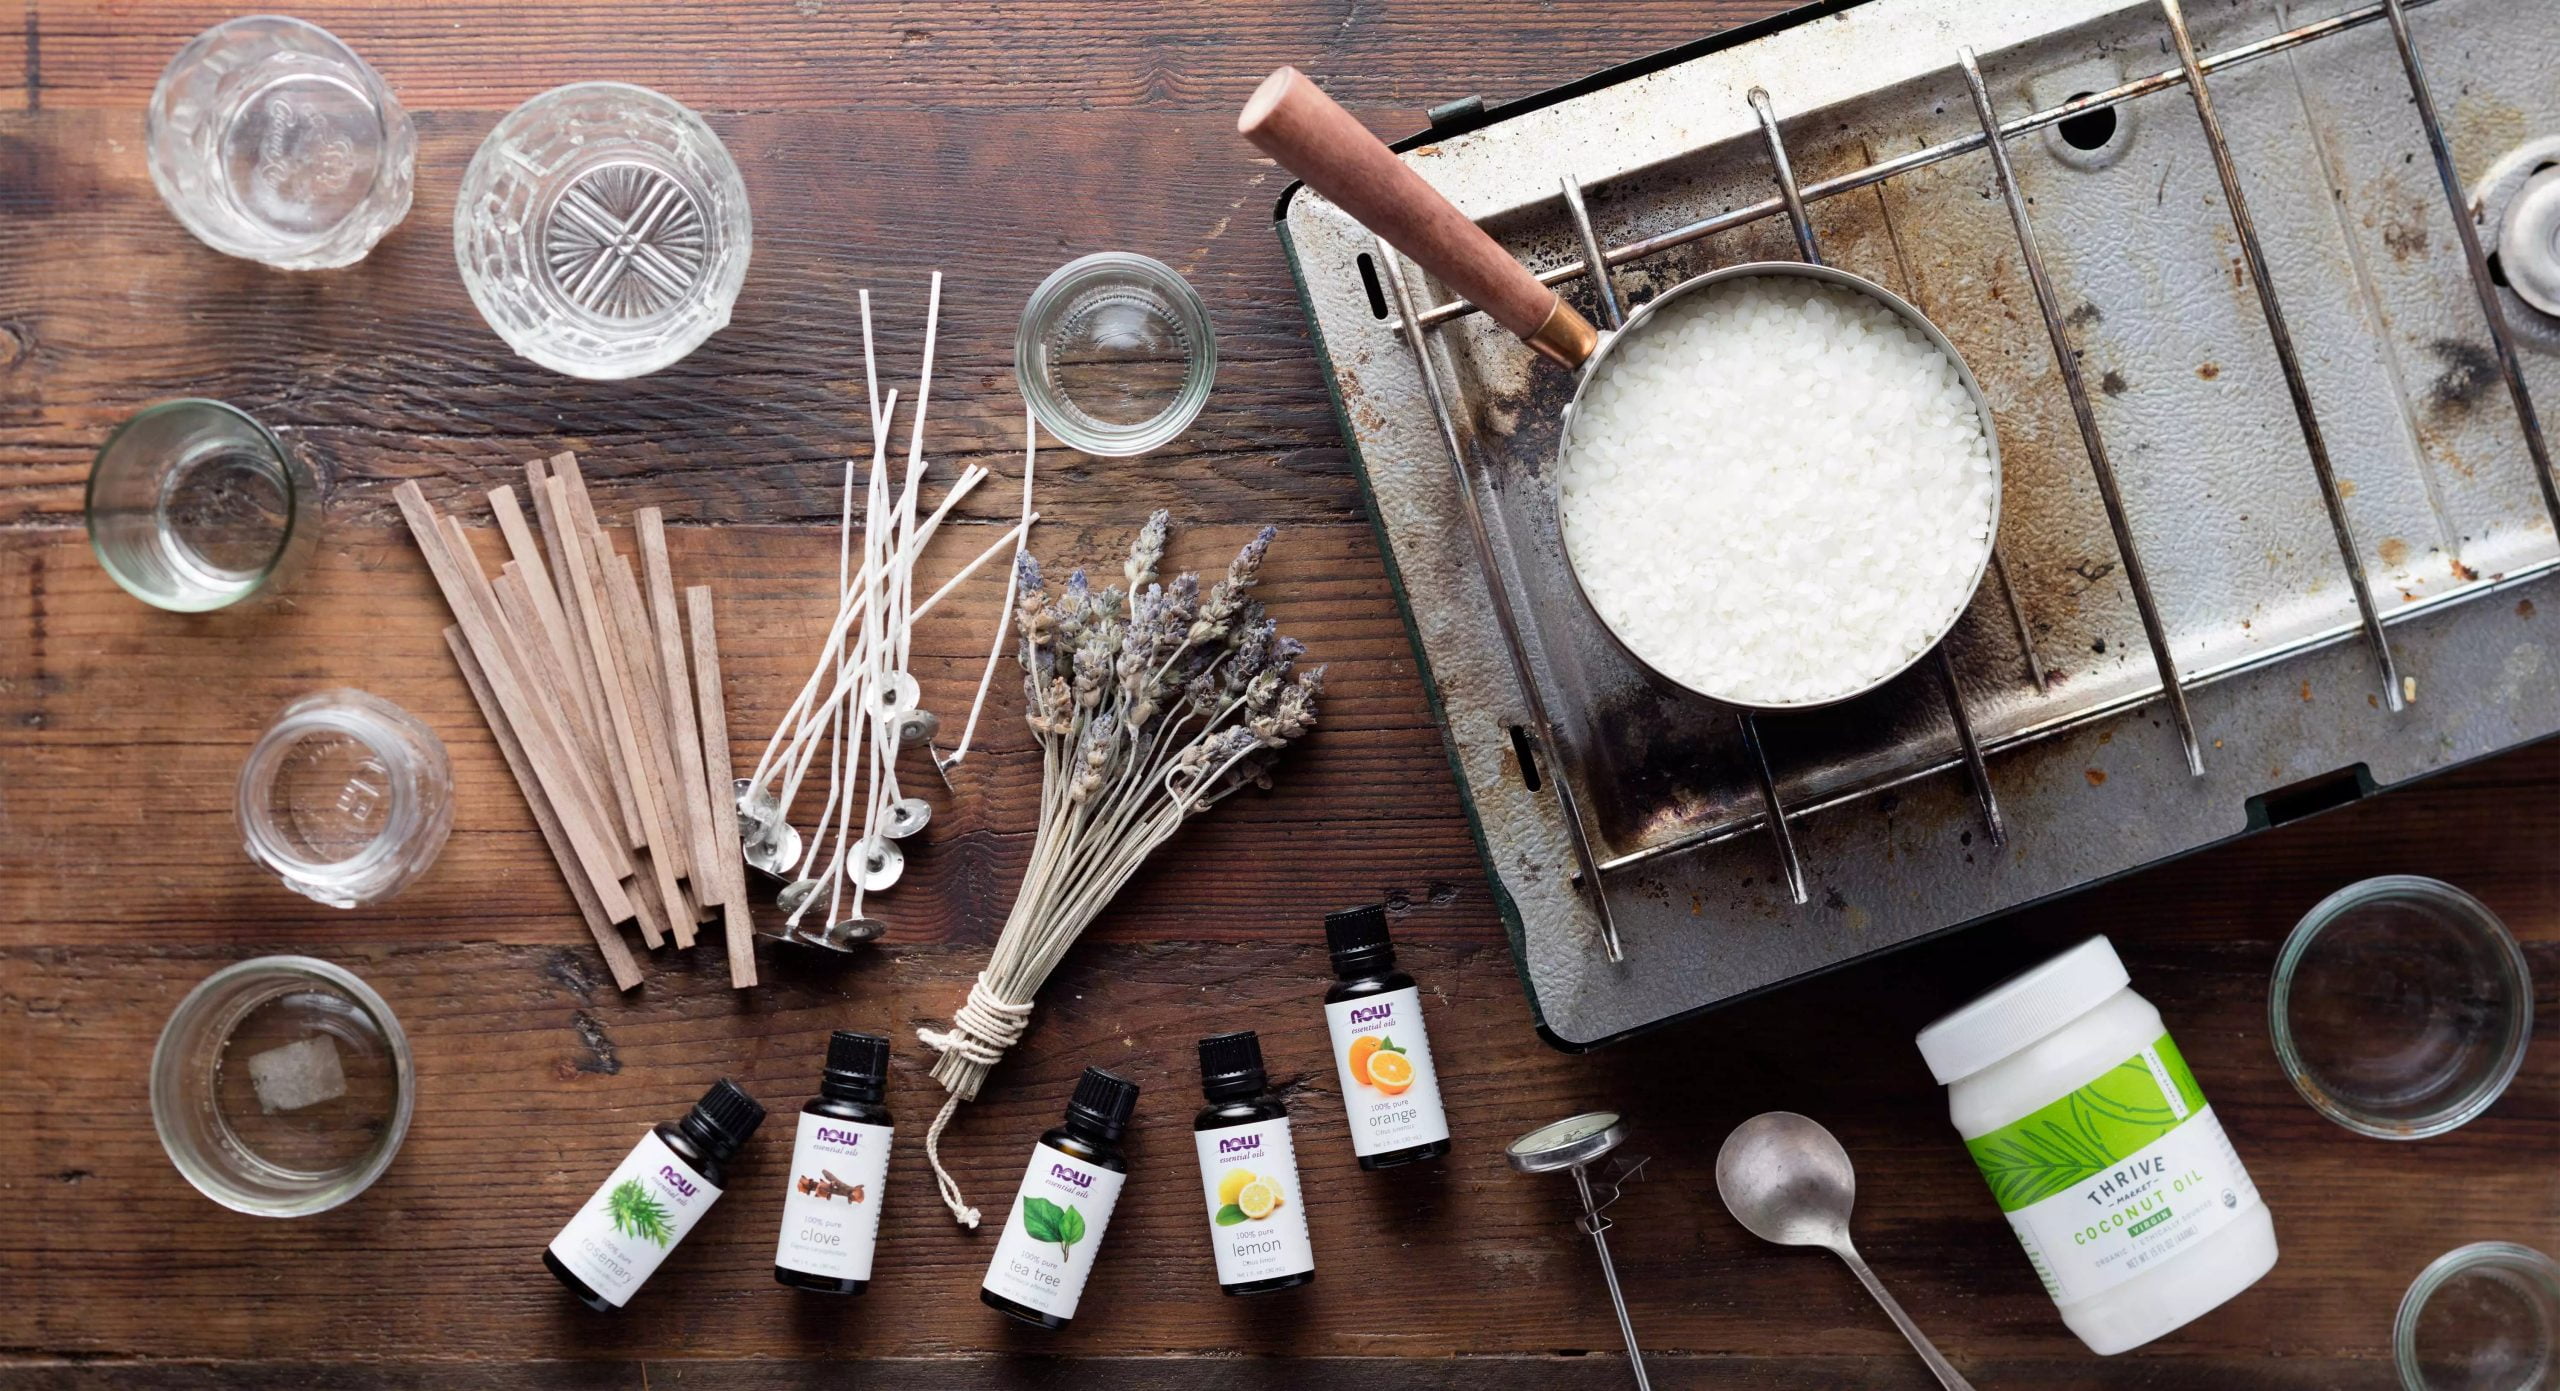
Making sage candles is a great way to bring the scent of nature into your home! Before you can get started, you will need to gather the supplies. You can find all the supplies for your sage candle online or at craft stores, such as Hobby Lobby and Michael’s. Here’s a list of items that you’ll need:
• Candle wax (beeswax or soy are both good choices)
• Candle dye (optional)
• Candle wicks
• Sage essential oil
• A double boiler
• Glass containers for the candles
• Wick car clips or runners
• Paint brush (if using dye)
• Wooden stirring stick.
Once you have all these items on hand, you are ready to start creating your sage candle masterpiece!
Selecting the Right Jar
When selecting the right jar for making sage candles, there are a few different options available. Mason jars are an economical and stylish choice that can provide a classic look to your candle. They can also be found in various sizes to fit whatever size of candle you want to make. However, with mason jars, you will have to purchase lids separately unless you find them with lids already attached.
Glass containers provide a more elegant aesthetic for your sage candles and can range from wide-mouthed jars for larger candles to little bottles for smaller tealights. While these glass containers give your candles a more polished look, they tend to be much more expensive than mason jars and may require some special handling when filling them with wax due to their fragility.
Finally, metal tins are great for making travel-sized candles ” as they protect the contents from spills and damage ” but you’ll need to place cardboard under the wick so that it doesn’t come into contact with the tin while burning. Metal tins generally don’t come in various sizes like the two other varieties above do, but they would be best suited for rolling votives or container candles due to their small size.
Melting the Wax
To make sage candles, you will need to gather your supplies and ingredients first. Gather wax, sage essential oil, a double boiler or pot, wick tabs, and candle holders.
Now that everything is set up ready to go, it’s time to melt the wax. Start by adding it to your double boiler or pot and heating it until melted. To achieve the desired fragrance for your sage candles, you will need to blend in a proper ratio of essential oil into the molten wax mixture. Generally, two parts essential oil per seven parts wax should yield a pleasant scent. Once blended in completely, stir carefully for about 10 minutes as this is important for achieving an even texture and smell throughout the entire candle.
Preparing the Wick
To attach the wick to your container, you will need some wick tabs or some molten wax. Depending on what size of a container you are using, the correct size wick tab should be chosen before attempting to attach it. Cut your wick to two inches longer than your container is tall and thread it through the hole in the tab. If using molten wax, pour just enough into the bottom of your container to cover it slightly and press the end of your wick into the wax until firm. Let this cool completely before proceeding with making your candle.
Pouring the Wax and Adding Finishing Touches
The next step in making a sage candle is to pour the wax. Begin by using a ladle to place the wax into the container of your choice (make sure the container is approved for use with heat or you could run into accidents). Once you have enough wax in your container, use a pair of tweezers or another tool to place the sage leaves or other desired ornamentation as close together or far away from each other as you wish. Making sure not to overcrowd the leaf between differently sized pieces of wax, allowing it to melt compatibly with majority of the melted wax.
When adding more objects into your candle such as glitter, essential oils and dried herbs, lightly sprinkle them overtop of the hardened wax before pouring over melted wax once again – try not to mix in too much because it could drown out its original purpose. When your decorative elements are placed, feel free to reposition them while they’re still wet so they’re set properly upon cooling. Make sure that these objects are well situated before beginning next steps – this is an important step which will affect how your final product looks. Finally, if any air bubbles appear around your decoration move them aside with a pointy object like a toothpick; this should allow for more even melting of all parts within the candle!
Final Steps
Once your sage candles are finished and you can determine that they are safe to use, it is important to seal them. Sealing the candles creates a sealant around the outside of the candle so that none of the oils used to create the scent escapes while burning it. To seal the candles, simply set them upright in a warm spot away from direct sunlight and allow them to sit undisturbed for at least 24 hours. After 24 hours, your sage candles will be ready to light and provide a beautiful scent throughout your home or office!
Conclusion
Making sage candles is an enjoyable and therapeutic process that can be done in as little as an hour. Once you have created your own, you will find it easier to make other kinds of beeswax and herb-based candles. The aroma of a burning sage candle provides a sense of relaxation while providing light during the evening hours. Not only will you enjoy the beautiful scent of these candles, but they also provide many health benefits due to their natural ingredients. Following this guide will help you learn how to easily make your own sage candles that can last for months. As you continue to practice this craft, experiment with different herbs and scents so that your sage candles always remain unique.

Welcome to my candle making blog! In this blog, I will be sharing my tips and tricks for making candles. I will also be sharing some of my favorite recipes.


