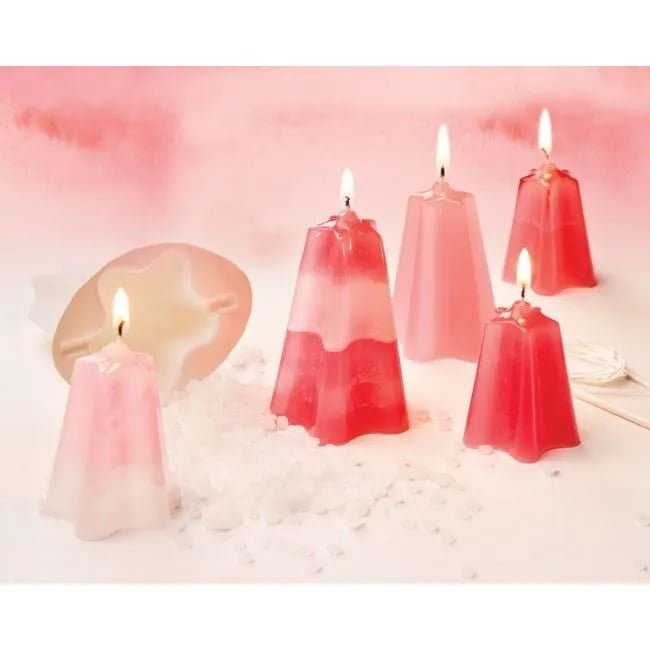
Candle making is a timeless craft that allows individuals to create personalized and unique candles for various uses. One of the most crucial aspects of candle making is the process of pouring wax, which plays a significant role in determining the quality and aesthetics of the final product.
In this article, we will explore the essential steps and considerations for successfully pouring wax for candle making, including selecting the right wax, preparing the work area, controlling temperature, adding fragrance and color, choosing suitable containers, and mastering pouring techniques.
When it comes to candle making, knowing how to pour wax is essential for achieving professional-looking results. Whether you are a novice or an experienced candle maker, understanding the intricacies of pouring wax can elevate your craft and ensure that your candles turn out just as you envision them to be. From choosing the right type of wax to mastering different pouring techniques, each step in the process contributes to creating a beautiful and functional candle.
In this comprehensive guide, we will delve into every aspect of pouring wax for candle making. We will discuss the different types of waxes available for candle making and explore how to select an ideal container for pouring wax.
Additionally, we will provide tips on preparing your work area, controlling temperature during melting, adding fragrance and color to the melted wax, as well as mastering various pouring techniques suited for different types of candles. Whether you are creating container candles, pillar candles, or votive candles, understanding how to pour wax effectively is indispensable for achieving outstanding results in your candle-making endeavors.
Choosing the Right Wax for Candle Making
When it comes to candle making, choosing the right wax is essential for a successful and high-quality finished product. There are several types of wax available on the market, each with its own unique characteristics and properties. Here are some popular options for candle making:
- Paraffin Wax: This type of wax is commonly used in candle making and is known for its excellent scent throw and ability to hold color well. However, some people may prefer to avoid paraffin due to its petroleum origins.
- Soy Wax: Made from soybean oil, this natural wax is a popular choice for environmentally-conscious candle makers. Soy wax has a clean burn and good scent throw, making it a great option for scented candles.
- Beeswax: Known for its natural sweet aroma and clean-burning properties, beeswax is a favorite among those looking for an all-natural candle option.
- Coconut Wax: Derived from coconut oil, this wax has a slow and clean burn, making it ideal for creating long-lasting candles.
How to Pour Wax for Candle Making
Before selecting a wax type for your candle making project, consider factors such as the desired fragrance throw, burning time, and environmental impact. It’s also important to choose a wax that aligns with your personal values and preferences as a crafter.
Ultimately, the best way to determine the right wax for your candle making needs is through experimentation and testing different types to see which one works best for your specific projects. Remember that finding the perfect wax can elevate the quality of your candles and enhance your overall crafting experience.
Selecting the Ideal Container for Pouring Wax
When it comes to candle making, choosing the right container for pouring wax is essential for achieving the desired results. There are several factors to consider when selecting an ideal container, including size, material, and shape.
First and foremost, the size of the container will determine the final size of your candle. It’s important to choose a container that can accommodate the amount of wax needed for your specific project. Additionally, consider the material of the container.
Glass containers are popular choices as they allow for a clear view of the wax and can create beautiful visual effects when the candle is lit. However, metal or tin containers are also suitable options that offer a different aesthetic appeal.
The shape of the container is another aspect to keep in mind. Some candles may require a wider opening at the top for decorative purposes or easier access to trim wicks, while others may benefit from a narrower opening to concentrate fragrance and heat. Regardless of the shape, ensure that the bottom of the container is stable and level to prevent any spills or accidents.
To meet all these requirements adequately will ensure that you get a well-prepared finished product without any issues. Paying attention to detail will go a long way in creating professional-looking and high-quality candles.
| Aspect | Description |
|---|---|
| Size | Determines final size of candle |
| Material | Glass, metal/tin offer different aesthetic appeal |
| Shape | Affects visual appearance and functionality of candles |
Preparing the Work Area for Pouring Wax
When it comes to making candles, preparing the work area for pouring wax is a crucial step in ensuring the success of your candle-making process. Here are some essential tips for creating a clean and safe environment for pouring wax:
- Clear the Work Surface: Before you start melting and pouring wax, clear your work surface of any clutter or debris. This will give you ample space to work and minimize the risk of accidents.
- Use Protective Equipment: To protect yourself from accidental spills or splatters, consider wearing an apron or protective clothing, gloves, and safety goggles. These items can help prevent burns or skin irritation while handling hot wax.
- Proper Ventilation: It’s important to have adequate ventilation in your work area when pouring wax for candle making. This can help disperse any fumes from the melted wax and create a more comfortable working environment.
In addition to these tips, it’s also important to consider the type of surface you’ll be working on. A heat-resistant mat or a designated candle-making workspace can further protect your surfaces from potential damage caused by hot wax spills.
By taking the time to properly prepare your work area for pouring wax, you can minimize the risk of accidents and ensure a more seamless and enjoyable candle-making experience.
Throughout my years of experience with candle making, I’ve found that these simple steps can make all the difference in creating beautiful, professional-looking candles at home. With careful preparation and attention to detail, you can pour wax for candle making with confidence and ease.
Melting and Temperature Control of Wax
When it comes to candle making, melting the wax is a crucial step in the process. The success of your candles depends on the proper melting and temperature control of the wax. But how to pour wax for candle making?
First, you need to select the right type of wax for your candles. There are different options available, including paraffin, soy, beeswax, and more. Each type of wax has its own melting point and characteristics that can affect the outcome of your candles.
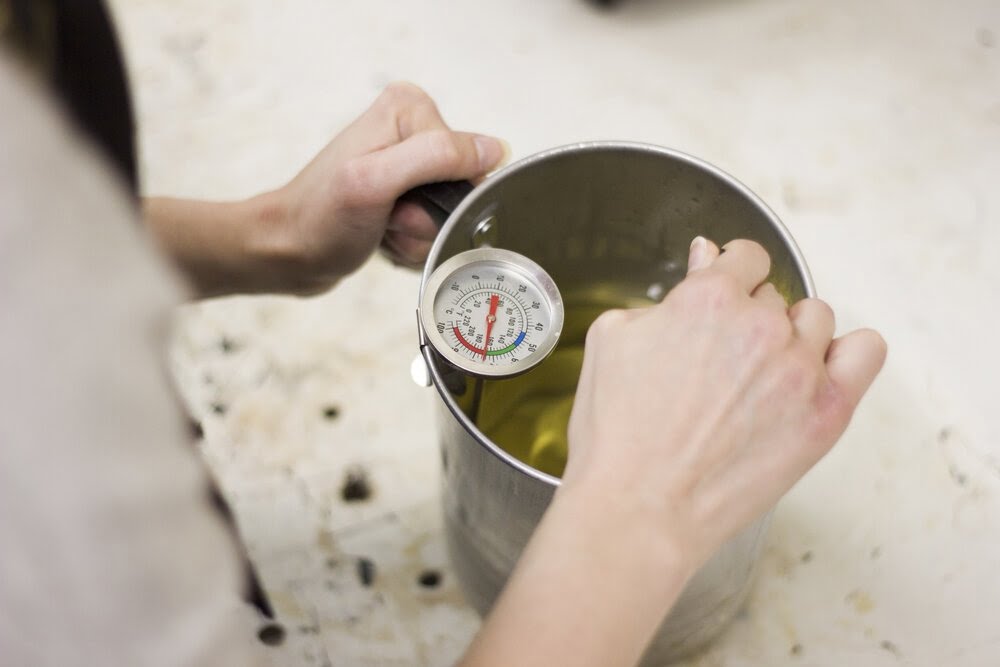
Once you have chosen the appropriate wax for your candles, it’s important to melt it using the correct method. You can melt the wax using a double boiler or a dedicated wax melter. It’s essential to monitor the temperature closely using a thermometer to ensure that the wax reaches its optimal pouring temperature without overheating. Overheating can affect the fragrance throw and color adhesion of your candles.
Furthermore, maintaining the right temperature during pouring is also crucial for successful candle making. The ideal pouring temperature varies depending on the type of wax and additives used in your candles. Pouring at too high or too low a temperature can lead to issues such as poor fragrance throw, uneven color distribution, or frosting on the surface of the candles. Therefore, mastering temperature control is key to achieving professional-looking candles with excellent scent throw and vibrant colors.
| Wax Type | Melting Point |
|---|---|
| Paraffin | Around 120-150°F |
| Soy | Around 110-130°F |
| Beeswax | Around 145-147°F |
Adding Fragrance and Color to the Wax
Choosing the Right Fragrance and Color
When it comes to adding fragrance and color to your candles, it’s essential to choose the right options for your desired outcome. There are numerous fragrance oils available that are specifically designed for candle making, each offering a unique scent profile. Similarly, there is a wide range of candle dyes in various colors to choose from. Consider the overall theme or purpose of your candles when selecting fragrance and color, whether it’s for relaxation, aromatherapy, or decorative purposes.
Measuring and Adding
Once you have selected your preferred fragrance oil and candle dye, it’s important to measure them accurately before adding them to the melted wax. The recommended usage rate for fragrance oils is typically around 6-10% of the total wax weight, but this can vary based on personal preference.
As for candle dyes, start with a small amount and gradually add more until you achieve the desired color intensity. Remember that both fragrance oils and dyes should be added while the wax is at its melting point for proper distribution.
Stirring and Homogenizing
After adding the fragrance oil and dye to the melted wax, it’s crucial to stir thoroughly to ensure an even distribution of both elements. Use a designated stirring utensil that is heat-resistant and non-reactive with the wax. Stir gently but consistently to avoid creating air bubbles in the wax while homogenizing the added ingredients. This step is essential in achieving candles with consistent color throughout and a well-balanced scent throw when burned.
By following these steps on how to pour wax for candle making while adding fragrance and color effectively, you can create beautifully scented and visually appealing candles that are sure to delight your senses.
Pouring Techniques for Different Candle Types
Container Candles
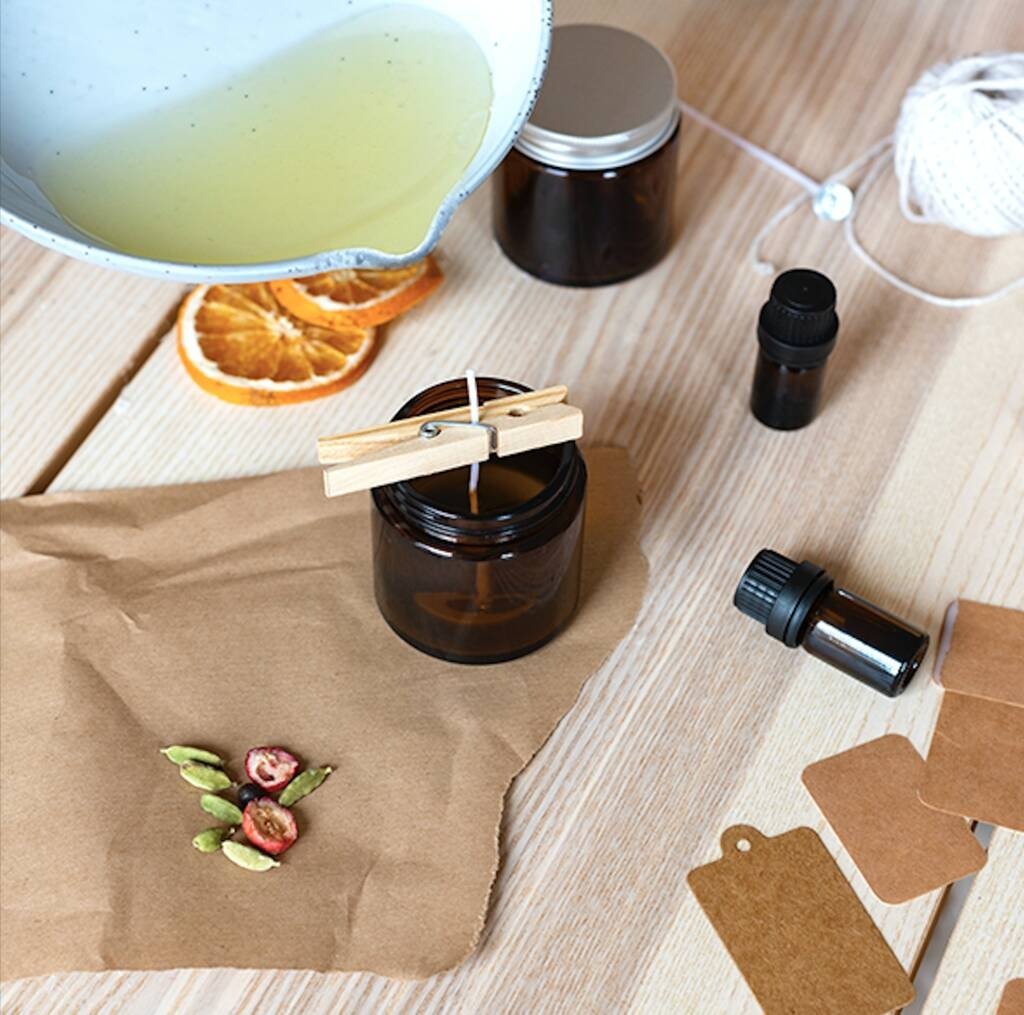
When it comes to pouring wax for container candles, it’s essential to ensure that the container is at room temperature before pouring the melted wax. This helps in preventing potential cracking or adhesion issues. Slowly and steadily pour the wax into the container, making sure to leave some space at the top. It’s important to center the wick and keep it straight during the pouring process to ensure an even burn.
Pillar Candles
For pillar candles, the pouring technique is different from that of container candles. The key is to pour your wax at a slightly higher temperature than used for container candles, to help these larger candles set more evenly as they cool. Additionally, when pouring wax for pillar candles, be sure to use a mold release spray before pouring and allow sufficient time for cooling and hardening after pouring.
Votive Candles
Votive candles require a different pouring technique due to their small size and shape. When creating votive candles, carefully pour the melted wax into each mold, ensuring that you avoid air bubbles and spills. The ideal temperature for pouring votive candle wax is slightly lower than what is used for other types of candles. This will help in achieving a smooth finish once they are cooled and removed from their molds.
Understanding how to pour wax for candle making requires attention to detail and precision depending on the type of candle being created. By following specific techniques for each type of candle – such as container, pillar, or votive – crafters can ensure successful pours and create beautiful custom candles every time.
Cooling and Finishing the Poured Wax
In conclusion, mastering the art of pouring wax for candle making is essential for creating beautifully crafted candles. From choosing the right wax and container to properly preparing the work area and controlling the temperature, each step plays a crucial role in the final outcome of the candles. Additionally, adding fragrance and color to the wax allows for personalization, creating unique and delightful candles.
One of the most important aspects of pouring wax for candle making is understanding the different pouring techniques for various types of candles. Whether it’s container candles, pillar candles, or votive candles, each type requires its own specific pouring method to achieve the desired results. By following these techniques, candle makers can ensure that their creations turn out just as they envisioned.
Finally, once the wax has been poured, proper cooling and finishing techniques are essential for achieving professional-looking candles. This includes allowing sufficient time for the wax to cool and solidify before trimming the wick and adding any additional decorative elements.
By paying attention to these details, candle makers can produce high-quality candles that are not only aesthetically pleasing but also provide an excellent burning experience for consumers. Overall, by following these steps and mastering the art of pouring wax for candle making, anyone can create beautiful and personalized candles to enjoy or share with others.
Frequently Asked Questions
How Do You Pour Out Candle Wax?
Pouring out candle wax can be done by carefully tilting the candle or using a spoon to scoop it out. If the wax is melted, pour it into a disposable container to solidify and dispose of it properly. For larger amounts of wax, there are specialized tools like wax melters that make the process easier.
Do You Have to Let Candle Wax Cool Before Pouring?
It is important to let candle wax cool before pouring to avoid splashing or spilling hot wax. Allowing the wax to cool slightly also helps in achieving a smoother and more even pour, especially when working with multiple layers or different colors of wax.
What Temperature Should Candle Wax Be Before Pouring Into Jar?
The ideal temperature for pouring candle wax into a jar usually ranges between 130°F to 180°F, depending on the type of wax being used. This range allows for proper adhesion to the jar and yields a smooth finish without causing any damage to the container.
Using a thermometer specifically designed for candle making can help maintain consistent temperatures for better results.

Welcome to my candle making blog! In this blog, I will be sharing my tips and tricks for making candles. I will also be sharing some of my favorite recipes.

