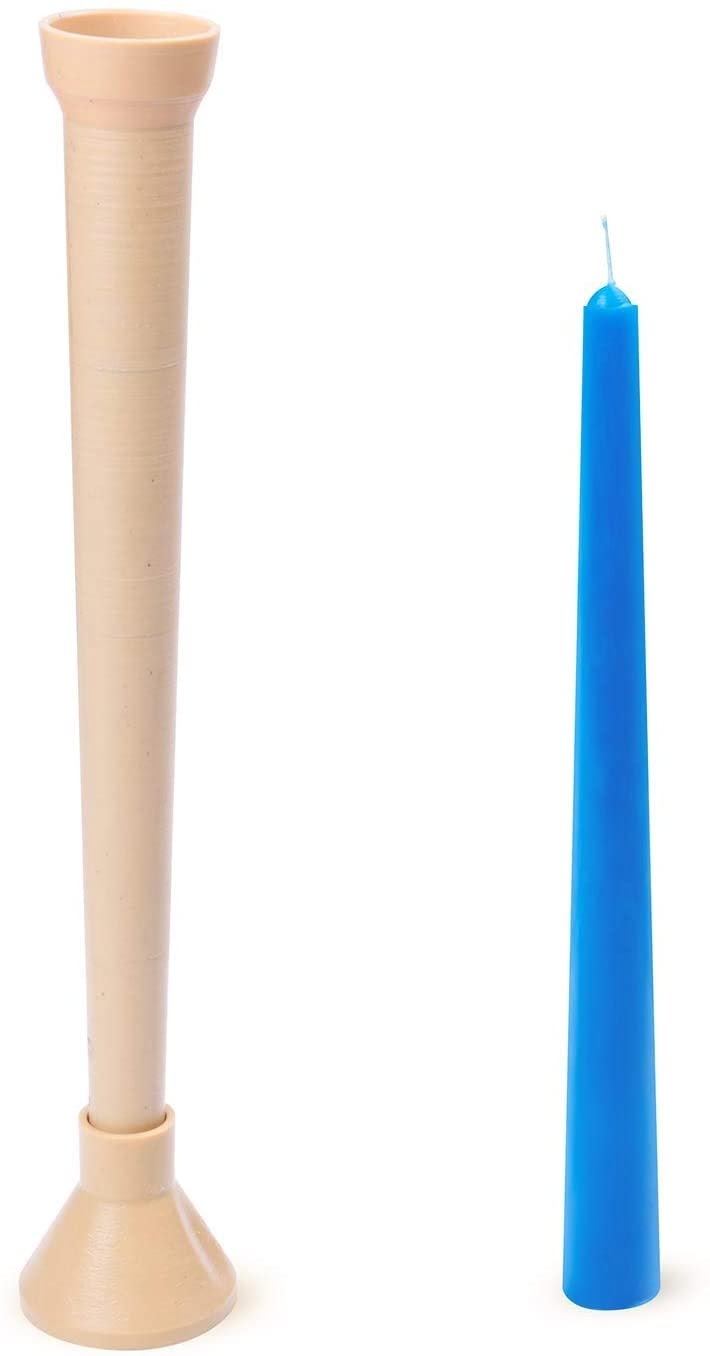
Candle making is a craft that allows individuals to create beautiful and personalized candles. However, achieving a perfectly centered wick can be a challenging task for beginners and experienced candle makers alike. This is where a wick centering device comes into play. In this article, we will explore what a wick centering device is and why it is important in the process of candle making.
A wick centering device is a tool designed specifically to keep the wick of a candle centered in the container as the wax sets. These devices come in various forms, such as metal clips, plastic holders, or even reusable adhesive stickers. The primary purpose of using a wick centering device is to ensure that the flame burns steadily and evenly throughout the life of the candle.
One might wonder why it is important to use a wick centering device when making candles. The answer lies in the quality of the final product. A properly centered wick enhances not only the aesthetic appeal but also guarantees efficient burning and reduces soot buildup on container walls.
By using a wick centering device, candle makers can achieve consistency in their creations and produce candles that burn cleanly and evenly from start to finish. Throughout this article, we will delve deeper into understanding different types of wick centering devices, step-by-step guides for using them effectively, troubleshooting common issues that may arise during their use, and alternative methods for achieving a well-centered wick without using these devices.
With proper knowledge and skillful implementation of these techniques, every candle maker can elevate their craft to new levels of professionalism and satisfaction.
Understanding the Different Types of Wick Centering Devices
When it comes to candle making, using a wick centering device is essential for ensuring that your candle burns evenly and safely. There are various types of wick centering devices available on the market, each with its own unique features and benefits. Understanding the different options can help you choose the right device for your specific candle making needs.
One common type of wick centering device is the metal wick holder. These devices are typically made of stainless steel or other durable metals and come in a variety of sizes and shapes. They often consist of a circular base with prongs or clips that securely hold the wick in place during the pouring process.
Another popular option is the plastic wick centering device. These devices are typically made from heat-resistant plastic materials such as silicone or polypropylene. Plastic wick centering devices are lightweight and easy to use, often featuring adjustable clips or grooves to accommodate different candle sizes.
Additionally, there are specialized wick centering devices designed for specific candle shapes, such as votive candles or pillar candles. These devices may have unique features like multiple prongs or adjustable mechanisms to ensure a snug fit inside these unconventional candle molds.
Before selecting a wick centering device, consider factors such as the size and shape of your candles, as well as your personal preferences and budget. It may be helpful to read product reviews or seek recommendations from experienced candle makers to determine which type of device will work best for you.
Overall, understanding the different types of wick centering devices available allows you to make an informed decision when choosing one for your candle making projects. With the right device, you can ensure that your candles burn evenly and safely every time, providing a professional and satisfying experience for both yourself and those who enjoy your creations.
Step-by-Step Guide
When it comes to candle making, using a wick centering device is crucial for ensuring that your candles burn evenly and safely. A wick centering device helps keep the wick in the center of the candle as it solidifies, preventing any uneven burning or tunneling. This section will provide you with a step-by-step guide on how to prepare your wick centering device for use in candle making.
Before you begin using your wick centering device, make sure you have all the necessary materials and tools on hand. These may include your chosen wick centering device, wax, fragrance oils, colorants, a heat source (such as a double boiler or microwave), a thermometer, and a container or mold for your candle.
- Choose the appropriate size: Wick centering devices come in various sizes to accommodate different candle diameters. It’s essential to select the right size that fits snugly into your chosen container or mold. Refer to the manufacturer’s guidelines or sizing chart to determine which size will work best for your project.
- Prepare the wick: Trim the wick to an appropriate length according to your candle’s depth. Leave about 1-2 inches of excess wick beyond the desired finished height of your candle.
- Attach the wick: Thread one end of the wick through the hole or loop in your chosen wick centering device, leaving about 1 inch of excess at the bottom. Pull it through until there is no slack in the wick and it is taut.
- Center the device: Place the wick centering device with attached wick into your container or mold by inserting it into the wax at the bottom and positioning it in the center of the vessel so that it remains upright.
- Secure in place: To prevent any movement during pouring and solidification, secure the excess length of wick at the top by wrapping it around a pencil or chopstick and placing it flat across the container. This will keep the wick centered while the candle sets.
By following these steps, you can confidently prepare your wick centering device for use in your candle making process. This will help ensure that your candles burn evenly and smoothly, providing a professional finish to your candle creations.
Selecting the Right Size Wick Centering Device for Your Candle
When it comes to selecting the right size wick centering device for your candle, there are several factors to consider. Choosing the correct size is crucial in ensuring that your candle burns properly and evenly. Here are some important factors to keep in mind when selecting a wick centering device:
- Candle Diameter: The diameter of your candle plays a significant role in determining the size of the wick centering device you should use. It is essential to measure the width of your candle and choose a wick centering device that fits snugly within it.
If the device is too small, the wick may not be properly centered, leading to an uneven burn. On the other hand, if the device is too big, it may not fit securely in the candle, which can also affect its burning. - Wick Size: Another factor to consider is the size of the wick you are using for your candle. Different wick sizes require different sized centering devices. It is crucial to match the size of your wick with an appropriate centering device to ensure that it remains centered throughout the burning process.
- Candle Material: The material used to make your candle can also impact your choice of a wick centering device. Some materials, such as beeswax or soy wax, have softer consistencies than others like paraffin wax or gel wax. Softer materials may require a larger or more supportive centering device to prevent the weight of the candle from causing the wick to sag or move off-center during burning.
To simplify this process, many retailers offer sizing guides or charts that recommend appropriate wick centering devices based on candle diameter and type of wax. These resources can be extremely helpful in ensuring that you choose the right size for your specific needs.
By considering these factors and taking advantage of available resources, you can confidently select a suitable wick centering device that will help you achieve a perfectly centered wick and an even burn for your candles.
Techniques for Properly Positioning and Securing the Wick Centering Device in Your Candle
One crucial step in using a Wick Centering Device in candle making is properly positioning and securing it within the candle. This ensures that the wick remains centered as the wax sets, resulting in a clean and even burn. Here are some techniques to help you achieve this:
- Choose an appropriate location: Before inserting the Wick Centering Device, select a suitable spot where you want the wick to be positioned in your candle. Ideally, it should be near the center and away from the sides of the container to promote an even burn.
- Insert the device: Once you have chosen the location, carefully insert the Wick Centering Device into the container. Make sure it is straight and aligned with the center of the container, ensuring that it will hold the wick in place once it is attached.
- Secure with adhesive or wax: To prevent movement or displacement during pouring, secure the Wick Centering Device using either adhesive or melted wax. If using adhesive, apply a small amount at the bottom of the device and press firmly against the container’s base. If using melted wax, pour a small amount around and on top of the device to hold it steady.
- Check alignment: After securing, double-check that both ends of the device are still centered by looking through each side of your container. Adjust if necessary before proceeding with pouring your candle wax.
Properly positioning and securing your Wick Centering Device plays a vital role in achieving a professional-looking candle that burns evenly throughout its lifespan. Taking these techniques into consideration will help ensure that your wick stays centered as you pour your candle wax, resulting in a successful end product.
| Technique | Description |
|---|---|
| Choose an appropriate location | Select a suitable spot for placing Wick Centering Device near the center and away from the sides of the container. |
| Insert the device | Insert the Wick Centering Device straight and aligned with the center of the container. |
| Secure with adhesive or wax | Use adhesive or melted wax to secure the Wick Centering Device in place. |
| Check alignment | Double-check that both ends of the device are centered by looking through each side of your container. Adjust if necessary. |
Ensuring Safety
Using a wick centering device is an essential step in candle making to ensure safety and prevent potential hazards. It is important to follow certain tips and guidelines when using these devices to avoid accidents and maintain a safe working environment.
Firstly, always make sure to use the appropriate size and type of wick centering device for your candle. Using the wrong size can lead to instability and result in the wick moving off-center, potentially causing a fire hazard. Refer to the manufacturer’s guidelines or consult with experienced candle makers to determine the right size for your specific candle.
Additionally, it is crucial to position the wick centering device properly within the candle. Place it at the center of the container or mold before pouring in the hot wax. Ensure that it is securely in place so that it remains stable while waiting for the wax to cool and harden. If the device is not secured properly, it may shift during cooling, leading to an uneven burn or an unstable flame.
Furthermore, always exercise caution when working with hot wax. Wear protective gloves and eyewear to prevent burns or injuries. Take your time when handling the hot liquid and avoid rushing through any steps. Keep children and pets away from your workspace to minimize any accidents or distractions.
Lastly, never leave a burning candle unattended. Once you have successfully used a wick centering device to create your candle, always remember to practice proper candle safety measures. Trim the wick regularly, keep it away from flammable materials, and extinguish it before leaving a room or going to sleep.
By following these safety tips when using a wick centering device, you can ensure a safe working environment and reduce any potential hazards associated with candle making.
| Tips for Ensuring Safety |
|---|
| Use appropriate size and type of wick centering device |
| Position the wick centering device securely within the candle |
| Exercise caution when working with hot wax |
| Never leave a burning candle unattended |
Troubleshooting Common Issues
When using wick centering devices in candle making, it is not uncommon to encounter some common issues along the way. However, with proper troubleshooting and problem-solving techniques, these issues can be easily resolved. In this section, we will discuss some common problems that may arise while using wick centering devices and provide practical solutions for handling them effectively.
Uneven Burn
One of the most common issues candle makers face when using a wick centering device is achieving an uneven burn. This can result in tunneling or excessive wax buildup on one side of the candle while leaving the other side unburned. To troubleshoot this issue, it is crucial to ensure that the wick centering device is properly positioned and secure within the candle mold or container.
Firstly, double-check that the wick is centered within the device itself. Sometimes, slight adjustments might be needed to align the wick perfectly in the center. Additionally, ensure that your wick has been trimmed to an appropriate length before inserting it into the device. A wick that is too long can lead to an uneven burn.
If you have followed these steps and are still experiencing an uneven burn, try rotating the candle periodically during burning. This encourages even wax distribution and promotes an even burn throughout your candle.
Wick Misalignment
Another issue that may occur while using a wick centering device is wick misalignment. This happens when the wick shifts from its centered position within the device during pouring or cooling processes. As a result, it can cause difficulties in lighting or affect how your candle burns.
To address this problem, it is essential to keep a close eye on your candles during both the pouring and cooling stages. Make sure that you maintain steady pressure on the base of the wick while pouring the wax, preventing it from moving out of place. Additionally, once your candle has solidified and cooled, inspect it for any signs of misalignment. If you notice that the wick has shifted, carefully remove the device and reposition it before proceeding with burning.
Wick Drooping
Wick drooping is another issue that candle makers can encounter when using a wick centering device. This occurs when the wick droops downwards into the melted wax when burned, resulting in poor aesthetics and potential safety hazards.
To tackle this problem, ensure that you are using a sturdy and rigid wick centering device suited for your candle’s size and shape. If you find that your chosen device is not providing sufficient support to prevent drooping, consider investing in a heavier-duty option or using multiple devices for added stability.
Furthermore, before lighting your candle, trim the wick to an appropriate length as suggested by your candle-making supplier. A shorter wick will help maintain better tension and reduce the chances of it drooping into the melted wax.
By applying these troubleshooting methods, you can address common issues that may arise while using a wick centering device in candle making. Remember to exercise caution and patience throughout the process to achieve optimal results.
Removing the Wick Centering Device
Once you have completed your candle-making process and your candle has fully hardened, it is time to remove the wick centering device. Removing the device requires careful attention to ensure that your candle remains intact and undamaged. Follow these steps for a safe and successful removal of the wick centering device from your candle.
- Wait for the candle to cool: Before attempting to remove the wick centering device, allow your candle to fully cool down. This will prevent any accidental burns or damage to the wax.
- Gently loosen the device: Using a small pair of pliers or tweezers, gently grip onto the top of the wick centering device and give it a slight twist. This will help loosen it from the wax.
- Slowly pull out the device: Once you have loosened the wick centering device, slowly begin to pull it out from the wax. Be sure to do this in a slow and steady manner, making sure not to rush or force it out as this can cause cracks or tears in your candle.
- 4.Clean up any excess wax: After removing the wick centering device, you may notice some excess wax around where it was positioned. Carefully scrape off any stray bits of wax using a small scraper or knife.
- 5.Trim the wick: Now that you have removed the wick centering device, take this opportunity to trim your wick if necessary. Trim it down to approximately ¼ inch for optimal burn performance.
By following these simple steps, you can safely and successfully remove the wick centering device from your candle without causing any damage. It is important to exercise caution during this process in order to preserve your hard work and create a professional-looking finished product.
Alternative Methods for Centering the Wick without Using a Wick Centering Device
Using a Pencil or Skewer
If you don’t have a wick centering device at hand, there are alternative methods you can try to center the wick in your candle. One of the simplest and most readily available options is to use a pencil or a skewer. Here’s how you can do it:
- Insert the pencil or skewer through the metal clip at the base of the wick, leaving enough length outside the candle for support.
- Place the pencil or skewer across the top of your container and adjust it so that the wick is centered.
- Make sure that the pencil or skewer is securely positioned and won’t move during pouring.
Using a pencil or skewer as a makeshift wick centering device allows you to easily adjust and align your wick as you pour the wax into your container, ensuring that it remains perfectly centered throughout the candle-making process.
Tape Method
Another alternative method for centering your wick without a specialized device is by using tape. This method requires just a few basic materials:
- Transparent tape.
- Scissors.
Here’s how you can utilize this method:
- Cut two pieces of tape, each long enough to extend from one side of your container to another.
- Hold one piece of tape against one side of your container, parallel to where you want your wick to be positioned.
- Place one end of your wick on top of the tape and press it down firmly.
- Position the second piece of tape on top of the first piece, sandwiching the end of your wick between them.
- Repeat this process for each side of your container until all sides are taped.
The tape acts as a guide and prevents the wick from moving while pouring wax into the container. It also helps maintain proper alignment throughout cooling and setting.
Clothespin Method
If you have a clothespin on hand, it can be an effective makeshift wick centering device. Here’s how you can use a clothespin to center your wick:
- Open the clothespin and insert the metal clip through the loop at the base of your wick.
- Position the clothespin so that it straddles the top rim of your container with the wick hanging straight down into the center.
- Adjust and secure the clothespin tight enough to prevent any movement or slippage while pouring.
The advantage of using a clothespin is that it provides stability, keeping your wick in place during pouring and throughout the candle-making process. Make sure to choose a clothespin that fits securely on top of your container without significant gaps.
While using alternative methods for centering your wick can be effective, keep in mind that they may not offer the same precision and ease as a dedicated wick centering device. It’s important to experiment and find what works best for you based on your available resources.
Conclusion
In conclusion, using a wick centering device is crucial for achieving a successful and professional candle making experience. Throughout this article, we have explored the importance of using a wick centering device and understanding the different options available. From preparing the device to selecting the right size and properly positioning it in your candle, we have discussed step-by-step techniques to ensure effective use.
By utilizing a wick centering device, you can guarantee that your candle’s wick will burn evenly and efficiently. This eliminates the common issues of uneven burning, tunneling, or flickering flames that can occur without proper centering. Additionally, using a wick centering device promotes safety by preventing potential hazards such as charring or overheating.
Although troubleshooting common issues and exploring alternative methods for wick centering are beneficial skills to develop as a candle maker, it is essential to prioritize the use of a reliable wick centering device. Ultimately, incorporating this tool into your candle making process will help you achieve professional results, create high-quality candles, and ensure customer satisfaction. So don’t overlook the significance of a wick centering device – it is an invaluable tool for any serious candle maker.
Frequently Asked Questions
How do you keep a wick centered when making candles?
Keeping a wick centered when making candles is essential for ensuring even and consistent burning. One way to achieve this is by using a wick sticker, which is a small adhesive tab that attaches the wick to the bottom of the container. By carefully placing the wick sticker in the center of the candle container, you can secure the wick in place before pouring the melted wax.
Another method involves using a stick or pencil as a makeshift guide. Simply lay the stick across the top of the container and wrap the excess length of the wick around it, ensuring that it remains taut and centered throughout the pouring process.
Do you need a wick centering tool?
While it’s not necessary to have a dedicated wick centering tool, it can certainly make the task easier and more precise. A wick centering tool typically consists of a metal base with prongs or tabs that securely hold and position the wick in place during candle making.
These tools are designed to fit various container sizes, allowing you to easily adjust and center your wicks with minimal effort and fuss. In addition to providing stability, they also help prevent any potential movement or drifting of the wick as you pour hot wax into your containers.
What is a wick centering device?
A wick centering device is simply another term for a tool or apparatus used to center and secure candle wicks in place during production. This device can come in different forms, such as clips, holders, or plates specifically designed for holding various sizes of candle containers.
The primary function of a wick centering device is to ensure that your wicks maintain their desired positioning throughout each stage of candle making – from pouring hot wax into containers to setting and cooling process. These devices eliminate any guesswork involved in trying to manually position or stabilize multiple candle wicks simultaneously, offering convenience and consistency in producing well-centered candles.

Welcome to my candle making blog! In this blog, I will be sharing my tips and tricks for making candles. I will also be sharing some of my favorite recipes.

