Have you ever wondered how to use wood wick in candle making? Wood wicks are becoming increasingly popular in the world of candle making due to their unique crackling sound and clean burn. In this article, we will explore what a wood wick is and its benefits when compared to traditional candle wicks.
Wood wicks are made from a combination of natural wooden materials, such as cherry, maple, or birch, which create a soothing crackling sound reminiscent of a cozy fireplace. Unlike traditional cotton wicks that can sometimes produce soot or mushrooming, wood wicks offer a cleaner burn with minimal maintenance required.
One of the advantages of using wood wicks is their ability to provide a longer and more even burn compared to cotton wicks. Additionally, they can enhance the overall aesthetic appeal of your candles with their rustic charm. So if you’re looking to add a unique touch to your candle-making hobby or business, learning how to use wood wick is definitely worth exploring.
Materials Needed
Wood Wick
When it comes to using wood wicks in candle making, the most crucial material you will need is, of course, the wood wick itself. Wood wicks come in various sizes and types, so it is essential to choose the right one for your specific candle project. Make sure to select a high-quality wood wick that is suitable for the size and scent of the candle you are making.
Candle Wax
Another essential material needed for using wood wick in candle making is candle wax. There are different types of candle wax available, such as soy wax, paraffin wax, and beeswax. Choose a wax that suits your preferences and needs for your candles. Ensure that the wax you select is compatible with wood wicks for optimal burning results.
Candle Container
To use wood wick in candle making, you will also need a suitable candle container. Whether you prefer glass jars, metal tins, or ceramic vessels, ensure that the container is clean and heat-resistant. The size and shape of the container should be appropriate for the amount of wax you plan to use and accommodate the wood wick securely. Additionally, make sure that the chosen container complements the aesthetics of your candle design.
Other Supplies
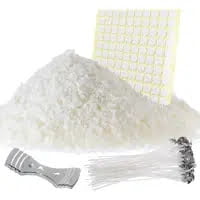
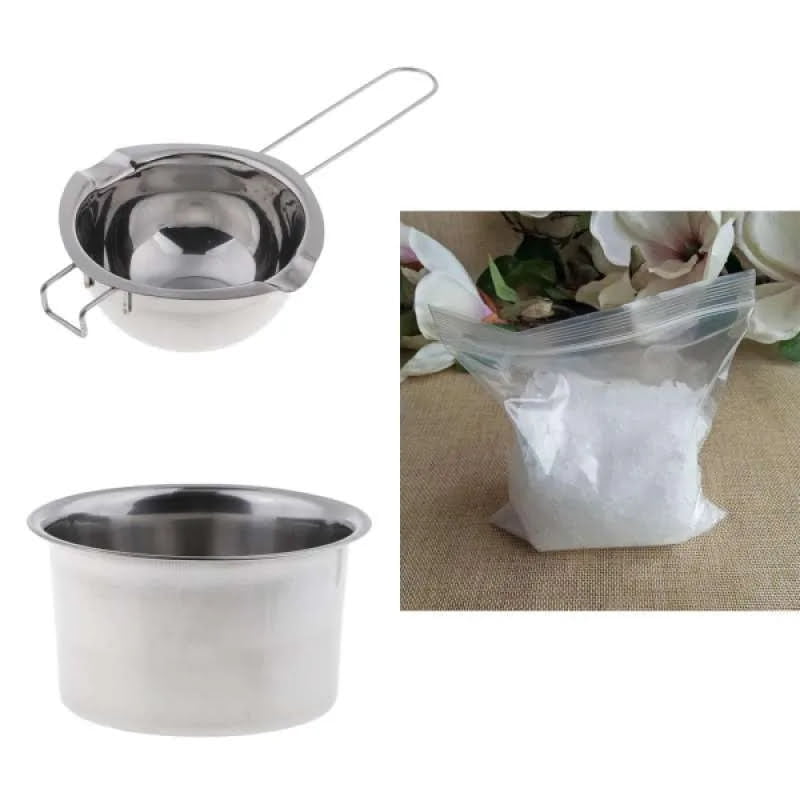
In addition to the primary materials mentioned above, there are several other supplies you will need when using wood wick in candle making. These include a double boiler or microwave-safe container for melting wax, a thermometer to monitor wax temperature, fragrance oils or essential oils for scenting your candles, colorants if desired, stirring utensils like wooden sticks or skewers, and labels for labeling your finished candles.
Having all these tools and supplies ready before starting your candle-making process will help ensure a smooth and successful outcome.
Choosing the Right Wood Wick
When it comes to choosing the right wood wick for your candle making project, there are a few key factors to consider to ensure optimal burning performance and scent diffusion. The size and type of wood wick you select will directly impact how your candle burns, as well as the overall aesthetic appeal of the finished product. Here is a guide to help you navigate the various options available:
- Size: The size of the wood wick you choose should be based on the diameter of your candle container. A general rule of thumb is that larger candles require thicker wicks, while smaller candles need thinner ones. You can usually find recommendations from wood wick manufacturers based on container size.
- Type: Wood wicks come in different types such as single-ply or multi-ply, which refers to the number of wooden strips used in each wick. Single-ply wicks are ideal for smaller containers or scented candles with lower melt pool requirements, while multi-ply wicks are better suited for larger containers or stronger scents that require more heat for optimal fragrance throw.
- Scent Compatibility: Consider the type of fragrance oils or essential oils you plan to use in your candles when selecting a wood wick. Some scents may require a hotter burn to release their full aroma, so choosing a thicker wood wick could be beneficial in these cases.
By taking into account these factors and experimenting with different types and sizes of wood wicks, you can tailor your candle making process to create beautiful and high-quality candles that burn consistently and emit delightful fragrances.
Once you have selected the appropriate wood wick for your candle project, you can move on to preparing the candle container before attaching the wood wick securely. Following these steps will ensure that your candles not only look professional but also deliver an exceptional sensory experience through their natural crackling sound and even burn.
Preparing the Candle Container
When using wood wicks in candle making, it is essential to properly prepare the candle container to ensure that the wood wick functions optimally. Here are step-by-step instructions on how to prepare the candle container for the wood wick:
1. Clean the Container: Before placing the wood wick in the container, make sure that the container is clean and free of any dust or debris. This will help prevent any unwanted particles from interfering with the burning process of the candle.
2. Secure the Wood Wick: Once the container is clean, you can proceed to secure the wood wick in place. Use a small dot of hot glue at the base of the wood wick and press it firmly onto the bottom center of the container. Make sure that the wick stands straight and centered to ensure an even burn.
3. Use a Wick Holder: To keep the wood wick upright while pouring in the wax, consider using a wick holder. This will ensure that the wood wick remains in place and does not shift during the pouring process, leading to a well-balanced candle.
By following these steps and properly preparing your candle container for a wood wick, you can create beautifully crafted candles that burn evenly and efficiently. Remember to take your time during this preparation process to guarantee excellent results in your candle making endeavors.
Attaching the Wood Wick
Wood wicks have gained popularity in candle making due to their unique crackling sound and aesthetic appeal. When learning how to use wood wick in candle making, one crucial step is attaching the wood wick properly to the candle container. This ensures that the wick remains centered and secure during the pouring of wax and burning of the candle.
To attach a wood wick to a candle container, you will need to use a special adhesive designed for candle making. Start by placing a small dab of adhesive at the base of the wood wick tab. Then carefully press the tab onto the bottom center of the inside of the container. Make sure it is positioned straight and secure before proceeding with pouring the wax.
Another method for attaching a wood wick involves using a wick holder or centering device. These tools help keep the wood wick in place while you fill the container with wax. Simply thread the wood wick through the hole in the centering device and place it on top of the container. This will ensure that the wick stays centered as you pour the wax and as it solidifies.
| Wood Wick Attachment Methods | Benefits |
|---|---|
| Using special adhesive | Ensures secure attachment |
| Using a wick holder | Helps keep wick centered |
Remember that proper attachment of the wood wick is essential for a successful candle-making process. By following these steps carefully, you can ensure that your wood-wicked candles burn evenly and effectively, providing you with a unique sensory experience every time you light them up.
Pouring the Wax
Ensuring Proper Wick Placement
Before pouring the wax over the wood wick, it is crucial to ensure that the wick is properly centered in the candle container. Use a wick holder or chopsticks to keep the wood wick straight and in place while pouring the wax. This will help prevent the wick from leaning to one side or getting buried under the wax, which can affect its performance when burning.
Slow and Steady Pouring Technique
When pouring the melted wax into the container with the wood wick, make sure to do it slowly and steadily. Avoid pouring too quickly as this can cause the hot wax to overflow and potentially drown the wood wick. A steady pour not only prevents spills but also ensures that the wax covers the wood wick evenly, creating a consistent burn when lit.
Avoiding Heat Damage
To prevent heat damage to the wood wick during the pouring process, allow the melted wax to cool slightly before pouring it over the wick. Extreme temperature changes can cause cracking or charring of the wood wick, affecting its performance over time. By letting the wax cool for a few minutes, you can protect the integrity of both the wood wick and your candle overall.
By following these instructions on how to pour wax over a wood wick without damaging it, you can create beautiful handmade candles with a unique crackling sound when lit. Taking care during this step of the candle making process will ensure that your candles burn cleanly and evenly, providing hours of aromatic enjoyment for yourself and others.
Curing the Candle
Curing a candle is an essential step in the candle making process, as it allows the wax and fragrance to properly bind together, ensuring a more even burn and better scent throw. When using wood wicks in candle making, curing becomes even more crucial to achieve optimal burning performance.
To properly cure a candle with a wood wick, you need to ensure that the wax has completely cooled and hardened before lighting the candle. This usually takes anywhere from 24 to 48 hours, depending on the type of wax used.
During the curing process, it is important to store your candles in a cool, dry place away from direct sunlight and drafts. This will help prevent any cracking or uneven curing of the wax. Additionally, allowing the candle to cure for a longer period can enhance its scent throw and overall performance. Properly cured candles will burn more evenly, have a stronger scent throw, and last longer compared to those that are not cured adequately.
To test if your candle is fully cured and ready for burning, gently press your finger against the surface of the wax. If there are no fingerprints left behind and the surface feels firm, then your candle is likely ready for use. Remember that patience is key when curing candles – rushing this process can negatively impact the quality of your finished product.
| Candle Curing Tips | Benefits |
|---|---|
| Store candles in cool, dry place | Prevents cracking or uneven curing |
| Allow longer cure time | Enhances scent throw and performance |
| Test readiness by pressing wax surface | Determines if fully cured and ready for burning |
Troubleshooting Common Issues
When it comes to using wood wicks in candle making, there can be some common issues that arise during the process. One of the most common problems is the wood wick not staying lit properly or extinguishing too quickly.
This could happen due to several reasons, such as the wood wick being too short, not trimmed properly, or the wick being too thick for the size of the candle. To troubleshoot this issue, make sure to trim the wood wick to the appropriate length and thickness according to the candle size and type of wax used.
Another issue that can occur when using wood wicks in candle making is tunneling, which is when a hole forms down the center of the candle while burning, leaving excess wax on the sides. This can be caused by using a wick that is too small for the diameter of the candle or not allowing enough time for proper curing.
To prevent tunneling, ensure you are using the correct size wood wick for your candle container and follow proper curing guidelines before lighting the candle.
Additionally, sometimes wood wicks may create more smoke or soot compared to traditional cotton wicks, especially if they are not trimmed properly. If you notice excessive smoke or soot while burning a candle with a wood wick, try trimming the wick slightly shorter before relighting it.
It’s also essential to keep an eye on how high your flame burns – if it’s too tall or flickering excessively, trim your wood wick accordingly. Following these troubleshooting tips can help address common issues when using wood wicks in candle making and ensure a successful burning experience every time.
Conclusion and Tips
In conclusion, incorporating wood wicks into your candle making process can add a touch of uniqueness and sophistication to your creations. The use of wood wicks not only enhances the aesthetic appeal of the candles but also provides a soothing crackling sound while burning, creating a cozy atmosphere. By following the step-by-step guide provided in this article on how to use wood wick in candle making, you can ensure that your candles turn out beautifully and burn efficiently.
When selecting the right wood wick for your candles, make sure to consider factors such as candle size and scent throw to achieve optimal results. Preparing the candle container properly and attaching the wood wick securely are crucial steps in the process. Pouring the wax carefully over the wood wick without causing any damage is essential for a successful outcome. Additionally, allowing the candle to cure adequately before lighting it will improve its burning performance.
For those who may encounter common issues when using wood wicks in candle making, such as tunneling or poor scent throw, refer back to the troubleshooting tips outlined in this article. With practice and patience, you can master the art of using wood wicks in candle making and create stunning candles that not only look beautiful but also provide a delightful experience when lit.
Whether you are a beginner or an experienced crafter, experimenting with wood wicks can elevate your candle making skills and bring your creations to the next level.
Frequently Asked Questions
How Do You Use Wooden Wicks in Candles?
Wooden wicks are used in candles by placing them at the center of the container before pouring the wax. They create a unique aesthetic and calming crackling sound when lit, enhancing the overall candle experience.
Do Wooden Wicks Need to Be Soaked?
Yes, wooden wicks usually need to be soaked before use to ensure they burn properly. By soaking them for a few hours in the melted wax, it helps with igniting them more easily and prevents tunneling when the candle burns.
Should I Pour Wax Over the Wood Wick?
It is recommended to pour wax over the wood wick after securing it in place within the container. This step helps to ensure that the wooden wick stays centered and upright during the pouring process, creating a more even burn throughout the candle’s lifespan.

Welcome to my candle making blog! In this blog, I will be sharing my tips and tricks for making candles. I will also be sharing some of my favorite recipes.


