Have you ever wanted to create a unique and enchanting ambiance in your home? Look no further than making a candle in a wine bottle. This creative DIY project allows you to repurpose old wine bottles and transform them into beautiful, one-of-a-kind candles that are sure to set the mood for any occasion.
Selecting the perfect wine bottle is an essential first step in creating your candle masterpiece. Whether you prefer a sleek and modern design or a more rustic look, finding the ideal vessel will ensure that your candle reflects your personal style and aesthetic.
Once you have chosen your wine bottle, it’s time to prepare it for its new role as a candle holder. Removing labels and residue can be a daunting task, but with the right techniques, you can achieve a clean and polished look that will enhance the overall appearance of your finished candle.
In the following sections, we will explore everything from choosing the right candle wax for optimal results to adding fragrance to enhance the ambiance. We will also guide you through the process of safely pouring wax into the wine bottle and customizing it with decorative accents. Additionally, we will provide tips for maintaining your wine bottle candle for longevity and safety precautions when lighting it.
Get ready to embrace the charm of homemade wine bottle candles as we delve into this delightful craft. Let’s begin by discovering how to select the perfect wine bottle for your candle-making journey.
Selecting the Perfect Wine Bottle
When it comes to making a candle in a wine bottle, selecting the perfect vessel is essential. The wine bottle you choose will not only determine the aesthetics of your candle but also its overall functionality. Here are some helpful tips for finding the ideal wine bottle for your candle-making project:
- Consider the shape and size: Wine bottles come in various shapes and sizes, so it’s important to consider what type of candle you want to create. If you prefer a traditional pillar or taper candle, look for a wine bottle with a straight and narrow neck. On the other hand, if you’re aiming for a unique and artistic design, opt for wine bottles with interesting curves or shapes.
- Pay attention to the color: Wine bottles come in an array of colors such as clear, green, amber, and even blue. The color of the bottle will play a significant role in the appearance of your candle when lit. Clear bottles allow the flame to shine through beautifully, while colored bottles can add a warm and cozy ambiance to any space.
- Check for imperfections: Before selecting a wine bottle, make sure to inspect it for any cracks, chips, or imperfections that may affect its usability as a candle vessel. It’s important to choose a bottle that is structurally sound and free from any damage that could compromise its ability to hold the wax securely.
Once you have chosen the perfect wine bottle for your candle-making project, be sure to clean and sanitize it thoroughly before proceeding with the next steps. This will help ensure that your final product looks professional and polished. Removing labels and residue from the bottle will be covered in detail in the next section of this article.
Preparing the Wine Bottle
Once you have selected the perfect wine bottle for your candle, it’s time to prepare it for the transformation. One of the first steps in this process is removing any labels and residue from the bottle to ensure a clean and polished appearance. This section will guide you through the steps to effectively remove labels and residue from your chosen wine bottle.
Gather Your Materials
Before you begin, gather all the necessary materials for this task. You will need a utility knife or razor blade, a bowl of warm soapy water, a scrub brush or sponge, and some adhesive remover or rubbing alcohol.
Soak and Peel
Start by soaking your wine bottle in warm soapy water for approximately 30 minutes. This will help loosen the adhesive holding the label in place. After soaking, gently peel off as much of the label as possible using your fingers. If there are stubborn areas that won’t come off easily, use a utility knife or razor blade to carefully scrape away any remaining pieces.
Remove Residue
After peeling off the label, there may still be some sticky residue left behind on the bottle. To remove this residue, apply a small amount of adhesive remover or rubbing alcohol onto a cloth or sponge and gently scrub the affected area until all traces of residue are gone. Be sure to rinse the bottle thoroughly with water afterward to remove any leftover cleaning solution.
Final Touches
Once you have removed all labels and residue from your wine bottle, give it one final wash with warm soapy water to ensure it is completely clean and ready for use as a candle vessel. Dry it thoroughly with a clean towel before moving on to the next step in making your wine bottle candle.
By taking the time to properly prepare your wine bottle by removing labels and residue, you will achieve a clean and polished look for your homemade candle. This step is essential to create a professional-looking end product that can be proudly displayed or given as a thoughtful gift. With this preparation complete, you are ready to move on to the next stage of creating your wine bottle candle: choosing the right candle wax.
Choosing the Right Candle Wax
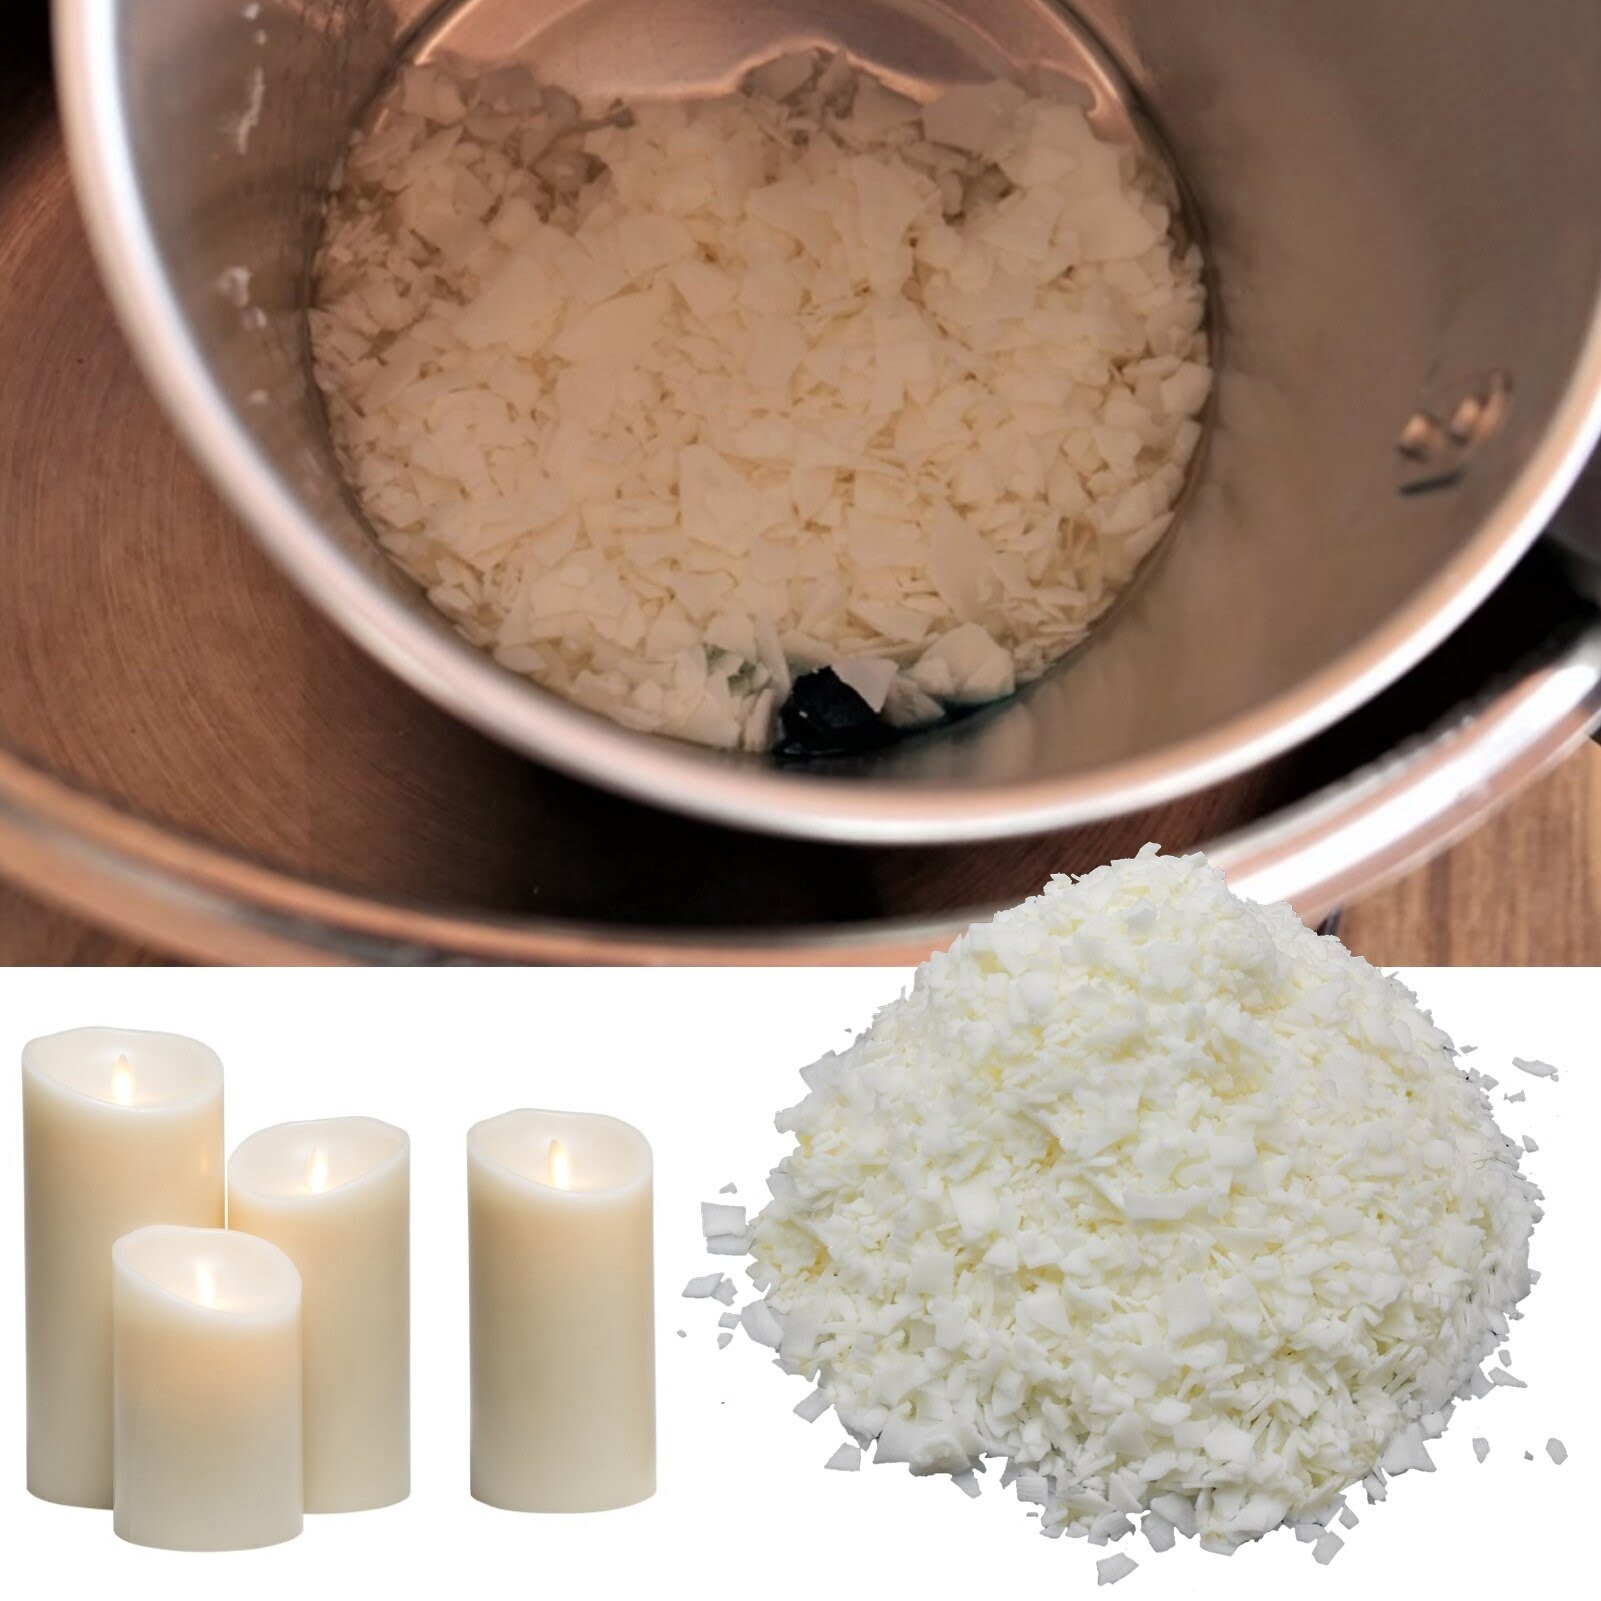
Paraffin Wax: A Classic Choice
One of the most commonly used candle waxes is paraffin wax. This type of wax is readily available and affordable, making it a popular choice for homemade candles. Paraffin wax has a high melting point, which means it can withstand higher temperatures and will burn slowly and evenly.
It also has a white, creamy appearance that can complement any wine bottle color or design. Moreover, paraffin wax can hold a significant amount of fragrance oil, making it ideal for scented candles.
Soy Wax: A Natural Alternative
For those who prefer a more natural option, soy wax is an excellent alternative to paraffin wax. Made from soybean oil, this wax is biodegradable and renewable, making it environmentally friendly. Soy candles have a cleaner burning process with little to no soot or smoke compared to paraffin candles.
They also tend to have a longer burn time due to their lower melting point. Soy wax has a smooth texture and provides excellent fragrance throw when paired with high-quality fragrance oils.
Beeswax: A Luxurious Choice
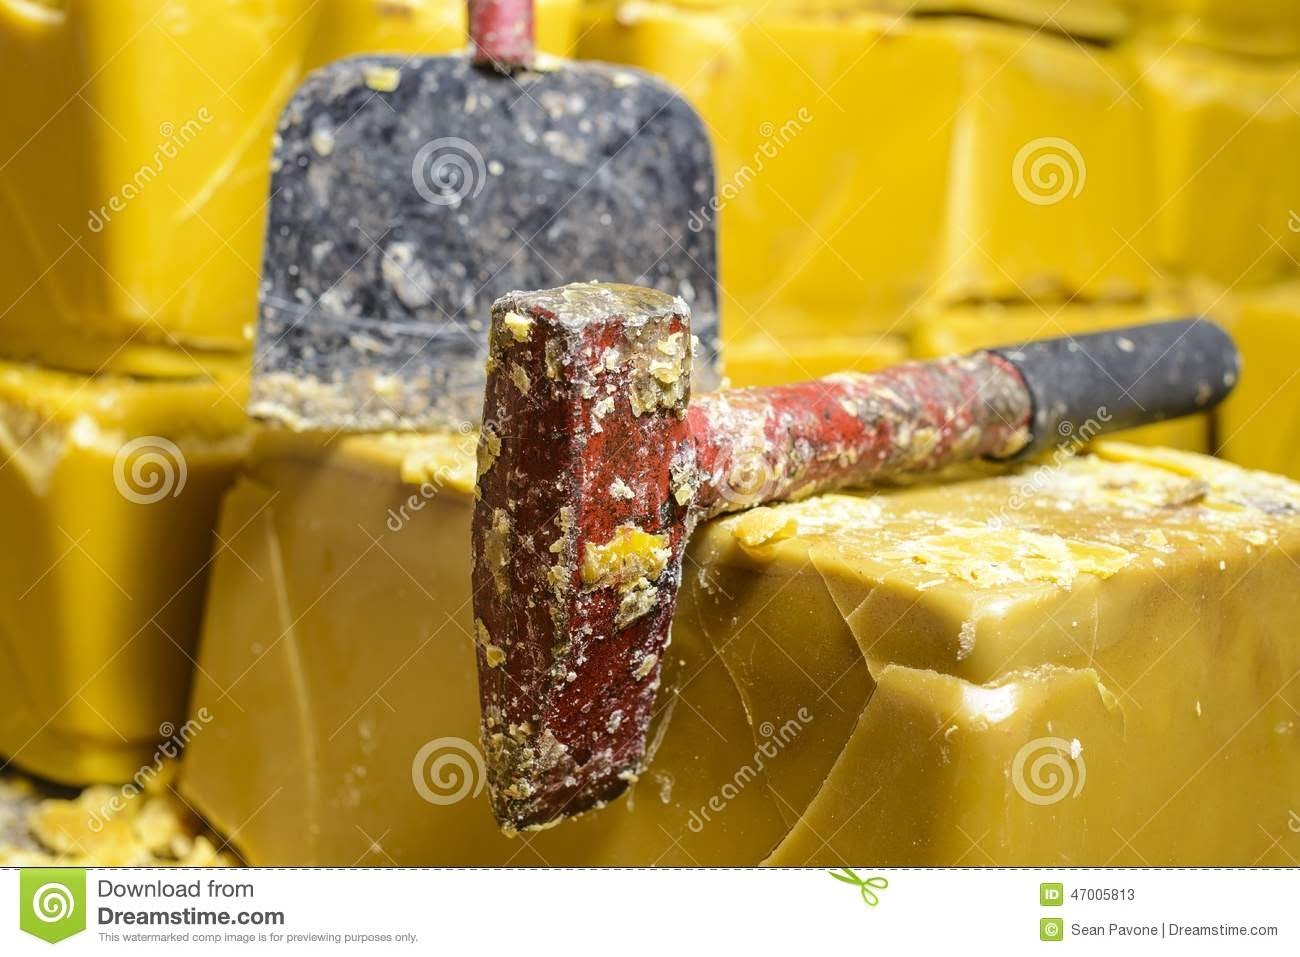
If you’re looking for a luxurious and natural option, beeswax is worth considering for your wine bottle candle. Beeswax is known for its distinct honey-like scent and beautiful golden color. It burns slower than other waxes and produces a warm glow that adds an elegant touch to any space.
Beeswax candles are hypoallergenic and release negative ions when burned, which can help purify the air in your home. While beeswax may be more expensive than other candle waxes, its unique qualities make it a sought-after choice for high-end homemade candles.
No matter which type of candle wax you choose for your wine bottle candle, it’s essential to consider the safety aspects as well. Always follow the manufacturer’s instructions for melting and pouring the wax, and never leave a burning candle unattended.
By exploring different types of wax and understanding their unique properties, you can create a wine bottle candle that not only looks beautiful but also provides optimal results in terms of scent throw, burn time, and overall ambiance.
The Art of Scent
Adding fragrance to a wine bottle candle is an essential step in creating a truly luxurious and enticing atmosphere. The right scent can evoke pleasant memories, create a relaxing ambiance, or even invigorate the senses. With a wide variety of fragrance options available, it’s important to choose one that complements the mood you want to set and enhances the overall experience of your candle.
When selecting a fragrance for your wine bottle candle, consider the space in which it will be used. For example, if you’re planning to light the candle in a bedroom or living room, you may want to opt for calming scents like lavender or vanilla. On the other hand, if you’re looking to create an energizing atmosphere in a kitchen or bathroom, citrus-based scents such as lemon or grapefruit can be refreshing choices.
Another consideration when choosing a fragrance is the seasonality of your candle. During warmer months, floral or fruity scents are popular choices as they evoke feelings of freshness and brightness. In contrast, during colder months, warm and cozy scents like cinnamon or pine can help create a comforting and inviting atmosphere.
To add fragrance to your wine bottle candle, there are several options available. One option is to use pre-scented candles or wax melts in complementary scents that can be melted down and poured into your wine bottle. Alternatively, you can add fragrance oils directly into melted wax before pouring it into the wine bottle.
Regardless of the method you choose, it’s important to follow safety guidelines when working with fragrances and wax. Always use fragrances that are specifically designed for candle making and follow recommended usage rates to ensure optimal scent throw without overpowering the candle.
| Category | Example Scents |
|---|---|
| Calming Scents | Lavender, Vanilla |
| Energizing Scents | Lemon, Grapefruit |
| Floral/Fruity Scents (Warm Months) | Rose, Jasmine, Citrus Fruits |
| Warm/Cozy Scents (Cold Months) | Cinnamon, Pine, Vanilla Bean |
Mastering the Pour
Pouring wax into a wine bottle may seem like a challenging task, but with the right technique and precautions, it can be easily mastered. Follow this step-by-step guide to safely pour wax into your wine bottle and create a beautiful homemade candle.
Step 1: Prepare the workspace – Before starting the pouring process, make sure you have a clean and organized workspace. Lay down some newspaper or a plastic sheet to catch any spills or drips. Ensure that your wine bottle is clean and dry before proceeding.
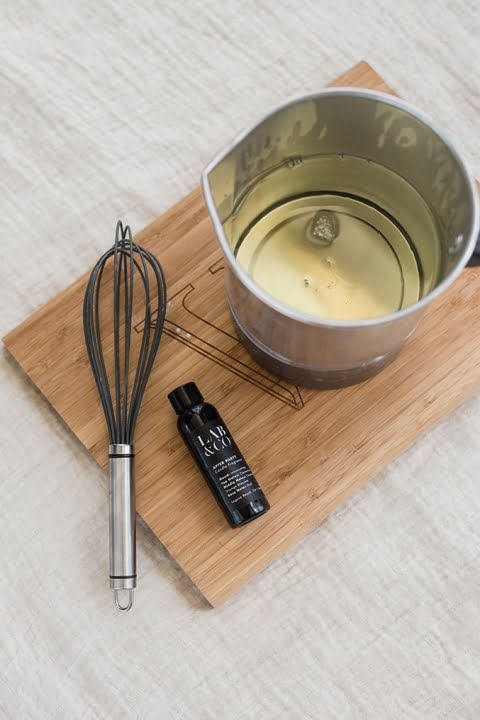
Step 2: Melt the wax – Choose the type of candle wax you want to use for your wine bottle candle. Melting the wax can be done using either a double boiler or a microwave. If using a double boiler, fill the bottom pot with water and place it on low heat.
Put the chosen amount of wax in the top pot and stir occasionally until fully melted. If using a microwave, put chunks of wax in a microwavable container and heat in short intervals, stirring between each interval until completely melted.
Step 3: Add fragrance (optional) – If desired, add fragrance oil or essential oils to your melted wax to enhance the scent of your candle. Stir well to ensure that the fragrance oil is fully incorporated into the melted wax.
Step 4: Secure your wick – Take your pre-tabbed wick and place it in the center of your wine bottle, securing it with a wick sticker or hot glue gun at the bottom of the bottle. Make sure that the wick is straight and centered before proceeding.
Step 5: Pouring – Slowly pour your melted wax into the wine bottle while holding onto the wick upright. Start pouring from one side of the bottle, allowing it to flow smoothly inside without any splashes or spills. Continue pouring until the wax reaches about half an inch from the opening of the bottle.
Step 6: Settling and topping off – Allow the poured wax to settle for a few minutes. As it settles, it may create a slight indentation around the wick. If needed, melt some more wax and top off your candle to level the surface, ensuring an even burn when lit.
By following these steps, you can safely pour wax into your wine bottle and create a stunning homemade candle. Remember to exercise caution while working with hot wax and always follow safety guidelines.
Customizing Your Wine Bottle Candle
Once you have successfully poured the wax into your wine bottle and allowed it to cool and set, it’s time to add some personal touches to enhance the overall aesthetic of your candle. Customizing your wine bottle candle with decorative accents allows you to truly make it unique and catered to your personal style. Here are some creative ideas for adding that extra touch:
- Ribbon or Twine Wraps: One simple yet effective way to customize your wine bottle candle is by wrapping a ribbon or twine around the neck of the bottle. You can choose a color that complements the scent or theme of your candle, or opt for a natural jute twine for a rustic look.
- Wax Drips: For a vintage-inspired look, you can create wax drips along the sides of the bottle. Simply melt some additional wax in a contrasting color, and carefully drip it down the sides using a spoon or toothpick. This technique gives the illusion that your candle has been burning for some time and adds an extra layer of charm.
- Decorative Charms: Another way to personalize your wine bottle candle is by attaching decorative charms to the neck or body of the bottle. Consider using small metal charms, beads, or even seashells that reflect your interests or match the theme of your candle.
- Painted Designs: If you’re feeling especially creative, you can paint designs directly onto the surface of your wine bottle candle using glass paint or markers. From intricate patterns to simple monograms, this technique allows you to truly make your candle one-of-a-kind.
Remember, when adding decorative accents to your wine bottle candle, it’s important not to compromise its safety or functionality. Avoid placing any decorations near the flame, as they may catch fire or produce harmful fumes. Additionally, make sure any materials you use are heat-resistant and won’t melt or deform when the candle is lit.
By customizing your wine bottle candle with decorative accents, you can turn a simple DIY project into a personalized piece of art that adds a touch of elegance and charm to any space. Let your creativity shine and enjoy the process of making your candle truly unique.
Caring for Your Wine Bottle Candle
Caring for your wine bottle candle is essential to ensure its longevity and maintain its beauty. Here are some tips to help you properly care for your candle:
- Trimming the Wick: Before each use, it is important to trim the wick of your wine bottle candle to about 1/4 inch. This will prevent the flame from becoming too large and reduce the risk of smoke and soot.
- Avoid Drafts: When lighting your wine bottle candle, make sure to place it in an area where there are no drafts or breezes. A flickering flame caused by drafts can disturb the wax pool and lead to an uneven burn.
- Burn Time: It’s important to remember that a wine bottle candle should not be burned for more than 3-4 hours at a time. Excessive burning can cause the glass container to overheat, potentially leading to cracking or shattering.
- Extinguishing Safely: To extinguish your wine bottle candle, use a snuffer or gently blow out the flame. Avoid using water or blowing the wax as this can splatter and potentially cause burns.
- Storage: When not in use, store your wine bottle candle in a cool, dry place away from direct sunlight. Exposure to sunlight can fade colors and deteriorate the fragrance of scented candles.
- Cleaning: Over time, dust may accumulate on the surface of your wine bottle candle. To clean it, simply wipe it gently with a soft cloth or use a hairdryer on low heat setting to blow away any dust particles.
By following these simple tips, you can enjoy your wine bottle candle for longer periods while maintaining its aesthetic appeal and functionality. As with any home decor item, proper care is crucial in order to extend its lifespan and keep it looking its best over time.
Igniting the Glow
Once you have successfully made your wine bottle candle, it’s time to ignite the glow and enjoy the cozy ambiance it creates. However, before lighting your candle, it is crucial to prioritize safety measures to prevent any accidents or hazards.
Firstly, ensure that your wine bottle candle is placed on a stable and heat-resistant surface. Avoid placing it near flammable materials such as curtains or papers. It is also recommended to use a candle holder or a tray underneath the wine bottle candle to catch any dripping wax.
When lighting your wine bottle candle, always use long-reach lighters or extra-long matches to keep a safe distance between your hand and the flame. Lean in and light the wick carefully, ensuring that there are no loose pieces of debris near the flame.
While enjoying the flickering light of your wine bottle candle, be sure to never leave it unattended. It is essential to extinguish the flame before leaving the room or going to sleep. To extinguish the flame safely without causing damage, use a snuffer or gently blow on the wick until it is fully extinguished.
Lastly, always remember to keep children and pets away from lit candles and never let them handle matches or lighters. By following these safety precautions and guidelines when lighting and enjoying your wine bottle candle, you can fully embrace its charm while maintaining a safe environment for everyone involved.
Now that you know how to safely light and enjoy your homemade wine bottle candle take time to bask in its warm glow and inviting fragrance. Whether you are using it for relaxation during a soothing bath or setting an intimate atmosphere during dinner parties, these unique candles are guaranteed to add charm and elegance wherever they are placed.
So go ahead, ignite the glow of your handmade creation and savor the enchanting ambiance of your very own wine bottle candle.
Conclusion
In conclusion, creating homemade wine bottle candles is a delightful and charming way to set the mood and enhance your living space. By following the step-by-step guide provided in this article, you can successfully craft your own unique candle that adds a touch of elegance to any room.
Selecting the perfect wine bottle is the first step in creating your candle masterpiece. From there, preparing the bottle by removing labels and residue ensures a clean look that allows the glow of the candle to shine through. Choosing the right candle wax and adding fragrance further enhances the ambiance, allowing you to customize your creation according to your preferences.
Mastering the art of pouring wax into the wine bottle is crucial for safety and optimal results. Once your candle is set, don’t forget to add personal touches with decorative accents that reflect your individual style. Caring for your wine bottle candle will prolong its longevity and ensure that it continues to bring warmth and charm for many evenings to come.
Finally, once all is said and done, safely lighting and enjoying your wine bottle candle is what truly ignites its beauty. As you bask in the warm glow of your creation, take a moment to appreciate and embrace the unique charm that homemade wine bottle candles bring into your home.
So why not indulge in this creative endeavor? Gather some empty wine bottles, select your favorite fragrances, and get started on crafting beautiful homemade wine bottle candles that will undoubtedly bring joy and ambiance to any occasion or space. Cheers.

Welcome to my candle making blog! In this blog, I will be sharing my tips and tricks for making candles. I will also be sharing some of my favorite recipes.


