Interested in creating your own unique candles? One intriguing technique to try is making a candle with ice cubes. This method offers a stunning and distinctive look that will impress anyone who sees it. In this article, we will explore the art of candle making and guide you through the process of creating your own ice cube candles.
Candle making has been a popular craft for centuries, offering individuals the opportunity to express their creativity and produce beautiful, functional items for their homes. Making a candle with ice cubes adds an exciting twist to this timeless tradition, resulting in candles with intricate patterns that are sure to be conversation starters.
Whether you’re a seasoned candle maker looking to try something new or a beginner interested in exploring this unique craft, making a candle with ice cubes offers an exciting and rewarding challenge. In the following sections, we will cover everything you need to know to get started on this creative endeavor, from gathering the necessary materials and tools to troubleshooting common issues that may arise during the process.
Let’s dive into the world of ice cube candle making and unleash your creativity.
Getting Started
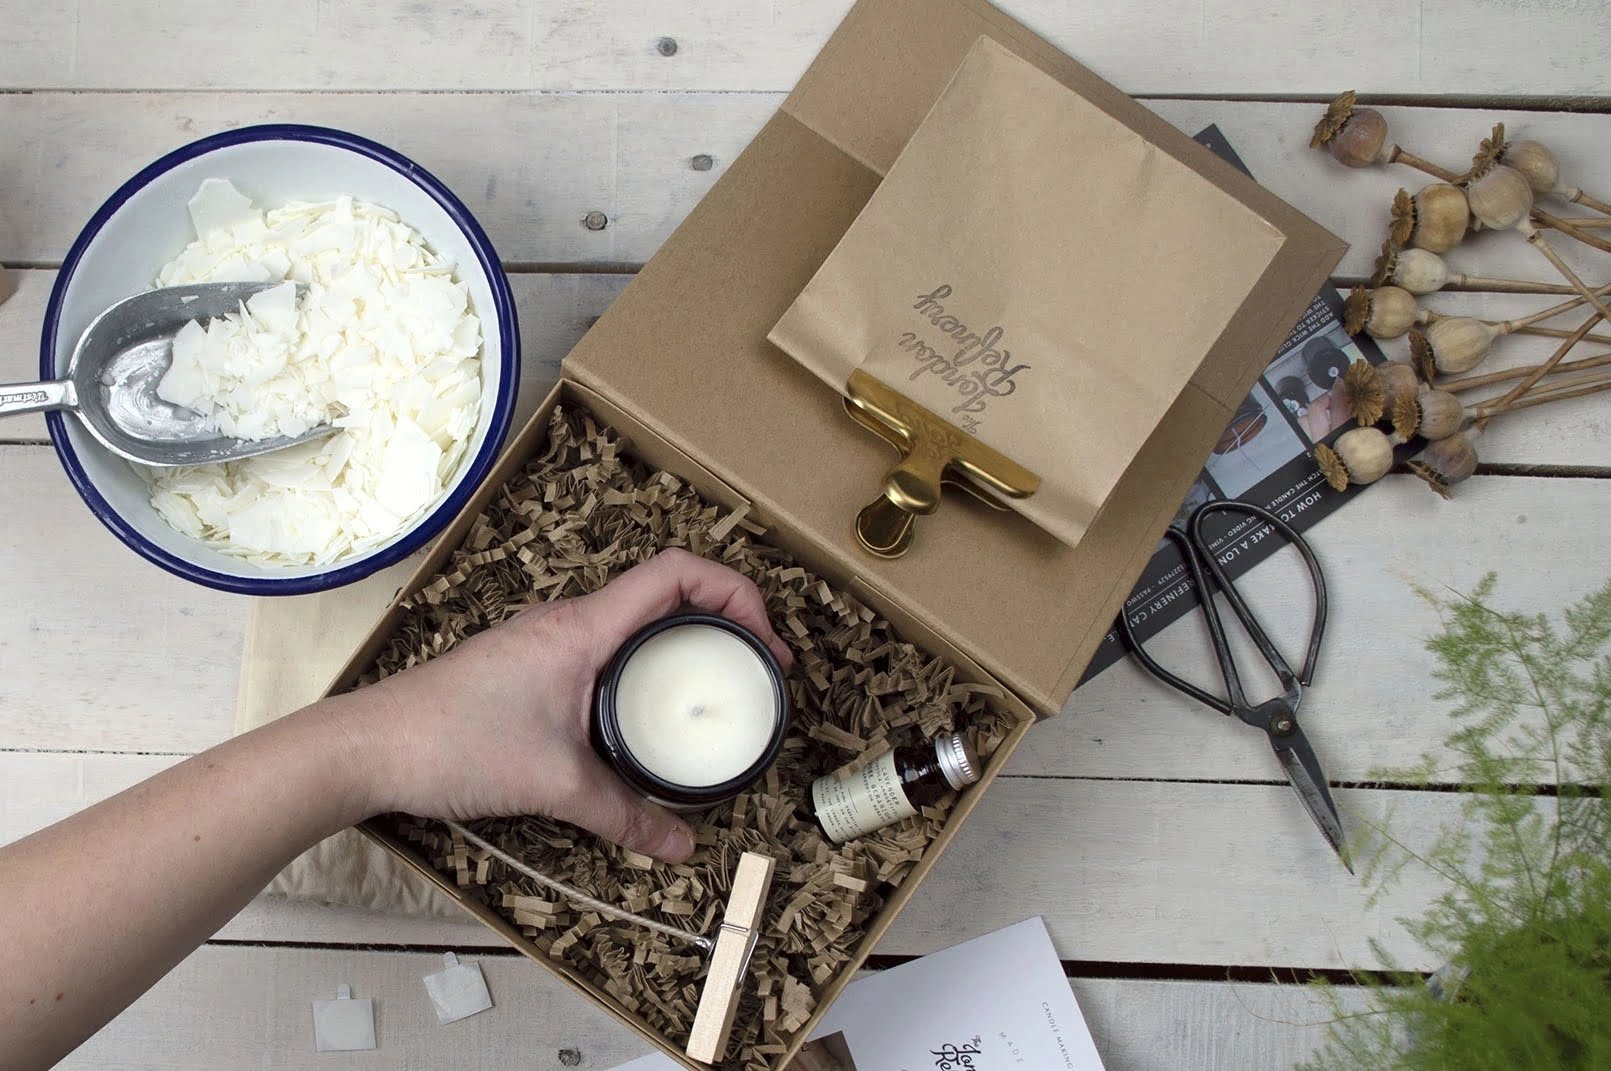
When it comes to making a candle with ice cubes, it’s important to start by gathering all the necessary materials and tools. The first thing you’ll need is wax – whether it’s paraffin, soy, or beeswax, make sure you have enough for your project.
You’ll also need a double boiler or a heat-safe container to melt the wax in. Additionally, have wicks, a mold for the candle, a pot to melt the wax in, fragrance oils (if you want scented candles), and of course, ice cubes.
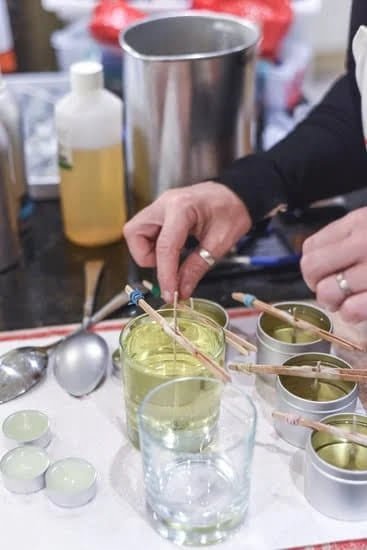
Another essential tool for this unique candle making technique is a sturdy pair of gloves to handle the ice cubes. Since you’ll be working with hot wax and cold ice simultaneously, it’s important to protect your hands from any potential burns. It’s also helpful to have various containers and utensils specifically for candle making; designate these items solely for this purpose as they may become coated in wax residue after use.
Once you have all these materials and tools gathered, you’re ready to begin the fascinating process of making a candle with ice cubes. Take your time to ensure that everything is prepared before diving into the step-by-step guide that will follow.
| Materials | Tools |
|---|---|
| Wax (paraffin, soy, or beeswax) | Double boiler or heat-safe container |
| Wicks | Mold for the candle |
| Pot | Fragrance oils (optional) |
Choosing the Right Wax
When it comes to making a candle with ice cubes, choosing the right wax is crucial to the success of the project. Different types of wax have their own unique characteristics, melting points, and suitability for various candle making techniques, including the use of ice cubes. Here, we’ll explore some of the most common types of wax used in candle making and how they might work for creating beautiful ice cube candles.
Paraffin Wax
One of the most widely used waxes in candle making, paraffin wax is known for its excellent scent throw and ability to hold color well. When using ice cubes to create unique patterns in a candle, paraffin wax can produce stunning results due to its ability to adhere to the irregular surface created by the melting ice. This type of wax is readily available and relatively easy to work with, making it a popular choice for many candle makers.
Soy Wax
Soy wax has gained popularity in recent years due to its renewable and eco-friendly nature. It has a lower melting point than paraffin wax, which can make it slightly more challenging to work with when using ice cubes in the candle making process. However, soy wax is known for its clean-burning properties and ability to hold fragrances well, which may appeal to those looking to create natural and environmentally-friendly ice cube candles.
Beeswax
Beeswax is another natural option for creating ice cube candles. Known for its subtle honey fragrance and warm golden color, beeswax can add a unique touch to these handmade creations. With its higher melting point compared to other waxes, beeswax may require some experimentation when using ice cubes as part of the design process but can result in beautifully rustic and charming candles.
Exploring different types of waxes and their suitability for making a candle with ice cubes will allow you to choose the best option based on your desired outcome and personal preferences. Each type of wax offers its own set of advantages and challenges when it comes to this unique technique, so consider the characteristics that are most important to you when selecting the right wax for your project.
Preparing the Ice Cubes
When it comes to making a candle with ice cubes, preparing the ice cubes is a crucial step in achieving the unique and beautiful patterns that set this candle making technique apart. The process involves creating a pattern in the wax by using ice cubes as a mold, resulting in an intricate and eye-catching design that adds a touch of elegance to the finished candle.
Choosing the Right Ice Tray
The first step in preparing ice cubes for making candles is to choose the right ice tray. It’s important to select a tray with small, regular-sized compartments to ensure that the ice cubes will melt at a consistent rate. Additionally, consider using silicone ice cube trays, as they are flexible and make it easier to remove the ice cubes without damaging their shape.
Purifying the Water
To create crystal-clear and flawless ice cubes for your candles, it’s essential to use purified water. By boiling the water before freezing it into ice cubes, you can eliminate any impurities or air bubbles that may result in cloudy or uneven patterns in the wax.
Adding Decorative Elements
For an extra touch of creativity, consider adding decorative elements to your ice cubes before freezing them. Whether it’s flower petals, herbs, or even small slices of citrus fruit, incorporating these additions into your ice cubes can create stunning and unique patterns in your candles. Just be sure to freeze them separately from the plain water-filled ice cubes to prevent mixing patterns.
By following these tips and techniques for creating perfect ice cubes for candle making, you can elevate your candle-making skills and produce stunning and one-of-a-kind candles with intricate and eye-catching designs. The preparation of the ice cubes is an essential aspect of this unique candle-making technique, allowing you to achieve beautiful and mesmerizing patterns that will captivate anyone who sets eyes on your finished candles.
Step-by-Step Guide
When it comes to making a candle with ice cubes, the process can be both exciting and challenging. The unique pattern created by the ice cubes adds a beautiful touch to the finished product, making it a popular choice for candle enthusiasts. In this step-by-step guide, we will take you through the detailed process of creating your very own ice cube candle.
Firstly, you’ll need to gather all the necessary materials and tools for this project. This includes wax (paraffin or soy), a double boiler or melting pot, a wick, fragrance oil (optional), dye (optional), and of course, ice cubes. Make sure to choose high-quality materials to ensure the best results for your candle making endeavor.
Next, prepare the ice cubes that will be used to create the unique pattern on your candle. It’s important to use clear and clean ice cubes to achieve the desired effect. You can experiment with different shapes and sizes of ice cubes to create various patterns on your candles. Additionally, you can add color or scent to the water used for creating the ice cubes for an extra personal touch.
Following these steps will ensure that you are well-prepared to begin the process of making a candle with ice cubes. From melting the wax to carefully placing the ice cubes and allowing them to create their pattern, each step is crucial in achieving a stunning end result. With patience and precision, you can enjoy creating your own one-of-a-kind ice cube candles that are sure to impress anyone who sees them.
Troubleshooting
When making a candle with ice cubes, it’s important to be prepared for potential issues that may arise during the process. One common problem that can occur is the ice cubes not leaving a clear pattern in the wax once they have melted. This can be frustrating, especially after putting in all the effort to create the perfect ice cubes.
To address this issue, one solution is to ensure that the ice cubes are completely frozen before placing them in the melted wax. This will help ensure that they retain their shape and leave a distinct pattern in the candle.
Another potential problem when making a candle with ice cubes is air bubbles forming between the ice and the wax, which can result in an uneven or patchy pattern. To prevent this issue, it’s important to gently press down on the ice cubes once they are placed in the wax to remove any trapped air. Additionally, using a higher melting point wax can help reduce the formation of air bubbles, resulting in a smoother and more uniform pattern.
Additionally, an issue that may arise when making candles with ice cubes is difficulty in removing the finished candle from the mold without damaging its delicate design. To avoid this problem, it’s helpful to place the mold in hot water for a few seconds to slightly melt the surface of the candle, allowing for easier removal. This simple technique can make all the difference in preserving the intricate pattern created by the ice cubes.
By being aware of these common issues and knowing how to address them, you can troubleshoot any problems that may arise when making a candle with ice cubes and create beautiful, unique candles every time.
Decorating and Personalizing
When it comes to making a candle with ice cubes, there are various ways that you can decorate and personalize your creation to make it unique to your own style and preferences. Adding color, scent, and other decorative elements can elevate your ice cube candles to the next level, making them not only visually appealing but also aromatic and atmospheric. Here are some tips for decorating and personalizing your ice cube candles:
- Color: One way to add a pop of color to your ice cube candles is by incorporating dye chips or liquid candle dye into the melted wax before pouring it over the ice cubes. You can experiment with different color combinations to create a marbled effect or create gradient patterns within the candle.
- Scent: To infuse your ice cube candles with a delightful fragrance, consider adding scented fragrance oils to the melted wax. There are endless options available, from floral and fruity scents to warm and cozy aromas, allowing you to tailor the scent of your candle to suit any occasion or mood.
- Decorative elements: Elevate the visual appeal of your ice cube candles by embedding dried flowers, herbs, or even small decorative objects into the surface of the candle before it fully hardens. This adds an artistic touch and creates a stunning visual effect as the candle burns down.
By incorporating these decorative elements into your ice cube candles, you can truly make them one-of-a-kind creations that reflect your personal style and creativity. Whether you choose subtle pastel hues and delicate floral scents or bold vibrant colors with eye-catching embellishments, decorating and personalizing your ice cube candles adds an extra layer of artistry to this already unique technique.
As you explore the possibilities for decorating and personalizing your ice cube candles, don’t be afraid to experiment and let your creativity guide you. The beauty of making a candle with ice cubes lies in its versatility and potential for artistic expression, allowing you to craft custom-made creations that are both visually stunning and delightfully fragrant.
Final Thoughts
In conclusion, making a candle with ice cubes can be a truly unique and rewarding experience. This unconventional technique allows for the creation of beautifully intricate candles that are both visually stunning and aromatic. The process of creating ice cube candles also provides an opportunity for personalization, as you can experiment with different colors, scents, and decorative elements to make each candle truly your own.
Through the steps outlined in this article, you’ve learned how to gather the necessary materials and prepare the ice cubes for this special candle making technique. You’ve also explored different types of wax and discovered the best practices for troubleshooting common issues that may arise during the process. The step-by-step guide has walked you through melting the wax and creating the distinctive ice pattern that gives these candles their unique beauty.
As you decorate and personalize your ice cube candles, remember to embrace your creativity and express yourself through your creations. Whether you’re making these candles for yourself or as gifts for others, take pride in the individuality of each piece you produce.
The journey of making a candle with ice cubes is not just about the finished product; it’s about exploring your creativity, embracing new techniques, and finding joy in the art of candle making. So enjoy this unique experience and revel in the beauty of your one-of-a-kind ice cube candles.
Frequently Asked Questions
Can You Make a Candle From Ice?
Yes, you can make a candle from ice. It involves freezing water in a mold, creating a hollow space inside the ice block where you can insert a wick and light it like a regular candle.
What Is an Ice Candle?
An ice candle is exactly what it sounds like – a candle made out of ice. The process involves creating a cavity or hollow space within the ice where the wick and wax can be placed, allowing it to burn like a traditional candle.
How Do You Make Ice Cube Tray Candles?
Making ice cube tray candles involves using an ice cube tray as the mold for your candles. You would fill each compartment with water, place the wick in each one, and then let them freeze. Once frozen, you’ll have small, individual ice candles that can be used for decoration or ambiance.

Welcome to my candle making blog! In this blog, I will be sharing my tips and tricks for making candles. I will also be sharing some of my favorite recipes.


