Introduction
A giant candle is a large-scale version of a normal candle. It is usually taller than average and can range in size from several feet to several yards tall. A giant candle generally has multiple wicks that allow it to produce an impressive flame when lit. These candles are typically used as decorations for special events or places, such as outdoor weddings, parades, churches, monuments, and parks. They can be made from a variety of materials depending on the desired look and purpose. One popular method of creating these types of candles is by using a wax-casting technique with multiple wicks embedded into the wax during the casting process.
Benefits of Making a Giant Candle
Making a giant candle can be a fun and creative project for any individual or group of people. The potential benefits of making a large candle are vast—from providing aesthetic beauty to creating a warm atmosphere in the home. A giant candle can also add drama to a special event, such as a wedding, birthday party, or other special occasion. Additionally, making your own candle will save you money over purchasing one from a store. You can even customize the color and scent to match whatever mood you’re looking to create or your specific decor style. Making your own candle is also an eco-friendly alternative to buying mass-produced candles, which often contain toxic chemicals that contribute to air pollution. Furthermore, taking on this DIY project is also an enjoyable way to spend quality time with your family and friends.
List of Supplies Needed
Making a giant candle is a fun and creative project. The required supplies to make the candle are readily available and relatively simple to work with.
To get started, gather the following supplies:
1. Wax- Use either soy or paraffin wax for best results. Soy wax is easy to clean up and works with essential oils for added scents. Paraffin wax produces great scent throw and has increased flexibility when compared to other waxes.
2. Container- Choose a large metal, plastic, glass, or metal container (depending on where you’re going to place it) that can hold the quantity of wax needed for your desired end product size.
3. Wick- Choose a wick that will provide an adequate burn allowing your candle to slowly evaporate over time without burning too quickly or too slow. Test different wicks in samples ahead of time if possible!
4. Colorants & Fragrances- If you want color and scent, pick out appropriate dyes and fragrances that pair well together and match any décor– also remember different fragrances will come off stronger in certain types of waxes such as soy versus paraffin.
5. Sealing Wax- To seal the top edge of your candle ensuring it doesn’t crumble away over time you’ll need sealing wax in the corresponding color to your candle so it matches! This isn’t necessary but highly recommended for those more intricate creations!
6 . Thermometer- A digital thermometer is important when blending melted wax at higher temperatures– this will help ensure you don’t burn your candle by having an accurate measurement of temperature as you add colorants and fragrances in order to prevent from anything disastrously happening later when lighting up the finished product!
Preparing the Mold
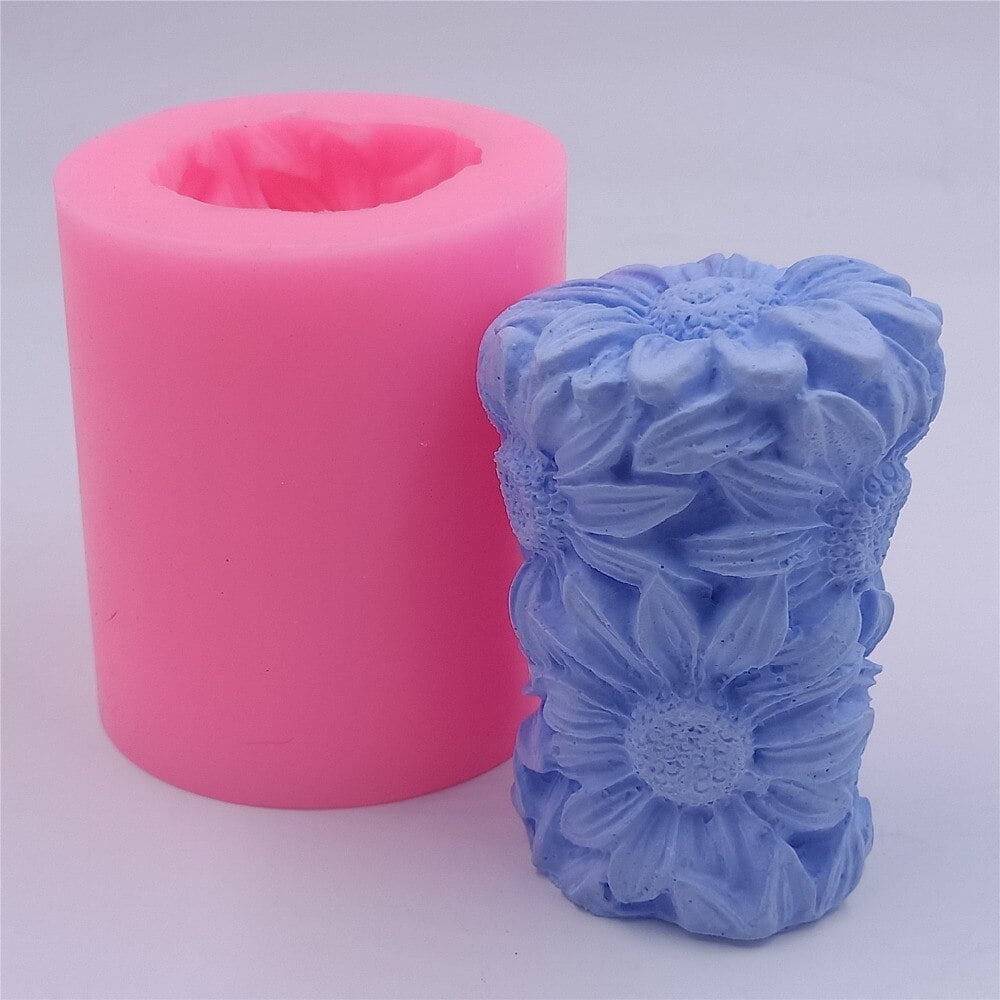
Making a giant candle requires preparatory work. Before pouring any wax, the mold must be prepared first. This entails cleaning it with warm soapy water and a soft cloth and allowing it to dry thoroughly. If the walls of the mold are smooth or sticky, apply a release agent, like petroleum jelly or cooking spray, to allow for easy release of the finished candle. For wooden or other porous molds, use a silicone sealant to waterproof the interior. If desired, cover the outside of the mold in decorative wrapping paper or fabric to add color and texture to your end product. After completing these steps, position the wick at the very center of the cavity and secure it with clay or other similar material at both ends.
Heating the Wax and Adding Fragrance Oils
Making a giant candle is an exciting and rewarding DIY project that can create beautiful, unique pieces for your home. To start, the wax for your candle needs to be melted. For best results, use a double boiler and remember to keep checking the temperature as it melts. Once all of the wax has been melted, add in fragrance oils according to the recipe you’re following – or if you prefer, experiment with essential oils and scents that you love! Keep stirring vigorously while pouring in small batches until you reach your desired level of scent – you don’t want to pour too much at once. To finish off your candle, be sure that all of the wicks are set firmly and secured properly, so your masterpiece will burn evenly. After all these steps have been completed, you can finally enjoy your self-made giant candle!
Pouring the Wax into the Mold
Making a giant candle requires time, patience and careful crafting. The first step is to find or create a mold into which the wax can be poured. This can be done using heavy cardboard, resin molds, plastic containers, etc., and should be large enough to make the desired size of the candle. Next, melt the desired amount of wax; this could be paraffin, beeswax or soy wax. The wax can either be melted in a pre-made wick bowl or in double-boilers using low heat (this should take about 10 minutes). Once everything is melted properly, it should be stirred slowly with a wooden spoon until everything melts evenly. Finally, pour the liquid wax slowly into the pre-made mold, filling each corner as evenly as possible – testing it afterwards to ensure even distribution of heat while cooling. Once cooled properly (which takes anywhere from 4-6 hours depending on shape/size of your giant candle), your beautifully crafted giant candle is ready to use and enjoy!
Customizing the Candle with Color and Decorations
Making a giant candle can be an exciting and creative activity. You can customize the candle with whatever colors you like, and decorate it with anything that captures your imagination—from ribbons to glitter to paint. There are many different techniques you can use to create your own unique creation. Using crayons or dye chips, you can add vibrant and bold colors directly into the melted wax. If you want a more subtle look, liquid dyes are also available and work great for creating pastel shades of any color.
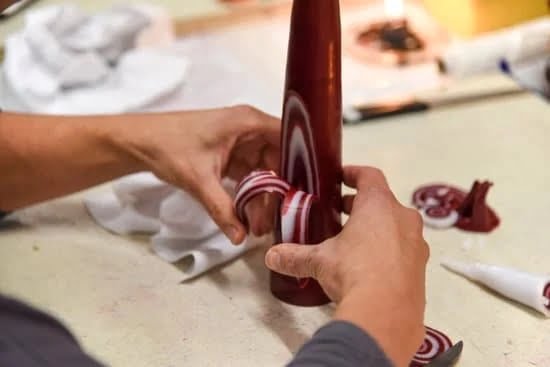
If you’re looking to get extra crafty with your giant candle, consider adding decorations such as sequins, beads, shells, leaves, buttons, charms or any other trinkets that appeal to you. Once mixed in the melted wax —or attached on top of the candle’s surface using hot glue—the items will maintain their shape once solidified for long lasting effects. You could also choose to paint your giant candle with a mix of different colors for a unique marbled effect or make stripes and geometric motifs by carefully pouring a variety of different colored waxes onto the container one after another. For those wanting something extra special added onto their creation, consider embedding silk flowers or draw specific designs or favorite quotes with permanent markers!
Adding Wicks and Finishing Touches
Once you have your candle moulded and the desired colors added, adding wicks will be a crucial step in making your giant candle. If the diameter of your candle is not more than 3 inches, you can opt for pre-waxed wicks made from cotton or synthetic fibers. Submerge them in melted wax and pull them out when dry. For larger candles, multiple large wicks are needed to ensure an even burn. Secure these to the base with a central stick or pin before laying them across the top. You can also place smaller wicks inside each section of colors if they are not perfectly blended together.
The last step is to seal any patches or cracks around the edges caused by wrapping or air bubbles that may form during cooling with a lighter colored hot wax applied directly to the surface. Finally, trim your wick to about 1/4 inch before lighting your newly made giant candle. Trimming regularly during burning helps keep soot at bay and ensures that you are able to enjoy the full beauty this masterpiece has to offer.
Storage Tips for Your Giant Candle
When caring for your giant candle, it is important to take care in its storage. Here are some tips to help extend the life of your candle:
1. Keep the candle out of direct sunlight and away from any sources of heat. Exposure to direct light and heat can cause the wax to melt and distort the shape of the candle.
2. Store your giant candle in a clean, dry place that has a temperature between 64-68 degrees Fahrenheit (17-25 degrees Celsius). An ideal place would be in a cool closet or cabinet where no other items are stored near it that could potentially damage or contaminate it.
3. Place your giant candle inside an airtight container when not in use. This will help preserve its scent and keep dust particles away from it while also protecting against accidental spilling. Be sure that there’s enough space inside the container so as not to put too much pressure on the candle as this may cause damage or melting.
4. Always allow your giant candle to cool off before storing it away, otherwise you risk warping or melting the wax when placed back into an environment with higher temperatures.
5. Finally, make sure that your wicks are kept trimmed down between uses– either snip them off with scissors or use a wick trimmer– this will help prevent excessive smoking when lit and lessen the chances of having soot around your home before its ready to be used again!
Conclusion
Once you have finished making your giant candle, you can finally breathe a sigh of relief! You have created something from scratch that looks amazing. What better way to show off your skills than to gift it to someone special in your life? Your home-made giant candle will be cherished forever and will show your recipient how much time and care have gone into its creation. Not only do they get to admire the beauty you have created but they will also benefit from the wonderful aroma it brings into their home. A truly unique gift that is guaranteed to bring joy!

Welcome to my candle making blog! In this blog, I will be sharing my tips and tricks for making candles. I will also be sharing some of my favorite recipes.


