Glitter candle jars have become increasingly popular in recent years, and it’s not hard to see why. These sparkling beauties add a touch of elegance and glamour to any space, making them a trendy addition to home decor. Whether you’re looking to create a cozy ambience for a romantic dinner or simply want to add some flair to your living room, glitter candle jars are the perfect choice.
In order to make your own glitter candle jar, you’ll need a few basic materials. The first item on your list should be a glass jar that can withstand heat, as it will hold the candle.
Additionally, you’ll need glitter in your desired color(s), glue for adhering the glitter, paintbrushes for applying the glue, and optional decorations such as ribbon or beads. Once you have gathered all these supplies, you’re ready to embark on the glittery journey of creating your very own stunning candle jar.
Creating a glitter candle jar is not as difficult as it may seem. In fact, with the right techniques and step-by-step instructions, anyone can achieve beautiful results.
This article will guide you through the entire process of making a glitter candle jar, from selecting the perfect type and color of glitter to securing it onto the glass jar flawlessly. By following these instructions carefully, you’ll be able to create an eye-catching centerpiece or decorative piece that will truly brighten up any space.
Stay tuned for detailed step-by-step instructions on how to make your own glitter candle jar.
Materials needed
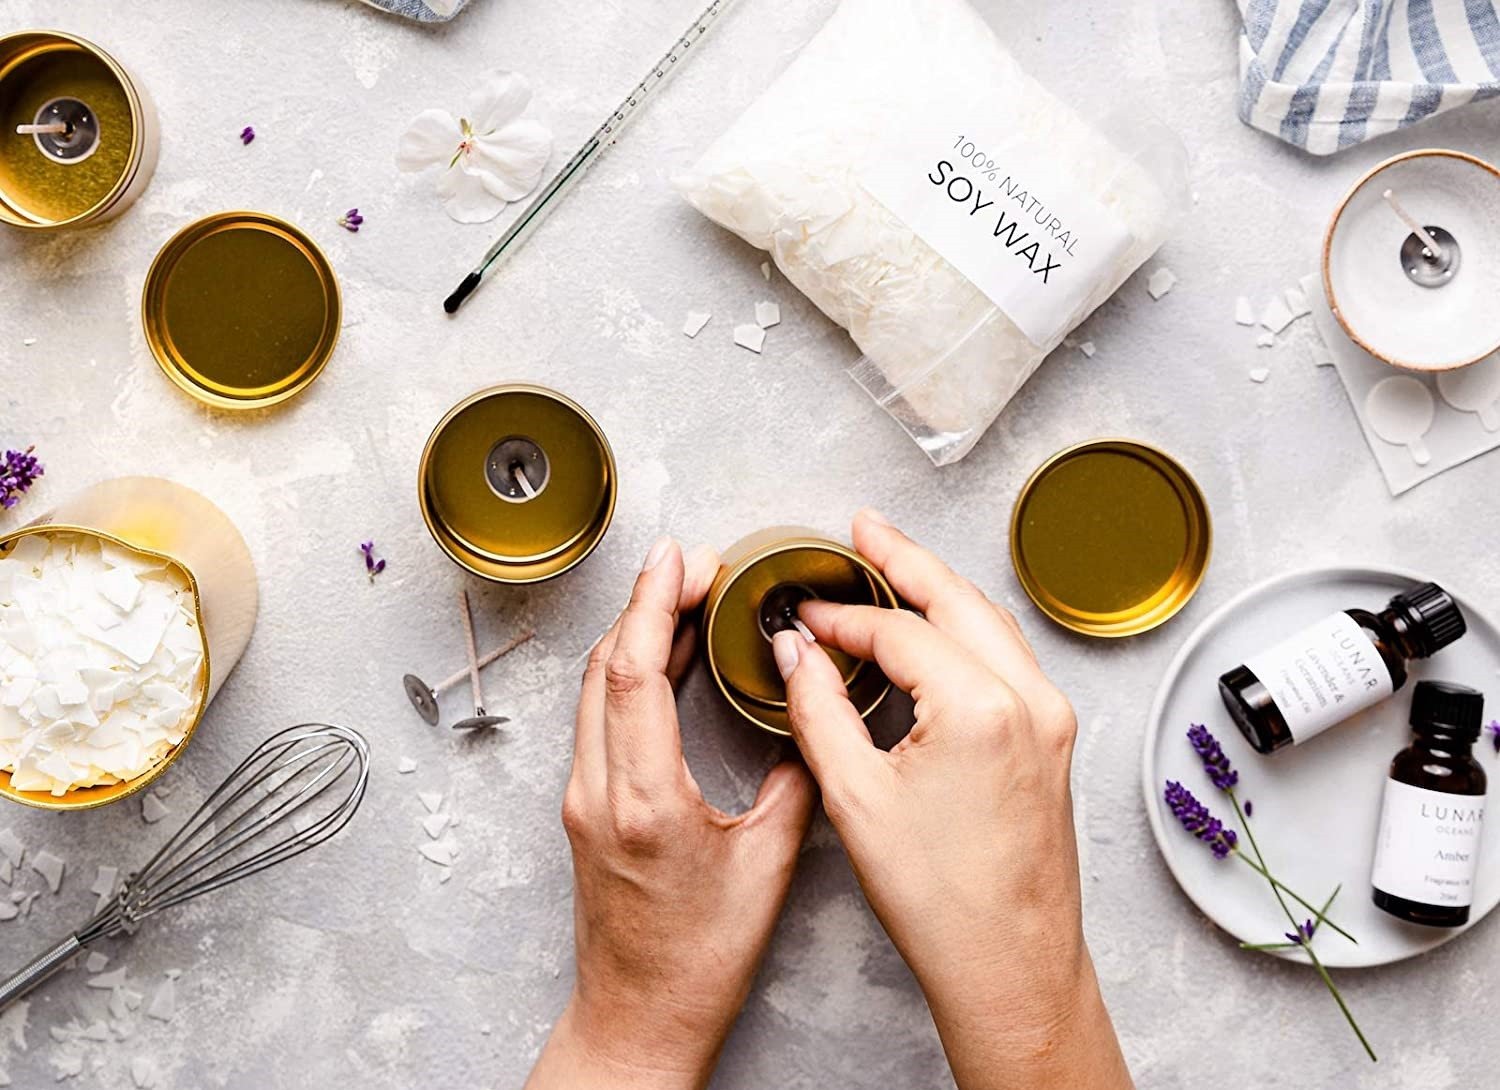
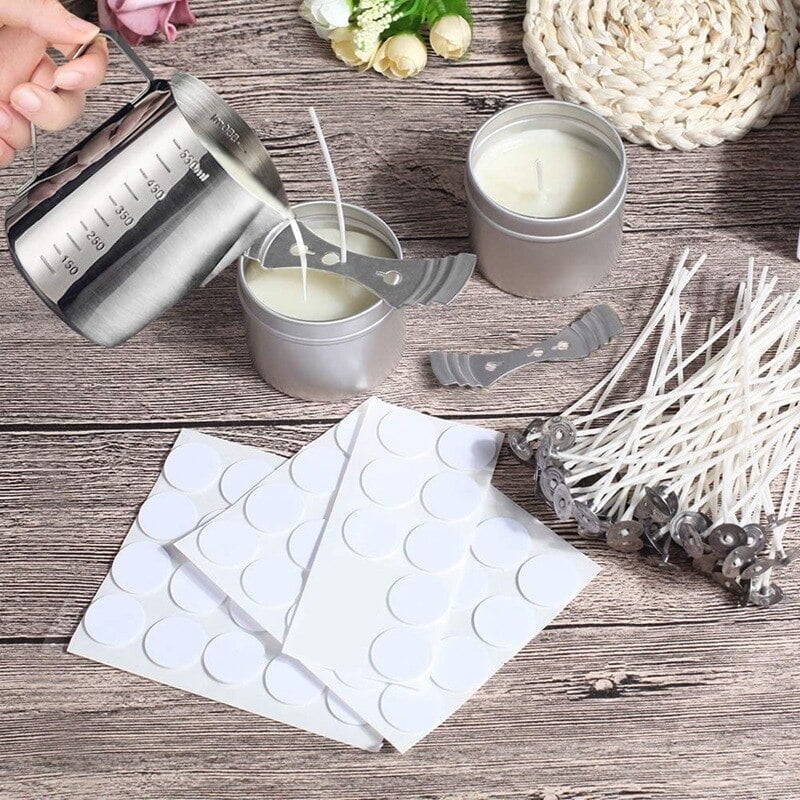
To create a beautiful glitter candle jar, you will need to gather a few essential materials. The following list outlines all the supplies required to successfully make your own glitter candle jar:
- Candle Jars: Choose glass jars with lids or without, depending on your preference. Mason jars or small glass containers work well for this project.
- Glitter: Select your preferred colors and types of glitter to achieve the desired look for your candle jar. Fine or chunky glitter can be used, depending on the aesthetic you want to create.
- Glue: Use a strong adhesive that is safe for use on glass surfaces, such as clear-drying craft glue or specialized glass glue. Make sure it is non-flammable and waterproof.
- Paintbrushes: Have a selection of different-sized paintbrushes on hand for applying the glue and spreading the glitter evenly over the surface of the jar.
- Optional Decorations: If desired, gather additional decorative elements such as ribbons, charms, stickers, or small trinkets that can be adhered to the exterior of the candle jar.
Before starting your project, ensure that you have all these materials readily available so that you can work smoothly and efficiently. Gathering everything beforehand will save you time and make the process more enjoyable. Once you have everything prepared, proceed to follow the step-by-step instructions provided in the next section to create your glitter candle jar masterpiece.
Step-by-step instructions
To make a glitter candle jar, follow these step-by-step instructions:
1. Prepare the jar: Start by ensuring that the jar you are using is clean and dry. Remove any stickers or residue from the surface of the jar. This will provide a smooth base for the glitter to adhere to.
2. Apply glue: Using a paintbrush or sponge brush, apply a thin layer of adhesive glue to the outside of the jar. Make sure to cover the entire surface area where you want the glitter to stick.
3. Sprinkle glitter: While the glue is still wet, sprinkle your desired color of glitter onto the glued surface of the jar. You can either pour it directly onto the jar or use a spoon to sprinkle it evenly.
4. Secure the glitter: Gently press down on the sprinkled glitter with your fingertips or a clean cloth to ensure that it adheres well to the glue. Be careful not to smudge or wipe away too much glitter during this step.
5. Repeat if desired: If you want more glitter coverage, repeat steps 2-4 until you achieve your desired look. Allow each layer to dry before applying another coat of glue and glitter.
6. Optional decorations: Once you are satisfied with the amount and placement of glitter, you can add additional decorations if desired. This could include attaching beads, ribbons, or other embellishments using clear adhesive glue.
7. Let it dry: Allow your completed glitter candle jar to dry completely before handling or adding a candle inside. Follow any drying time recommendations provided by your chosen adhesive glue.
| Materials Needed | Quantity |
|---|---|
| Candle jars | 1 |
| Glitter | As needed |
| Adhesive glue | 1 small bottle |
| Paintbrushes | 2-3 various sizes |
| Optional decorations (beads, ribbons, etc.) | As desired |
Remember to be patient during the drying process to avoid any smearing or removing of the glitter. Once your glitter candle jar is completely dry, you can place a candle inside and enjoy the beautiful glow it provides. Following these step-by-step instructions will ensure that you create a stunning and personalized glitter candle jar for any space.
Choosing the perfect glitter
When it comes to making a glitter candle jar, choosing the perfect type and color of glitter is essential in achieving the desired aesthetics and ambiance. Here are some helpful tips to guide you in selecting the right glitter for your project:
- Consider the size of the glitter particles: Glitter comes in various sizes, from fine dust-like particles to larger flakes. The size of the glitter you choose can significantly impact the overall look of your candle jar. Finer glitters generally provide a more subtle and delicate shimmer, while larger flakes create a bolder and more eye-catching effect.
- Determine the desired level of sparkle: Glitters come in different levels of sparkle, ranging from matte or low-shine finishes to ultra-sparkle options. Think about the atmosphere you want to create with your glitter candle jar. If you prefer a more subdued ambiance, opt for glitters with a lower level of shine. For a glamorous and dazzling effect, go for those with high sparkle.
- Coordinate with the candle jar’s theme or color scheme: It is important to choose a glitter color that complements or enhances the overall theme or color scheme of your space or event. Consider whether you want to go for a monochromatic look by using glitters that match the candle jar’s color, or if you want to create contrast by selecting complementary colors.
- Experiment with different types of glitter: Don’t be afraid to get creative and try different types of glitter. There are countless options available, such as holographic glitters, iridescent glitters, or even specialty glitters like glow-in-the-dark or color-changing ones. Mixing different types of glitters can add depth and visual interest to your glitter candle jar.
Keep these tips in mind when choosing your perfect glitter for a stunning and personalized glitter candle jar that fits your space seamlessly.
- Consider the size of the glitter particles
- Determine the desired level of sparkle
- Coordinate with the candle jar’s theme or color scheme
- Experiment with different types of glitter
Adding a personal touch
When it comes to creating a glitter candle jar, there are endless possibilities for customization. Adding a personal touch to your glitter candle jar can transform it into a unique and personalized decor piece that reflects your own style and taste. Here are some suggestions for customizing your glitter candle jar:
- Color Combinations: Experiment with different color combinations of glitter to create various effects and moods. You can use multiple colors of glitter either by mixing them together or creating separate layers of different colors. For a romantic ambiance, try using shades of pink or purple. If you prefer a more vibrant and energetic look, go for bold colors like gold or turquoise.
- Incorporating Other Elements: Take your glitter candle jar to the next level by incorporating other elements such as seashells or dried flowers. This will add texture and visual interest to the design. For a beachy theme, consider gluing seashells along the sides of the jar or filling it with sand and shells before adding the candle. If you want a whimsical touch, gently place dried flowers inside the jar so they float in the liquid wax.
- Personalized Messages: Use letter stickers or paint pens to add meaningful quotes, names, or initials to your glitter candle jar. This personalization adds sentimental value and makes it a perfect handmade gift for birthdays, anniversaries, or other special occasions.
Remember to take into consideration how these additional elements will interact with the flame from the candle when deciding on their placement within the jar.
By experimenting with different color combinations, incorporating unique elements, and adding personalized touches, you can create a glitter candle jar that is truly one-of-a-kind and reflects your individual style and creativity. Let your imagination run wild and have fun exploring all the possibilities.
Safety precautions
When making glitter candle jars, it’s essential to prioritize safety to prevent any accidents or fire hazards. Here are some important reminders regarding candle safety that you should keep in mind while creating your beautiful glitter candle jars:
Firstly, it is crucial to use non-flammable materials throughout the process. Ensure that you choose a suitable jar for the candles that can withstand heat without cracking or breaking. Opt for glass or ceramic jars instead of plastic containers, as they are more resistant to high temperatures.
Additionally, when selecting glue for securing the glitter onto the jar, make sure it is specifically designed for crafts and safe for use with candles. Avoid using flammable adhesives or materials that could easily catch fire when exposed to heat from the candle.
Proper ventilation is another vital aspect of candle safety. When working with glue and other potentially strong-smelling substances, it’s important to have adequate airflow in the room. Open a window or operate a fan during the crafting process to prevent inhaling fumes and ensure proper air circulation.
Lastly, always exercise caution when lighting the candle in your completed glitter candle jar. Place it on a stable surface away from flammable objects such as curtains, papers, or other decorations. Never leave a burning candle unattended and extinguish it before leaving the room or going to sleep.
By following these safety precautions consistently throughout the crafting process and when using your glitter candle jar afterward, you can enjoy its beauty and ambiance while ensuring a safe environment for everyone around it.
Maintenance tips
Cleaning Methods
To keep your glitter candle jar looking fresh and beautiful, regular cleaning is essential. One simple way to clean the outside of the jar is by gently wiping it with a soft cloth or sponge dampened with warm water. Be careful not to scrub too vigorously as this may remove some of the glitter. You can also use a mild soap solution if needed, but make sure to rinse thoroughly and dry completely afterwards.
For harder-to-reach areas inside the jar, such as around the wick or along the sides, you can use a cotton swab or a small brush to gently remove any residue or debris. Avoid using abrasive cleaners or harsh chemicals that could damage the surface of the jar or dissolve the glue holding the glitter.
Avoiding Direct Sunlight
It’s important to avoid placing your glitter candle jar in direct sunlight for prolonged periods of time. The intense heat from the sun can cause the glue holding the glitter to weaken, leading to potential shedding or fading of colors over time. Additionally, direct sunlight can lead to discoloration and deterioration of the candle wax itself.
To preserve your glitter candle jar’s longevity, choose a location that receives indirect or filtered light instead. Placing it near a window with sheer curtains is one option, as it allows for some natural light while protecting it from direct exposure.
Storing Properly
When not in use, it’s best to store your glitter candle jar in a cool and dry place. Keep it away from extreme temperatures and humidity levels, as these factors can affect both the appearance and functionality of the candle.
Consider storing your glitter candle jars individually in protective packaging or containers to prevent them from scratching against each other and potentially causing damage. This will also help maintain their overall sparkle and shine.
By following these maintenance tips, you can ensure that your glitter candle jar remains an enchanting decorative piece for years to come. Regular cleaning, avoiding direct sunlight, and proper storage are key factors in preserving its longevity and beauty.
Ideas for creative display
Table Centerpieces
One of the most popular ways to display glitter candle jars is as table centerpieces. These eye-catching decorations can instantly elevate the look of any dining table or event venue. To create a stunning centerpiece, consider grouping several glitter candle jars together in varying sizes and colors.
You can place them directly on the table or use a decorative tray or mirror as a base to add an extra touch of elegance. For added visual interest, incorporate other elements like fresh flowers, greenery, or small ornaments around the candle jars.
Bathroom Decor
Glitter candle jars can also be used to enhance the ambiance in your bathroom. Place them on your vanity or bathroom counter to create a relaxing and spa-like atmosphere. The soft glow from the candles combined with the shimmering glitter will add a touch of luxury to your self-care routine.
Additionally, you can experiment with different scented candles to further enhance the sensory experience. Consider using pastel-colored glitters for a soothing and tranquil vibe, or opt for vibrant metallic glitters for a bold statement.
Gifts for Special Occasions
Glitter candle jars make wonderful gifts for special occasions such as birthdays, weddings, or housewarmings. Their customizable nature allows you to tailor them specifically to the recipient’s preferences and personal style. Consider using their favorite colors or incorporating themed decorations like seashells for someone who loves the beach or dried flowers for a nature enthusiast. Package the glitter candle jar in an elegant box with tissue paper and ribbon for a present that is both beautiful and thoughtful.
Remember, when displaying glitter candle jars in any setting, it’s important to consider fire safety precautions. Always keep them away from flammable materials and ensure there is proper ventilation around the candles. Additionally, when gifting glitter candle jars, include proper care instructions so that recipients can enjoy them safely and effectively maintain their longevity. With the versatility and aesthetic appeal of glitter candle jars, the possibilities for creative display are truly endless.
Troubleshooting
Making a glitter candle jar is a fun and creative project that can add a touch of sparkle to any space. However, like any craft, there may be some common issues that you encounter along the way. In this section, we will address these potential problems and offer some helpful solutions and alternative methods.
One common issue that may arise when making a glitter candle jar is uneven distribution of glitter. Sometimes, despite our best efforts, the glitter may clump together or gather in certain areas instead of evenly covering the entire surface of the jar.
To solve this problem, try using a smaller paintbrush or sponge brush to apply the glue and spread the glitter more evenly. You can also gently tap or shake the jar to help distribute the glitter more evenly before allowing it to dry.
Another issue you may come across is the glue not adhering properly to the jar or causing streaks on the glass. This can happen if you are using an incorrect type of glue or if too much glue is applied.
To avoid this, make sure to use a clear-drying adhesive that is specifically formulated for use on glass surfaces. Apply a thin and even layer of glue using a paintbrush or sponge brush, ensuring that all areas are covered but without overdoing it.
If you find yourself running out of glitter or want to achieve different effects, there are alternative methods you can explore. Instead of applying loose glitter directly onto the jar, you can try using glitter spray paint for a smoother and more controlled application. Another alternative is to mix loose pigment into your clear drying glue for a unique and customizable effect.
By considering these troubleshooting tips and thinking creatively about alternative methods, you can overcome any challenges that may arise while making your glitter candle jar. Remember to have fun throughout the process and enjoy creating your own personalized piece of sparkling décor.

Welcome to my candle making blog! In this blog, I will be sharing my tips and tricks for making candles. I will also be sharing some of my favorite recipes.

