Making a Homemade Candle Wick
Candles are a timeless and classic way to add ambiance and warmth to a room, and making your ow can be quick, inexpensive and fun. One of the components needed for a candle is making a wick, and it is actually quite simple to create a wick in your own home. This guide will give you some easy tips to get started on making your own homemade candle wicks.
What You’ll Need
Before you get started on wick-making, make sure to have the following materials on-hand:
- Waxed threads (cotton or linen)
- A pair of scissors
- A container or other item to measure the length of the wick
Cutting the Wick
Begin by taking your waxed thread and wrapping it around your measuring container or item of choice. To make sure the wick will fit securely in your candle, wrap the thread four times around the container. Once you have wrapped the thread four times, cut it with the scissors.
Adding a Wick Tab
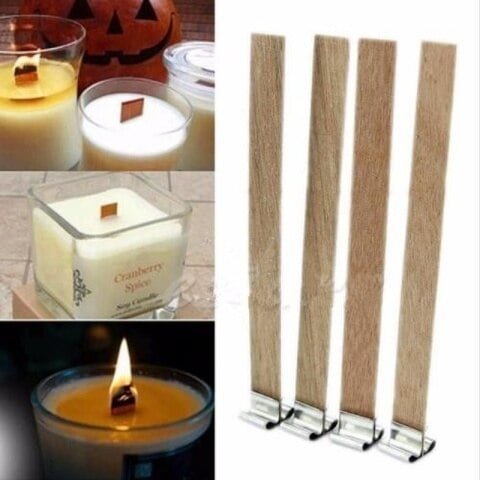
Cutting a waxed thread alone will not be enough to secure the wick to your candle. To accomplish this, you’ll need to cut a wick tab. A wick tab is a piece of flat metal that goes on the bottom of the wick to ensure that it will stand in the wax. To make a wick tab, all you need is a piece of aluminum or a metal paper clip. Cut off a small piece of the metal with the scissors and place it around the bottom of the wick.
Testing the Wick
Once you have made and assembled your homemade wick, you’ll need to test it to make sure it can stand upright in the wax. To do this, place the wick in an old glass container full of melted wax and light it! The wick should be standing in the wax and burning correctly. Once it has passed the test, it’s ready for you to use in a homemade candle.
Making a Homemade Candle Wick At Home
Making a homemade candle wick is an easy and fun way to add an extra special touch to your homemade candles. With the easy tips below and a few simple materials, you can be on your way to creating the perfect romantic ambiance or a cozy glow in your home.
- Gather supplies. Gather the necessary tools, including waxed threads, scissors, and something to measure the wick length.
- Cut the wick. Wrap the thread four times around the measuring container and cut it.
- Add a tab. Cut a small piece of aluminum or a metal paperclip and place it around the bottom of the wick to secure it.
- Test it. Make sure that the wick can stand upright in the wax and burn with a light test.

Welcome to my candle making blog! In this blog, I will be sharing my tips and tricks for making candles. I will also be sharing some of my favorite recipes.


