Are you looking for a new and exciting hobby? Perhaps you’re interested in creating your own unique home decor. Whatever the reason, making a three wick candle is a rewarding and enjoyable craft that many people are taking up.
In this article, we will explore the appeal of three wick candles, as well as provide guidance on how to make your very own. Whether you’re a seasoned candle maker or just starting out, discovering the art of creating three wick candles can be both fulfilling and satisfying.
Making a three wick candle involves combining various materials and tools to create a beautiful and functional piece of decor. From selecting the right fragrances and colors to troubleshooting common issues, there are many aspects to consider when embarking on this craft. This guide will walk you through the step-by-step process, ensuring that your finished product is both visually appealing and effective in adding warmth and fragrance to your living space.
In addition to providing detailed instructions for creating three wick candles, we will also discuss the benefits of using them in your home. From promoting relaxation to enhancing ambiance, three wick candles offer numerous advantages that make them an attractive choice for DIY enthusiasts and seasoned candle enthusiasts alike.
Plus, we’ll explore creative ways to display and utilize your finished product, allowing you to enjoy the fruits of your labor in various ways throughout your home. So let’s dive into the world of homemade three wick candles and discover the satisfaction it can bring.
Materials and Tools Needed for Making a Three Wick Candle
Making a three wick candle is a creative and satisfying process that can bring a warm and inviting ambiance to any room. To get started, you will need a few essential materials and tools to ensure the successful creation of your homemade candle.
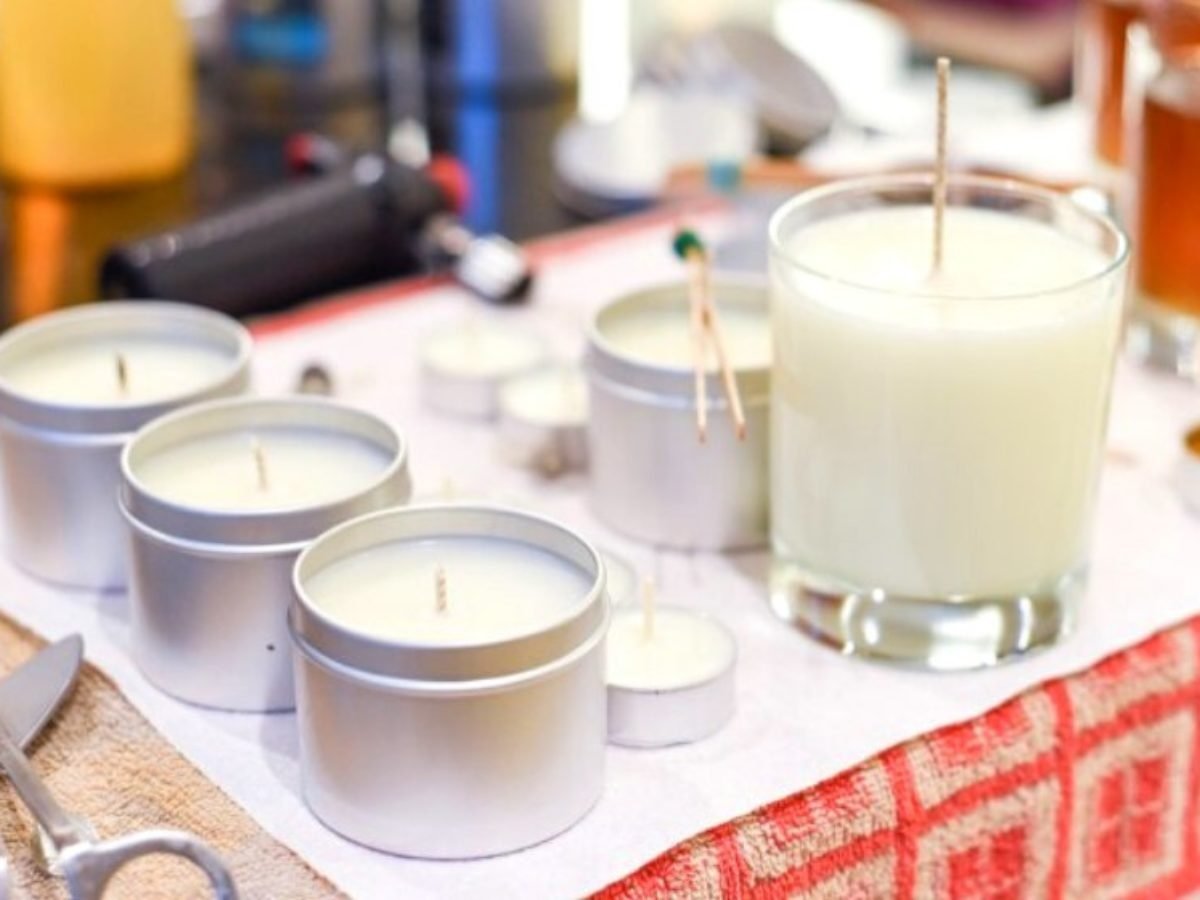
First and foremost, you will need a large container or vessel to hold the melted wax. This can be anything from a glass jar to a decorative tin, as long as it is heat-resistant and sturdy. You will also need three pre-waxed wicks that are long enough to reach the bottom of your chosen container, ensuring an even burn throughout the candle’s lifetime.
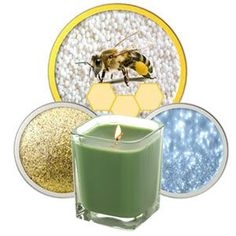
In addition to these basics, you will also need wax flakes or pellets, which are readily available at craft stores or online. The type of wax you choose will depend on your preference and any potential allergies or sensitivities in your household. Fragrance oils or essential oils are also necessary to give your candle a pleasing scent, while dye chips or liquid dye can add color if desired.
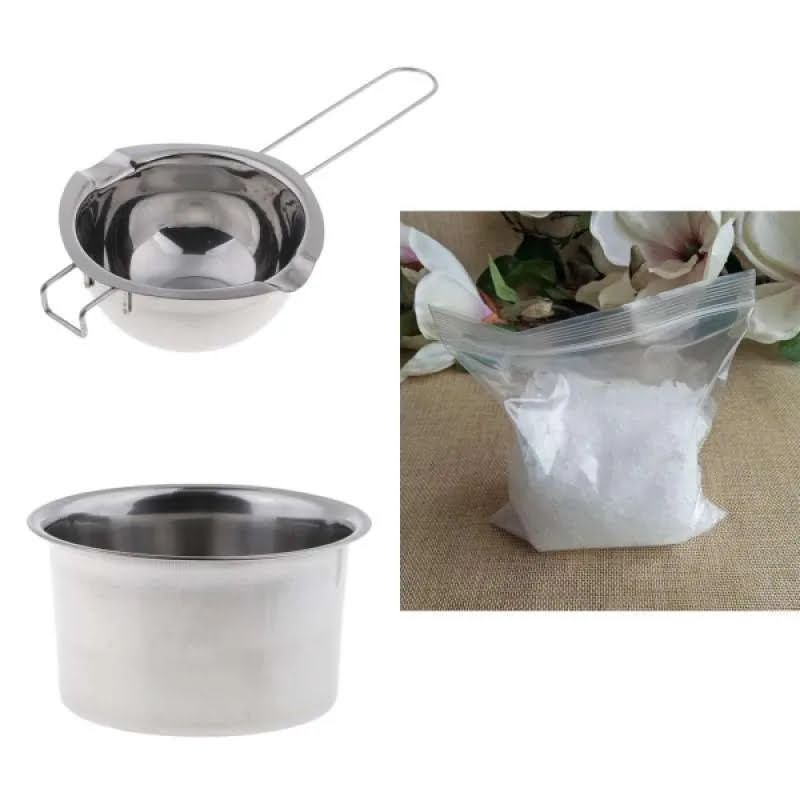
Finally, you will require some common tools such as a double boiler or melting pitcher for heating the wax, a thermometer to monitor the temperature, and adhesive tabs or glue dots for securing the wicks in place. With these materials and tools on hand, you will be well-equipped to begin the fulfilling process of making your own three wick candle.
| Materials/Tools | Description |
|---|---|
| Large container/vessel | Heat-resistant and sturdy for holding melted wax |
| Pre-waxed wicks | Long enough to reach the bottom of chosen container for even burn |
| Wax flakes/pellets | Determine type based on preference and household sensitivities |
| Fragrance oils/essential oils | To add pleasing scent to the candle |
By having all these materials ready before embarking on this undertaking, you’ll be able to focus solely on enjoying the relaxing experience of making a three wick candle rather than spending valuable time running out for last-minute supplies.
Step-by-Step Process for Creating the Perfect Three Wick Candle
To create the perfect three wick candle, you will need to follow specific steps carefully. Here’s a detailed guide on how to make your very own three wick candle.
Gathering the Materials and Tools
Before you begin making a three wick candle, it’s important to gather all the necessary materials and tools. This includes soy or beeswax, candle wicks, fragrance oils or essential oils, a double boiler or melting pot, a thermometer, and a container for your candle. It’s essential to have everything ready and within reach to ensure a smooth candle-making process.
Melting the Wax
The first step in making a three wick candle is melting the wax. Using a double boiler or melting pot, melt the wax over low heat until it reaches the desired temperature according to the type of wax you are using. It’s crucial to monitor the temperature closely using a thermometer to prevent overheating and ensure safety during this step.
Adding Fragrance and Color
Once the wax has melted, it’s time to add fragrance oils or essential oils to your liking. Additionally, if you want to add color to your three wick candle, now is the time to incorporate dye chips or liquid dye into the melted wax. Stir carefully to distribute both the fragrance and color evenly throughout the wax.
Creating a three wick candle involves precision and attention to detail at every step of the process. By following these steps carefully, you can successfully make your very own stunning and aromatic three wick candles for yourself or as gifts for others.
Tips for Selecting the Right Fragrance and Color for Your Candle
When making a three wick candle, selecting the right fragrance and color is an important step in creating a pleasing and personalized product. The scent and color of a candle can greatly impact the ambiance it creates and its overall appeal to the senses. Here are some tips for choosing the perfect fragrance and color for your homemade three wick candle.
Choosing the Right Fragrance
When selecting a fragrance for your three wick candle, consider the mood or atmosphere you want to create. For example, calming scents such as lavender or chamomile are great for relaxation, while citrus or floral scents can create a more energizing atmosphere. It’s also important to consider any potential allergies or sensitivities of yourself or those who will be enjoying the candle.
Exploring Color Options
The color of your three wick candle can also play a significant role in its overall aesthetic. You can match the color to the fragrance – for example, using a light blue color for an ocean-scented candle – or choose a color that complements your home décor. Keep in mind that some dyes may change when mixed with wax, so testing different colors before making your final decision is recommended.
Consider Customization
If you’re making a three wick candle as a gift or for a specific purpose, consider customizing the fragrance and color to suit the recipient or occasion. Whether it’s creating a holiday-themed candle with festive scents and colors or personalizing it with someone’s favorite scent, customization can add an extra special touch. Additionally, experimenting with layering different colored waxes can result in unique and visually appealing candles.
By carefully considering these tips when selecting the right fragrance and color for your homemade three wick candles, you can ensure that each one is not only visually appealing but also adds just the right touch of ambiance to any space where it is used.
Troubleshooting Common Issues When Making Three Wick Candles
When making a three wick candle, there are some common issues that may arise during the process. One of the most frequent problems is ensuring that all three wicks stay centered and straight while the wax is setting. If the wicks shift or lean to one side, it can result in an uneven burn and wasted wax. To prevent this issue, consider using a wicking holder to keep the wicks in place until the wax has fully solidified.
Another issue that may occur when making a three wick candle is tunneling. Tunneling happens when the candle burns down the center, leaving excess wax along the sides. To avoid tunneling, it’s important to choose the right wick size for your candle diameter and use a high-quality, well-blended wax. Additionally, make sure to trim the wicks to the appropriate length before each use to promote an even burn.
Furthermore, scent throw can be a common concern when making three wick candles. Scent throw refers to how well the fragrance fills a room when the candle is burning. To enhance scent throw, consider using fragrance oils specifically formulated for three wick candles and add them at the correct temperature during the pouring process.
It’s important to address these common issues when making a three-wick candle to ensure that you create a high-quality product that burns evenly and emits a pleasant aroma.
| Common Issue | Troubleshooting Method |
|---|---|
| Wicks not staying centered | Use a wicking holder during solidification |
| Tunneling | Choose correct wick size and trim wicks before each use |
| Scent throw | Use fragrance oils formulated for three-wick candles at correct temperature |
The Benefits of Using Three Wick Candles in Your Home
Three wick candles not only look beautiful and decorative, but they also offer a range of benefits when used in your home. Here are some reasons why incorporating three wick candles into your living space can enhance the ambiance and overall atmosphere:
- Enhanced fragrance distribution: The multiple wicks in three wick candles allow for a more even distribution of fragrance throughout the room. This means you can enjoy a stronger scent throw, filling larger spaces with delightful aromas.
- Extended burn time: With three wicks burning simultaneously, three wick candles tend to have a longer burn time compared to single-wick options. This makes them a cost-effective choice for those who want to enjoy the warm glow and inviting fragrance for an extended period.
- Ambiance and aesthetics: The sight of three flickering flames creates a cozy and inviting atmosphere in any room. Three wick candles not only provide soft, ambient lighting but also serve as eye-catching decor pieces that add warmth and charm to your home.
Furthermore, using three wick candles in your home can elevate special occasions such as dinner parties, romantic evenings, or relaxing baths. Whether placed on coffee tables, mantlepieces, or bathroom counters, these multi-wick candles make for versatile additions to any living space.
Incorporating the gentle glow and captivating scents of three wick candles into your daily routine can contribute to a soothing and comforting environment at home. By carefully selecting fragrances that resonate with your personal style and mood preferences, you can create an inviting sanctuary where you can unwind and relax after a long day.
Creative Ways to Display and Use Your Finished Three Wick Candle
Once you have successfully made your three wick candle, you may be wondering how to display and use it in creative ways. Here are some ideas to help you get the most out of your homemade creation:
1. Personalized Candle Holders: Consider using unique candle holders to display your three wick candle. This could be anything from a vintage tea cup to a mason jar with decorative elements. Personalizing the holder will add a special touch to your candle and make it stand out as a focal point in any room.
2. Layered Decor: If you’ve created a multi-colored or scented three wick candle, consider incorporating it into a layered decor scheme. Display your finished candle on top of a stack of books or nested within a decorative tray for added visual interest.
3. Outdoor Ambiance: Take advantage of your three wick candle by creating an intimate outdoor ambiance for gatherings or quiet evenings at home. Use large hurricane lanterns to protect the flames from wind and create a cozy atmosphere outdoors.
Using these ideas, you can elevate the presentation and use of your homemade three wick candles in various settings around your home, giving them the attention they deserve while enhancing the overall aesthetic and atmosphere of your space. Remember, the possibilities for creative displays and usage are endless.
Conclusion
In conclusion, creating your own three wick candle can be a truly rewarding and satisfying experience. The process of gathering the materials, carefully crafting the candle, and selecting the perfect fragrance and color allows you to express your creativity and personal taste. Not only do you end up with a beautiful and functional product, but you also gain a sense of pride and accomplishment from making something with your own hands.
Furthermore, using three wick candles in your home can bring about various benefits. Aside from providing a pleasant aroma and warm glow, these candles offer a longer burn time and an even distribution of fragrance throughout the room. They can also serve as elegant decorative pieces that add charm to any space.
Ultimately, embracing the art of making a three wick candle empowers you to customize your own unique creations that enhance the ambiance of your home. Whether you choose to gift them to loved ones or display them proudly in your living space, there’s no denying the satisfaction that comes with creating something beautiful and functional with your own hands. So why not indulge in this fulfilling hobby and start making a three wick candle today?
Frequently Asked Questions
How Do You Make 3 Wick Candles at Home?
Making 3 wick candles at home requires the right materials and techniques. You’ll need a large container, wicks, wax, fragrance oil, and dye if desired. Melt the wax, add the fragrance and color, then pour it into the container with the wicks.
How Do You Make a 3 Wick Candle Burn Evenly?
To make a 3 wick candle burn evenly, it’s important to trim the wicks to about 1/4 inch before each use. Also, let the candle burn long enough for the entire surface to melt before extinguishing it. This helps prevent tunneling and ensures an even burn.
How Many Wicks Do You Light on a 3 Wick Candle?
When lighting a 3 wick candle, it’s best to light all three wicks simultaneously. This helps create an even pool of melted wax and prevents tunnelling. Once all three wicks are lit, make sure they stay lit to ensure an even burn throughout the candle’s lifetime.

Welcome to my candle making blog! In this blog, I will be sharing my tips and tricks for making candles. I will also be sharing some of my favorite recipes.

