Introduction
The Easter candle is an age-old tradition in many Christian countries throughout the world. It is a candle that symbolizes new beginnings in life, as well as a reminder of Jesus’ resurrection from the dead. Traditionally, it was lit during the Easter Vigil Mass and often hand-crafted from beeswax. The Easter candle signifies renewal, hope and peace and is a sign of unity among Christians. The light given off by the candle was seen to represent the spirit of Christ entering into the world after his resurrection, while its color – usually white – represented purity and faith. In some traditions, the Paschal Candle (as it is also known) featured wax sculptures to represent symbols that told stories of Christ’s sufferings and death on Good Friday. Today, many homes have adapted this custom by creating their own Easter candles that are used as festive decorations in honor of this special holiday period.
Gathering the Supplies
Before you begin making your Easter candle, you need to make sure you have all the supplies necessary. To start, you will need some basic materials such as a container (glass or metal) and a wax blend of either soy or beeswax. You’ll also need a wick that is the correct size for your container and something to hold it in place such as a wick bar or wick holder. If you’d like to add scent to your candle, choose essential oils that are skin safe and mix them with an appropriate carrier oil for your wax process. You can also add flowers or herbs to give your candle an extra aromatic flair. You may also want some tools on hand such as an old pot to melt wax, thermometer, stirring spoon, pouring pitcher/pitcher, tongs for removing hot wax casts from moulds/containers, etc. Finally if desired you can embellish your finished candle with ribbons and other decorations!
Preparing the Candle Wax
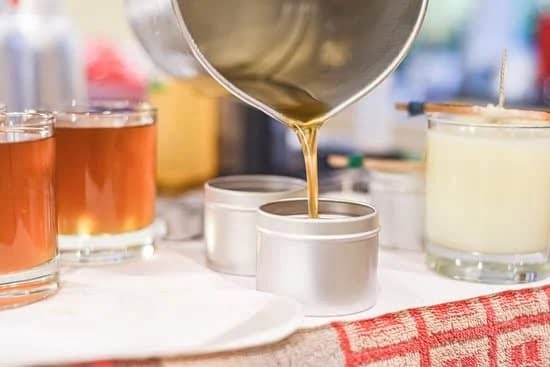
Making an Easter candle starts with melting the wax. In order to melt the wax, you will need a double boiler. Make sure that the size of the pot you are using is appropriate for how much wax you are melting. It is a good idea to have a thermometer on hand so that you can keep track of the temperature and ensure it does not become too hot. Once the wax has melted, you can begin adding color and scent to it. This will help give your Easter candle its unique look and personalize its scent. Simply add a few drops of your chosen color and scent into the wax mixture until it reaches your desired look and smell. Finally, add some glitter for an extra sparkly touch! Spread it lightly over the top of your candle after pouring in your scented wax so that it doesn’t get lost in all of the other ingredients.
Molding the Candle
When making an Easter Candle, you will need to choose a mold for the candle and pour wax into it. There are many different types of molds to choose from, such as traditional ceramic or plastic ones, or clear glass containers. Depending on the type of material used, directions may differ slightly; however the overall purpose is the same. To begin, either wax flakes or pellets should be placed in a double boiler and melted until it reaches a temperature of around 170 degrees. Don’t forget to keep stirring while heating. When finished melting and reached desired temperature, slowly pour it into the chosen mold until it is full but not overflowing, as this can cause air bubbles. You will then want to give enough time for it to cool before removing from its mold. If desired decorations may be added once cooled. Some items such as ribbons or beads can be gently pressed onto the sides for an extra special touch!
Finishing Touches
Once your Easter candle is fully dry, you can begin to decorate it with sprinkles, ribbons, and glue. For the sprinkles, start by applying glue in strips or patterns on the surface of the candle. Then apply a healthy layer of sprinkles in the same area. For added detail, you can use multiple colors of glitter to create an ombre effect or use smaller seeds and sprinkle them along the length of the candle. Depending on how intricate you’d like your design to be, this process can take anywhere from 10-20 minutes. After adding sprinkles to cover your desired area, gently brush off any excess that is not attached.
When it comes to ribbons, choose coordinating colors – either matching the sprinkles or going for a contrast look – and wrap them around specific areas like the center or near the top and tie off for a nice contrast with the plain wax base. Secure it with hot glue too for added security if needed. Another option is to insert pieces of ribbon between wicks for a nice textured look that doesn’t require as much folding or tying as compared to wrapping them from end-to-end.
Finally, once your Easter candle is all decorated step back and admire your work! Now you have a beautiful centerpiece that rivals traditional decorations that will last well beyond Easter Sunday!
Final Thoughts
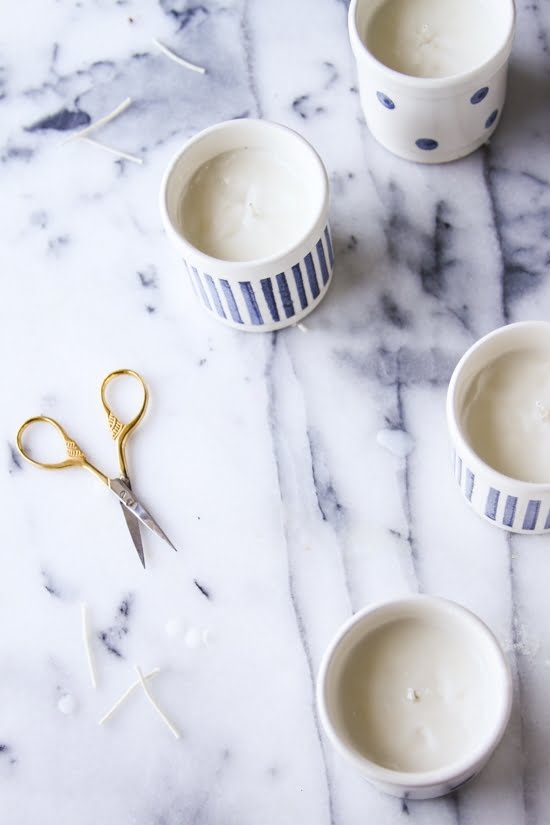
When it comes to designing and customizing an Easter candle, there are many creative possibilities. For example, you can choose a variety of colorful paints to add several layers of detail or paint the glass holder with a special pattern such as stripes or polka dots. You can also use different colored waxes and glitters on the actual candle. Creative decorations such as glass beads, sequins and decoupaged images can be used to embellish the design. If desired, you can carve lettering into the candle to personalize it with names and dates or spell out meaningful words like “love” or “joy”. To give your Easter candle a shinier finish, consider spraying it with a clear coat sealer after it is dry. Finally, wrap your finished masterpiece in an elegant bow for a thoughtful gift or decorate it in velvet ribbons for added texture.
Conclusion
Creating your own Easter candle is an easy and enjoyable activity that is sure to offer you and the ones around you lots of fun during the holiday season. Whether you choose to craft a traditional version or make something a bit more modern, the result of your efforts will be a delightful addition to any room. Just make sure to follow safety guidelines when making and burning your candle, and never leave it unattended while it’s lit! The act of watching the light of your handmade Easter candle flicker on Easter Sunday will create a magical atmosphere in any room. Enjoy this special time spent with family, friends and loved ones, as you celebrate Easter with your very own glowing creation.

Welcome to my candle making blog! In this blog, I will be sharing my tips and tricks for making candles. I will also be sharing some of my favorite recipes.


