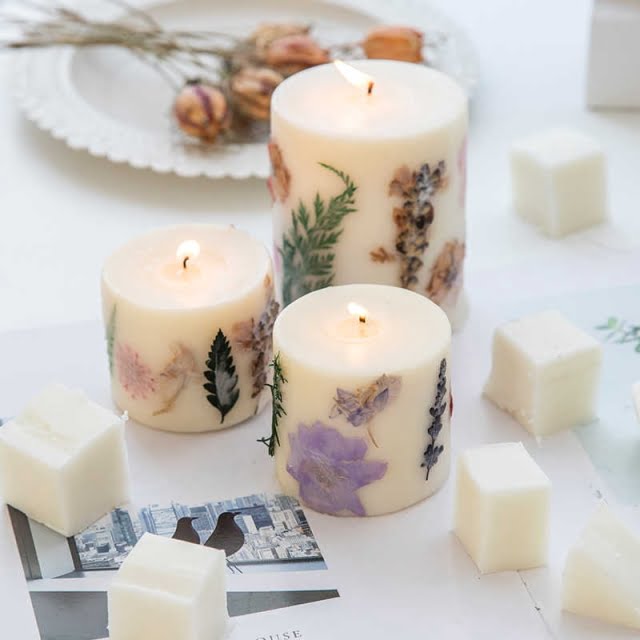
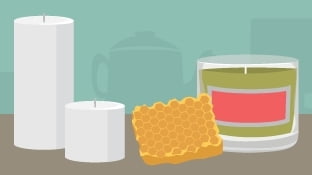
Making beeswax candles with essential oil is an enjoyable and creative activity. This type of candle making provides many benefits, like enjoying the soothing scents from natural ingredients and experimenting with different color palettes.
Not only does it provide a wonderfully fragrant atmosphere for any occasion but the process itself is very simple, and the results are worthwhile since beeswax candles tend to last much longer than traditional paraffin wax ones. By following a few easy steps, anyone can effectively create stunning handmade creations that will be enjoyed by all.
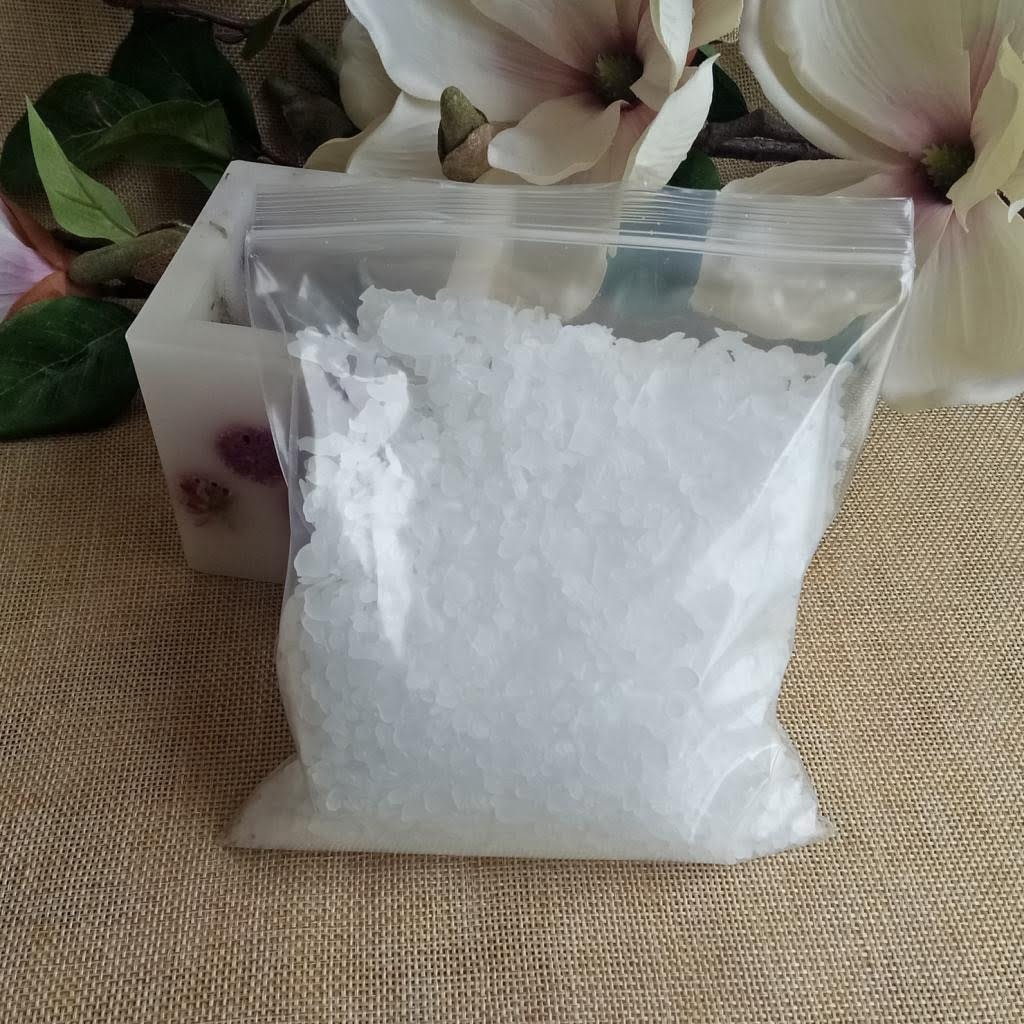
The Materials Needed When making beeswax candles with essential oil, there are several materials necessary to help complete the task. Some of these materials include wax (either in block form or pellets), wick material such as cotton strands or reeds, essential oil (pure undiluted aromatherapy grade is preferable), dye chips or powder, molds (for pillars or pillars of differing sizes) and flat-bottomed containers with which to melt the wax such as double boiler pots or slow cookers.
Depending on what type of candle one wishes to make, additional tools might be necessary such as thermometers for controlling temperature and wax melters for melting large chunks of beeswax quickly.
Melting The Wax And Adding Fragrance After all the required materials have been gathered up, it is time to begin melting the wax slowly on low heat in order to warm it without burning it up. Once melted thoroughly, additives such as dyes can then be added slowly while stirring until reaching desired shades; once this occurs both fragrance and scent strength should also be added proportionally according to personal preference.
It is important here not go overboard so stick to smaller amounts so as not to overpowering the room in addition overfume candles; when they cool down essential oils may evaporate from their surface leaving a weaker smell than intended before lighting them up. When finished adding oils give mixture one more stir before taking it off heat setting aside finishing preparation at another time.
Choosing Natural Ingredients for Your Beeswax Candles
Beeswax candles produce a warm, golden light and subtly fragrant scent. They’re much cleaner-burning than other types of candles and have become increasingly popular in recent years. Adding essential oils to homemade beeswax candles can create a lasting aroma as well as visual appeal. Here are some tips for making sure you use natural ingredients when creating your beeswax candles:
Choose Beeswax from Orgaically-Raised Bees
When looking for beeswax, it is important to choose varieties that come from organically-raised hives that are not treated with any type of pesticide or grown near areas where chemical sprays may occur. This will ensure that you don’t introduce any harmful chemicals into your homemade beeswax candle. Check the labels of your wax source, or contact the supplier with any questions you may have about where the raw material was sourced from before purchasing.
Select Essential Oils That Are 100% Natural
Many essential oils on the market contain synthetic ingredients or chemical contaminants that should be avoided when creating a natural product like a beeswax candle. Ensure that you select pure essential oil proprietary blends without additives on the label by looking for “100% natural” certification – if there are any other ingredients listed on the label, it is likely not truly all-natural.
Organic certifications are also helpful to look for when selecting essential oils to use in this craft project, which will guarantee their purity and safety level for use around pets and children in case these are part of your households as well.
Buy Palm Wax From A Reputable Company
For some recipes, such as container candles and tarts, adding palm wax might be necessary to achieve the desired texture and quality of light release in your finished product. Make sure to look for full disclosure information regarding sourcing practices when shopping for palm wax – buying from reputed companies who are transparent about their origin supply chain is recommended if you want to make sure no pesticides or destructive harvesting practices were used on these products prior to purchase.
If possible, find sources certified by either sustainable forest organizations (like the Rainforest Alliance) or fair trade associations (such as Fair Trade USA).
Understanding the Benefits of Using Essential Oils
For many years, essential oils derived from plants have been used to support physical and emotional health. To this day, it is still popular for its calming and harmonizing qualities. Essential oils come from various sources such as flowers, stems, bark or roots of the plant.
They have a strong aroma that gives off a pleasant scent when used in everyday products such as candles. This is why adding essential oil to beeswax candles yields a product with multiple benefits – scent and visual appeal plus relaxation and emotional balance.
The Method to Create Essential Oil Candles
Making beeswax candles with essential oil is not complicated but requires attention to details which must be followed carefully in order to produce quality candles. The first step is to ensure that all materials necessary are available: wax flakes (typically five parts of wax for one part of oil), essential oil (based on preference), thermometer, double boiler or crock-pot, wax molds and wicks.
When ready, place the wax flakes in the double boiler over low heat until completely melted. Stir the melted wax occasionally while it heats up until it reaches about 215 degrees Fahrenheit.
When at desired temperature add about 6 drops of your favorite essential oil per cup of wax which will probably yield light fragrance while burning – you can add more drops if stronger scent is desirable (but keep in mind that too much scent may cause the candle to smoke when lit). Make sure you stir well before proceeding further.
Finishing Your Essential Oil Candle
Once fully incorporated, pour the melted mixture into each wick mold taking care to fill up only ¾ of it leaving some space for the flame space – don’t forget pull the wick upright once poured and gently press any air bubbles out with a spoon or brush dipped into warm water. Let cool off for several hours before attempting to remove them from molds then trim wicks for easy burning later on.
Your beautiful beeswax candle enhanced with soothing aroma of your choice essential oil is now ready.
Gathering Essential Tools and Supplies
Making beeswax candles with essential oils is a great way to practice creative candle-making. The combination of natural beeswax and aromatherapy provided by essential oils will fill your home with light and scent. In order to start the process, you need to first collect all the essential tools and supplies for making these types of candles.
- 100% Natural Beeswax
- Essential Oils
- Cotton Candle Wick
- Ceramic Candle Molds or Containers
- Wick Support Clip or Disc
You also need other items such as a double boiler, a kitchen thermometer, sharp scissors, metal spoons, stir sticks, extra wicks, and a heat source such as a stove or hot plate. It is important that all of your equipment is clean before beginning the candle-making process.
Melting the Bee’s Wax comes first. This can be done in two ways: one is using the double boilers (a pot on top of another pot with boiling water) which yields better results than melting directly over heat. Once you place the wax into boiling water, temperatures can range from 104°F (40°C) – 205°F (96°C).
Keep stirring until all lumps are gone and then lower temperature to 140°F (60°C) or lower for easy molding. This will make it easier to add your favourite essential oils into your melted wax without compromising consistency.
Once this is done containers are prepared and heated wax is added followed by cotton wick held firm by wick disc or clip placed at center of container or mold ensuring proper alignment. Care must be taken not to break container walls due to hot wax layers as they harden quickly while cooling off at room temperature.
Once hardened add desired amounts of essential oil drops to surface let undisturbed until absorbed into layer below. Allowing each layer enough time cool off so that it doesn’t melt previous newly hardened layer above it takes practice but nicely worth effort when achieving balanced finished product.
Selecting the Right Beeswax and Essential Oils
When it comes to making beeswax candles with essential oils, the most important decision to make is selecting the right ingredients. The quality of the beeswax and essential oil play an important role in determining the outcome and quality of your masterpiece.
Typically, you want to select a higher grade of beeswax that has been filtered multiple times and does not contain impurities for a smoother candle experience. The smell of your candle will depend heavily on the type of essential oil you decide on, so take your time when selecting one – there are many different varieties available for you to choose from.
Melt the Beeswax Once you’ve selected your desired ingredients, it’s time for some fun. You should begin by melting down your pre-purified beeswax in a double boiler set up; start heating over low heat and keep stirring until all of the wax has melted down completely.
Once fully melted, turn off the heat and make sure to remove any potential skin irritants or clumps from the melted wax before proceeding further (if necessary). If this step is missed, these small clumps can lead to uneven burning and candle dripping throughout its use.
Adding Essential Oils Finally, now that all of the hard work is done and beeswax is properly mixed and melted down let’s add our chosen essential oils with ease. Start by adding drops at a time into your melt-down wax and give it time to evenly mix together before adding more.
Do this until you have achieved a desirable scent level; typically 20-30 drops should provide enough fragrance for an average size jar candle. Once finished feel free to improvisation – mix two scents together or try something bold like adding food coloring or dried flowers for flare.
Getting Started
Making beeswax candles from scratch is an easy and enjoyable process that can be done with minimal tools or materials. Before beginning, it’s important to cover the basics of melting and handling beeswax since this is the most integral step for achieving successful candles.
The first step in melting beeswax is to determine what type of wax is being melted. Beeswax can come in either blocks or pellets. Both forms are melted using a double boiler method where boiling water is on top and the beeswax sits securely in a pan on the bottom part of the boiler.
When melting, always leave an air gap between the top part and bottom part as this will prevent burning or scorching of any wax due to direct heat contact. It’s also important to use stainless steel pans as any other kind may cause burning or off flavors.
After setting up the double boiler, add the desired amount of wax and keep flame on low heat until all wax has melted before adding essential oils for scent. If small batches are being made, then microwaving may be used in place of a double boiler provided temperatures aren’t higher than 180°F (82°C). Higher temperatures should not exceed because it could result in distortion of shape when molding candles later on.
Once completely melted, here are three common ways to incorporate essential oils into your beeswax candles:
- Mix essential oils directly into liquid wax – blend desired amount evenly while stirring
- Soak cotton wick strands in essential oil ahead time – twist them around wick bars prior to pouring liquid wax
- Spray essential oil onto cool finished candle – lightly spritz onto top surface after cooling
Adding Essential Oils to the Melting Wax
Making beeswax candles with essential oils is a great way to get a beautiful and wonderfully-scented candle without having to buy anything fancy. To begin the process of making beeswax candles with essential oil, you will need some beeswax, wicks, and the essential oil of your choice.
The common ratio for melting wax is three parts wax to one part oil. For most standard sizes of a jar or regular mold, about 20 ounces of wax should be enough to do the job.
Once you have your supplies assembled, it’s time to get started. Begin by preheating the area where you will melt the wax in order to keep it at an even temperature throughout the process. It’s best to melt over low heat so as not to burn the wax.
Once the wax is melted and in liquid form, add a total of five drops of essential oil into the container that holds melted wax for every ounce of wax used until desired scent has been achieved. Stir it gently so everything is combined fully before pouring into molds.
Pouring Into Molds
At this point, put wicks inside each mold and wrap them around pencils so they stay secure and properly aligned in order for proper burning and lighting. Slowly pour melted mixture inside each mold while using something like a chopstick or spoon handle to stir it around as much as possible while pouring in order for it to distribute evenly – this also helps avoid air gaps which could cause hot spots during burning later on down the line.
After all molds are filled up with their respective amounts of melted beeswax plus essential oils mixture, leave them out undisturbed until completely solidified before moving onto next step – trimming wicks down.
This lets any air bubbles rise up and escape before permanently setting shape so no extra tweaking necessary beyond this point other than tidying up those easy-to-miss details like taking off any excess bits that may have seeped out over sides due to excessive heat from melting session prior (which happens sometimes.
).
Pouring the Wax into Candle Molds
Making beeswax candles with essential oil is a fun, creative craft activity that anyone can join in on. Here are the steps to make your own unique, quality product.
The first step in making beeswax candles with essential oils is prepping the molds. They should be clean and dry before boiling the wax. Make sure to use appropriate molds with the size and shape desired for the final product.
Metal molds work best for candle making due to their sturdiness and durability. It’s also important to consider flame safety when lighting your new candle – glass will not absorb heat in an appropriate way and may shatter if placed in a high-temperature situation like an open fire.
Once you have chosen your molds, it’s time to begin melting the wax. This should be done slowly so as not to burn or bubble over. An old pot or slow cooker can work well here; however, do keep in mind that any surface area used for wax melting should never again be used for food preparation due to contamination concerns.
Ideally, one part of pure beeswax should be mixed with four parts coconut oil as this material has great health benefits while still making a strong structural unit that does not burn too quickly or too slowly when lit up later on. After mixing these two ingredients together (ideally stirred with a wooden spoon), you can then heat them until fully melted before pouring into the prepared mold(s).
Adding Essential Oils
Once cooled but still slightly pliable, it is time to add your aroma. The amount of essential oil depends on personal preference – some people prefer a subtle fragrance while others enjoy a stronger scent – just remember that adding excessive amounts could potentially damage or “burn” the wick once lit up later on. A good rule of thumb is typically 5mL per 500g of wax/oil mix depending upon how much olfactory stimulation desired:
- 0 mL – Subtle scent
- 2mL – Noticable scent
- 5mL – Strong scent
Now that essential oils have been added, it’s time for the wick. These commonly come pre-cut and attachable via tabs at the bottom; thus, each candle would only need one wick tab per mold size/shape even though there may be multiple candles created from one batch of poured material earlier on.
Ensure that inserted metal tabbing base remains stable and upright as this will impact how smoothly burning proceeds once actually ignited in a bit (i.e., if not centered and positioned correctly chances are higher for uncontrolled blue flexes similar to seeing stars after being punched hard or too droopy/noncentralized locations where smoke begins to swirl instead of float straight up).
Therefore centering often requires adjustment via twisting metal alongside either side as needed prior placing cap atop burned floral designs within center if opting for specialized designs like teardrop swirls instead of solely plain cylinder shapes prior ready for purchase by prospective buyers looking throughout local stores near them soon.
Finishing the Candles for a Professional Look
Using beeswax candles with essential oil is a great way to make beautiful, fragrant candles. Before a candle is finished off in its professional look and ready to use, there are a couple steps that need to be taken. Once the wax has cooled and the wick tab is secured to the bottom of the container, the wick needs to be trimmed.
If it’s not trimmed it will smoke when burned and may end up being difficult to light. With scissors or nail clippers trims the top of your wick after it cools so that 1/4 inch of wick extends above the wax.
Centering The Wick
For an even burn, having a centered wick is important. When you finish pouring the melted wax into each individual mold, move and adjust wicks so they stay centered as best as possible.
To ensure that they are centered enough you can if scented candles are desired, now would be time add essential oil which would have been previously mixed with beeswax in small metal containers over low heat until fully combined. Each container where wax is poured should have 10-15 drops from this mix for optimal scent strength when burned.
Finishing Touches
Once all of this is done, your newly made beeswax candles are almost ready. Use adhesive dots or glue in order to keep your centered wicks stuck down on the bottom of each mold – they won’t move around when touched this way.
Allow for them to cool completely before transfering out from its mold and touch ups can be made if necessary once this stage is reached through treatments such as wrapping ribbon around glass votives etcetera. Now place them somewhere secure where they won’t get bumped around or put away until needed in whichever spot fits best.
Customizing Your Candles With Different Scents and Colors
The fun of making beeswax candles with essential oil is that you can customize them with different scents and colors. There are many possibilities for your candles depending on what essential oils you choose.
For example, the perfect combination of chamomile, lavender, and eucalyptus can create a soothing, calming aromatherapy candle that you can use to help relax after a long day. Or alternatively, add some tea tree oil and orange zest as the essential oils to create an energizing candle that will give you a refresher and boost of energy.
Choosing the Right Scent Mixture
When it comes to the scent combination, there is no right or wrong ratio. It is really up to you which scents work best together and how much of each scent you’d like in your candle.
For bigger rooms or wider area coverage, something with more citrusy notes like lemon may work better than florals like jasmine or lavender because they tend to have a subtle effect on longer distances. Similarly, more floral blends such as rose might be better suited for smaller or enclosed areas since their aroma tends to linger longer in these spaces.
Coloring Your Candles
To further customize your candles, coloring them can be done by adding small amounts of cosmetic grade mica pigments when melting your beeswax. Be mindful not to add too much pigment at once as this could end up ruining the entire batch. When selecting mica pigments, also make sure that they are rated suitable for cosmetics so that when burned in candles they don’t release hazardous fumes into air.
Additionally, choosing food-grade pigments will ensure that both you and anyone burning your candles are using safe ingredients both skin wise and health wise. With a wide variety of products available in store today, creating customized beeswax candles complete with alluring smells and beautiful colors has never been easier – experiment away.
Storage Tips for Candles Finished with Essential Oils
Beeswax candles plus essential oils make an attractive, fragrant combination. If you’re a candlemaker, you need to be well-armed with knowledge about storage so the essential oils don’t deteriorate your finished product. Essential oils added to beeswax will oxidize if not cared for properly. Follow these tips for storing and displaying them:
- Keep candles out of direct sunlight or other sources of ultraviolet light.
- Store candles in a cool, dark place such as a linen closet.
- Limit exposure to air by keeping the lids securely on any containers that store several candles.
- Do not store or display large numbers of candles near one another; this can create excess heat which could lead to oxidation.
- Avoid housing multiple scented candle varieties together, as their individual fragrances can mingle in an unpleasant way.
Once you’re ready for display, take care that these wax creations are showcased in the best manner possible. The environment should be clean and dust-free with temperature maintained at approximately 68°F. Exposure to drafts should also be avoided. Place the candles close together in small groups rather than scattered throughout where air circulation could be affected. When the lights are low, the glow and scent of your custom creations will be sure to captivate.
Troubleshooting Tips for Common Candle Making Challenges
Making beeswax candles with essential oils for aromatherapy and decoration is an enjoyable and rewarding hobby for many people. However, this particular type of candle may present more difficulties than other forms of candle making. Below are some troubleshooting tips that should help you overcome common challenges when working with beeswax candles and essential oils.
When dealing with the candles melting too quickly, it can be frustrating as it takes time to pour the wax into the molds. To prevent this from happening, you’ll want to keep your workspace cool – both the wax and molds should not exceed 60-70°F.
If your wax has been in storage for a long period of time and is old or has been overheated during pouring, this may also cause the candles to melt too fast when lit.
In order to solve this problem, make sure to always start with quality, fresh wax. On top of that, you will additionally want to reduce the temperature of your poured candles afterward – try refrigerating them until they’re ready for use.
A second challenge one might bump into is scent loss in burning beeswax candles enhanced with essential oils. This issue can be caused by either not using enough scent initially or using a scent that is too weak to create any significant fragrance. If this concern arises, try adding more essential oil if possible – increase the amount in small increments each time until you achieve an aroma strength that works for you.
You must also ensure you have chosen an oil suitable for inhalation; some oils that work well in diffusers aren’t good for burning due to their chemical composition so do research on what works best. If still there is no satisfaction after that then switch up your oil altogether.
Making sure that you are diluting it properly before insertion should correct it as well In conclusion, although making beeswax candles may present some issues not seen as frequently in other types of candle making, they can still be successfully created with great results – use these troubleshooting tips as a guide to overcoming these various challenges.

Welcome to my candle making blog! In this blog, I will be sharing my tips and tricks for making candles. I will also be sharing some of my favorite recipes.

