Introduction
Making beeswax candles without coconut oil is becoming increasingly popular as a way to take advantage of the natural properties of beeswax for home decoration. While using coconut oil can add scent, stability and longevity to the candles, eliminating it can give you a much simpler process and product. Here are some benefits and reasons why you may want to make candles without coconut oil:
1. Keep it natural: The aroma and color of pure beeswax is beloved by many, so opting out of adding other ingredients lets you embrace its beauty in a simple manner.
2. Cost effective: Purchasing beeswax without any additives makes it cheaper than purchasing ones that have had oils or scents added. Even if you don’t like the sweet yet subtle honey-like aroma that comes with it naturally, this savings can be used to buy an essential oil to add later on.
3. Easier cleanup: Without any additional oils sticking around during the pouring process means less residue left behind afterwards which allows for simplifying your cleaning routine significantly.
4. Non-synthetic ingredients: Because essential oils are completely natural, they produce no synthetic chemicals while they burn as opposed to what could come from adding scenting agents like paraffin waxes or other byproducts of hydrocarbon refinement processes that can occur when working with candle wax blends. Overall, this means that your air won’t be polluted by carcinogenic substances such as benzene or butadiene when burning your candles!
What You Will Need
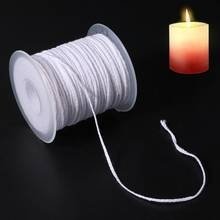
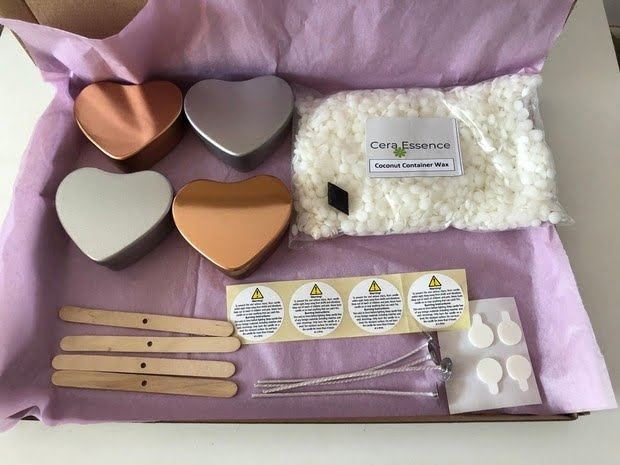
To make beeswax candles without coconut oil, you will need the following supplies and equipment: beeswax, metal or glass container large enough to hold your desired amount of wax (make sure it is heatproof!), wicks, scissors, an old candle stick (or other means of suspending the wick in the wax), double boiler or two pots to create a makeshift double boiler system over a stovetop heat source, and a stovetop.
Additionally, you may want to obtain a thermometer so that you can monitor the melting temperature of your beeswax; though it’s not necessary. You should also think about gathering any molds or pens that you’d like to use on the event of wanting to make shaped candles; pencils could prove particularly handy for holding up wicks when hanging them above containers if making a free-standing candle. Additionally, consider purchasing some newspaper or plastic/cloth drop cloth to cover your working area with just in case there is any dripping wax. Lastly, it would be wise to have some rags or paper towels handy so that you can quickly clean any spills during the process.
Creating Your Candles
1. Gather the supplies: To make beeswax candles without coconut oil, you will need pure-centered beeswax, a large pot, a glass or metal measuring cup, cotton wicks and molds (or other containers) to house the candles.
2. Melt the wax: Begin by melting the wax in the pot over low heat on your stove. Keep stirring while the wax melts to ensure it melts evenly and doesn’t scorch. You can also use a double boiler if you have one but be sure to keep an eye on it so you don’t burn it.
3. Prepare the wicks: While the wax is melting, lay out enough wick for each of your molds with some extra if needed; this will help you determine how much length is necessary for each candle. Pre-soaking the wick in boiling water can make it easier to insert into your mold as well as encourage even burning once lit.
4. Add scent: If desired add essential oils or candle scents! Fill 1 tablespoon of scent for every 4 pounds of wax – be sure not to add too much or your candles may end up oily with pools of melted fragrance when lit! Experiment with different combinations of scents until you find something that’s perfect for your taste and home environment.
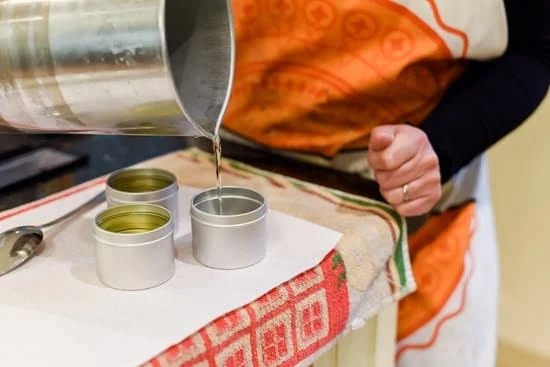
5. Pour into molds: Once everything is melted and ready carefully pour the liquid beeswax into your pre-prepared molds adding any additional decorative items as desired before they dry completely! For best results tilt molds slightly when pouring ” this helps minimize air bubbles at least somewhat! The excess wax left behind in pot after filling molds can always be reused later on another project so don’t toss it out just yet!
6. Let cool: Allow the beeswax candles at least 24 hours before attempting to remove them from their respective molds and/or containers since cooling time for natural materials varies based on size, shape & thickness of product being made. Enjoy your beautiful homemade candles without any added coconut oil!
Adding Color and Style
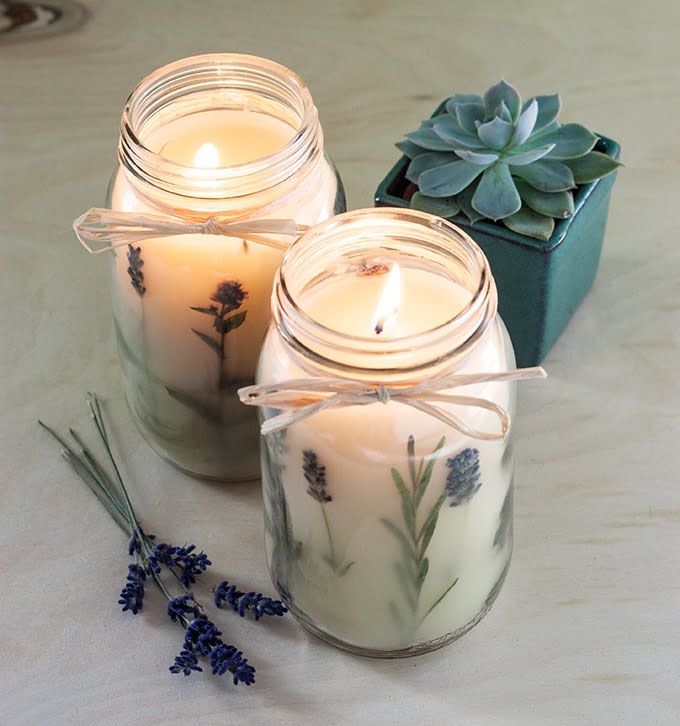
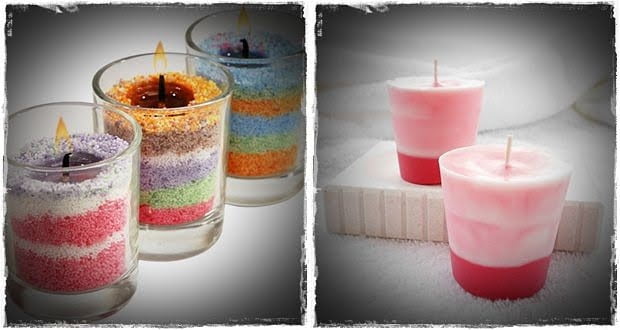
There are numerous creative ways to customize your beeswax candles without the use of coconut oil. For example, you can use natural dyes such as beetroot powder or paprika to add a beautiful pink color to your candle. You can also add herbs and flowers for a more natural effect like chamomile for a warm, herbal scent or lavender for added calming properties. Adding certain essential oils can create interesting aromas as well. For example, using grapefruit essential oil will give off a nice citrus scent while rosemary essential oil gives an herbal, earthy aroma. To add an elegant touch to your melted beeswax candles, add glitter or confetti when the wax is still slightly liquid. Depending on the recipe used, you may be able to top the finished candle with decorative beads or crystals for extra flair. With these methods you can make beautiful and personalized candles without having to incorporate coconut oil!
Facing Problems
When making beeswax candles without Coconut oil, there are some challenges that can occur and should be troubleshooted. The most common challenges include the candles having weak scents, not burning correctly or not holding their shape when lit. Each issue has its own solution, which may take a few iterations to get it just right.
The first problem is the scent of your candle not being strong enough. This is usually caused by too much air being incorporated into the wax as it’s melted or from not adding enough fragrance oil into your melted wax mixture. To fix this, simply melt the beeswax in larger batches, ensuring a smaller surface area for air infiltration and adding more essential oils into the mix until you reach your desired scent strength. It is important to note that essential oils are flammable and so should be used with caution near naked flames. Additionally, if you want stronger scents in general it’s best to use a blend of premium-grade essential oils rather than lower quality ones.
The second problem isbeeswax candles not burning correctly according to their shape and size. This often occurs when incorrect wick sizes are used relative to the size of the candle with smaller wicks bowing inwards towards the center of the candle and large wicks drooping outwards towards the edge thus affecting burn time & evenness of flame. To avoid this problem always choose an appropriate sized wick based on general rules such as one with a diameter 10% of your candle jar diameter or alternatively by experimenting with different sizes until you find what works best for your setup and purposes.
The final problem could be related to any number of issues ranging from improper pouring temperature causing misshapen wax after solidifying to wicking that has been improperly centered before pouring or insulation interfering with heat flow during burning preventing proper melting of each layer as it gets lit again after extinguishing in some cases resulting in candles not retaining their intended shape once extinguished thus having to be remelted & repoured whenever usage require” ie using tealight type container setups for massage therapies etc.. Again experimentation is key here ” pour samples regularly until you find what works best for different applications andpurposes although generally higher temperatures leadto better meltingpoint results but overtimeshouldbe avoidedas theycanleadtotunneling/wick misalignment etc which again leads toburningunintended shapesaswellashigherriskoffiresoitsimportanttoavoidpouringattemperatureshigherthanrecommendedbyproducersofbeeswaxespecificallyformakingcandles.
Professional Tips
Making beeswax candles without coconut oil can be a tricky task that requires knowledge and experience. To help you get started, here are some important tips and tricks from professional craftspeople on making beeswax candles without the need for coconut oil:
1. Make sure to melt the beeswax at a very low temperature. ” Beeswax needs to be melted at temperatures lower than 130°F (54°C). Using higher temperatures will cause discoloration, as well as reduce its ability to hold shape in the candle form.
2. Make sure your candles are properly shaped while they’re still hot. – Hot beeswax is extremely pliable and the easiest time to give your candle the shape you desire is while it’s still warm. You can always trim away excess wax once the candles are cooled completely.
3. Paraffin wax or stearic acid can add additional stiffness to your candles allowing them to keep their shape when lit. – Adding paraffin wax or stearic acid in precise amounts helps modify the softness of your wax allowing it to maintain its body and structural integrity even when burning down, giving your candle a better appearance when lit.
4. Reinforce your candles with wooden or metal wicks for maximum stability – This helps prevent your candles from tipping over or becoming lopsided while they burn and will also provide extra support that helps the candle remain sturdy during melting and burning processes.
5. Don’t forget to finish with fragrance! – Not only does scent create a pleasant atmosphere but it also creates a unique signature for each one of your varieties of handmade candles! Use an essential oils based liquid fragrance for best results when adding scent during and after pouring out your candles
Finishing Up
When it comes time to finish off making beeswax candles without coconut oil, there are a few key points to keep in mind. First, the wicks should be submerged into the hot wax several times as it cools in order to help ensure that they stay upright and straight during and after the process. Second, it’s important to use beeswax of a single melted temperature for your project, so avoid mixing different colors together. Finally, once the candles have cooled and hardened completely add extra decoration if desired for an attractive product. Decorations could range from green foliage or pinecones if making outdoor votives to glitter or beads on indoor tea lights and container candles.
Conclusion
Making beeswax candles without coconut oil is a rewarding experience! Not only do you get to enjoy the warm glow of your handmade candle, but you also benefit from knowing that it was created with little impact on the environment. By using pure beeswax instead of petroleum-based wax, no additional greenhouse gases are produced. Additionally, because coconut oil and other synthetic ingredients are not necessary to achieve the perfect melt-point consistency, fewer chemicals are released into the air. As an added bonus, you’ll save money in the long run since beeswax is cost-efficient and lasts longer than paraffin or soy waxes. Making your own candles is a creative outlet that can be enjoyed both indoors and outdoors; don’t forget that this provides an opportunity for family bonding activities! All in all, discovering how to make beautiful candles without coconut oil can give you peace of mind knowing your handcrafted mementos emit no extra emissions into the air ” all while also creating something special for yourself that will last through many experiences!

Welcome to my candle making blog! In this blog, I will be sharing my tips and tricks for making candles. I will also be sharing some of my favorite recipes.

