Introduction to Making Beeswax Sage Scented Candles
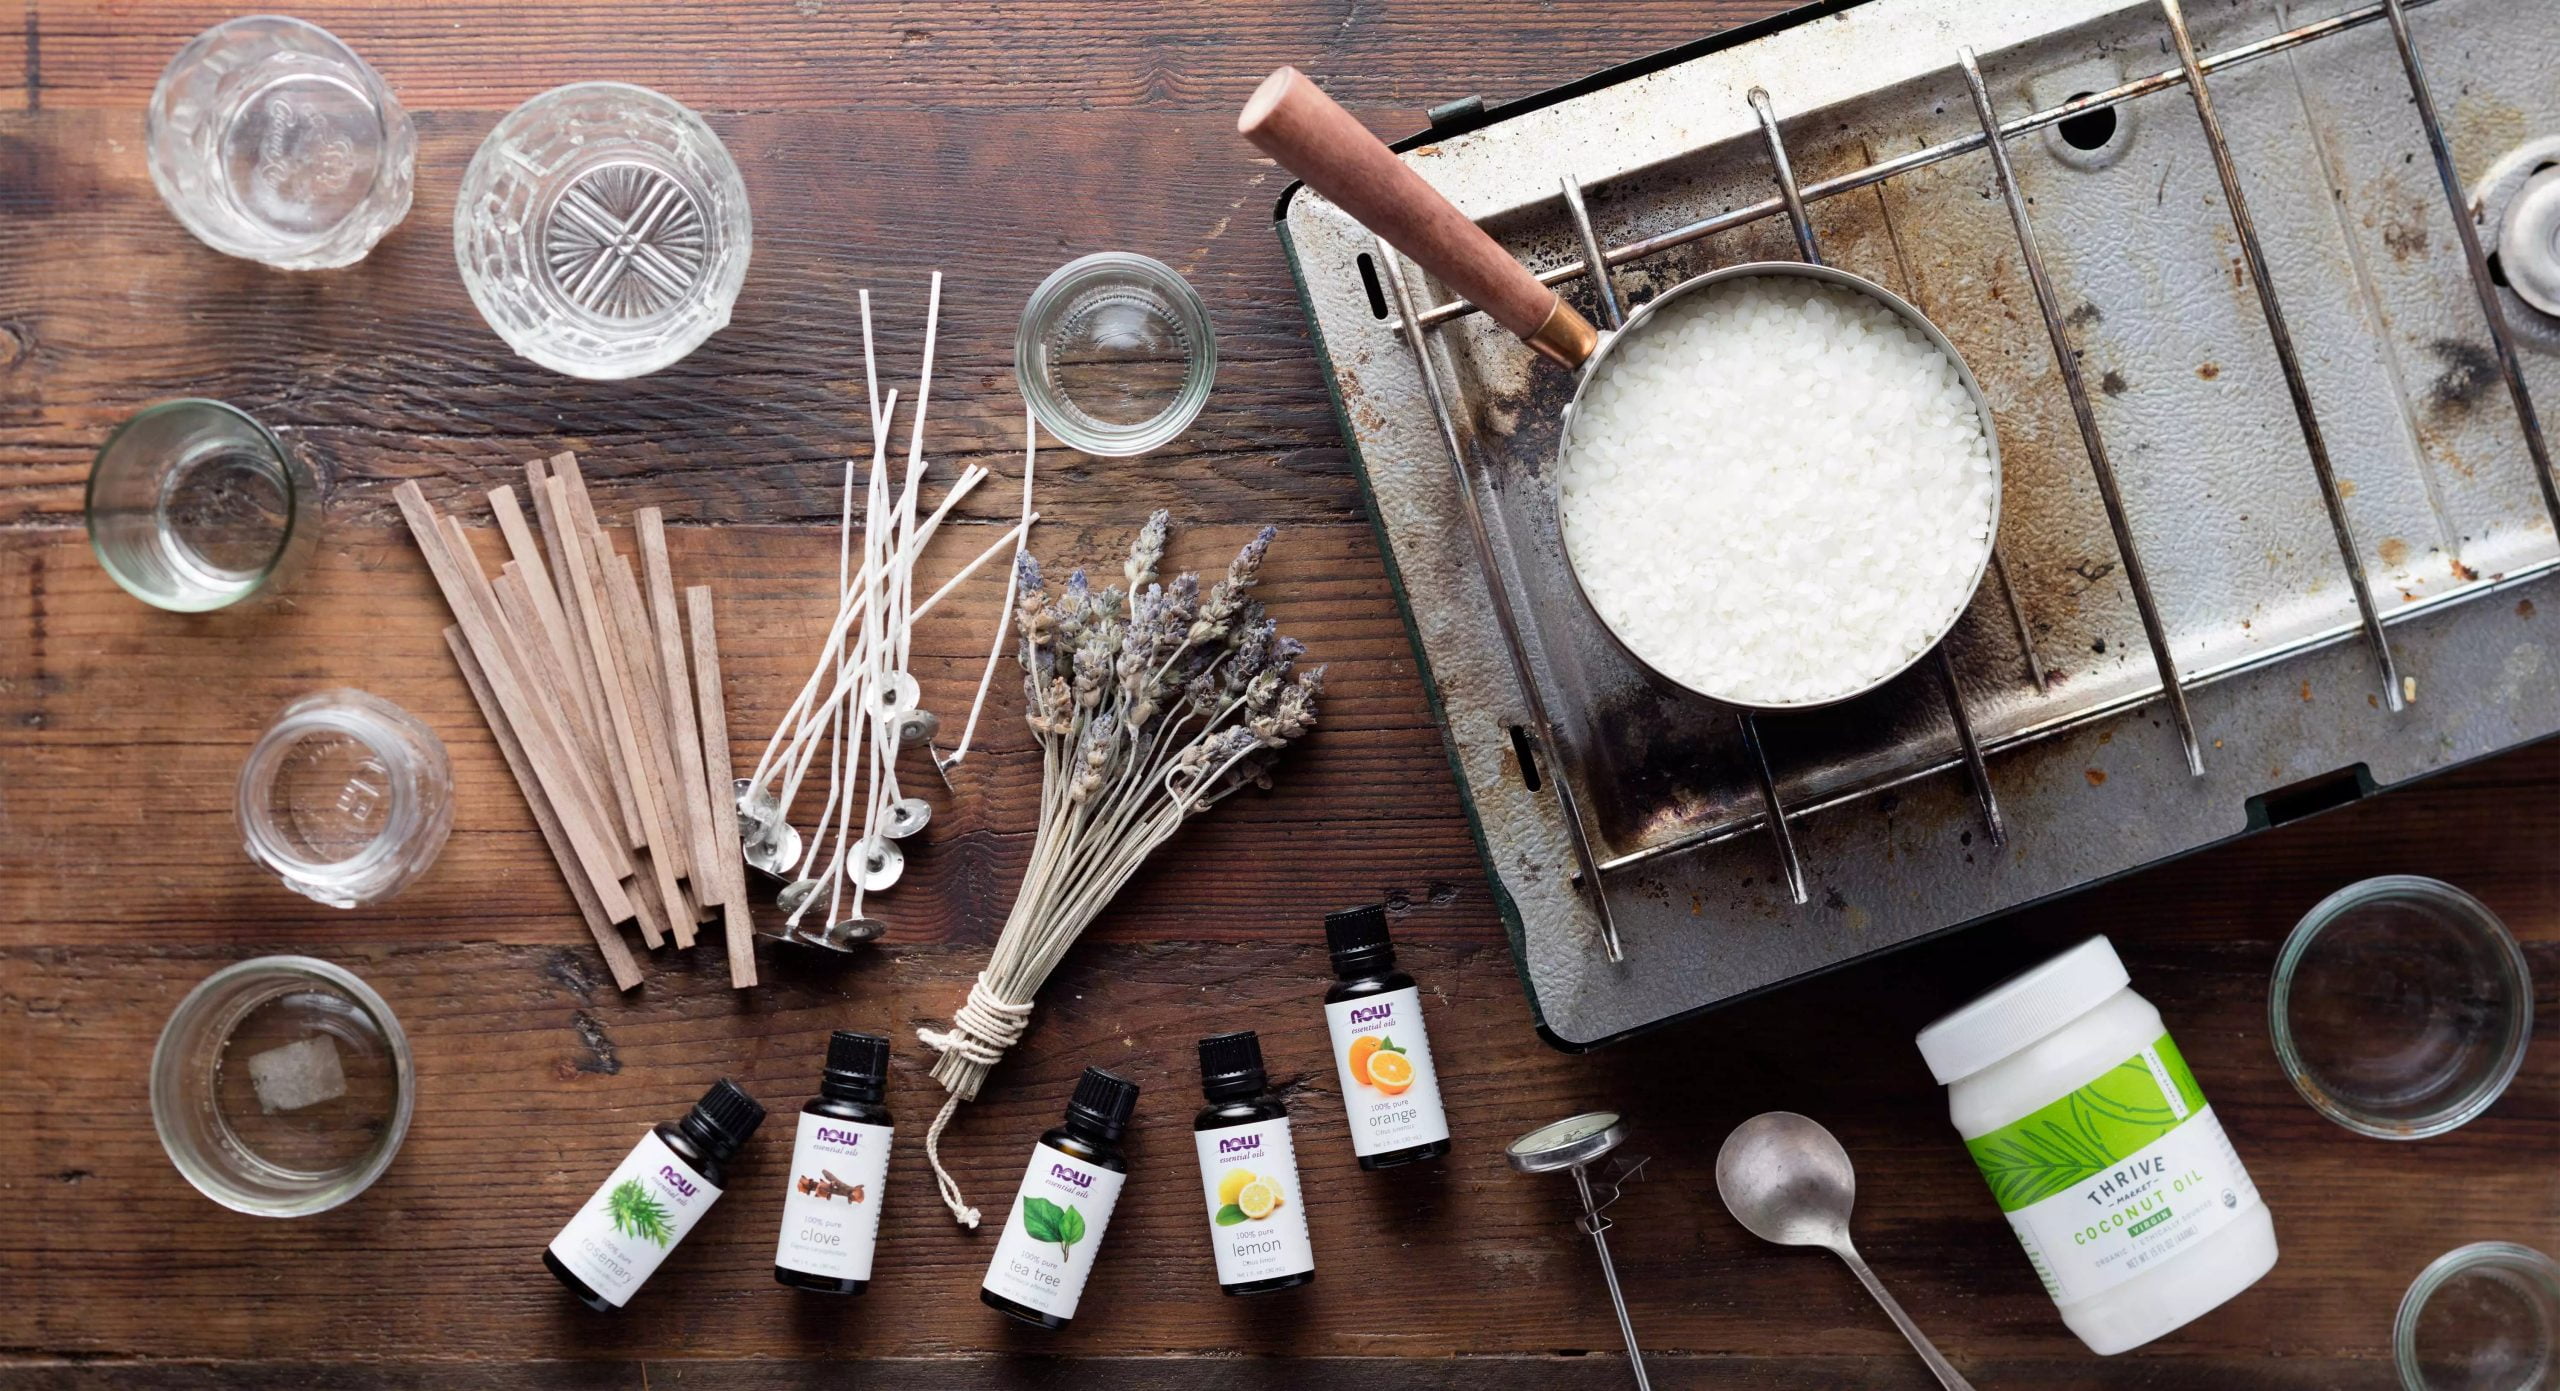
Making beeswax sage scented candles is a fun and rewarding process. The gathered materials are straightforward and include beeswax, a container or mold in which to pour the melted wax, an herb like sage and citronella, a heat source such as a double boiler, wicks, accessories like molds and holders to assist you in making the perfect candle, and your choice of colorants if desired.
Beeswax candles have many unique benefits over other types of candles. They are hypoallergenic, non-toxic and produce negative ions that purify the environment during burning. This makes them better for both indoor and outdoor use alike. Beeswax naturally also has its own pleasant scent that does not need additional fragrances added but can do with it as desired.
The scent of the Sage scented beeswax candle is particularly pleasing with its mildly sweet yet earthy herbal aroma making it stand out from conventional beeswax candles. No matter which ingredients you choose to adorn this small hive treasure with, you can be sure that for your homemade creation Sage will be always readily apparent at least to some degree!
Gather the Supplies
Making beeswax sage scented candles is a simple and rewarding task. To get started, make sure you have all the required supplies to create your masterpiece. Begin by gathering a large package of beeswax granules; make sure that the source is good quality and natural. If you are using thick blocks of wax, melt it on low heat in a double boiler setup or in the microwave – follow manufacturer’s instructions for melting. Once the wax has cooled off, mix in several drops of pure essential oil to make your candle scented; choose sage if you want a sweet herbaceous scent.
When it comes to choosing wicks, purchase sustainably sourced cotton core wicks – they are more robust compared to other types. A single candle will require at least one wick as well as ties to hold wick up while pouring in melted wax. Choose wick size depending on the volume of your container; optimal size should leave about 1/4 inch of wax pooling at its edges for even burning. Make sure that both length and width are sufficient for providing an ample flame but not one that will smoke excessively – experiment with different sizes to find what works best. Finally, trim down wicks after cooling off as long strands can leave excessive amounts of soot and blackened containers behind when burning.
Preparing the Candle Molds
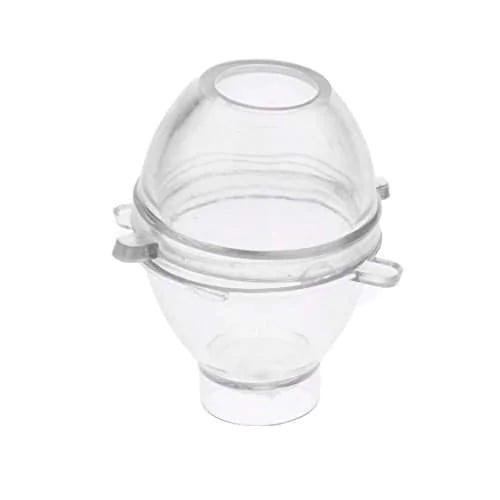
When making beeswax sage scented candles, the first step is to prepare the candle molds. The most common type of mold used is a silicone mold, as they are easy to use and can be customized to whatever shape or design you like. Some people also choose to make their own molds out of clay, which requires more skill and time but ultimately can yield more unique results. When selecting a silicone mold, it is important to make sure the dimensions match the intended size of your candle and that the material is food-grade.
If using a wine bottle, place the jute wicking around the circumference of the bottle with 1-2 inches extending from each side. Secure in place with rubber bands or tape. Cover inside of bottle with a thin layer of petroleum jelly for easier removal later on. If making your own clay molds, roll out an even sheet of air dry clay in a thickness slightly larger than your desired candle width. Cut out pieces in desired shapes by hand or using cookie cutters. For special details like herb embellishments, press dried plants into clay lightly before baking according to package instructions for complete safety information on how long and at what temperature needed for curing. Allow plenty of time for cooling before moving on to next step in candle making process!
Melting the Beeswax and Adding the Scent
To melt the beeswax for making scented candles, you will want to set up a double boiler. A double boiler is a device that uses heat from boiling water in one pan and convection-heated air from the second pan to slowly heat and melt the wax. Use enough water to cover the bottom of your pans when boiling. Once at a steady boil, put your beeswax into the top of your double boiler and let it slowly start to melt down. You should stir it every now and then with a wooden or silicone spoon so that all parts of the wax melt evenly.
When you have achieved your desired level of melted wax, take the pan off of heat and add in your essential oils bit by bit, stirring between each addition until all of them have been added. Start small with just a few drops at first; you can always add more if necessary as different essential oil brands vary in strength. Wait for several minutes for the oils to mix into the wax before testing its strength; be careful not to get any essential oil onto your skin! If it’s still too faint for your liking once tested, add more essential oil until you get your desired scent strength. Ensure that you make notes on how much essence was added so that each candle scent batch can be repeated after if needed!
Pouring the Wax into the Molds
To begin, preheat your oven to 200 degrees Fahrenheit. This will prepare the molds for the beeswax. Then, set up a double boiler and melt the beeswax. Keep the heat low, as too much heat can scorch or burn the wax. Once melted, add 8-10 drops of sage scented oil per two cups of wax and stir until it is completely blended into the wax.
Next, cover your working surface with either parchment paper or a drop cloth to protect it from any dripping wax while you work. Carefully pour the melted beeswax and oil mixture into each of your candle molds being sure to fill each mold completely so that there are no air bubbles present when you’re done. To avoid air bubbles and other imperfections in your candles, tap or vibrate each mold after they have been filled to release trapped air pockets and keep them level – this will help the finished candle look neat and even.
Finally, place all of your molds in a warm oven for 30-60 minutes until all of the wax has melted and set firmly in each mold. Allow them to cool before carefully unmolding them; this usually takes about an hour depending on how thick you made your individual candles. Once cooled, these sage scented beeswax candles are now ready for use!
Final Touches
For a decorative touch, you can add wicking to the candles. Once the candles have cooled and hardened, dip a length of cotton string in melted mineral oil, allow it to soak up the liquid, then roll it around a dowel or stick for easy handling. Center the end of the soaked string over the candle’s center and press down. Press on both sides of it until it has connected to the sides of the wax. Your candle is now ready for burning!
When lighting your beeswax sage scented candle, make sure you are burning it in an area where there is no risk of fire, away from curtains or other combustible materials. Trim the wick regularly with scissors or snuffers so that it stands no more than 0.5cm high when lit and discard any trimmings after each use. Ensure that there is also at least 10 cm of space between your lit candles so they don’t set off each other as this could result in a fire hazard.
To preserve your beeswax sage scented candle longer, ensure that they are kept out of direct sunlight and away from humid conditions to help prevent discoloring and melting. Keep them wrapped in acid-free tissue paper when not in use; by doing this you can easily double their shelf life!
Conclusion
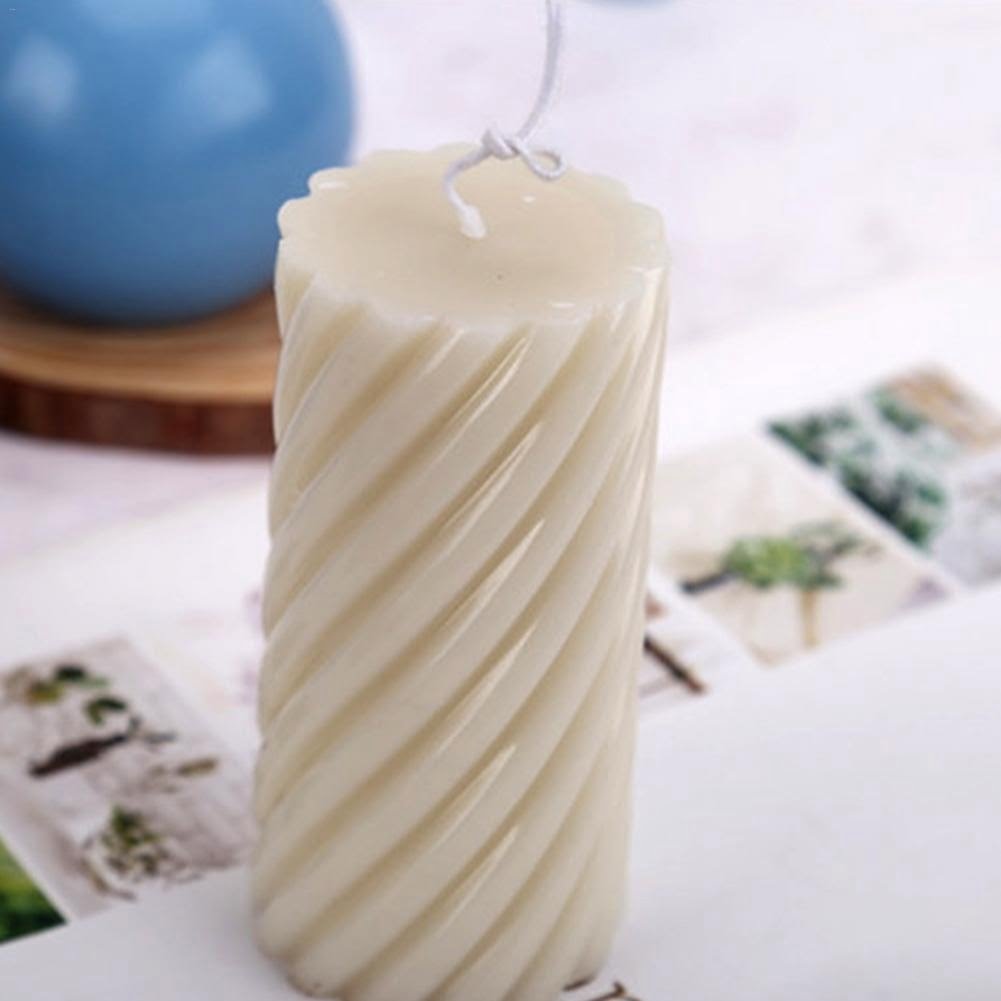
The process of making Beeswax Sage Scented Candles requires several steps. The first and most important is to form the beeswax into sheets, either by processing it in a microwave-safe bowl, heating it in the sun, or pouring liquid wax into molds. Once the wax is cooled, you can use a sharp knife or scissors to cut shapes out of the sheet that will form the shell of your candle. Next, use an appropriate wick material and melted wax to create a container for your desired scent and color. You can then add melted beeswax, chosen scent materials and herbs such as sage leaves to the container before topping it off with more wax to seal it all in. To finish off your candles, tie wicks into bows around the outside or hang them in a decorative manner.
One way to customize your candles is to combine different colors, scents or decorations when creating them. For example, you could mix orange color flakes with scented oils for a refreshing citrusy fragrance for your candles or decorate them with dried rose petals for an elegant aesthetic. Additionally, you could modify the shapes and sizes of your beeswax candles by cutting out unique designs into each one before adding in the fragrances and herbs.
Beeswax Sage Scented Candles are incredibly versatile and can be used in many different ways depending on what scent and style you’ve chosen during your candle making process. You could use these lovely creations as centerpieces on tables at parties or potluck feasts; provide them as decorative accents outdoors for added ambiance; position multiple candles along stairway banisters indoors for inviting lighting; bedeck windowsills around homes with glowing light; gift them away as unique presents filled with love from handmade sources – the list goes on! With proper care taken throughout their life span – refraining from snipping off burnt wicks too far down after extinguishing flames (allowing half inch remaining), not exposing them to being slammed with doors when open/closed, keeping total burns no longer than 4 hours and more – Beeswax Sage Scented Candles should bring warmth, comfort and joy!

Welcome to my candle making blog! In this blog, I will be sharing my tips and tricks for making candles. I will also be sharing some of my favorite recipes.


