Introduction
Making brown from candle dyes is a unique and creative way to create a range of earthy tones for a variety of home crafting projects. Candle dye is an excellent canvas that allows you to mix and match multiple dyes to form the perfect color of brown. Whether looking for something light or something dark, this process gives you the ability to customize the shades and hues you’re looking for. By following a few simple steps, it’s also surprisingly simple and easy to do. You can go from having no knowledge of how to make brown from candle dye to having your own finished product in a short amount of time.
To start making brown from candle dye, you’ll need some basic supplies: candle wax chips (either pre-dyed or blank), candle dye, an empty container large enough for mixing, coconut oil or vegetable oil as a carrier oil in order to disperse the pigment evenly into the wax, measuring spoons, a stirring spoon or fork, and some kind of heat source such as an old pot set on low heat. The first step will be determining what shades you want your brown to be by playing around with the different flame types different dyes can produce when manipulated. Next, you’ll mix together the appropriate amount of all elements”dye pigment amount (usually 1 teaspoon’s worth), wax chips (best ratio is 1oz per teaspoon), and your carrier oil (small amounts are all that’s needed). Heat everything over low heat while constantly stirring until all components have blended together. Lastly, pour everything into whatever vessel you’ve chosen as your mold: cookies sheets lined with parchment paper work well! After cooling off and hardening back up again usually within 10-15 minutes, remove carefully before enjoying your homemade creation!
Understanding Candle Dye
Candles come in a variety of hues, from bright primary colors to the popular pastels and earth tones. Knowing the different types of candle dyes can help you create unique custom candles. Candle dyes are available as either liquid or powder.
The three main types of candle dyes are pigment blends, dye chips, and oxides & lakes. Pigment blends are made from a combination of multiple pigments and contain no water-soluble components. Dye chips are created from single-molecule compounds and provide more vibrant results than pigment blend dyes. Oxides & lakes offers a range of naturally based colorants with subtle tonal variations.
When combining shades, it’s important to understand the difference between complementary and analogous colors. Complementary colors bring out the best in each other”for example, blue is opposite orange on the color wheel so they naturally balance each other when used together. Analogous colors sit next to each other in hue such as greenish yellow and yellow, creating that classic soft ombre effect. To make brown using candle dyes, blend pigments such as red oxide and black oxide together for a reddish brown or combine red oxide and green oxide for an olive gray version of brown. If you want to use dye chips, opt for mica-based microchips since these illuminate when exposed to light so your finished product will be brighter than regular dyed candles; simply mix shades until you achieve the desired hue of brown for an eloquent look that stands out from traditional candles! Lastly, if you prefer to use lake-based candle dyes, try adding any combination of hues such as yellow lake 5R, red lake 4BKL3C1A, or brown lake 7GL2CLCKP depending on how deep or light you want your shade of brown to look like once it’s burning!
Finding the Right Wax
When making candles, the type of wax used is crucial for a successful outcome. Not only does the wax affect how the candle looks, but it also influences the properties of the burning flame that provides light and heat. Different types of wax provide different burning characteristics and will determine how well and safely your candles burn.
There are four primary types of waxes. They are vegetable waxes such as soy and palm, beeswax, paraffin wax, and gel candles. Each type of wax has its own unique benefits and drawbacks that must be taken into consideration when choosing which to use for a particular project.
For instance, vegetable waxes have a low melting point which may be a benefit if you’re looking to create thinner layers in multiple colors within your candle or make them easier to pour as you assemble them. On the other hand, they may have poor scent-throw capabilities due to their neutral odor, so you’ll want to make sure essential oils or fragrance beads are added in order to perfume your candle if desired.
Beeswax holds color well without fading in comparison to vegetable waxes, but requires more expensive melting equipment due to its high melting point”You’ll want an double boiler pot at least 6 quarts in size with an accurate thermometer that reaches up 250F/250C (higher than usual). Waxes like paraffin can often be harder on decorations due to their higher melting points and need longer curing times for full fragrancing – both factors should be taken into consideration when deciding what kind of colorant elements or decoration might work best with them (heirloom flakes come recommended here!). Finally, gel candles have amazing translucency ideal for colored creations”however they contain usually contain resin blend additives which can reduce dripping during burning and cause discoloration over time; this factor is especially important if planning long burning times (i.e., church vigils).
Assembling all these elements along with one’s creativity will ultimately help craft beautiful brown candles from the many possibilities contained within each type of wax!
Preparing the Candle Mixture
1. Begin by gathering the materials you will need for the candle mixture: a disposable container, white beeswax pellets, four or more candle dyes in either liquid or powder form (preferably the same basic shade just varied slightly ” such as shades of yellow or red), and a spoon.
2. Place your disposable container on a heat-resistant surface.
3. Measure out two tablespoons of wax pellets into the container”you can adjust the amount if needed to get your desired color mixture.
4. Heat up the wax pellets over low to medium heat until they are completely melted (you may want to do this in a double boiler if you have one available).
5. Once all of the wax pellets are melted, add in one teaspoon of each of your different dye colors (if you are using liquid dye, use ½ teaspoon), and stir constantly until all of it is dissolved in the wax mixture.
6. Remove from heat and allow your mixture to cool down before pouring into molds or wickless candles that are ready for scenting and burning!
Melting & Pouring the Wax
Making candles from candle dyes can be an enjoyable and rewarding pastime. It requires a few basic steps and knowledge of the best techniques for melting wax and pouring it into molds to create any desired shade.
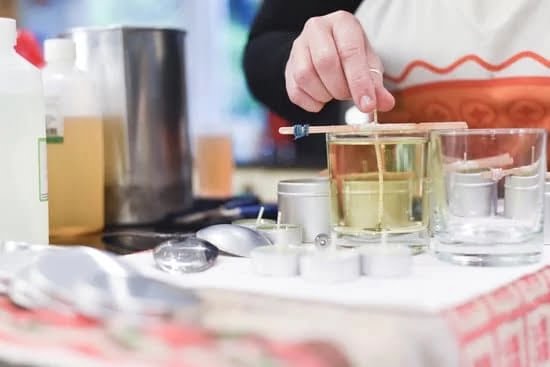
Before getting started, it is important to take safety precautions. The heated wax used for candle making can cause severe burns, so make sure to wear thick gloves and protective eyewear when handling it directly. Additionally, place the melting pot on a heat-resistant surface when using a double boiler or a direct heat source such as an electric stove.
Once the safety precautions are in place, pour the appropriate wax into your melting pot. Depending on your recipe, this will likely be either paraffin wax or beeswax pellets. Then heat the wax over medium to high temperature until completely melted. While waiting for the wax to melt, you can prepare your dye if necessary by combining different colorants together in order to achieve the desired shade of brown.
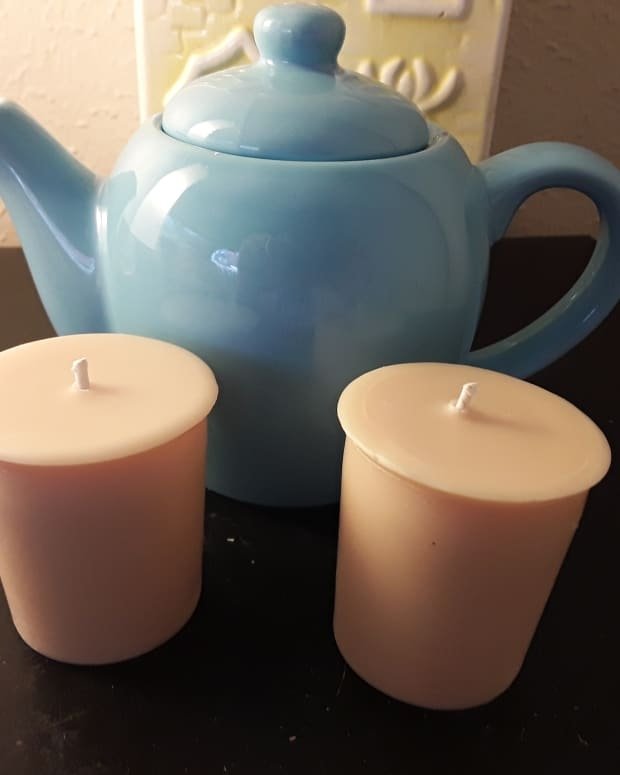
the next step is to add the dye mixture into the melted wax once it’s ready at a ratio of 1/4 teaspoon per one pound of wax; use less for pastel colors and more for darker hues. A wooden stirrer should be used to blend everything together until thoroughly mixed and no streaks remain visible; this ensures that all candles coming from that batch are uniform in color and luster. Finally, carefully pour the hot liquid into molds large or small until they are almost full then leave them in room temperature conditions overnight so they can harden completely before removing them from their containermold release spray may optionally be used in order to prevent sticking issues). Finally, once you have created perfectly brown candles with your unique recipe, you may package them for sale or personal use however you prefer
At this point you must allow time for cooling down before use: leave aside overnight until fully cooled off prior to handling with bare hands . Additionally , any leftover liquid should also be discarded immediately ” it will no longer melt reliably nor yield evenly colored results after already being exposed once . Once cool , you may trim wicks with scissors as necessary , inspect each item’s burn performance , then package them however you like : personally wrap with tissue paper & ribbon , present several as sets , put inside decorative boxes etc . Overall , making glowy brown candles from candle dyes is quite straightforward ; there really is nothing quite like adding your own special touches & stamp of approval on products straight out of own two hands !
Customizing Color
Making brown from candle dyes can seem intimidating, especially if you’re unfamiliar with the process. But don’t let that dissuade you ” creating custom shades of brown doesn’t have to be difficult ” as long as you know a few techniques for mixing and blending colors.
The technique for making brown from candle dyes will vary depending on the types of dyes available. Generally speaking, there are four approaches one can take when blending candle dyes: additive (adding one color to another), subtractive (subtracting one color from another), layering (creating a layer of each color), or color coordinance (matching the tones of two different colors). With these approaches in mind, individuals can customize their own shades of brown using several different combinations of wax dye [or pigment] portions or layered sequences.
For instance, using an additive approach, yellow and black dyes mixed together in equal proportions create an olive green shade that appears very similar to dark brown. A subtractive method involves taking two opposite hues on the color wheel ” such as green and red ” and mixing them together until a desired shade of brown is achieved. For layering, individuals can create multiple layers of dye for adjusting hue and opacity; this technique works best for light shades of brown like tans and beiges. And finally, when it comes to color coordinance, craftspeople look for complementary tints that pair up well”for example orange with blue”to produce rich varieties of chocolatey-browns.
Once the desired shade has been created through mixing various candle dyes, crafters can experiment further by experimenting with wick sizes and wax temperatures to achieve different levels of darkness or lightness in their customized pieces. No matter which approach is used to get there; making perfect shades of brown from candle dyes is entirely possible”even easy”with a little practice!
Troubleshooting Solutions
When making brown from candle dyes, there are a few common issues that can arise. Here are some troubleshooting solutions to help ensure the desired results:
Mixing Inaccurately: If you find that the mixture is too light or too dark, it can be a sign of inaccurate mixing. Ensure you are using the correct amount of each dye and combine fully until no streaks remain. For an even deeper shade of brown, add in a small amount of black to deepen the shade without changing its tones too drastically.
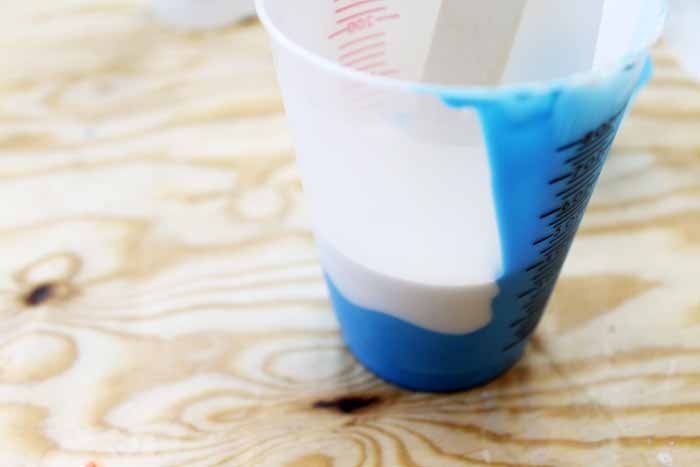
Detailed Separation: If your mixture starts to separate into different colors instead of forming one unified tone, this usually means you did not combine the dyes together properly. Start over with your mixtures and try combining them carefully until there’s no separation in the colors or any streaks remaining. You may also want to use wax additives like beeswax or stearic acid to act as an emulsifier so that your mixtures stay combined properly.
Overheating: As with all heating processes involving waxes and dyes, overheating can cause unwanted discoloration or bleeding between colors. Use low heat settings and monitor the temperature closely while adding each ingredient until everything is melted properly but not overly hot. You may also want to use heat resistant containers and stir often to prevent accidental overheating
Conclusion
Taking the time to create brown from candle dye is a fun and creative way to spend an afternoon. Whether making candles to give as gifts or to spruce up your own home, it’s a rewarding experience. When creating brown-tinted wax, you can simply combine primary colors such as red, yellow and blue, or mix multiple shades of secondary and tertiary colors to get the ideal hue of brown you desire. For those seeking a more accurate outcome, use actual colorants that are specifically made for candlemaking. If you don’t have these on hand, many common food items like spices and coffee grounds can bring out a warm shade of brown in your wax. Want to add some shimmer? Try adding mica powder or small glitter flakes for additional sparkle! With its versatility for crafting beautiful candles and decorations, it’s no wonder why many people enjoy making brown from candle dye.

Welcome to my candle making blog! In this blog, I will be sharing my tips and tricks for making candles. I will also be sharing some of my favorite recipes.

