Making Candles For Dummies
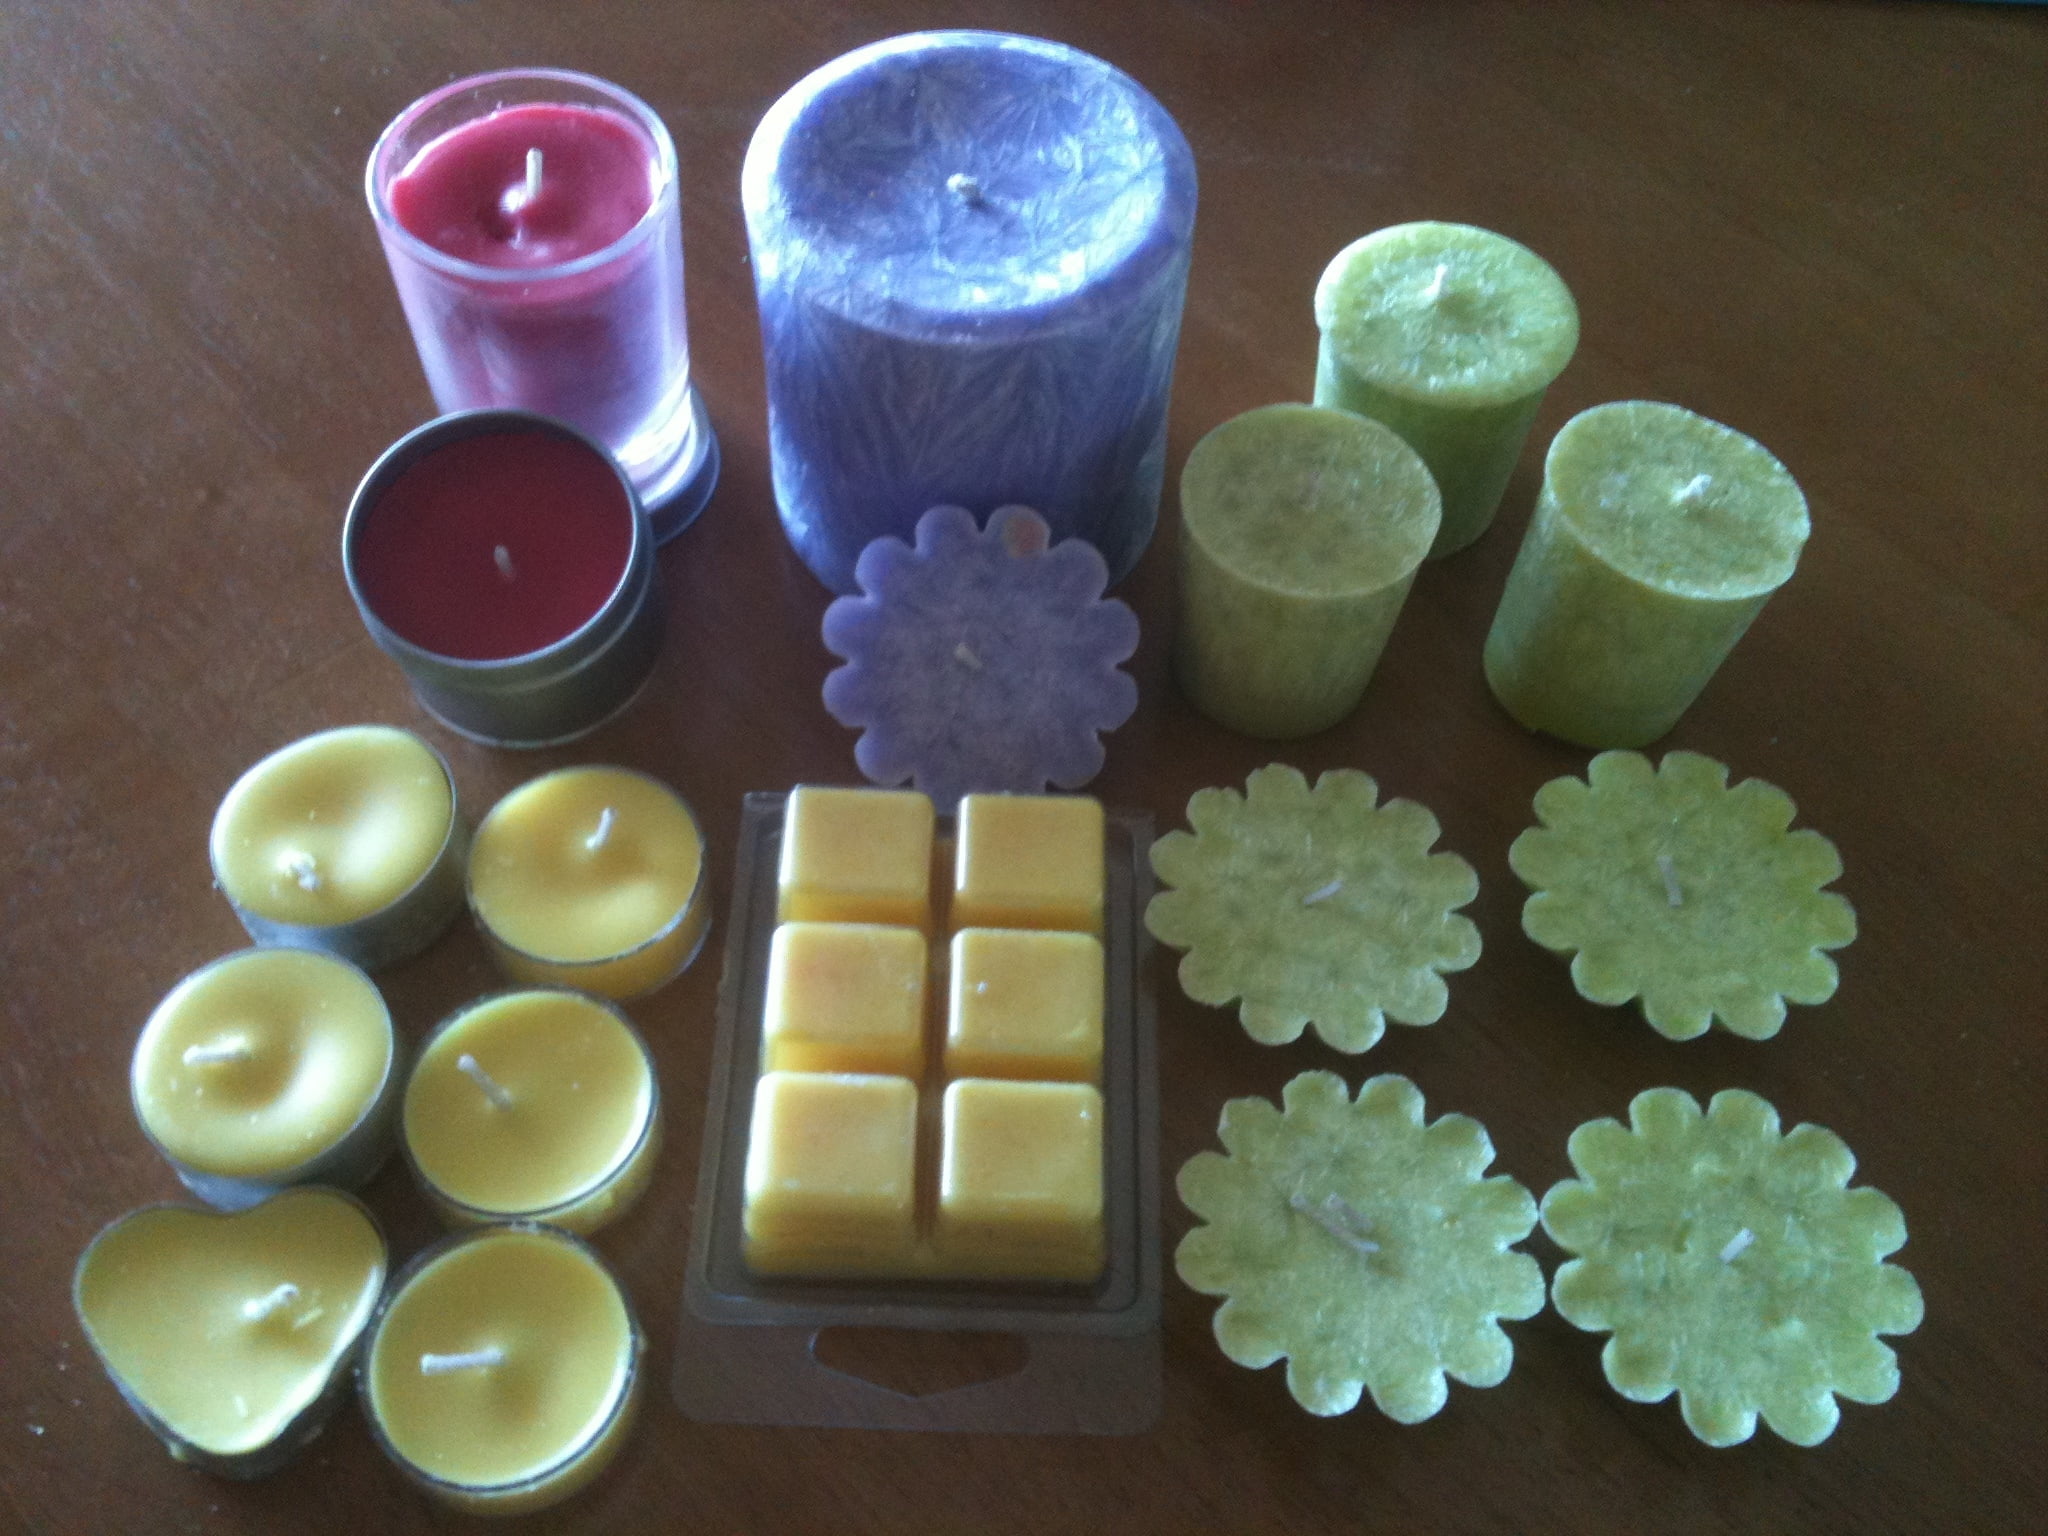
Candles have been around for centuries, and for good reason – they make a room feel cozy and inviting. Whether you’re looking to make candles for yourself or for sale, there are a few things you need to know. This article will teach you the basics of candle-making, from choosing a wax to adding scent.
What you need:
-wax
-wicking
-heat source
-mold
-scents (optional)
Choosing a wax:
There are a few different types of waxes you can use for candles, but the most popular is paraffin. Soy wax is a good alternative for people with allergies, and beeswax is a popular choice for natural candles.
Wicking:
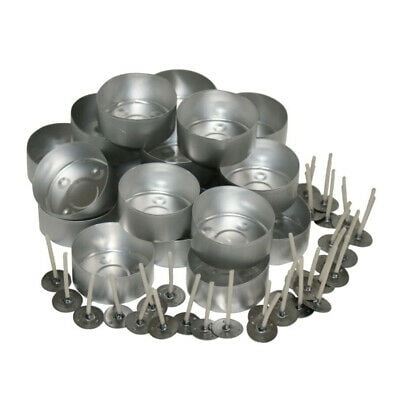
The wick is the part of the candle that burns, so you want to choose a wick that is suited for the type of wax you’re using. For paraffin wax, choose a cotton or paper wick. For soy wax, you can use a cotton or hemp wick.
Heating the wax:
You can use a variety of heat sources to melt your wax, such as a stovetop, microwave, or hot plate.
Molding the wax:
There are a variety of different types of molds you can use for candles, such as metal molds, silicone molds, or even a reused container.
Adding scent:
If you want your candles to have a scent, you can add scent to the wax before you pour it into the mold. There are a variety of different scents available, or you can create your own.
Making Concrete Candle Jars
Concrete candle jars are the perfect way to show off your favorite candles. They are also a great way to add a little bit of decoration to your home. You can make your own concrete candle jars by following these simple steps.
What You’ll Need:
-concrete mix
-a bucket
-an old spoon
-a plastic cup
-a votive candle
-a pencil
-a ruler
-a saw
-a sandpaper
-a sealant (optional)
Step 1:
Draw a circle on the bottom of the plastic cup using the pencil and ruler. This will be the size of your concrete candle jar.
Step 2:
Mix the concrete according to the instructions on the package.
Step 3:
Pour the concrete into the bucket.
Step 4:
Stir the concrete with the old spoon.
Step 5:
Slowly pour the concrete into the plastic cup. Make sure that you pour it in slowly so that the concrete does not overflow.
Step 6:
Use the spoon to smooth out the top of the concrete.
Step 7:
Let the concrete dry for 24 hours.
Step 8:
Cut the votive candle in half using the saw.
Step 9:
Pour a small amount of sealant into the bottom of the concrete candle jar.
Step 10:
Insert the votive candle into the sealant.
Step 11:
Let the sealant dry for 24 hours.
Now you have your very own concrete candle jar!
Stainless Steel Jug For Candle Making
Candle making is an art form that has been around for centuries. The earliest candles were made from animal fat or beeswax. Today, there are many different types of candles that can be made, including soy, gel, and paraffin. One of the most important tools for candle making is a stainless steel jug.
A stainless steel jug is perfect for candle making because it is durable and non-reactive. It is also easy to clean, which is important because you want to make sure your candles are free of any contaminants.
When choosing a stainless steel jug for candle making, make sure to choose one that is made from high-quality stainless steel. This will ensure that it is durable and will not corrode over time.
If you are looking for a quality stainless steel jug for candle making, be sure to check out the selection at Candle Making Supplies. They offer a wide variety of stainless steel jugs in different sizes and shapes, so you can find the perfect one for your needs.
Homemade Candle Making Ideas
Candles have been around for centuries, used for everything from providing light to adding a touch of luxury or romance. While store-bought candles can be nice, there’s nothing quite like the satisfaction of making your own candles. Not only does it save you money in the long run, but it’s also a fun and rewarding project.
There are a few different methods you can use for making candles at home. The most popular methods are using a wax or a gel candle kit, or making a candle using a mold.
If you’re using a wax or gel candle kit, the process is pretty straightforward. All you need to do is follow the instructions that come with the kit, and you’ll be able to make beautiful candles in no time.
If you want to make a candle using a mold, you’ll need to first choose the mold you want to use. There are a variety of different molds available, from simple molds that can be used to make basic candles, to more intricate molds that can be used to create unique and decorative candles.
Once you’ve chosen the mold you want to use, you’ll need to decide on the type of wax or gel you want to use. There are a variety of different waxes and gels available, each with their own unique properties. You can find out more about the different types of waxes and gels available on the internet or at your local craft store.
Once you’ve chosen the wax or gel you want to use, you’ll need to melt it down. You can do this using a stovetop or a microwave. Once the wax or gel is melted, you can pour it into the mold.
If you’re using a mold, you’ll need to make sure that the wax or gel is at the correct temperature before you pour it in. The wax or gel should be hot enough so that it will solidify when it cools, but not so hot that it will damage the mold.
Once the wax or gel has been poured into the mold, you’ll need to wait for it to cool and solidify. This can take anywhere from a few hours to a few days, depending on the type of wax or gel you’re using.
Once the wax or gel has cooled and solidified, you can remove the candle from the mold. If you’re using a simple mold, this is as simple as popping the candle out of the mold. If you’re using an intricate mold, you may need to use a knife or other sharp object to help release the candle from the mold.
Now that you’ve made your own candle, it’s time to enjoy it! You can light it up and enjoy the warm glow, or give it as a gift to someone special.
Candle Making Kit Online
Candles are a beautiful and practical way to add ambiance to any room. They can also be used to make a statement or to create a specific mood. There are a variety of different types of candles, each with their own unique properties.
There are a few things to consider when choosing a candle. The first is the type of wax. The most common types of wax are paraffin and soy. Paraffin is a petroleum based wax that is inexpensive and easy to use. Soy wax is made from soybeans and is a natural product. It is more expensive than paraffin, but it is biodegradable and burns cleanly.
The next thing to consider is the type of wick. The most common type of wick is a cotton wick. Other types of wicks include paper, hemp, and bamboo. The type of wick you choose will depend on the type of wax you are using.
The last thing to consider is the fragrance. There are a variety of different fragrances available, including floral, citrus, and woodsy. The fragrance you choose will depend on your personal preference.
Once you have chosen the type of candle you want to make, you need to gather the supplies. The most important supplies are the wax, the wick, and the fragrance. You will also need a pot to melt the wax in, a thermometer to measure the temperature, a spoon to stir the wax, and a container to put the finished candle in.
The first step is to melt the wax. Place the wax in a pot and heat it over medium heat. Stir the wax occasionally with a spoon to keep it from burning. When the wax is melted, add the fragrance and stir to combine.
The next step is to prepare the wick. Cut the wick to the desired length and thread it through the hole in the bottom of the container.
The final step is to pour the wax into the container. Pour the wax slowly and carefully to avoid splashing. Make sure the wick is centered in the container. Allow the wax to cool and harden before lighting the candle.

Welcome to my candle making blog! In this blog, I will be sharing my tips and tricks for making candles. I will also be sharing some of my favorite recipes.


