Are you looking for a creative way to repurpose your broken crayons? Look no further. In this article, we will explore the process of making candles from broken crayons.
Not only is this a fun and eco-friendly DIY project, but it also allows you to upcycle old crayons into something new and useful. By melting down those small, forgotten crayon pieces, you can create vibrant and colorful candles that are perfect for adding a touch of handmade charm to your home.
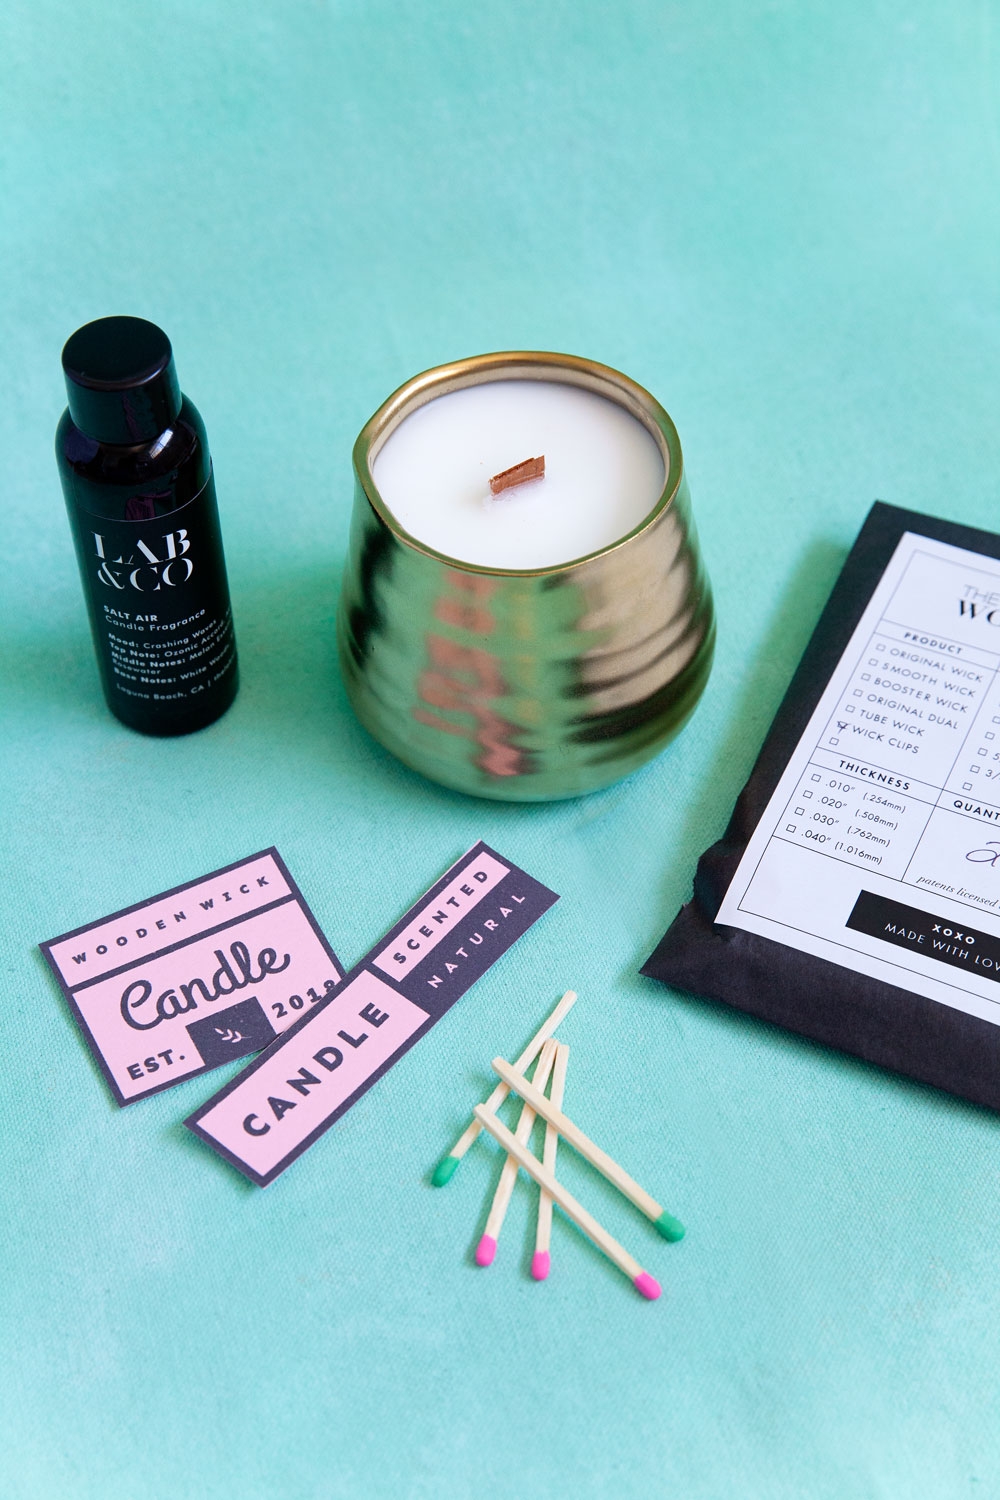
When it comes to making candles from broken crayons, you’ll need a few essential materials to get started. From broken crayons and wax to wicks and molds, we will provide you with a detailed list of everything you need to embark on this creative journey. This project not only helps reduce waste by giving new life to old crayons but also allows you to customize your candles with unique colors and scents.
In the following sections, we will guide you through sorting and prepping the broken crayons, safely melting them to create the wax for the candles, adding fragrance and color, pouring the wax into molds, allowing them to cool and set properly, adding finishing touches, and providing tips and tricks for successful candle-making.
Whether you’re a seasoned crafter or new to DIY projects, making candles from broken crayons is an enjoyable way to unleash your creativity while being mindful of the environment.
Let’s dive in and discover how simple yet rewarding this process can be.
Materials Needed
Making candles from broken crayons is a fantastic way to breathe new life into old, abandoned crayons while creating beautiful and unique candles. To successfully embark on this upcycling project, you will need a few key materials. First and foremost, you will require broken crayons of various colors – the more colorful, the better for creating vibrant candles. Additionally, you will need wax, which can be either soy wax, paraffin wax, or beeswax depending on personal preference.
In addition to broken crayons and wax, you will need wicks to create the burning element of your candle. Wicks come in different sizes and materials such as cotton or wood, so choose one that aligns with your desired candle aesthetic. To shape your melted wax into candles, molds are essential. Molds can range from traditional cylindrical shapes to novelty designs like hearts or stars for added flair to your creations.
Moreover, it’s worth considering having some additional tools on hand for this project such as a double boiler or microwave-safe bowl for melting the wax, a stirring utensil to mix in the melted crayons thoroughly, and labels or packaging materials if you plan on gifting or selling your handmade candles. With these basic materials in hand, you’re ready to dive into the process of crafting candles from broken crayons and unleash your creativity through sustainable means.
| Materials | Description |
|---|---|
| Broken Crayons | Assorted colors for vibrant candles |
| Wax | Soy wax, paraffin wax, or beeswax |
| Wicks | Cotton or wood wicks for burning |
| Molds | Cylindrical or novelty designs for shaping candles |
Sorting and Prepping Crayons
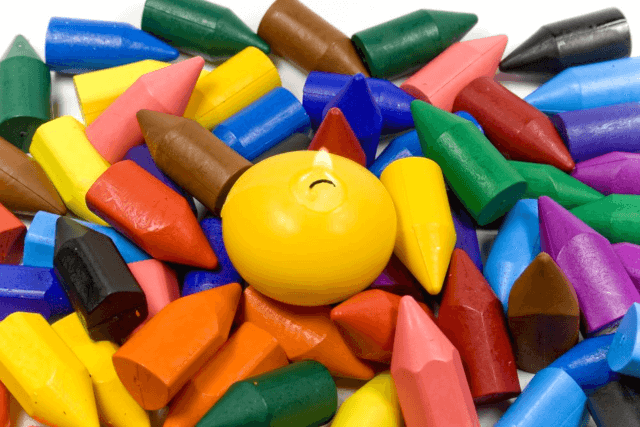
When it comes to making candles from broken crayons, the first step is to sort and prep the crayons for melting. This process not only ensures that you have all the necessary materials ready, but it also allows you to create beautiful and unique color combinations for your candles. To begin, gather all your broken crayons and separate them by color family. You can choose to group similar shades together or mix different colors to create a vibrant look.
Once you have sorted your crayons, it’s important to remove any paper labels or wrappers that may still be attached. This can be easily done by simply peeling them off or using a sharp knife to scrape off any stubborn residue. Make sure to discard any small pieces or crumbs of crayon that may be left behind as they can affect the quality of the melted wax.
After preparing the crayons, it’s time to break them down into smaller pieces for melting. You can use a knife or scissors to cut the crayons into manageable chunks or simply break them by hand.
The size of the broken crayon pieces will determine how quickly they melt and combine in the wax, so try to keep them relatively uniform in size. By taking these steps in sorting and prepping your crayons, you are setting yourself up for a successful candle-making project that not only recycles old materials but also allows for creative expression through unique color combinations.
Melting the Crayons
After sorting and prepping your broken crayons, it’s time to melt them down to create the wax for your homemade candles. This step is crucial in ensuring that your candles turn out beautifully and that you are able to reuse old crayons in a creative and sustainable way. Here’s a detailed guide on how to safely melt the crayons for your DIY project.
To begin, gather all your sorted broken crayons and remove any paper wrappings that may still be attached. Place the crayon pieces in a heat-safe container such as a double boiler or a clean tin can placed in a pot of simmering water. Avoid using direct heat, such as microwaving the crayons, as this can be a fire hazard.
As the crayon pieces start to melt, stir them occasionally with a wooden skewer or spoon to ensure even melting. Keep an eye on the temperature of the wax, making sure it does not get too hot or burn. It is best to melt the crayons slowly over low heat to prevent scorching or discoloration of the wax.
Once all the crayon pieces have melted into a smooth liquid, you can now add any desired fragrance oils or coloring agents if you wish to customize your candles further. Stir well to mix in these additional elements before moving on to pouring the wax into your chosen candle molds.
Be sure to handle hot wax with care and follow safety precautions throughout this process. With this detailed guide, you’ll be one step closer to creating beautiful and unique candles from broken crayons while having fun exploring your creativity.
Adding Fragrance and Color
When it comes to making candles from broken crayons, adding fragrance and color is a fun way to customize your creations. By incorporating scents and colors into the melted wax, you can create unique candles that not only look beautiful but also smell amazing when lit. Here are some tips on how to add fragrance and color to your homemade candles:
- Choose Your Scent: Select a fragrance oil or essential oil that you enjoy. Popular choices include lavender, vanilla, citrus, and cinnamon. Add a few drops of the oil to the melted wax and stir well to ensure that the scent is evenly distributed.
- Add Color: To give your candles a pop of color, consider using crayon shavings or candle dye chips. Simply sprinkle a small amount of the shavings or dye chips into the melted wax and stir until you achieve the desired hue. Remember that a little goes a long way, so start with a small amount and gradually add more as needed.
- Experiment with Combinations: Get creative with your candle-making by mixing different scents and colors together. For example, try combining lavender and rosemary oils for a relaxing blend, or mix red and yellow dye chips for an eye-catching orange hue. The possibilities are endless, so don’t be afraid to test out different combinations until you find ones that you love.
Adding fragrance and color to your candles not only enhances their appearance but also elevates the overall sensory experience when burning them. Whether you prefer soothing scents like chamomile or vibrant colors like teal, experimenting with different combinations will allow you to create one-of-a-kind candles that reflect your personal style and preferences.
Remember to let your creativity shine through as you make candles from broken crayons – there are no rules when it comes to customizing your creations. Enjoy the process of mixing scents and colors, and don’t be afraid to try new combinations until you find ones that resonate with you. With a little experimentation and imagination, you’ll soon have a collection of beautifully fragrant and colorful candles made from upcycled crayons.
Pouring the Wax
When it comes to making candles from broken crayons, the step of pouring the wax into the candle molds is crucial in creating beautiful and unique candles. Once you have successfully melted down your broken crayons to create the wax, it’s time to carefully pour it into your chosen molds. This step requires precision and attention to detail to ensure that your candles come out looking just right.
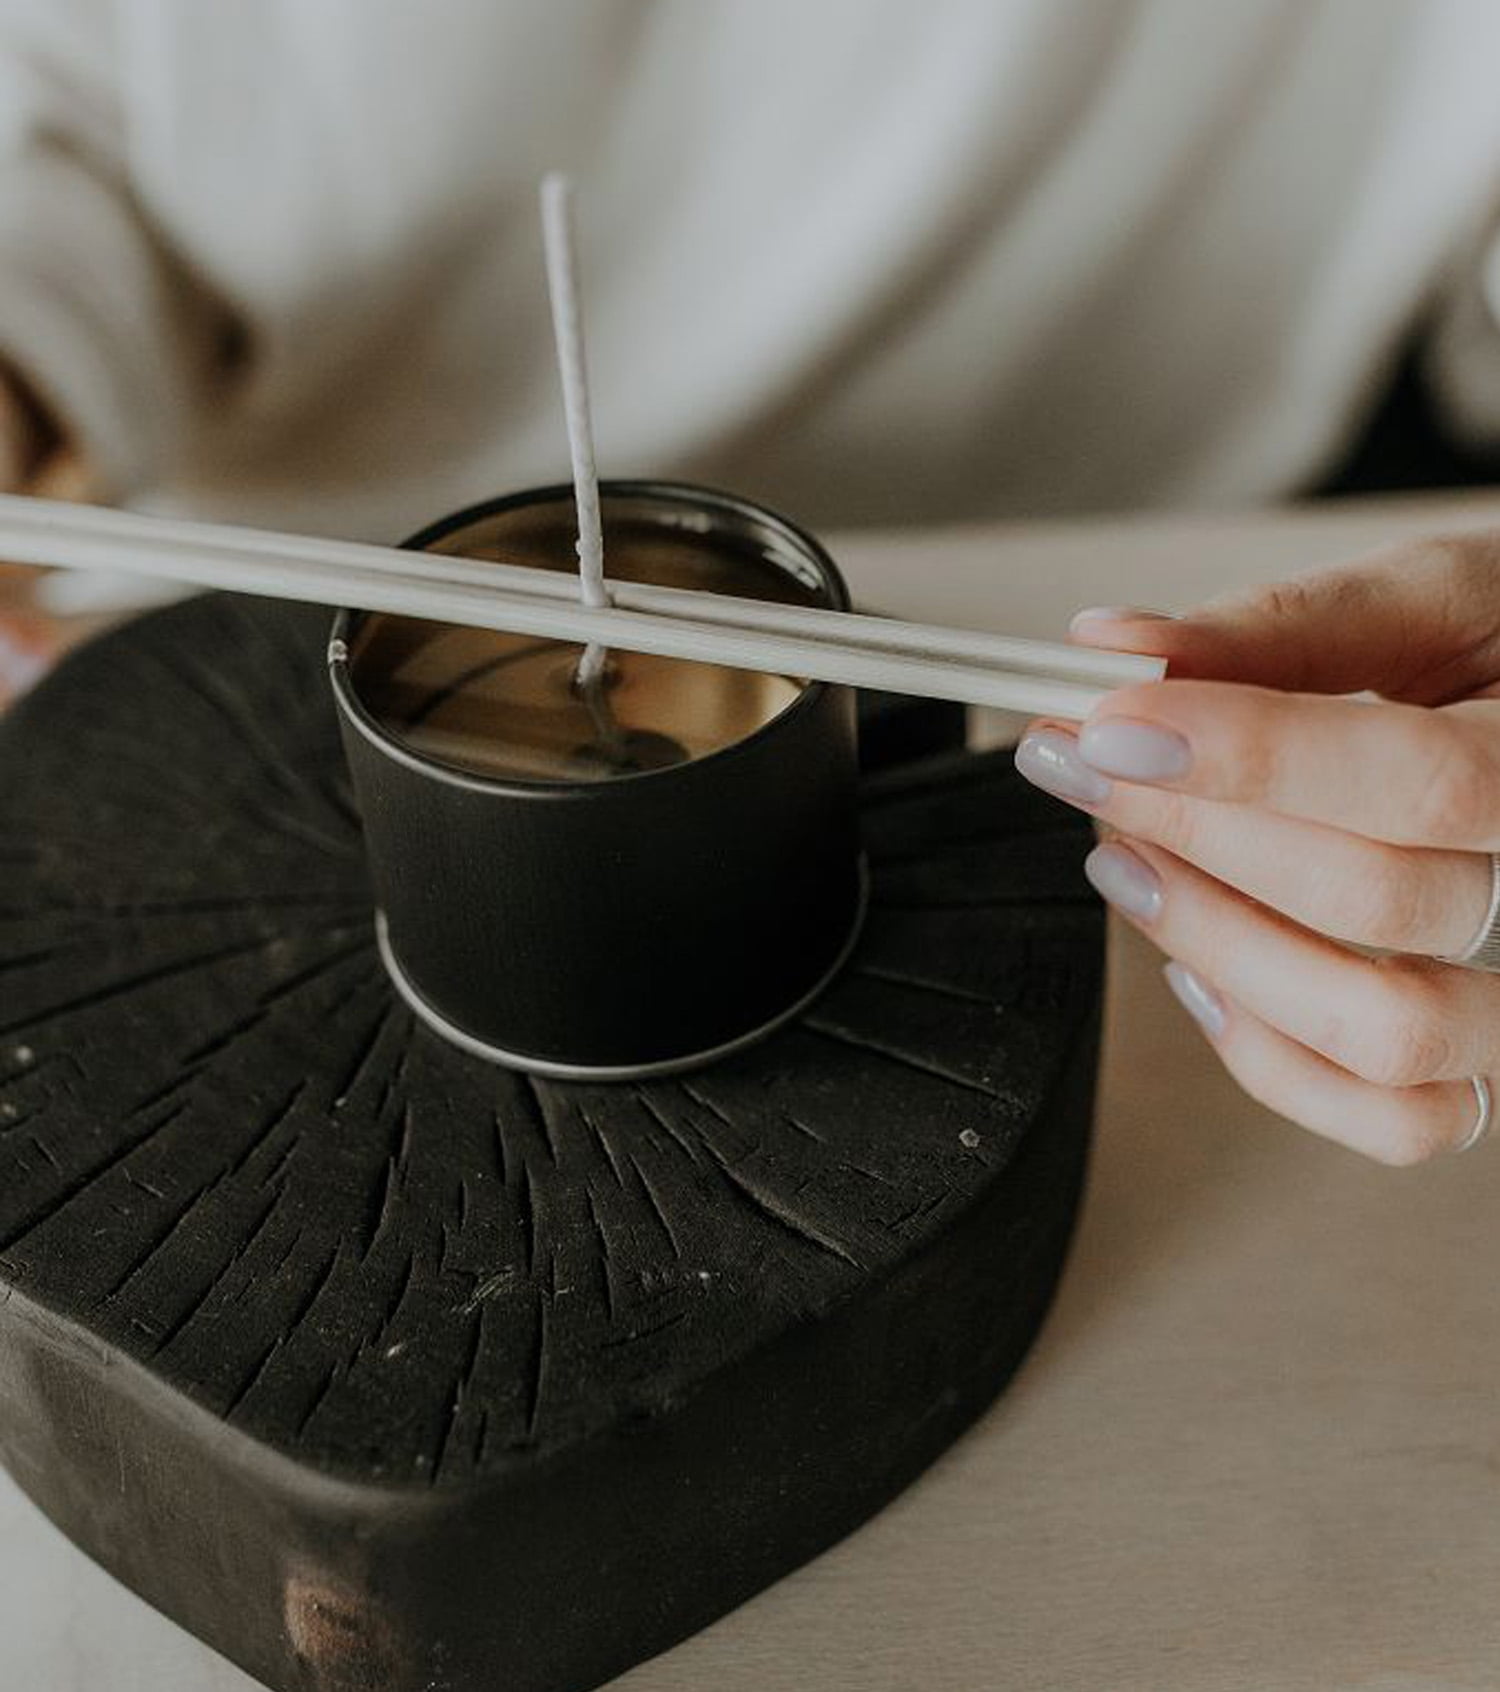
Before pouring the wax, make sure that you have prepared your molds by securing the wicks in place. Wicks can be attached to the bottom of the mold using a small amount of melted wax or a sticky adhesive tab. Ensure that the wick is centered in the mold so that your candle burns evenly once it’s finished. You can use a skewer or pencil to help keep the wick in place as you pour the wax.
When pouring the melted crayon wax into the molds, do so slowly and steadily to avoid spills or overflowing. Fill each mold carefully, leaving some space at the top to allow for any shrinkage as the wax cools and sets.
Remember that different colors may cool at different rates, so try to work quickly but efficiently to achieve a uniform look for your candles. Once you have filled all your molds, let them sit undisturbed until fully cooled and set before attempting to remove them for finishing touches.
| Tips | Details |
|---|---|
| Attach wicks securely | Use melted wax or adhesive tabs |
| Pour slowly and steadily | Avoid spills and overflow |
| Allow space at top of mold | For shrinkage as wax cools |
Cooling and Setting
Proper Cooling Time
After pouring the melted crayon wax into the molds and inserting the wicks, it is crucial to allow the candles to cool properly before attempting to remove them. The cooling time will depend on various factors such as the size of the candles, the type of wax used, and the temperature of the room. As a general rule of thumb, smaller candles may take around 1-2 hours to cool and set, while larger ones might require 2-4 hours.
Avoiding Disturbances
Once you have poured the wax and set the wicks in place, it is essential to avoid moving or disturbing the molds during the cooling process. Any sudden movements can cause ripples or uneven surfaces on the candles. It’s best to place the molds in a draft-free area where they won’t be accidentally knocked over or jostled.
Checking for Complete Set
Before attempting to remove the candles from their molds, it’s important to ensure that they have completely cooled and set. You can gently press on the surface of the candle to check if it feels firm and solid. If there is any give or softness, give them more time to cool. Trying to unmold them too early can result in misshapen or damaged candles.
By following these tips on how to allow your DIY candles made from broken crayons to cool and set properly, you can ensure that they retain their shape and quality. Patience is key in this final stage of candle-making, as rushing the process can lead to disappointing results. Once your candles have fully cooled and set, you can carefully remove them from their molds and enjoy your unique creations.
Finishing Touches
Decorating With Glitter
Adding glitter to your candles is a simple yet effective way to give them an extra sparkle. Once you have poured the wax into the molds and inserted the wicks, you can sprinkle a small amount of glitter on top of the liquid wax before it completely sets. The glitter will adhere to the surface of the candle as it cools, creating a beautiful shimmering effect when lit.
Using Labels for Personalization
To add a personal touch to your candles made from broken crayons, consider creating and attaching labels. You can design and print labels with your favorite quotes, images, or designs that reflect the scent or theme of the candle. Once the candles have cooled and set in their molds, carefully remove them and affix the labels around the outside of each candle jar or container for a professional finish.
Embedding Decorative Elements
For a more intricate look, you can also embed decorative elements into your candles before they cool and set completely. Small dried flowers, herbs, or even colored wax shapes can be strategically placed within the melted wax in the molds before pouring. This technique allows you to create unique patterns and designs within your candles, adding an artistic flair to your homemade creations.
By adding these finishing touches to your candles made from broken crayons, you can transform them from simple DIY projects into beautiful and personalized gifts or home decor items. Get creative with different colors, scents, and decorations to make each candle special and uniquely yours. Have fun experimenting with various techniques to see what works best for your style preferences.
Tips and Tricks
When making candles from broken crayons, there are a few additional tips and tricks that can help ensure your candle-making project is successful. One important tip is to make sure that you remove any leftover paper wrappers from the broken crayons before melting them.
These wrappers can create a mess when melted and affect the quality of your candles. To easily remove the wrappers, simply soak the crayons in warm water and peel off the paper once it has softened.
Another useful tip is to mix different colors of broken crayons together when melting them to create unique and vibrant color combinations for your candles. Experimenting with different color combinations can result in beautifully marbled or layered candles that are visually appealing. Additionally, consider adding essential oils or fragrance oils to the melted wax for a pleasant scent that will enhance the ambiance of your space when the candles are lit.
In case you encounter common issues while making candles from broken crayons, such as air bubbles in the wax or uneven cooling leading to lumps, there are simple troubleshooting techniques you can use. To remove air bubbles, gently tap the sides of the mold as the wax is setting to release any trapped air.
For lumpy candles, try gently heating the surface of the candle with a hairdryer to smooth out any imperfections. These quick fixes can help salvage your candles and ensure they turn out beautifully.
Lastly, once your candles made from broken crayons have cooled and set properly, it’s essential to store and use them safely. Store the candles in a cool, dry place away from direct sunlight or heat sources to prevent them from melting or warping.
When burning the candles, always trim the wick to ¼ inch before lighting to ensure an even burn and extend the life of your candle. By following these tips and tricks, you can enjoy creating eco-friendly and charming candles from broken crayons while avoiding common pitfalls along the way.
Conclusion
In conclusion, making candles from broken crayons is not only a creative and enjoyable DIY project but also an eco-friendly way to upcycle old art supplies. By following the simple steps outlined above, you can transform discarded crayons into beautiful and unique candles that make perfect gifts or decorations for your home.
Not only does this project reduce waste by repurposing materials that would otherwise be thrown away, but it also allows you to unleash your creativity by experimenting with different colors, scents, and designs.
Remember to gather all the necessary materials such as broken crayons, wax, wicks, and molds before you begin. Take the time to sort and prepare the crayons for melting, ensuring a smooth process. When melting the crayons, follow safety precautions to avoid accidents and achieve the desired consistency for your candle wax. Adding fragrance and color is where you can truly personalize your candles, so don’t be afraid to get creative with unique combinations that reflect your style.
Once you have poured the wax into the molds and inserted the wicks, allow the candles to cool and set properly before adding any finishing touches like glitter or labels. Embrace any tips and tricks provided to troubleshoot common issues and ensure successful candle-making from broken crayons. So why not give this fun project a try?
Not only will you enjoy the process of creating something beautiful from seemingly unusable materials, but you’ll also contribute to a more sustainable lifestyle by reducing waste through upcycling. Get ready to light up your space with homemade candles that showcase your creativity while making a positive impact on the environment.
Frequently Asked Questions
How Do You Make Candles With Broken Crayons?
Making candles with broken crayons is a creative way to repurpose old or leftover materials. The first step is to sort the crayons by color and remove any paper wrappers.
Then, melt the crayons in a double boiler or microwave-safe dish. Once melted, pour the liquid wax into a container with a wick and allow it to cool and harden.
Is It Safe to Make Candles Out of Crayons?
While it is possible to make candles out of crayons, it is not recommended for safety reasons. Crayons are not designed to be burned as candles, so they may produce harmful fumes when melted. Additionally, crayon wax does not have the same properties as candle wax, making them less effective and potentially dangerous to burn.
How Do You Burn Crayons as Candles?
Burning crayons as candles involves melting them down and inserting a wick before allowing the wax to harden into a solid form again. However, this method is not advisable due to safety concerns and the fact that crayon wax may not burn as cleanly or effectively as traditional candle wax.
It’s best to use proper candle-making materials for safer results.

Welcome to my candle making blog! In this blog, I will be sharing my tips and tricks for making candles. I will also be sharing some of my favorite recipes.


