Introduction
Coconut oil is more than just a delicious cooking oil. It can also be used in a variety of creative ways, from creating DIY skincare products to making decorative candles. Over the past few years, an increasing number of people have turned to coconut oil for all sorts of projects due to the numerous benefits it offers, such as its high smoke temperature and long burn time. In this guide we’ll discuss how to make beautiful, scented candles using coconut oil.
In addition to its use as a food product and a beauty tool, coconut oil can also be used in craft projects like candle-making. Coconut oil helps extend the burn time of your candles and adds further natural benefits like antibacterial properties and pleasant scent. Thus, making your own candles with coconut oil is not only economical but has added health benefits too! The process requires only basic ingredients including wax, wicks and essential oils or fragrance (for scent). With a little bit of creativity, you can easily produce unique handmade designs that are perfect for gifting or decorating around the house. By playing around with different color dyes and adding scent with essential oils, you can create something truly special that will last much longer than traditional paraffin candles.
Benefits of Coconut Oil for Candles
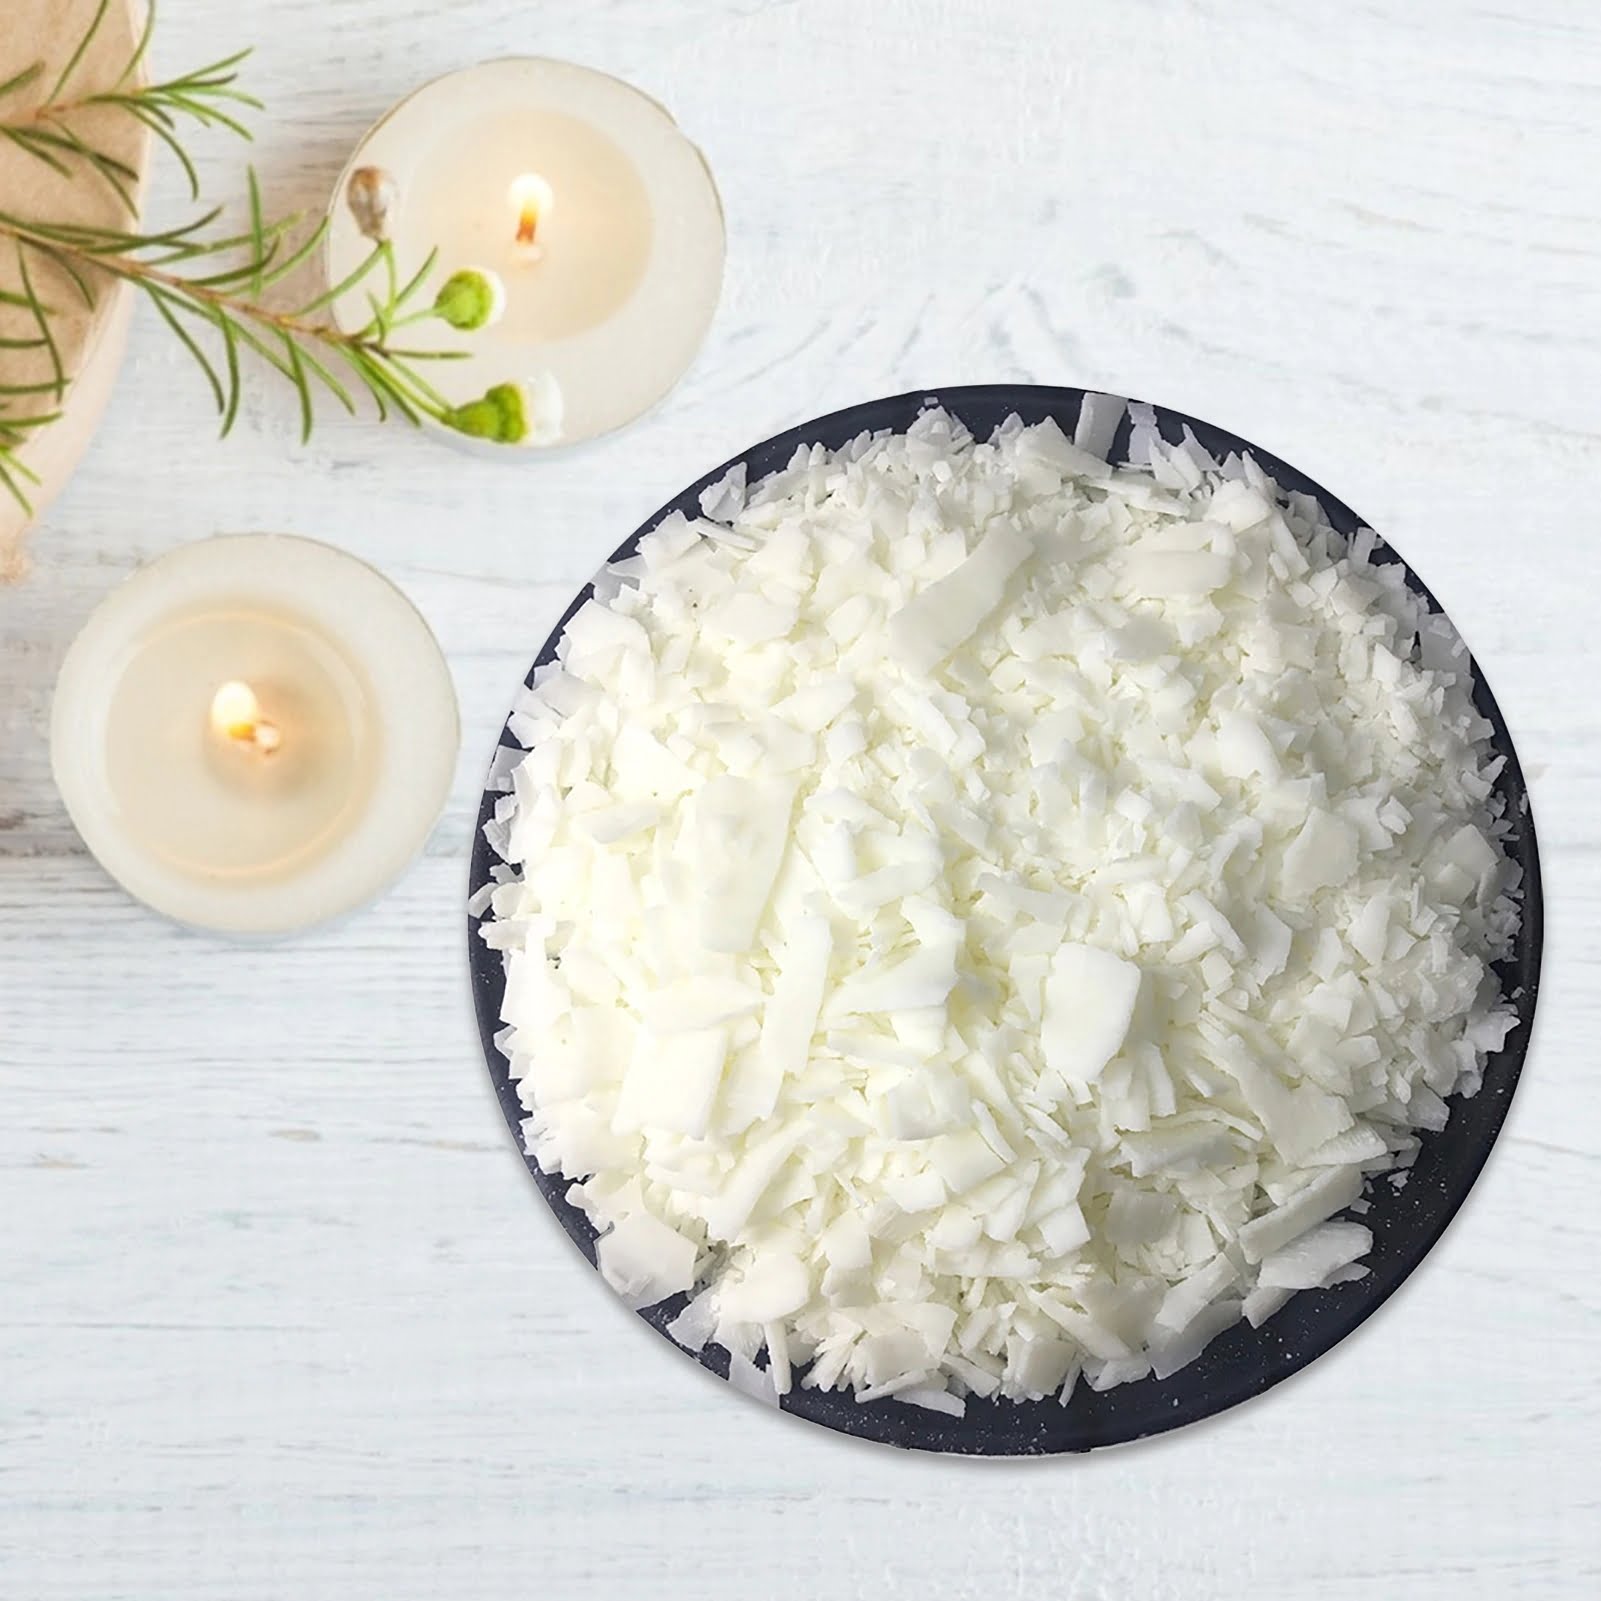
Coconut oil-based candles have several benefits. Coconut oil is a natural, renewable resource which makes them more eco-friendly than processed paraffin wax. Coconut oil also has a slow burn rate and produces a longer lasting flame than paraffin, making for a more enjoyable candle experience. Additionally, the burning rate of coconut oil produces virtually no soot or smoke residue – as opposed to paraffin – leaving no unpleasant smell in your home or on clothes and furniture in the area. This makes coconut oil candles a great choice for people with respiratory sensitivities. As an added bonus, coconut oil can usually be found at an economical price point compared to other types of candles, such as soy. With these great benefits it’s easy to see why many people are turning to coconut oil candles when it comes time to stock their home!
Getting Started with Candle Making
To make candles from coconut oil, you will need a few key items. You will need an appropriate container to hold the candle, such as a glass or ceramic jar. You’ll also need wick tabs and wicking material, which can be purchased at most craft and hobby stores. Additionally, you’ll need a thermometer, either a digital one or one with a probe that clips onto your pot or pan. Lastly, you’ll need the primary ingredient- coconut oil. Coconut oil provides a beautiful scent when melted and can create unique textures in finished candles.
Once you have all of your supplies, it’s time to get started with making candles from coconut oil. Begin by measuring out your coconut oil into an appropriate pot or pan that is suitable for melting waxes over low to medium heat on the stovetop. Use your thermometer to keep track of temperatures; with most waxes like coconut oil, the ideal temperature ranges between 180 and 200 degrees Fahrenheit (82 to 93 degrees Celsius). Melt the coconut oil wax until it reaches this temperature and remove it from heat once this desired temperature has been reached; adding additional essential oils or tints at this point may be done as well to further customize the candle scent or coloration you desire.
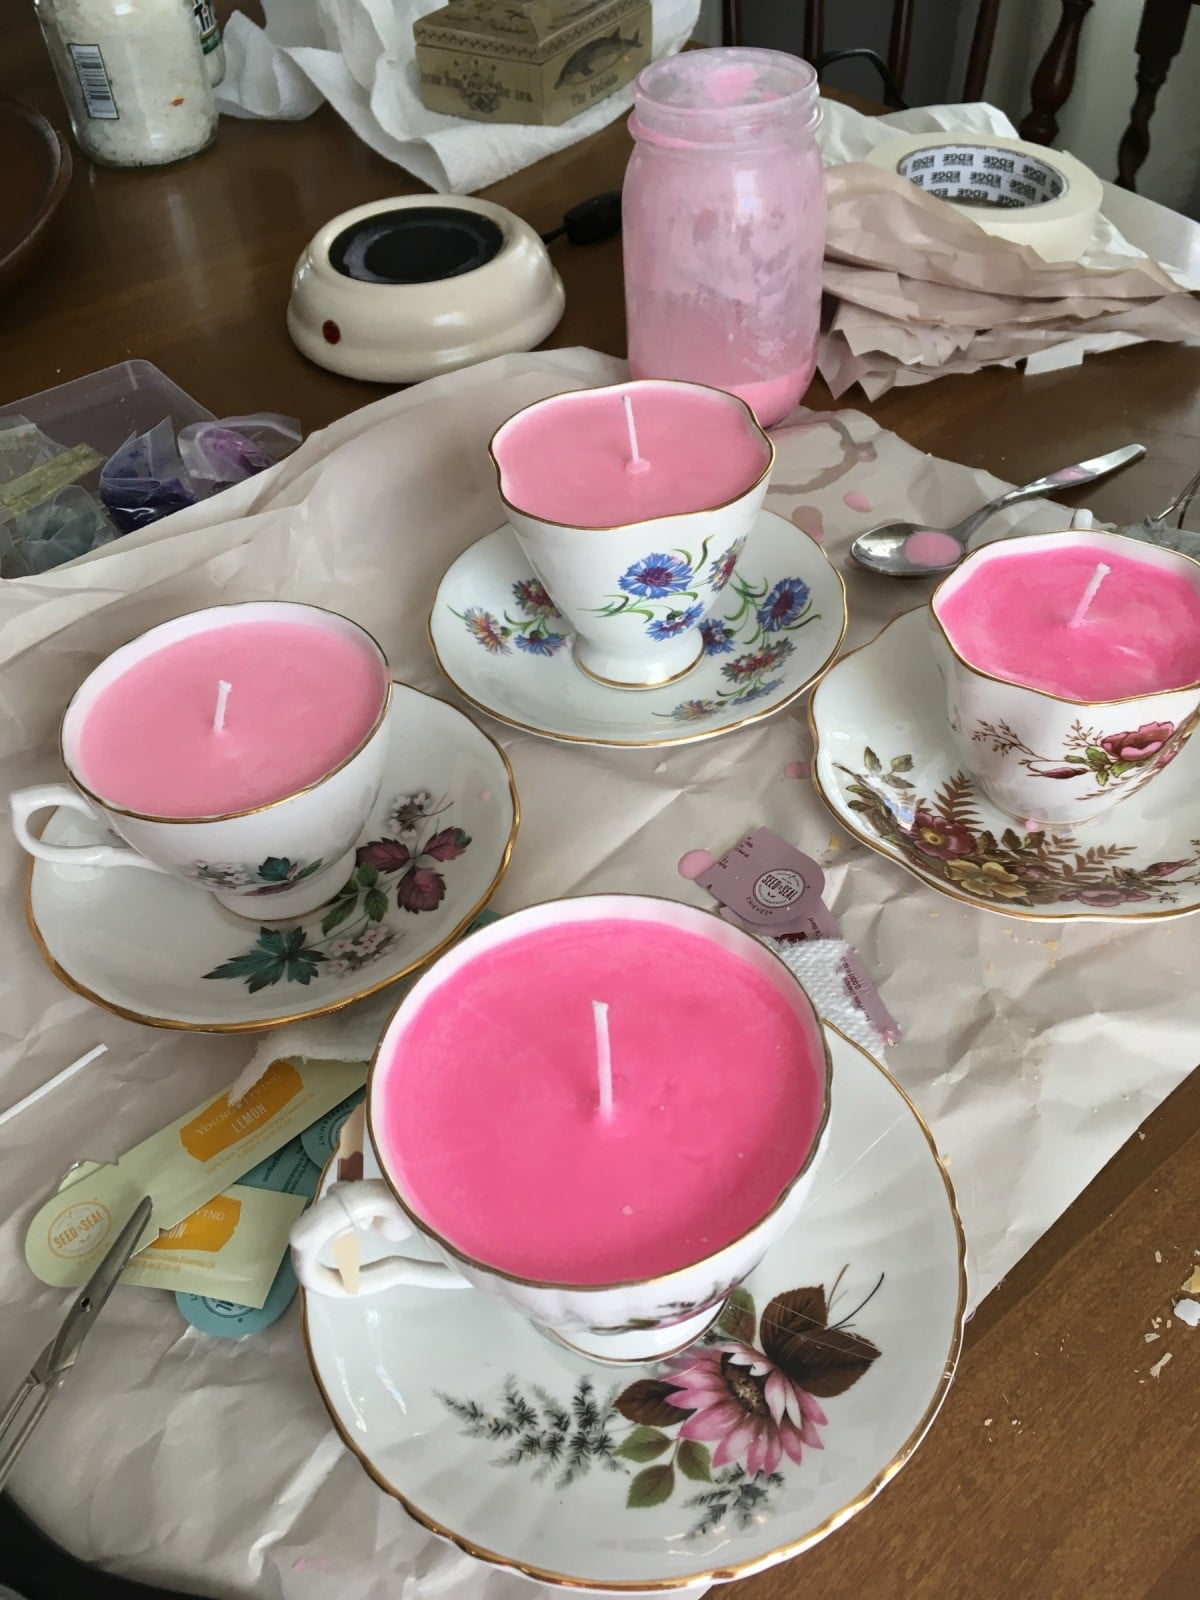
Now that the wax has been melted, use wick tabs with wicking material cut suitable for your candle size and container of choice; place them in each container for support before pouring in melted wax carefully into each vessel slowly without splashing it outside of the jar – remember there is heat involved so be sure to practice safe handling! Once all containers are filled with molten wax, allow them rest horizontally for 12-15 minutes until they have set and cooled slightly – during this time feel free to customize with decorations or labels if desired! After giving your candles some time cool off completely before burning – enjoy!
Choosing the Right Kind of Coconut Oil
When it comes to making candles from coconut oil, the type of oil you use matters a lot. There are two main types of coconut oil — Virgin Coconut Oil (VCO) and Regular Coconut Oil (RBD). VCO is extracted from fresh, unprocessed coconuts, while RBD is extracted from copra, or dried coconut meat that has been treated with heat. VCO tends to be more expensive, but it will give your candles a stronger and more distinct scent. RBD also works well for candles, and it’s usually cheaper. You should also consider whether you want regular or fractionated coconut oil — the latter is more liquid and can be used in lotion-based candles. Note that the type of container you choose will dictate your wax formulation and what type of additives you can add.
Gathering the Other Supplies for Candle Making
In order to make candles from coconut oil, you will need several other supplies in addition to the coconut oil. Firstly, you’ll need a double boiler or slow cooker with a high-temperature setting. Secondly, you will need hardness additives such as beeswax, soy wax flakes, or palm stearic acid. If desired, you can also add colorants and fragrances to enhance the look and smell of your candle. Depending on the wax used, other additives such as emulsifier and/or vybar may be required. Finally, it is recommended that you have some heatproof measuring cups and spoons to measure out precise amounts of ingredients. Additionally, it would be helpful to have thermometers and glass containers (such as mason jars) for the finished product. These supplies are necessary for creating a safe burning candle from coconut oil.
Crafting with Coconut Oil Wax
Making your own candles with coconut oil is a great way to save money while indulging in some creative and unique craftsmanship. The process of making candles with coconut oil wax is relatively simple and requires only basic supplies.
The first step to making coconut oil wax candles is to gather the necessary materials. You will need organic, cold-pressed coconut oil, as well as beeswax, a double boiler or melting pot, mason jars or other containers for the candle, wicks (the metal supports for the flame), and essential oils or fragrance oils for scent if desired. It’s also helpful to have something to stir with, such as a popsicle stick or spoon.
When beginning to make your candles you want to start by producing the wax mixture. To do this heat both ingredients together in roughly equal proportions on low heat until completely melted. If desired you can add essential oils or fragrance oils here as well but keep in mind that both water soluble and oil based scents will mix differently so it can help to experiment with different ratios first before adding large amounts of scent.
Once your wax mixture has been created you are ready for pouring; when doing this find an appropriate holder for the wick ” something like an egg carton works well ” and then carefully pour in the heated wax (at least 165 degrees Fahrenheit). Once done let cool overnight before trimming any excess wick from the candle’s edge.
Finally be sure not to forget about safety when it comes time for burning; place your completed candle on a nonflammable surface and keep away from flammable surfaces at all times when lit!
Step-by-Step Guide for Crafting a Candle with Coconut Oil
STEP 1: Gather Materials
The first step is to gather the necessary supplies. You will need a double boiler, large metal spoon, coconut oil, container of choice, candle wicks, fragrance or essential oils of choice, thermometer and dye (optional).
STEP 2: Prepare the Container
Next, prepare the candle container. Using a hot glue gun or tape, attach the chosen candle wick to the bottom of the container. Make sure that it is secure before moving on.
STEP 3: Heat Coconut Oil
In the double boiler, heat up one cup of coconut oil until melted. Next add in your chosen fragrance or essential oil for scent and stir well. If desired, add a few drops of dye to introduce color into the candle wax. The temperature must remain between 175 – 200 degrees F (80- 94 degrees C) and remove from heat once melted completely.
STEP 4: Pour Wax into Container
Once melted and mixed together, still using caution and with oven mitts on hand; slowly pour wax into your prepared container until almost full. Let sit and cool for an hour before adding a second layer of wax if desired (this will reinforce the strength of your final product).
STEP 5: Final Touches
Once cooled entirely let the candle sit undisturbed overnight allowing it to form its final shape. The next day trim any excess wick if needed and enjoy!
Troubleshooting Problems and Fixing Issues
One of the most common issues with making candles from coconut oil is that the candles don’t hold their form, or tend to melt quickly. This can be caused by too high of a temperature in the environment, or by shortening the solidified period of time when making the candles before pouring.
To avoid this issue, make sure to ensure that your workshop has a relatively low temperature and keep an eye on any fans that could produce extra heat. Also make sure to allow for an adequate amount of time for your candle mixtures to harden and cool thoroughly before taking them out of their containers. If you do take them out too soon, you can patch up any broken areas by remelting a portion of the candle and quickly reshaping it inside its container.
In addition to melting issues, another common problem with making coconut oil candles is that they are overly greasy and difficult to light; this is usually caused by not having enough wax incorporated into the mixture. To fix this issue, add some more beeswax or paraffin wax into the mixture ” both will burn slower but hotter while also further solidifying and increasing longevity. Remember however that adding more wax than necessary can lead to poor-quality candles becoming brittle and prone to cracking which may require additional fixing or cause them to become unusable.
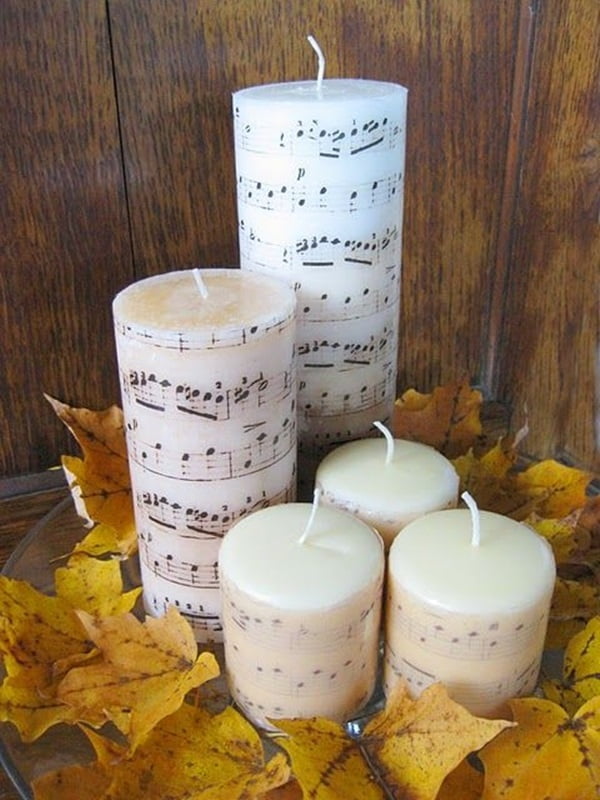
Finishing Touches and Get Creative With Candle Decorating Ideas
Once you’ve created the candles using coconut oil, you can add a final touch to your candles. Here are some ideas:
• Add glitters and spices to your candle mixture for a unique look.
• Use a variety of molds and wicks to make uniquely shaped candles.
• Create a decorative container to hold your candle such as a jar or vase with ribbons and adornments that coordinate with the scent of the candle.
• Utilize wax dyes and coloring agents in vibrant hues to match any décor or season.
• If you want something more whimsical, attach small trinkets, faux flowers, or even fan-shaped blades of grass onto the outside of your candles for added vigor.
• Contemplate writing inspiring quotes on the sides of the containers for an even more personal touch .
• Blend essential oils (exceedingly popular today) into the wax before it cools is another great way to easily customize your candles.
Conclusion
Making candles from coconut oil has many benefits. Firstly, they produce a clean and inviting scent that can fill the home with pleasant aromas. Secondly, these candles burn slower than other types of candle wax, allowing you to get more use out of each candle. Thirdly, they are made with all-natural ingredients, ensuring no chemicals or toxins pollute your air when burned. Fourthly, the process of making your own candles is relatively easy and inexpensive as compared to buying prepared candles in stores. Finally and most importantly, you can customize the scent and colors for a truly personalized experience – one only achievable thru making candles from coconut oil!

Welcome to my candle making blog! In this blog, I will be sharing my tips and tricks for making candles. I will also be sharing some of my favorite recipes.


