Introduction
Candle making is an enjoyable and ancient craft that has been around for centuries. Making candles out of leftover wax can be a great way to save money and reduce waste. Rather than throwing away bits of leftover wax from candle projects, using them to make new candles is an excellent recycling option. With a few simple tools and supplies, anyone can quickly turn old wax into something useful and beautiful.
Making candles out of leftover wax requires some specific skills and tools in order to ensure safety and successful results. Safety should always be top-of-mind when working with hot wax, as at extreme temperatures it can burn skin or cause fires if mishandled. The necessary tools include either a double boiler or melting pot, molds, wick holders, wicks, thermometer, stirring rod/mixing spoon, dyes (optional), forms (optional), scents (optional), stickers or labels (optional). The number of molds one needs correspond to the amount of melted wax they have on hand – they need to plan that all this melted wax will fit into all the molds used.
The actual process of making their own candles from leftover wax starts by prepping their work area with heat-safe surfaces for setting down the melting pot and cooling molds once the project is complete. They then fill a large pot halfway with water before placing their melting pot into it – careful not to overfill so that boiled over does not occur when the water heats up in the larger pot underneath. Once everything is set up safely, add the leftovers of wax – broken blocks, unused pieces left over from other projects – into the melting pot until filled approximately three-fourths full; which helps ensure it won’t boil over during heating. Finally someone would place the melting pot on medium low heat atop the double boiler and use a thermometer to ensure that their melt never gets hotter than 180°F (82°C) before leaving briefly or stirring gently while they prepare their wicks accordingly in whichever form/shape they have chosen such as loops or rings or cones etc.. Once watched are ready pouring begins slowly but steadily while avoiding air pockets before adding any scents / colours/ etc.. Taking care with these steps allows someone success in creating professional quality looking customised candles with ease!
Gather Your Supplies
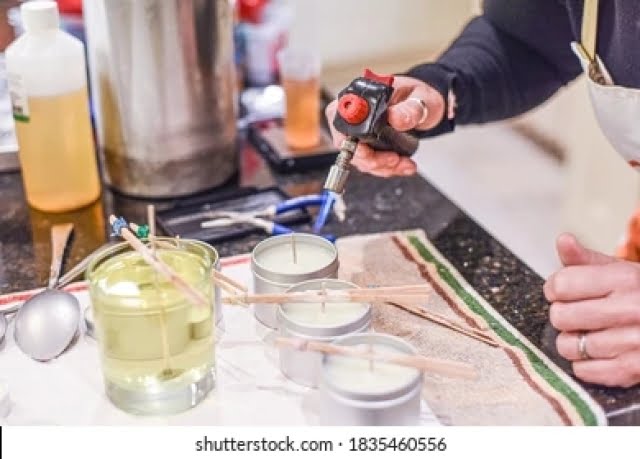
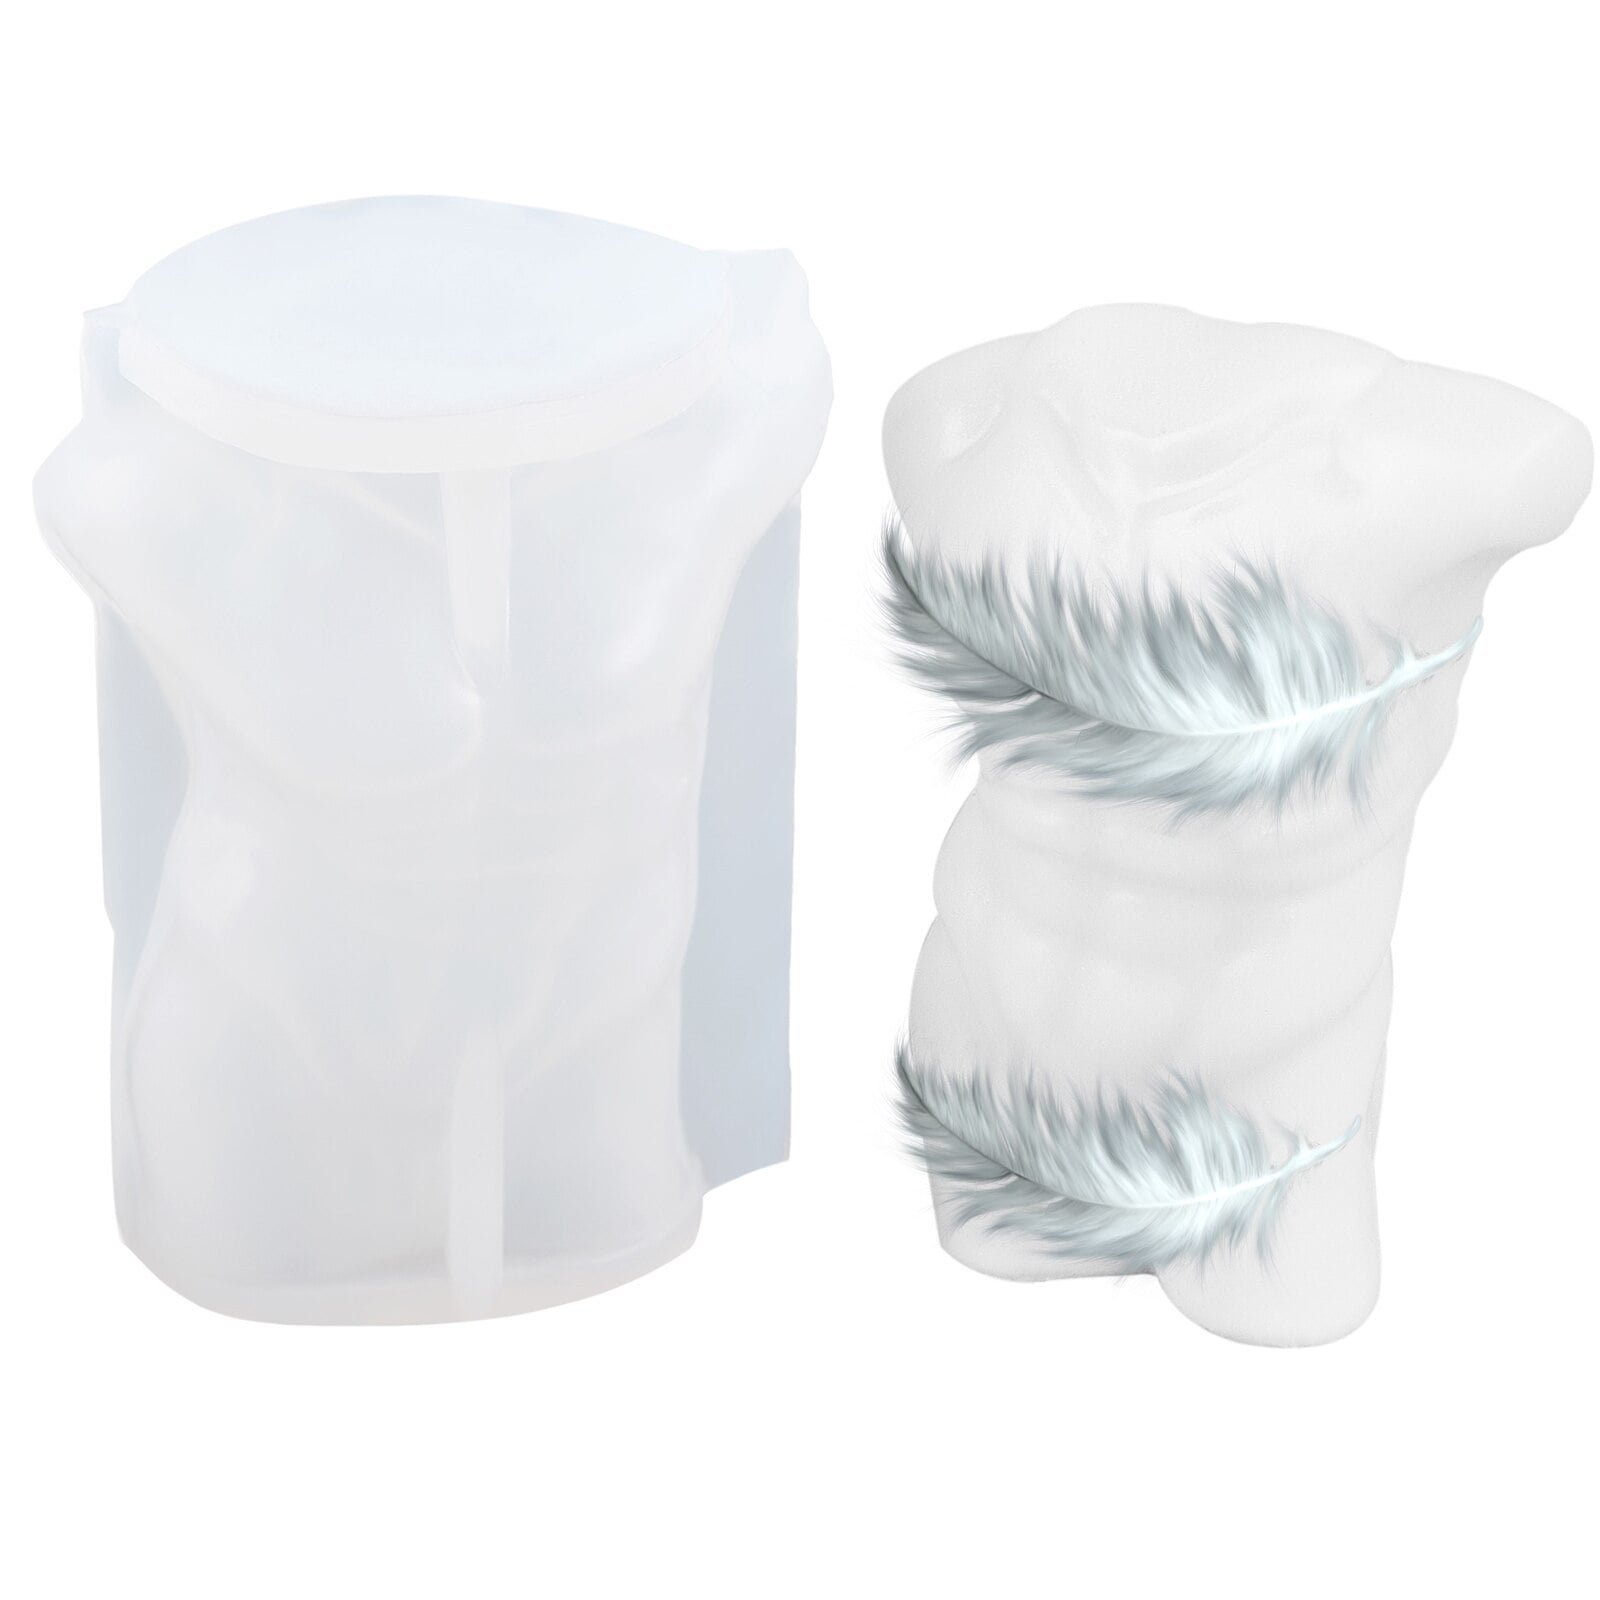
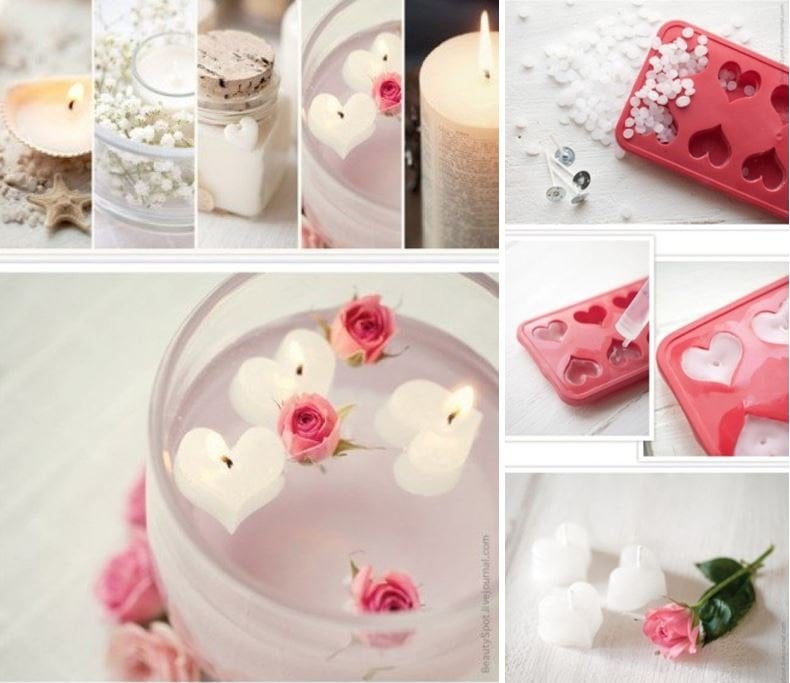
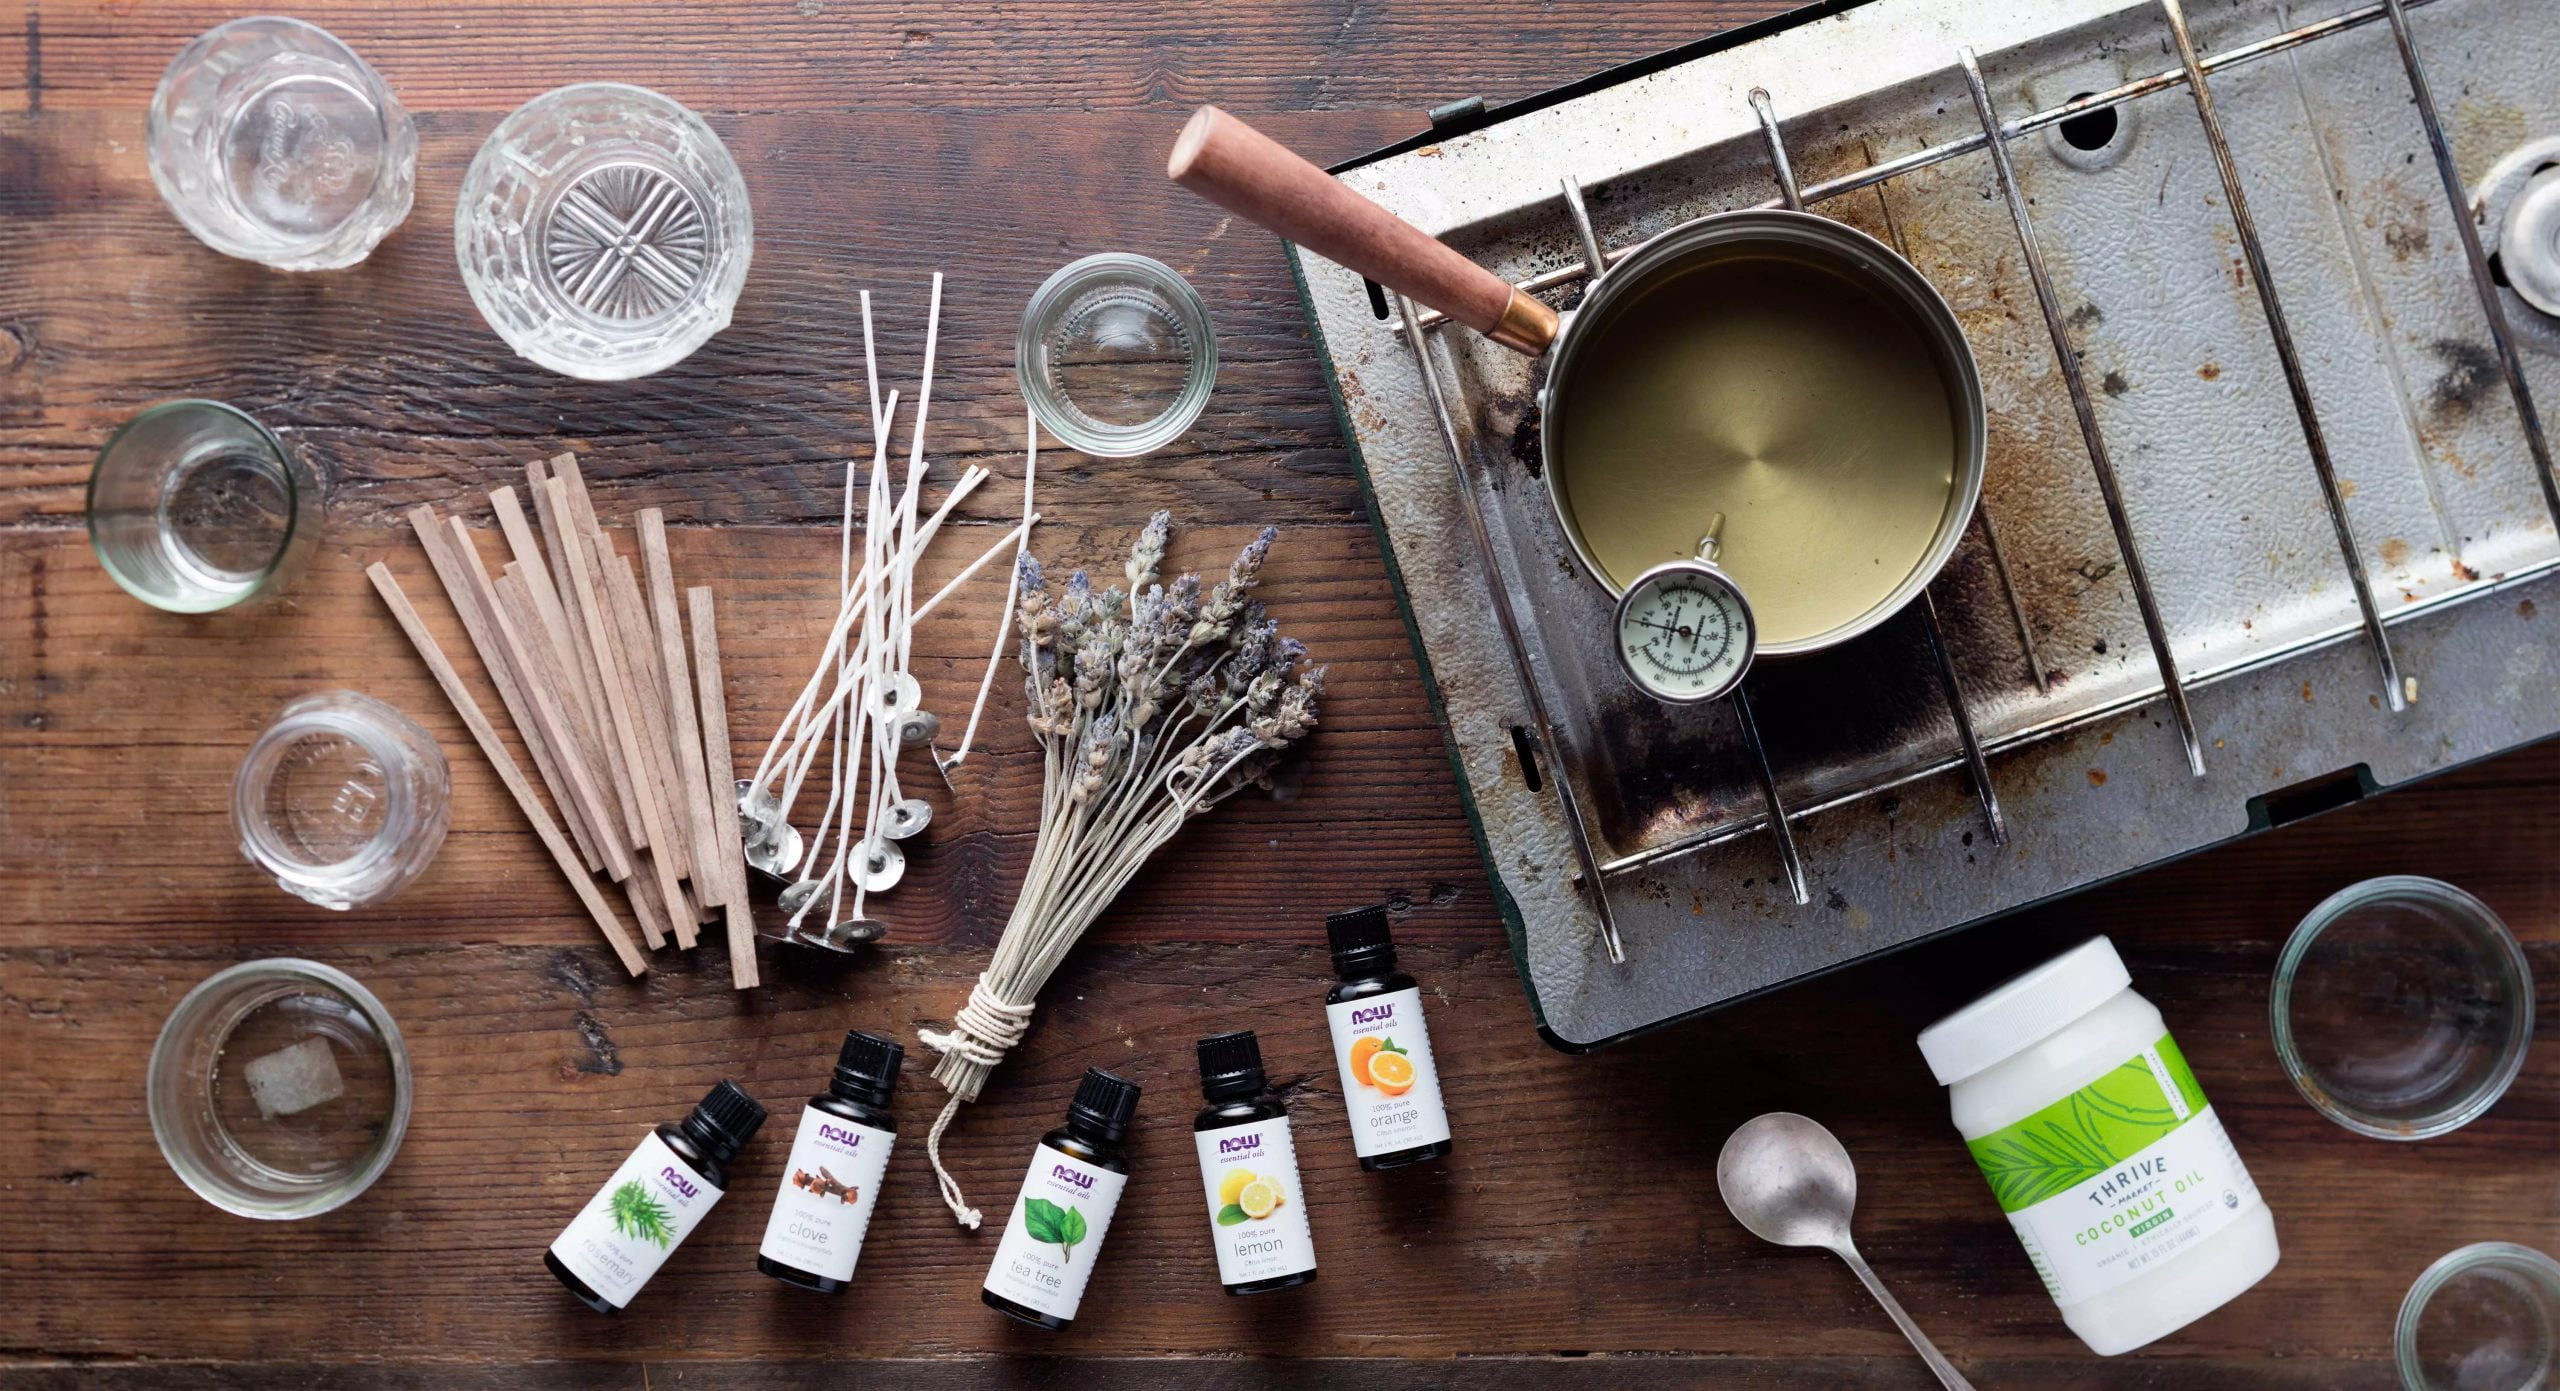
Making candles from leftover wax is a great way to repurpose your old candles. You can create unique and interesting designs that you can use to add fragrance and beauty to your home. To get started, you will need some essential supplies, including wax, wicks, metal containers, an electric pot or double boiler for melting the wax, a thermometer for monitoring the temperature of the melted wax, a spoon or craft stick for stirring the melted wax, and any dyes and fragrances if desired. Additionally, it’s helpful to have something to pour the melted wax into (such as empty tin cans) as well as something on which to place them (such as a cookie sheet). You can also use cookie cutters or molds in interesting shapes if you prefer. Finally, safety items such as an oven mitt, safety glasses and gloves should also be included when making candles.
Melting & Pouring Wax
The process of making candles from leftover wax begins with melting down the wax. This can be done in a few different ways, depending on the type of wax being used and the desired end result. One popular method is to use a double boiler over heat, which keeps most of the heat contained within the boiling water while gently melting down the wax. For larger batches of wax it may also be necessary to use an open flame or hotplates. The next step is to maintain proper safety precautions when adding heat to your wax. This includes ensuring your work station is not near any flammable surfaces and wearing protective clothing such as long sleeves, closed-toe shoes, and safety glasses. It is also important to stir frequently during this process to avoid burning or scorching the wax as it melts. Once melted, you should carefully pour the liquid into a pre-prepared mold or container before allowing it to cool and solidify. Finally, after cooling your new candle can then be decorated and lit for use!
Adding Color & Scent
One of the best aspects of making candles from leftover wax is that they can be customized to desired taste and style. Color and scent are two highly versatile characteristics that can transform ordinary candles into extraordinary creations. When choosing a fragrance for your candle, keep in mind that subtlety is key. It should not be too pervasive or else it will overwhelm the space. Try using essential oils or wax dyes to give your candles an additional pop of color. They are also non-toxic and contain natural ingredients so you don’t have to worry about breathing in unpleasant chemicals while burning them. If you prefer more vibrancy from a regular dye, make sure to buy one that is specifically designed for use in candles. This will prevent damage due to high burning temperatures, as well as ensure the dye doesn’t enter into the air when lit.
Pouring Wax Into Containers and Making Wick Holders
The process of making candles from leftover wax can involve several steps. The first step is to find containers that you would like to fill with the wax. Mason jars, glass jars and other tall skinny containers work well for candle molds. Once you have chosen your container make sure to clean it before filling it with the wax. After that comes the fun part: melting down the leftover wax! Depending on how much wax you’re using, different methods can be used for melting it down. A double boiler or a crockpot are often used for larger batches of wax whereas a small pot over an open flame works great for smaller batches. If you’re looking to add in fragrance or color during the melting process now is the time to do so – remember not to go overboard with adding fragrance as this can cause problems later on.
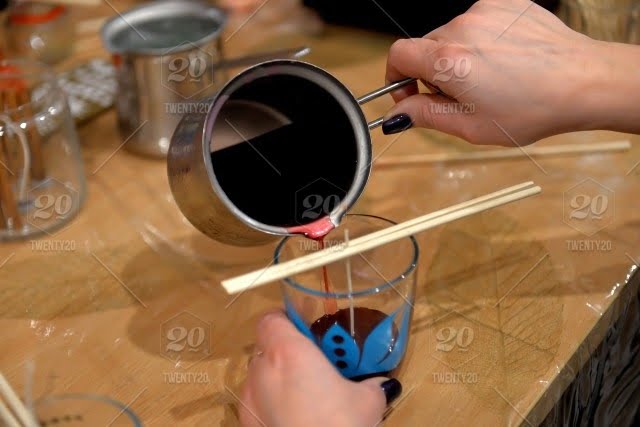
Once all of your ingredients are melted down and combined properly it’s time to prepare your mold. First off, make sure your wick is centered and firmly placed in the jar with something like clay or hot glue helping secure it in place at the bottom of the container so that when you pour in your wax mixture, your wick will stay upright and straightly aligned in center of container without floating away or getting pulled downwards by excessive liquid when poured into jar (this will prevent wick from either burning out early or not catching fire). Make sure also account for how much power/heat wafting out from fully set candles when planning placement of each mold (i.e., leave enough space between each one so they don’t end up smothering each other due heat). Finally, once everything is ready, slowly but steadily begin carefully pouring tin liquid wax into prepared containers – try not soak wicks entirely whilst doing this but rather just cover its most base end section – knot will help keep everything stable afterwards as prevents wandering around (or too free-floating in middle) after fills up almost fullness marks whilst setting happens (this will also guarantee easy lighting).
Troubleshooting Common Issues
One of the common issues that people find when making candles from leftover wax is contamination. This can happen if the materials being used haven’t been stored properly or were contaminated in some way with another type of material. This can be an issue as it may make your candle unrecognizable or too lumpy. To help prevent this, check your materials before starting and discard anything that looks or smells suspect. Another issue is air bubbles forming in the wax while pouring into the mold. These air bubbles can cause an unattractive and weak candle that might not even burn correctly. To fix this, tap your molds gently to encourage any air bubbles to break, shake your container vigorously prior to pouring, and try preheating your finished product a few degrees higher than suggested. Finally, warping can also happen when making candles from leftover wax – where after solidifying, the top edge of the candles fall over. To help prevent this, try covering your finished product with something like a cardboard box for several minutes after its cooled down so it solidifies more evenly
Finishing and Curing the Wax
Once the leftover wax has been melted, it’s time to start making the candle itself. To begin this process, a wick needs to be carefully secured into the mold and then held in place with the help of a clamp or holder. After that, starting from the bottom of the mold and slowly pouring in the wax is key. This should be done at an angle in order to ensure that there are no air bubbles trapped inside of the wax. Once all of the wax is poured into the mold, it needs to be left alone in order to cool down and cure fully. This can take anywhere between eight to twenty-four hours depending on how large your candle happens to be, but is extremely important for preserving not just its shape but also its longevity. After it has cooled down completely, adding any type of decorations or dyeing will make your homemade candle look complete and store-bought!
Expert Tips and Advice for Making Candles from Leftover Wax
Making candles from leftover wax can be a great way to save money. You can easily create beautiful and unique pieces without having to buy additional wax. As with any creative project, there are a few things that you should keep in mind when using leftover wax for creating your candle designs. Here are some expert tips and advice for making candles from leftover wax that experienced candle makers recommend:
• Choose the right wick size – Ensure that you pick the correct wick size for your desired design. If the wick isn’t properly sized, it could result in poor burning quality or even sooting.
• Color correctly – Be sure to determine which colors will look best with each other before adding them to the melt pot. Mixing different shades together can create an undesirable end product.
• Re-melt properly – When re-melting the wax, make sure that it’s done very slowly over low heat in order to avoid scorching and boiling of the product.
• Layer carefully – It’s important to layer colors and scents slowly with plenty of stirring time (around 20 minutes) if you want a nice blend throughout your candle design.
• Get creative! – Making candles from leftover wax shouldn’t be limited by any means – try new combinations of colours and fragrances, unique shapes, or new finish treatments for an exciting final product!
Conclusion
Reusing wax to make candles is a great way to reduce waste, save money and get crafty. Now that you know more about how to make candles from leftover wax, it’s time to explore this new hobby further and take your candle-making journey to the next level. Consider experimenting with different fragrances, wick sizes and shapes or even making multiple wick candles. Add unique decorations like natural botanicals or even embedding treasures in the wax itself. Whatever creative candle-making idea you come up with, know that reusing wax will help reduce your footprint, save money and allow you to be proud for creating beautiful handmade items at home.

Welcome to my candle making blog! In this blog, I will be sharing my tips and tricks for making candles. I will also be sharing some of my favorite recipes.

