Introduction
Making candles out of scrap wax is an easy, eco-friendly way to bring a little warmth and light into your home. Candles made from scrap wax can be customized to any color or scent for the perfect addition to any room. With the use of some basic supplies that can easily be found in most households, this tutorial will provide simple step-by-step instructions on how to make beautiful candle creations from scrap wax. Not only will it save you money compared to buying store-bought candles, but the process is also a great way to be creative!
Gathering the Necessary Supplies
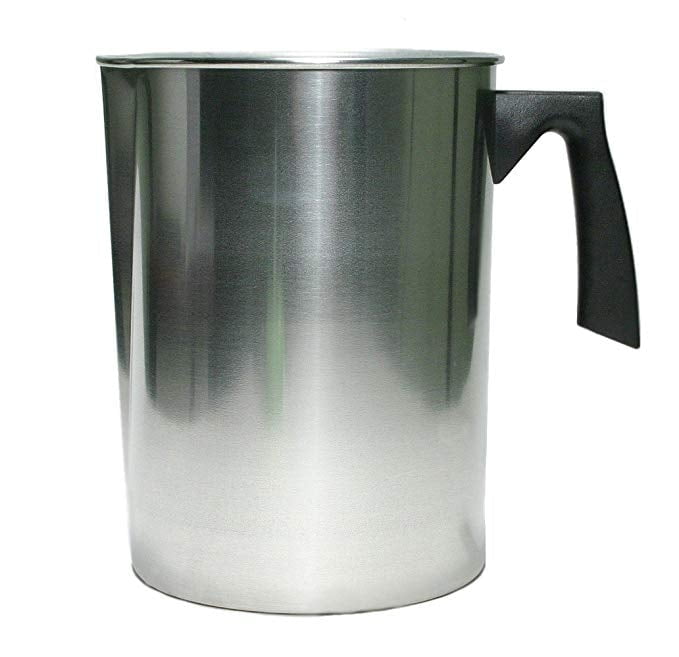
Creating your own candles out of scrap wax is a great way to save money and create beautiful, custom pieces for yourself or friends. The first step in this process is gathering all the necessary supplies you’ll need. These include different types of wax, wicks, containers, essential equipment such as melting pots, thermometers, spoons and stirrers, plus tools such as metal snips, glass cutters or scissors for cutting wick and wax cutting knives for designing candles.
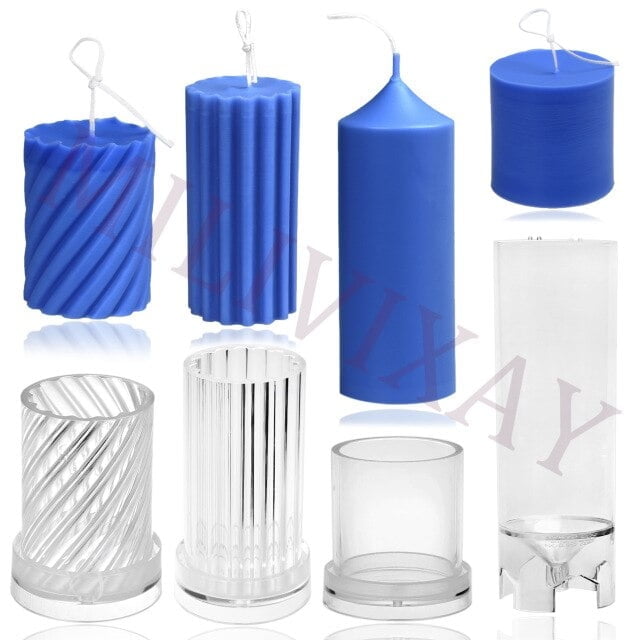
When shopping for supplies, keep the amount of wax you need in mind; it’s easy to overestimate the amount required. Make sure to buy enough of each type of wax (beeswax or paraffin) to complete your project. Additionally, you’ll need a selection of appropriate wick sizes and styles that correspond to the size and shape of your desired candles. For containers, if using molds make sure they are heat-safe and non-flammable. If pouring into a glass container be sure it’s heat-resistant – regular kitchen glassware will not do! Don’t forget to factor any additional scent or dye that may be included in the mix when shopping for materials.
Lastly, have fun with this project by getting creative; adding fragrance oils and dyes can really personalize your candles!
Preparing the Workspace
Preparing the workspace is a crucial step in the candle making process. Before beginning, make sure your work area is clear, clean and organized. If possible, put down an old plastic table cloth or newspaper to protect your desk space and collect any wax drippings. Ensure you have adequate ventilation–it’s important to reduce the amount of fumes that may build up as you’re melting down wax and as your burning candles.
In terms of organization and preparation, keep everything in within arm’s reach. Tools like wicks and scissors should be readily accessible for easy access. Prepare a pitcher of cold water nearby for emergency situations if something catches fire or the hot wax becomes too difficult to handle. Place the scrap wax on a heat resistant pan and double-check that all materials are ready before heating begins.
Planning on preparing the workspace will take anywhere from 10-15 minutes depending on how organized your workspace already is; however, this step is essential to ensure your safety while candle making. There are some potential hazards such as inhaling harmful fumes or burns from hot jars or spilled wax that can happen if an appropriate environment isn’t created beforehand.
Prepping the Wax
Prepping the wax is one of the most important steps when making candles out of scrap wax. Before you begin melting the wax, it’s essential that all debris and debris is removed from the wax scrap. This can be done by using a sieve or even fine cloth. Once all debris has been removed, slowly melt the wax on a low heat setting in either a double boiler or slow cooker over indirect heat. Don’t boil the wax since this can cause air bubbles and other problems with your candles later on.
Once melted, allow it to cool so that any unwanted contaminants settle to the bottom. A far easier method for straining any impurities is to pour your melted wax through a few layers of cheesecloth into a metal container. From here, move to a different location and allow the molten wax to cool ” this will also help remove any additional impurities from within liquid form before it hardens again.
Finally, once your wax has cooled and you’re happy with it ” take some time to dry out the remaining excess moisture before beginning pouring the moulds for finishing up your finished product. Pro Tips: Using certain additives like Vybar or MicroCrystals in small dosages can help cut down any water content within melt point temperatures which can significantly improve final product quality relative to just using scrap wax alone ” consider using these when prepping large batches prior to candle pouring!
Selecting Fragrances and Dyes
When making candle out of scrap wax, selecting the right fragrance and dye for your project is an important step. There are many different types of fragrances for a variety of scents and dyes for producing a wide range of colors to choose from. It is important to select fragrances and dyes that can best suit the specific project you are creating.
If you’re looking for a simple scent that refreshes the environment, you may want to look into essential oils as a fragrance option which come in several hundred varieties like lavender oil or eucalyptus oil. If you’re looking for something more specific or luxurious such as sweetness, spice, or bakery smells, then paraffin-based fragrances may be the solution. Paraffin-based fragrances come in around two thousand scents including those found in fruit, flowers, spices, dishes and beverages!
For dyes, consider using eco-friendly options such as vegetable-based dyes which may come in liquid form or as powder. Depending on how bold of color you would like, you can use one or various colors mixed together to get the desired hue; blueberries are great for giving candles a muted purple tone for example. Different color combinations can also be used to match different themes – here are some ideas: pastel colors work great with floral scents; beachy colors work best with fruity themes; vivid colors go well with sweet scents such as bubble gum; metallic hues pair nicely with baker type aromas like cakes and donuts.
Creating Layers and Textures
Creating layers and textures in your candle project can help you create beautiful, eye-catching pieces of art. Marbleizing is a great way to achieve multi-tonal colors with depth and complexity. To marbleize melted wax, start by pouring one color of wax into a silicone mold or other container. Then add drops of various other colors of wax onto the first layer and blow over the surface lightly with a blow dryer to swirl the colors together. For additional layers and texture, pour more wax into the container and repeat this process until desired effect is achieved.
Layering is another creative approach for making interesting candles from scrap wax. Start by pouring one color of melted wax into a container or mold and waiting for it to cool before adding another layer or texture on top. If desired, you can apply embellishments such as glitter, herbs or spices in between layers for extra interest. After each layer has set, you can further customize your candles by adding toppings such as nuts or dried fruits to enhance its overall look and design. When combining different layers and textures, make sure that each one firmly sets before adding any additional ones as this will keep them all securely slotted together.
Pouring the Candles
Pouring the Candles: Pouring candles is a simple yet rewarding experience, since candles can be enjoyed for their calming scent or comforting light. Take an old pot or a heat-safe container from your kitchen and put it on your stove. Turn the stove to medium heat and add scrap wax into the container, stirring until it melts completely. Once melted, begin pouring small amounts of wax into each candle jar you will use for the project until the jars are full to the desired edge level of your wick (usually around 1/2-3/4 up along the edge). Place your wicks into the warm wax in each jar and allow them to settle before adding more wax if needed.
Using Wicks to Create the Candles: Now that your jars are filled with hot wax, it’s time to attach wicks. Cut lengths of wire (fish line works too) that are 10 times taller than each jar’s height measurement when doubled over, then fold them over and dip them into each jar of hot wax until they reach your desired depth for safe burning (again usually 1/2-3/4 up). The wire should now be stable but still floating on top of your wax. Once secure, let cool and harden before repeating this process with additional jars as needed.
Troubleshooting Tips: If you find that a particular color or texture of scrap wax doesn’t melt properly, add small amounts of paraffin or beeswax to help get the scraps melting easier – but only add what’s necessary so as not to affect its scent or flame size once burned. Another tip is to try using essential oils instead of standard dye colorants to enhance scents or appearance for an added special touch!
Setting the Candles
Making your own candles out of scrap wax is an achievable and cost-effective way to fill your home with the scent and light of beautiful scented candlelight. To get started on making your very own candles, there are several steps you need to take to ensure that a quality finished product is achieved.
The first step is setting up your materials so that you can make the candles in a safe environment. This includes arranging containers for the melted wax, dipping or pouring heated wax into appropriate molds or containers, and having wicks already cut and secured in place. Once the materials have been organized, it’s time to begin melting down the scrap wax in order for it to become usable for further candle projects. Slow melting is key – using a low heat setting will help prevent burning of the wax and debris. This could ruin not only this current batch of candles, but any future works with scrap wax as well.
Once the molten wax has been obtained, its ready to be used in creating custom candles with unique mixtures. Selecting additional scents or pigments at this stage can make all the difference in the look of these beautiful creations; candle containers can also be added if desired. After finishing off with these touches, place each individual candle into its designated container carefully.
The final step involves allowing each newly formed candle some time to cool and set properly before handling them or displaying them anywhere else around your home or office space. In most cases this should take around twenty four hours for optimal performance; however certain designs may require extended set times depending on various factors such as temperature and thickness of mold walls being utilized; thinner walls often require extra time due to taking longer for the cooler external air to conduct heat away from the hot outer surface layer where thick walls would usually take less time due to their insulation effect from slow-heat release levels through their core structure versus thinner material surface layers.
Finishing Touches
Adding labels and stickers to a finished candle is a great way to personalize it. Creating a label in your favorite design program or ordering one customized with the recipient’s name can add an extra special touch. You can also consider adding small decorations such as a ribbon, feathers, or fabric to the container.
Gift wrapping candles can also be an important step in making them look attractive and professional. Simple brown kraft paper is always classic, but adding decorative wrapping, tissue paper or ribbon will give it that extra special look and feel.
Finally, for those of you looking to create your own packaging for selling the candles, there are lots of options out there. From custom sized boxes with printed inserts to cello bags with bright colors and shapes like circles and hearts, creating your own packaging can be both rewarding and cost-effective. Additionally, adding surprise gifts such as tea lights for every customer or including recipes for creating new scents can really add value to your product and make customers more likely to make repeat purchases!
Conclusion
By the end of this tutorial, you have learned how to make high-quality candles out of scrap wax! You first gathered your equipment and supplies ” wax, wicks, molds, containers, etc. ” and placed them in a safe and accessible work area. Next, you melted your wax over low heat until it liquified. When bubbles began appearing in the liquid wax mixture, you removed it from the heat to allow for cooling. Afterwards, you poured the molten wax into molds or containers and waited for them to solidify. Once the candles had cooled off completely, you checked if any adjustments needed to be made before burning.
The process for making candles using scrap wax doesn’t just involve following instructions; it also encourages creativity so that you can make individualized designs according to your own style. Making candles out of scrap wax can be an incredibly rewarding experience that allows us to appreciate all kinds of materials by upcycling them into something useful and beautiful! Remember that even with scrap materials our imagination is endless – no ideas are too big or too small! So don’t forget to have fun while crafting your unique candle designs!

Welcome to my candle making blog! In this blog, I will be sharing my tips and tricks for making candles. I will also be sharing some of my favorite recipes.


