Are you looking for a fun and creative DIY project? Look no further than making candles out of wax crayons. Not only is this a unique way to repurpose old, broken crayons, but it also allows you to unleash your creativity and customize your own beautifully colored candles. In this article, we will explore the benefits of making candles with wax crayons and guide you through the step-by-step process of creating your very own custom candles.
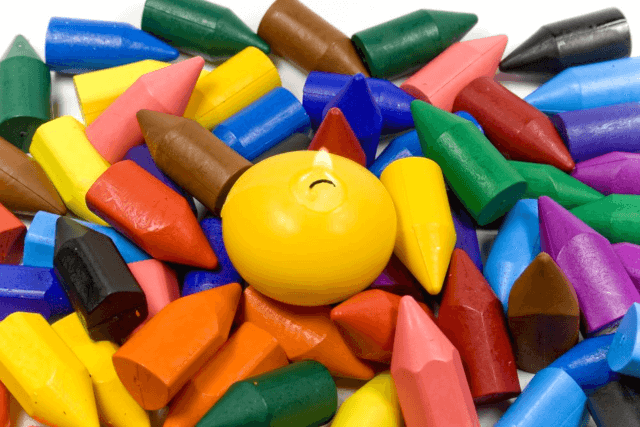
One of the great advantages of using wax crayons for candle making is the wide range of colors available. With regular candles, the color options are often limited, but with wax crayons, you can create vibrant, eye-catching shades that reflect your personal style. Additionally, by repurposing old crayons that might otherwise go to waste, you are practicing sustainability and minimizing environmental impact.
Not only does making candles out of wax crayons provide a creative outlet, but it also offers an opportunity to experiment with different patterns and designs. Whether you want to create ombre effects, swirls, or layered colors, the possibilities are endless.
Plus, adding fragrance oils gives you the ability to customize the scent of your candles as well. So why not bring some extra joy into your home by crafting one-of-a-kind candles that match your taste and style?
In this article, we will take you through each step of the candle-making process using wax crayons. We will discuss how to choose the right types of crayons and gather all necessary materials. You will also learn how to properly melt the wax and pour it into containers while ensuring safety.
We’ll share tips on customizing your candles with different colors and scents before guiding you on how to care for them once they’re made. So let’s dive in and discover how easy and rewarding it can be to make your own candles with wax crayons.
How to choose the right wax crayons
When it comes to making candles out of wax crayons, choosing the right type of crayons is crucial for a successful and safe candle-making experience. Not all wax crayons are suitable for candle-making as some might have additives or materials that can be hazardous when melted. In this section, we will discuss the types of wax crayons that work best for candle making, including their melting points, color options, and safety considerations.
One important factor to consider when choosing wax crayons for candle making is their melting point. It’s recommended to use non-toxic wax crayons with a melting point around 130-140 degrees Fahrenheit (54-60 degrees Celsius). This ensures that the crayons will melt evenly and not burn or release harmful fumes while being melted. The melting point can usually be found on the package of the crayon or by researching online.
In addition to the melting point, color options are another important consideration. Wax crayons come in a wide variety of vibrant colors, allowing you to create candles in different shades and patterns. Whether you prefer bold and bright colors or more subtle and pastel tones, there are plenty of options available.
When it comes to safety considerations, it’s essential to choose wax crayons that are labeled non-toxic and specifically made for children’s use. Avoid using wax crayons with labels indicating they contain hazardous materials or toxic substances. This ensures that you’re not creating candles that may emit harmful fumes when burned.
To summarize, selecting the right wax crayons for candle making involves considering their melting point, color options, and safety considerations. Aim for non-toxic crayons with a suitable melting point around 130-140 degrees Fahrenheit (54-60 degrees Celsius). Take advantage of the variety of colors available in wax crayons to customize your candles according to your preferences.
Lastly, prioritize safety by choosing crayons labeled as non-toxic and avoiding those containing hazardous materials. By making informed choices, you can ensure a successful and enjoyable candle-making experience with wax crayons.
Data
| Types of Wax Crayons | Melting Point (°F) | Safety Considerations |
|---|---|---|
| Non-toxic wax crayons | 130-140 | Labeled as non-toxic and safe for children’s use. |
| Crayons with hazardous materials or toxic substances | Varies | Avoid using these as they may emit harmful fumes when melted. |
Gathering the necessary materials
When it comes to making candles out of wax crayons, it’s important to gather all the necessary materials before getting started. Having everything prepared and organized will ensure a smooth and enjoyable candle making experience. Here is a comprehensive list of the materials you’ll need for this creative DIY project:
Wax Crayons
Choose wax crayons that are made from high-quality materials and have a melting point suitable for candle making. Look for non-toxic and unscented crayons, as some scented ones may not provide desirable results when used as candle wax.
Containers
Select heat-resistant containers to hold your melted wax, such as glass jars or tin cans. These containers should be clean, dry, and able to withstand the heat generated during the melting process.
Wicks
Wicks are an essential component of any candle. Opt for pre-tabbed wicks for ease of use. Make sure the wick length matches the height of your container.
Fragrance Oils (Optional)
If you want scented candles, consider using fragrance oils that are specifically designed for candle making. Choose scents that complement the color or theme of your crayon candles.
Double Boiler or Heat-Resistant Container
To melt the wax crayons safely, you’ll need a double boiler setup or a heat-resistant container that can be placed in boiling water for indirect heating.
Thermometer
Having a thermometer on hand is crucial to monitor and control the temperature of your melted wax crayons. This will help ensure optimal pouring consistency and prevent overheating.
Mixing Tools
Prepare a spoon or stirring rod dedicated solely to candle making. Avoid using utensils made from plastic or other materials that may melt when exposed to hot wax.
Protective Equipment
Since you’ll be working with melted wax, it’s important to protect yourself. Wear heat-resistant gloves and an apron to avoid any accidental burns or stains on your clothes.
Adhesive
To secure the wicks in place, you may need a form of adhesive. Options include hot glue, wick stickers, or wick tabs.
Optional Additives
Depending on your preferences, you might want to consider adding colorants or additives such as glitter to enhance the visual appeal of your candles.
Remember to read and follow all instructions and safety guidelines provided by the manufacturers of the materials you choose for candle making. Gathering all these materials ahead of time will ensure a hassle-free and successful candle making experience using wax crayons.
Preparing the workspace
When it comes to making candles out of wax crayons, having a clean and organized workspace is crucial for ensuring safety and efficiency throughout the process. Here are some helpful tips on how to prepare your workspace for candle making:
- Clear your workspace: Start by clearing off any clutter or unnecessary items from your work area. This will help create a clean and spacious environment for you to work in.
- Set up a heat-resistant surface: Place a heat-resistant mat or tray on your workspace to protect it from any potential spills or drips of melted wax. This will make cleanup much easier later on.
- Gather all necessary tools and materials: Before you begin, gather all the tools and materials you will need for candle making. This includes wax crayons, containers, wicks, fragrance oils (if desired), a double boiler or other melting method, and any additional additives such as dyes or decorative elements.
- Have proper ventilation: It’s important to have good ventilation in your workspace when melting wax crayons, as the fumes can be strong. Open windows or use fans to ensure there is fresh air circulating throughout the room.
- Use protective gear: Consider wearing protective gear such as gloves and an apron to protect yourself from any potential burns or spills during the candle making process.
- Organize your tools: Set up a designated area on your workspace where you can easily access all of your tools and materials without having to search for them. This will save time and keep everything within reach.
By following these tips, you can set up a clean and organized workspace that promotes safety and efficiency when making candles out of wax crayons. Remember to always prioritize safety by taking necessary precautions and being mindful of potential hazards throughout the candle making process.
Melting the wax crayons
To successfully make candles out of wax crayons, it is crucial to know how to properly melt the crayons. This step is essential in ensuring that the wax reaches its ideal consistency for candle making. Here are some step-by-step instructions on how to melt the wax crayons using a double boiler or other appropriate methods:
- Set up a double boiler: Fill a large pot with water and place it on the stove. Make sure the pot is large enough to accommodate a smaller pot or heatproof container that will hold the crayons. Bring the water to a simmer.
- Prepare the wax crayons: Remove any paper or labels from the crayons and break them into smaller pieces or cut them into chunks using a knife.
- Place the wax in a heatproof container: Choose a heatproof container that can withstand high temperatures without melting or releasing any harmful chemicals. A metal pouring pitcher or glass jar works well for this purpose.
- Place the heatproof container in the double boiler: Gently place the container with the wax crayon pieces into the simmering water, making sure no water gets inside the container.
- Gradually melt the wax: Allow the crayons to melt slowly, stirring occasionally with a heatproof utensil like a wooden skewer or spoon. The melting process may take around 10-15 minutes, depending on the amount and type of wax crayons used.
- Emphasize safety measures: While melting, remember to practice safety precautions such as using oven mitts or silicone gloves to protect your hands from burns and ensuring good ventilation in your workspace by opening windows or using a fan.
- Optional: Add fragrance oils or other additives: If desired, you can incorporate fragrance oils into your melted crayon wax at this stage, following manufacturer guidelines for appropriate oil ratios per pound of melted wax.
- Stir well and monitor temperature: Once all the crayon pieces have melted and any additives are fully incorporated, give the wax a final stir to ensure a consistent mixture. Use a thermometer to monitor the temperature and check that it remains within the suitable range for candle making.
- Remove from heat: Carefully remove the heatproof container from the double boiler using oven mitts or silicone gloves. Be cautious as the container may be hot.
Following these step-by-step instructions will help you properly melt the wax crayons for your candle-making project. Remember to prioritize safety by using appropriate equipment and practicing caution while handling hot wax.
Customizing your candles
Once you have melted your wax crayons and prepared the containers for pouring, it’s time to let your creativity shine through by customizing your candles. There are numerous ways to personalize and add a unique touch to your candles made from wax crayons. Here are some ideas to get you started:
- Adding fragrance oils: Take your candles to the next level by incorporating scents that appeal to your senses. Fragrance oils can be easily blended into the melted wax before pouring. Consider using essential oils like lavender for a calming effect or citrus scents for an energizing atmosphere. Experiment with different combinations of scents to create personalized aromas that suit your preferences.
- Experimenting with different colors and patterns: With wax crayons, you have a wide range of vibrant colors at your disposal. Mix and match different shades or layers of colors in order to create beautiful gradients or ombre effects. You can also experiment with marbling techniques by swirling different colored melted wax together before pouring, which will result in unique patterns on the surface of the candle once it sets.
- Incorporating decorative elements: Take inspiration from various art mediums and incorporate decorative elements into your candles made from wax crayons. You can embed dried flowers or herbs into the melted wax for an added visual flair or use glitter for a touch of sparkle. For a more personal touch, consider adding small trinkets or charms that hold special meaning to you or the person you plan on gifting the candle to.
Remember, customization is all about letting your creativity run wild, so don’t be afraid to experiment and try out new ideas. Each candle you make can be a reflection of yourself or a thoughtful gift tailored specifically for someone else.
To ensure that any added elements remain intact and do not pose a fire hazard, make sure to conduct proper research on each material’s safety when used in candles. For example, some dried flowers or herbs may be combustible and should be avoided. Additionally, when using decorative elements, consider their size and ensure that they do not obstruct the wick or cause uneven burning.
By customizing your candles, you can create one-of-a-kind pieces that not only serve as functional light sources but also double as eye-catching decorative items. Let your imagination guide you as you explore different possibilities for personalization and take pride in the unique creations you bring to life with wax crayons.
Pouring and setting the candles
Choosing the Right Containers
After melting your wax crayons and customizing the color and fragrance of your candles, it is time to transfer the liquid wax into suitable containers. The type of container you choose can greatly affect the overall look and functionality of your candles.
Firstly, consider the material of the containers. Heat-resistant glass jars or metal vessels are commonly used for candle making as they can withstand high temperatures without cracking or breaking. Avoid using plastic containers as they may melt when in contact with hot wax.
Additionally, think about the size and shape of the containers. Depending on your preferences, you can choose small votive holders for individual candles or larger mason jars for a rustic touch. Keep in mind that taller containers may require longer wicks to ensure proper burning.
Lastly, consider any decorative elements you want to add to your candles. Some containers come with lids or closures that can be useful for preserving fragrance when not in use. If you plan on giving your handmade candles as gifts, choosing aesthetically pleasing containers will add an extra touch of thoughtfulness.
Placing the Wicks
Before pouring the melted wax into the containers, it is important to properly place the wicks in order to achieve a central flame and consistent burning throughout the candle’s lifespan.
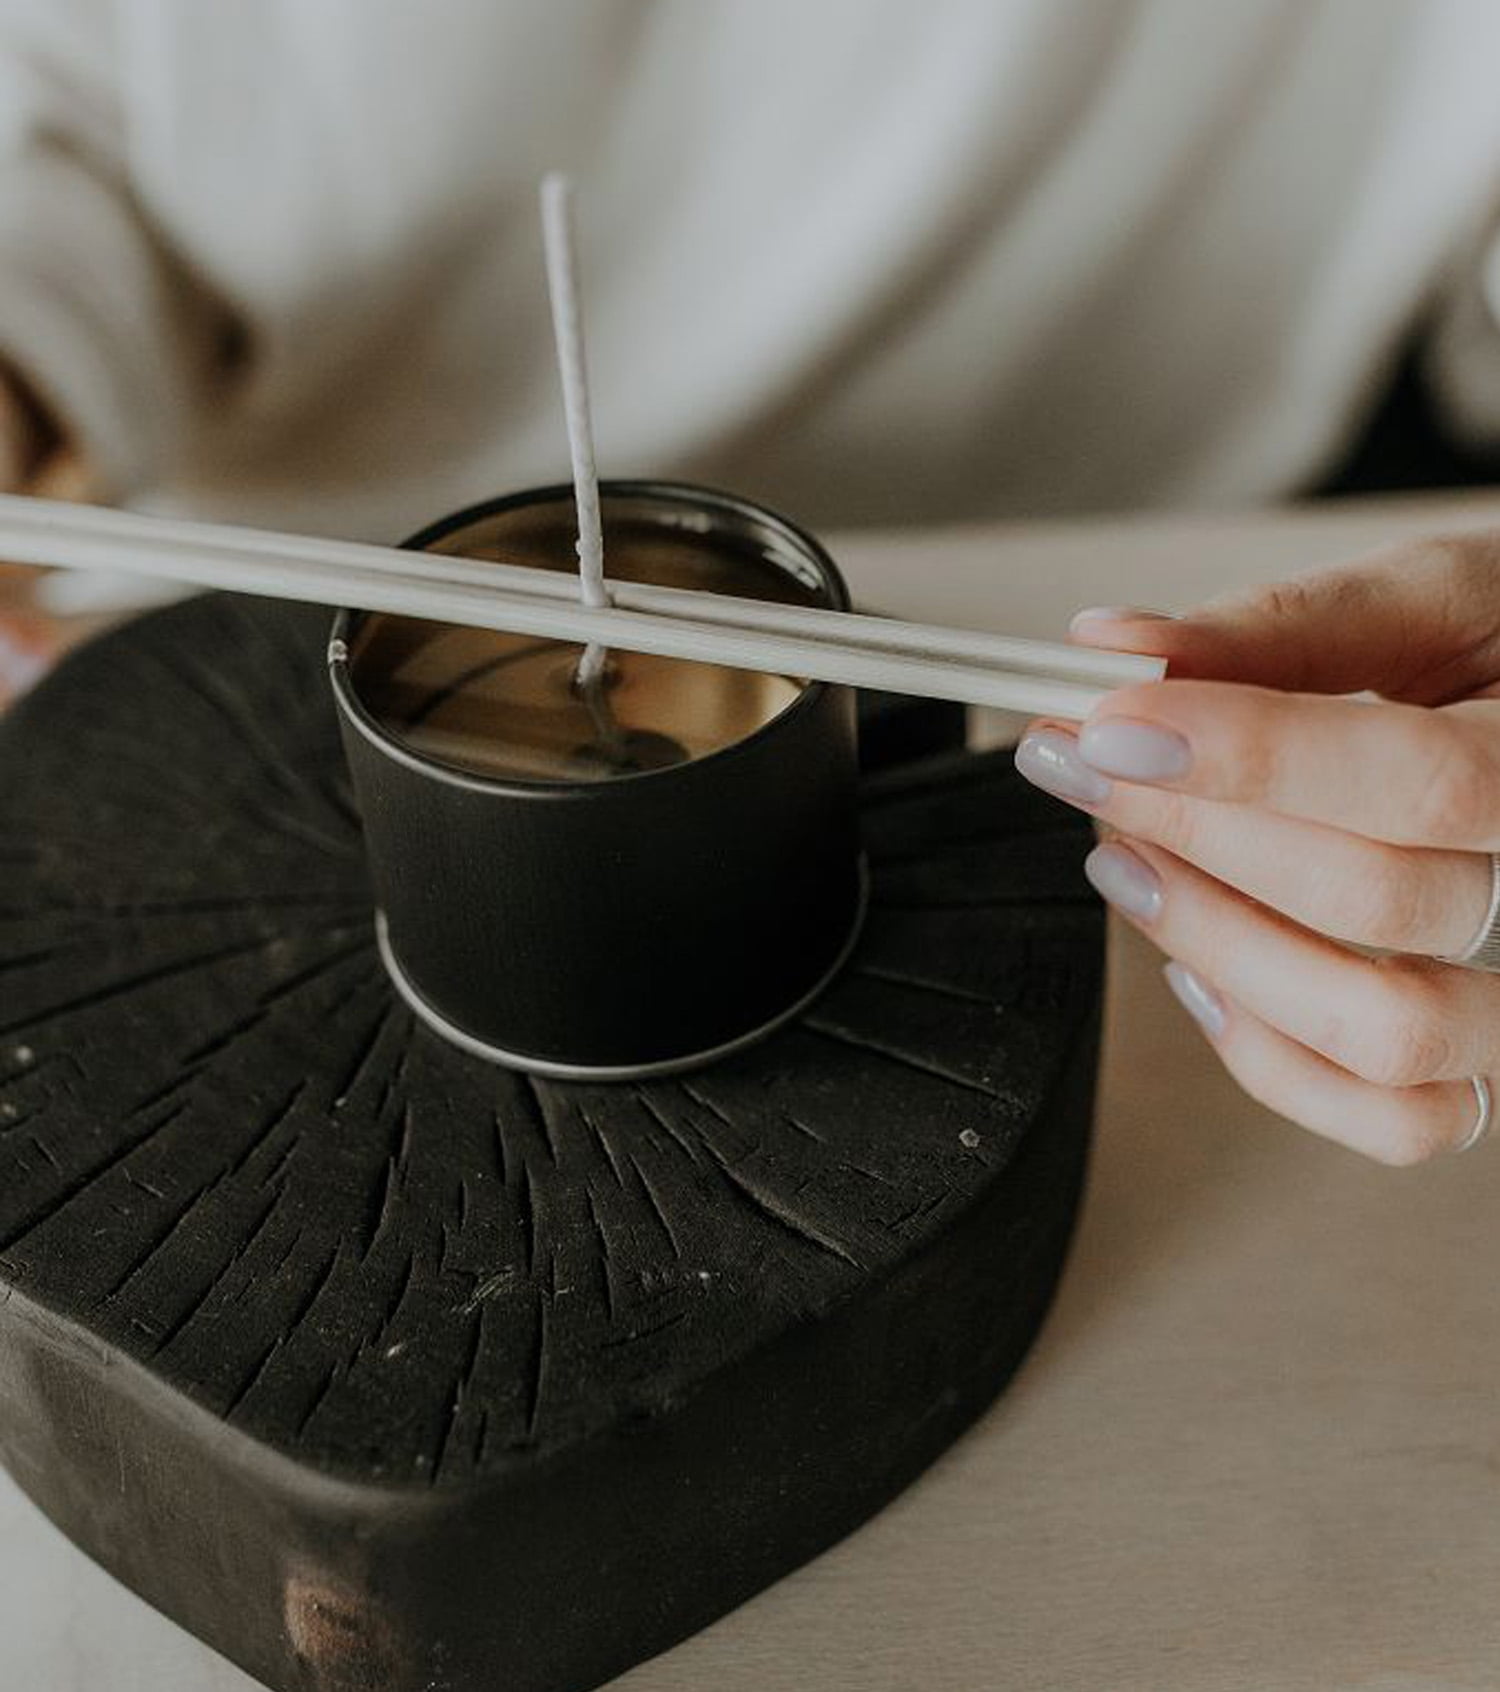
Start by securing one end of each pre-cut wick at the bottom center of a container using adhesive dots or a glue gun. Ensure that the wick is straight and upright before moving forward. To hold them in place during pouring, you may also consider using clip-on wick holders available in craft stores.
It is crucial to keep in mind that different waxes have varying requirements for wick size and type. Be sure to refer to any guidelines provided by the manufacturer or conduct some experimentation to determine which wick works best for your specific crayon wax blend.
Cooling and Setting Process
Once the wicks are secured, slowly and carefully pour the melted wax into each container, ensuring that the wick remains upright. Take your time to avoid any spills or overflows.
After filling the containers to your desired level, it is important to allow ample time for the candles to cool and set properly. Place the containers in a cool, undisturbed area where they can solidify without any disturbances. Depending on various factors such as room temperature and size of the candle, this process may take several hours.
Avoid moving or touching the candles during this time as even slight movements can disturb the setting process and result in uneven surfaces. Patience is key when it comes to allowing your handmade candles to properly harden.
Remember that different wax crayons may have different setting times, so be sure to check for any specific recommendations from the manufacturer or conduct some test runs before making a large batch of candles.
By following these steps in pouring and setting your candles, you are now one step away from enjoying your very own unique creations made from wax crayons. The next section will focus on proper care and maintenance of your handmade candles once they have fully set.
Caring for your handmade candles
Trimming the wicks
Properly caring for your handmade candles is essential to ensure their longevity and optimal burning experience. One important aspect of candle care is regularly trimming the wicks. Trim the wick to approximately ¼ inch before each use to prevent excessive soot and a large flame. You can use a wick trimmer or scissors to achieve the desired length. Be sure to remove any trimmed wick debris from the candle before lighting it.
Storing safely
To maintain the quality of your homemade candles, it is important to store them properly. Keep them away from direct sunlight, as exposure to UV rays can cause fading or discoloration. Store your candles in a cool, dry place to avoid melting or warping. Also, be mindful of where you place them, making sure they are away from flammable objects and out of reach of children or pets.
Maximizing burn time
If you want to maximize the burn time of your handmade candles made from wax crayons, there are some simple tips you can follow. For the first burn, allow the candle to melt across the entire surface before extinguishing it. This will help prevent tunneling and ensure an even burn throughout its lifespan. Avoid burning your candles for more than four hours at a time as this may result in excess heat and diminish their overall lifespan.
Additionally, make sure that each subsequent burn is long enough for the melted wax pool to reach close to the edges of the container. This helps prevent future tunneling and promotes an even burning experience. When extinguishing your candle, use a snuffer or gently blow it out instead of blowing directly onto it, as this can reduce smoke and minimize wax splattering.
By following these care tips, you can not only enjoy longer-lasting homemade candles but also enhance their overall performance and safety during use.
Troubleshooting common issues
One of the common issues that may arise during the candle making process is uneven melting of the wax crayons. This can result in an uneven distribution of color and can affect the overall appearance and quality of the candle. To overcome this challenge, it is important to ensure that the wax crayons are melted completely before pouring them into the containers.
To achieve even melting, it is recommended to use a double boiler or a similar method that allows for gentle and controlled heat. Avoid direct heat sources such as stovetops or microwaves, as they can generate uneven and intense heat that may cause the wax crayons to melt inconsistently.
Another common issue is cracking in the candles. Cracking typically occurs when there is a sudden change in temperature during cooling or setting. To prevent cracking, it is important to allow the candles to cool slowly and naturally at room temperature. Avoid placing them in cold areas or exposing them to drafts as this can lead to rapid cooling and potential cracking.
Improper wick placement can also pose a challenge when making candles out of wax crayons. If the wick is not centered properly or does not reach deep enough into the melted wax, it may result in an uneven burn or difficulty in lighting the candle.
To address this issue, ensure that you place the wick at an appropriate depth in the container and use tools like wick centering devices or clothespins to keep it centered as you pour the melted wax.
Overall, troubleshooting these common issues requires careful attention to detail and following proper techniques during each stage of candle making with wax crayons. By being mindful of these potential challenges and implementing appropriate solutions, enthusiasts can create beautiful and flawless candles from wax crayons.
| Common Issues | Solutions |
|---|---|
| Uneven melting | Use a double boiler for gentle and controlled heat |
| Cracking | Allow candles to cool slowly and naturally at room temperature |
| Improper wick placement | Ensure the wick is centered and reaches an appropriate depth in the melted wax |
Conclusion
After exploring the process of making candles out of wax crayons, it is clear that this DIY project offers numerous benefits and opportunities for creativity. By repurposing old or broken crayons, individuals can create unique and vibrant candles that add a touch of personality to any space.
Throughout this article, we have covered various aspects of this craft, including choosing the right wax crayons, gathering necessary materials, preparing the workspace, melting the wax crayons safely, customizing the candles, pouring and setting them properly, caring for handmade candles, and troubleshooting common issues.
One key point to remember when selecting wax crayons for candle making is to choose those with lower melting points. This ensures that the wax will melt evenly and smoothly without burning or discoloration. Additionally, it is important to consider safety measures while working with hot wax and open flames. Always take precautions such as using a double boiler to melt the crayons and keeping a fire extinguisher nearby.
Furthermore, throughout the candle-making process, individuals have ample opportunities to personalize their creations. Whether it’s experimenting with different colors and patterns or adding fragrance oils for an aromatic experience, there are endless ways to make each candle truly one-of-a-kind.
The pouring and setting stages require attention to detail in order to achieve professional-looking results. By following proper techniques such as placing wicks correctly and allowing sufficient cooling time, individuals can ensure their candles set properly and burn effectively.
Optional
In conclusion, making candles out of wax crayons is a fun and creative DIY project that allows you to unleash your creativity and personalize your own candle collection. By choosing the right wax crayons with suitable melting points and colors, gathering the necessary materials, and setting up a clean workspace, you can embark on a candle making journey that is both safe and efficient.
Throughout the process, you have the opportunity to customize your candles by adding fragrance oils, experimenting with different colors and patterns, and incorporating decorative elements. This allows you to create truly unique pieces that reflect your personal style and taste. Furthermore, caring for your handmade candles by trimming the wicks, storing them safely, and maximizing their burn time ensures that you can enjoy them for a long time.
While there may be some common issues that arise during the candle making process, such as uneven melting or improper wick placement, these challenges can be overcome with troubleshooting solutions. By following step-by-step instructions and seeking advice from experienced candle makers or online communities, you can enhance your skills and improve the quality of your homemade candles.
Overall, making candles out of wax crayons offers numerous benefits including cost-effectiveness, personalization options, and an opportunity to express your creativity. So why not give it a try?
Unleash your inner artist and start creating beautiful homemade candles using wax crayons today. Don’t forget to share your personal experiences or success stories along with any photos or testimonials from readers who have tried this DIY project – it’s always inspiring to see what others have accomplished in their candle making journeys.

Welcome to my candle making blog! In this blog, I will be sharing my tips and tricks for making candles. I will also be sharing some of my favorite recipes.


